


Don't Make This Mistake When Making Paper Bag Snowflakes
Looking for budget-friendly ways to decorate for the holidays? Here’s an easy step-by-step tutorial explaining how to make snowflakes with paper bags and how to avoid the mistake I made!
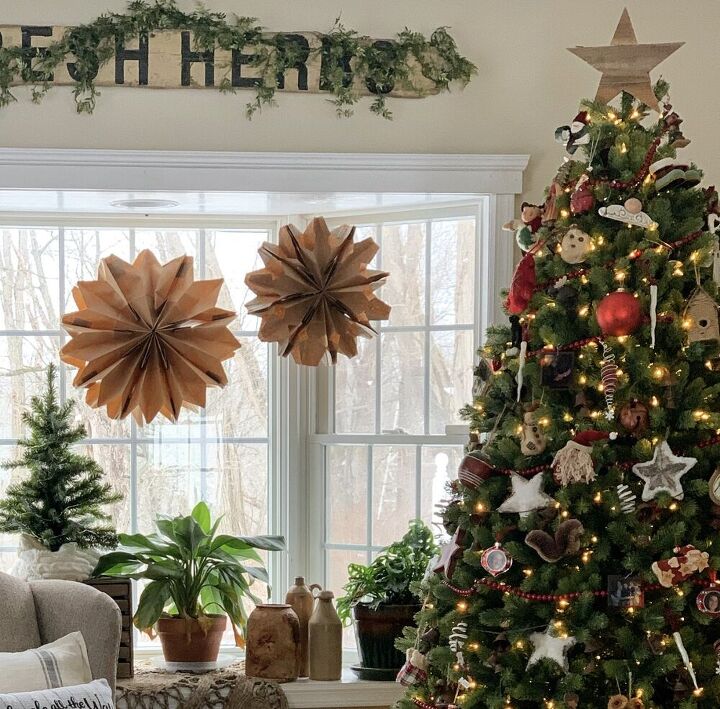
Have you seen the latest trend in holiday decorating?
Decorating and craft enthusiasts are adding these cool paper bag snowflakes to their winter decor.
I love the look and they are so easy to make!
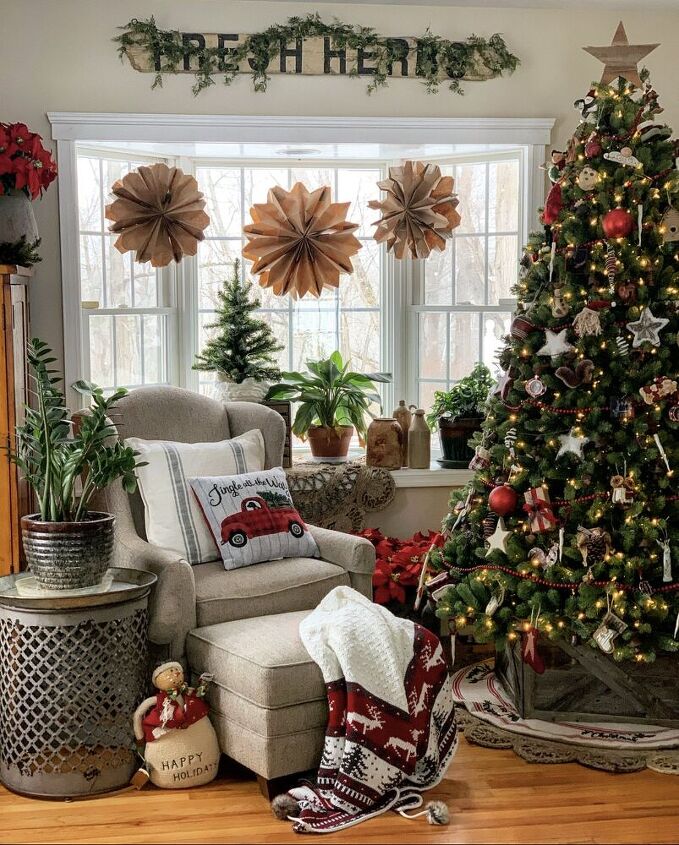
So I decided to make some for my living and dining rooms.
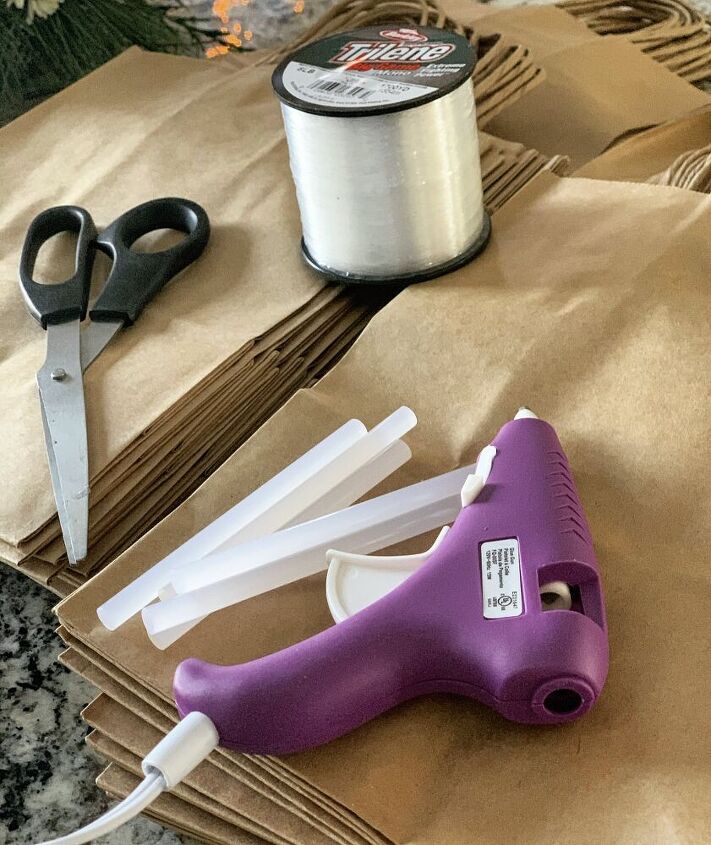
Supplies Needed to Make Paper Snowflakes
- Paper Bags (Brown or White)
- Sharp Scissors
- Hot Glue Sticks
- Hot Glue Gun
- Fishing Line
- Clear Tape
- Hole puncher
How to Make Snowflakes with Paper Bags
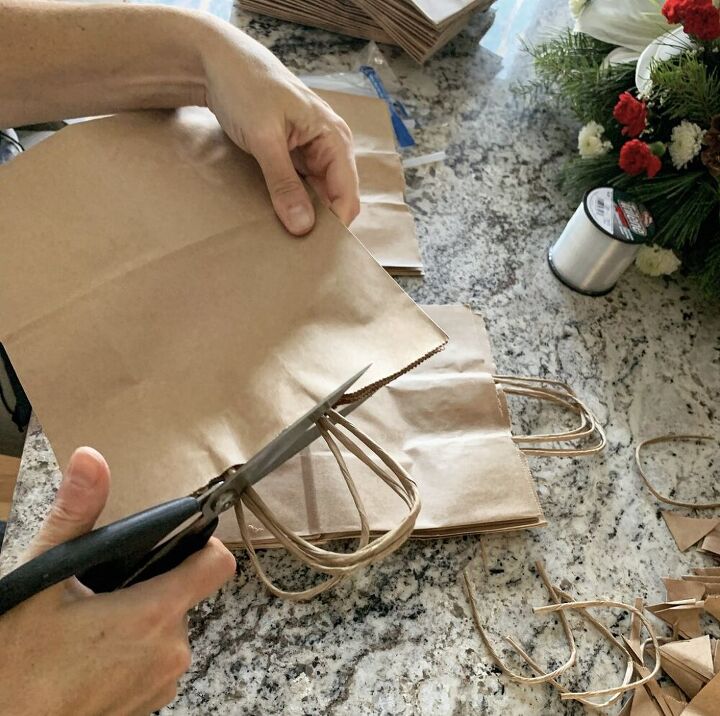
- Gather supplies.
- If the bags you are using have handles, cut them off.
- Use 8 bags per snowflake
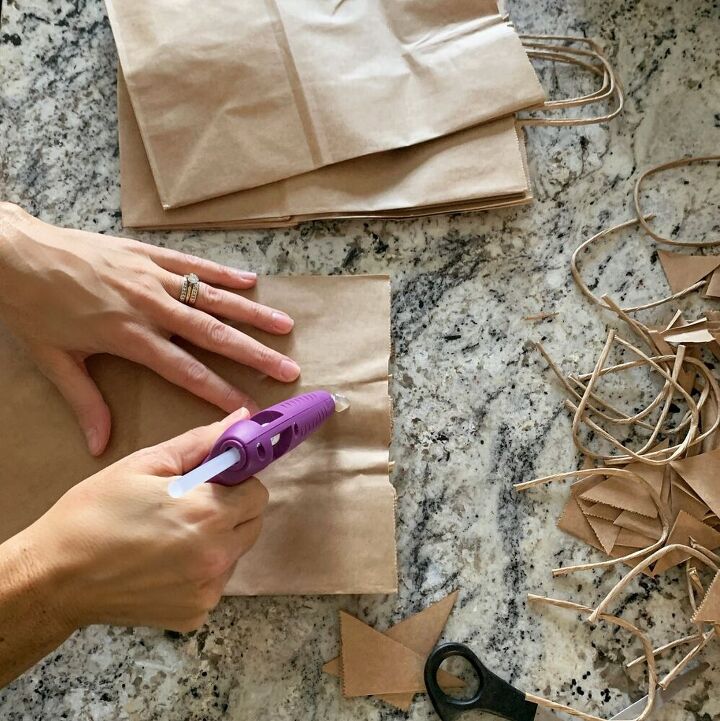
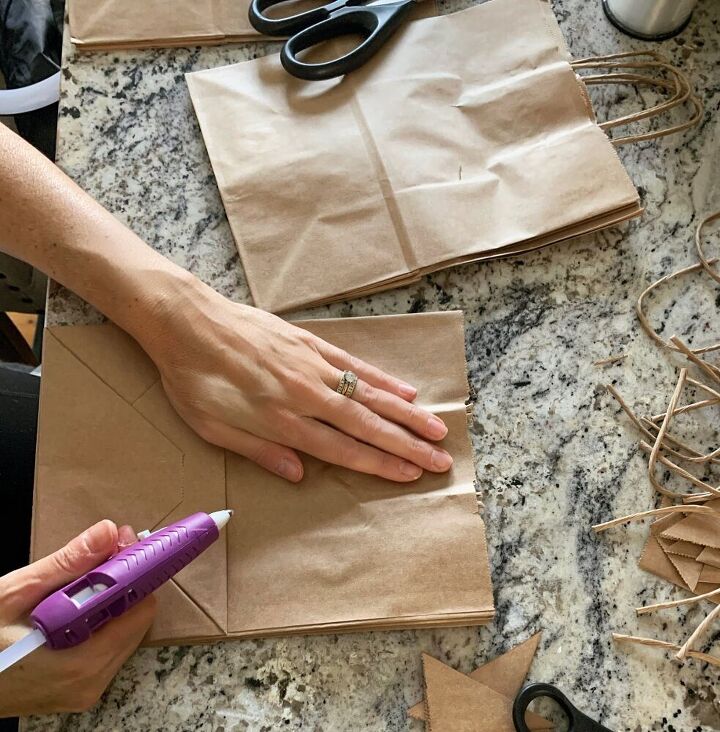
- Take first bag and run strip of hot glue from top to bottom in center.
- Then run second strip of hot glue from left to right at the bottom of bag.
- Quickly lay second bag on top and press down. You’ll need to work quick so the glue doesn’t dry before you seal them together.
- After glueing all 8 together, make your snowflake cutouts. This could be as simple as just snipping off the upper corners of the bag. Or you can be more decorative about it and snip off some extra half circles and triangles on the sides.
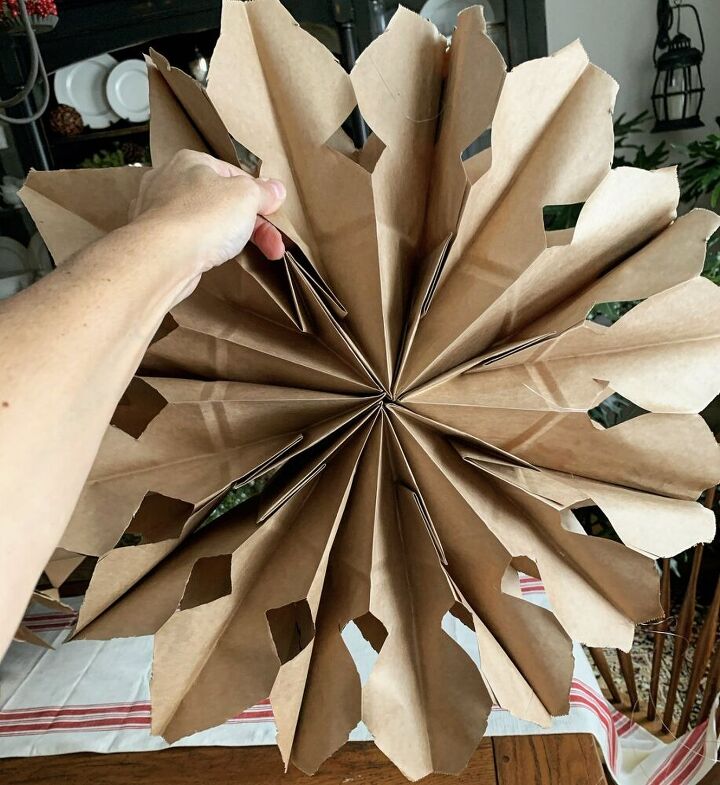
- Then take one side of the snowflake and repeat the glue process.
- Open snowflake so one end of the paper bags meets the other. Press and seal so it now looks like a big snow flake.
- Punch a hole in the top to string fishing line through. If you don’t have a hold puncher, you can use an exacto knife or punch a needle through.
- String each snowflake and bring the line up so both ends meet.
- Add a piece of clear tape about 2-3″ from the end of the fishing lines.
- Attach to ceiling. (Note: the tape could damage the paint on ceiling, so you could also tack it in.)
What I Would Do Differently Next Time
For this project, I used brown paper bags that I had on hand. But it would be SO much easier to make using lunch bags or thinner paper bags like that. These were really thick and hard to cut so I didn’t get too decorative with the snowflakes. I’ll update this post with better pics in a few days.
For more DIY inspiration, CLICK HERE.
Resources for this project:
See all materials


Comments
Join the conversation
-
Love these. Seen a project using lunch bags. But then they're all one size. Using bigger bags will make bigger snowflakes. Mix them up. makes for a great llok and worth the effort. Colored lunch bags can be used for different holidays or events. Good share
-
Pretty pretty 🤩 have a wonderful happy New Year 🎊🎆🎈


Frequently asked questions
Have a question about this project?