


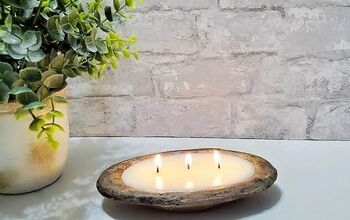
Easy DIY Homemade Candles
Just about everyone I know loves Candles, especially in the winter. I sure do. These candles are clean burning, smell awesome and would make a wonderful gift. My daughter and I made a couple dozen, for gift giving, in just a few hours this past weekend. We did a trial run earlier in the summer and made some citronella candles and learned some things along the way. So, this time we were able to incorporate the lessons we learned and it was much easier and faster.
Let's get started with fun and super easy DIY Candlemaking.
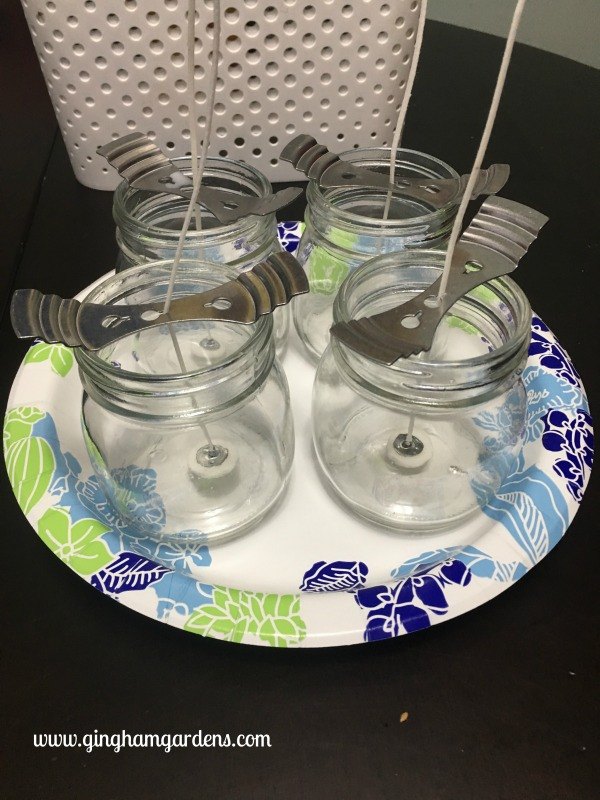
STEP 1 - Prepare the jars by securing the wicks to the inside bottom of jars with the little stickers that are included with the wicks.
STEP 2 - Using the wick holders, pull each wick through the center of the wick holder to hold it stable.
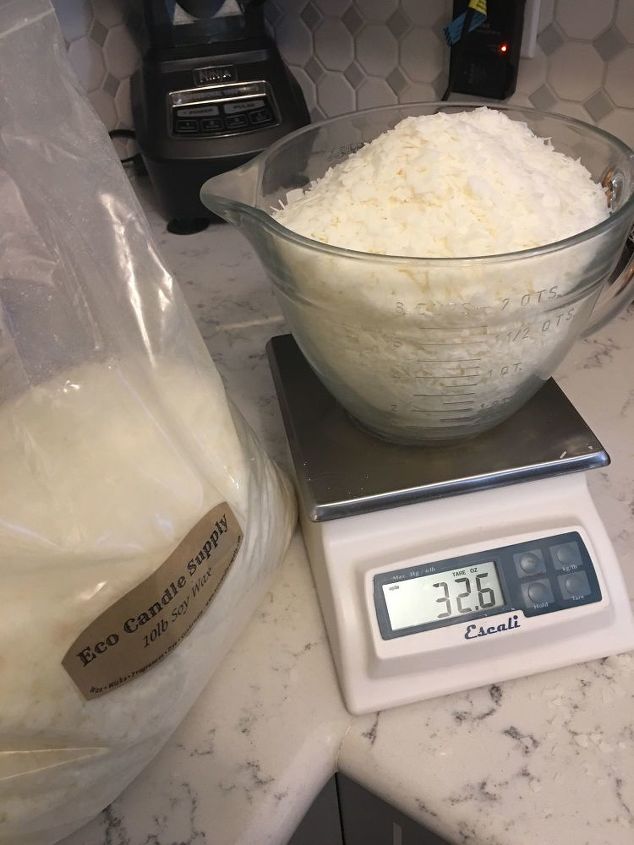
STEP 3 - Next, it's time to do some math. Our candle jars were 10 ounces each, but we wanted to leave a little room in the top of the jar, so we figured 8 ounces for each candle. We made 4 candles at a time, so 4 x 8 = 32 ounces. So we weighed out 32 ounces of soy wax. It's important to note here to use a scale to weigh your wax, don't try to use a measuring cup. Trust me it just doesn't work out correctly. If you don't have a kitchen scale, you can measure, but just know that if you measure out 8 ounces of wax, when it melts it is not 8 ounces.
STEP 4 - Melt the soy wax. We used the microwave on high for one minute intervals (stirring the wax each time) until the wax was melted and at a temperature of around 170 degrees fahrenheit. You can also use a candle melting pitcher. We have one, but we found it was quicker to use the microwave.
STEP 5 - Add the essential oils or fragrance oils and stir. The general rule of thumb in adding the fragrance oil is 1 ounce (which is 2 tablespoons) to 16 ounces of wax. So in our case, we added 1 tablespoon of fragrance oil for each 8 ounce candle. We chose not to, but if you would like to color your candles add the candle wax dye at this point too.
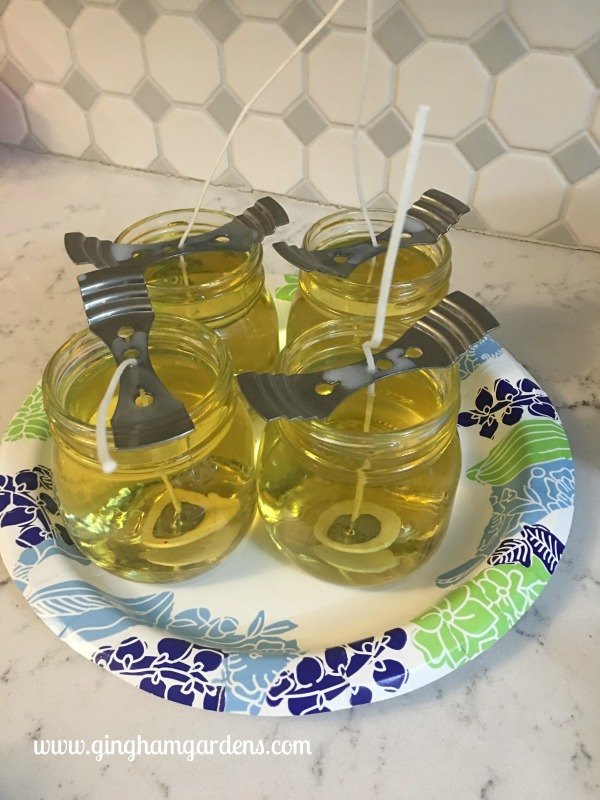
STEP 6 - Using extreme caution, pour the melted, scented wax into your jars. If the wick moves, pull it straight and tight in the wick holder.
STEP 7 - Place your candles in a safe, dry place to set up.
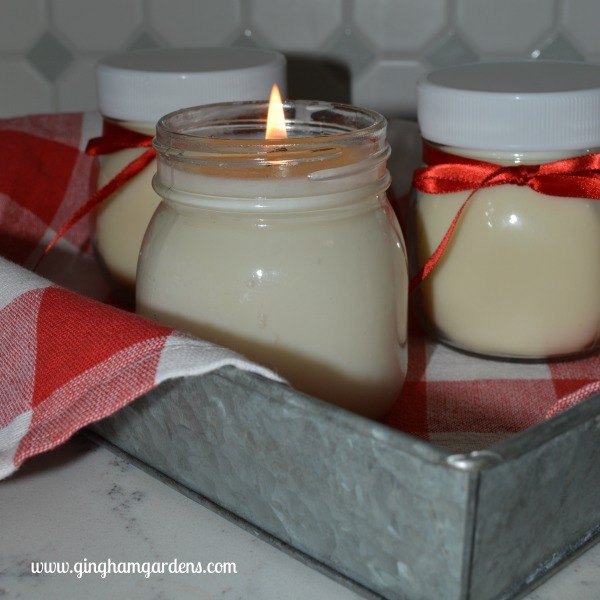
STEP 8 - Trim the wicks and place lids on the completely cooled candles.
STEP 9 - Allow the candles to cure for at least 48 hours before burning them.
It's just that easy. For a more complete tutorial, along with extra tips and the complete supply list, please see my blog post - Easy DIY Candle Making.
Resources for this project:


Frequently asked questions
Have a question about this project?
Great instructions! What is your choice of oil for fragrance? Brand and scent? Thanks!