


Easy Paper Snowflakes

by | Dec 15, 2021 | Decorating, DIY, Handmade |
All of you provided a lot of positive feedback when I shared the Christmas crafts with paper. So, I thought I would show you a new project you can make – easy paper snowflakes! Yes, truly they are easy.
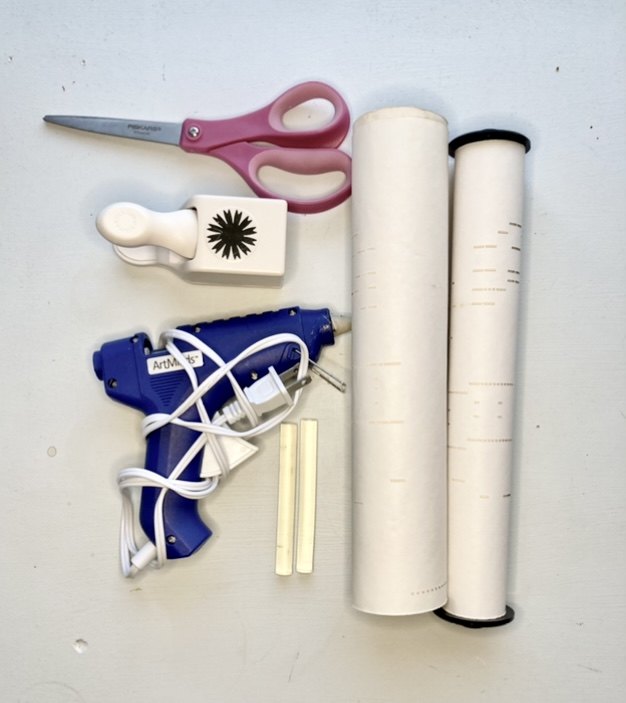
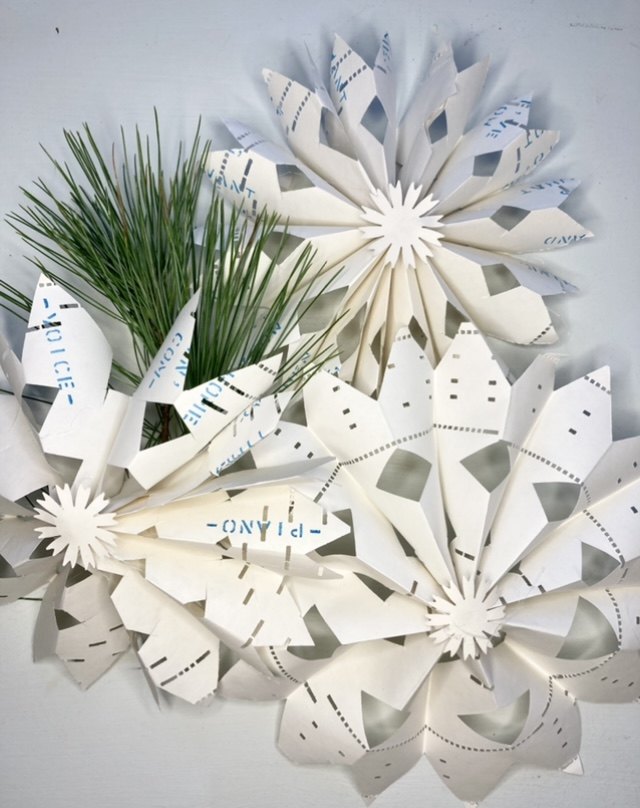
Roll of paper, scissors, hot glue gun, and star hole punch
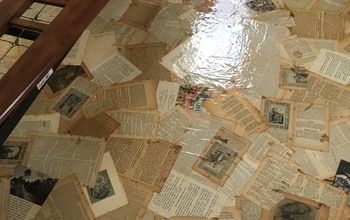
As you can see from the photo above only basic supplies are needed. I found this old roll of piano paper at an antique store for a few dollars. I thought it would be perfect to use for this project. However, you can also use rolls of wrapping paper, old wallpaper, brown craft paper or any type of paper that is at least 3 feet long.
In the photo above, I also included a punch cutter with a cut out in the shape of a starburst. You don’t need to use the starburst punch cutter. I happened to have it in my stash and thought it would be perfect for this project. If you don’t have a punch cutter HERE is one similar that I found on Amazon. If a star isn’t your cup of tea, a simple circle that’s 1 inch in diameter would also work for this project.
Next, I will walk you through the steps of making the easy paper snowflake. If you prefer – you can scroll to the end of this post and there is a 20 second video that shows you how to make them.
The general idea is that you want long narrow strips of paper. I found that when I cut my paper 3 feet long and 3 inches wide – it worked best for making the snowflakes. I also cut an additional piece of paper and used it to punch out the starbursts that cover the center of the snowflakes. I punched out about 12 starbursts.
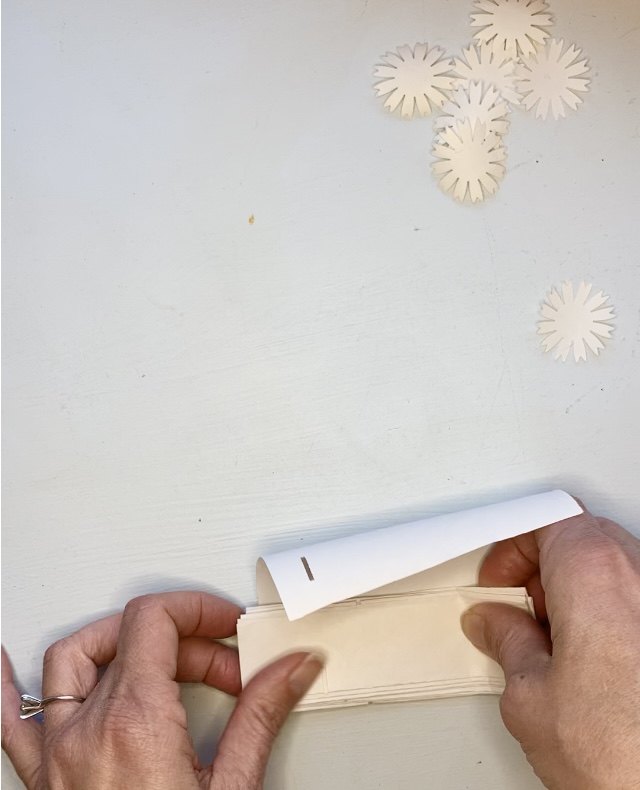
Once you have your long strips of paper, fold them accordion style starting with the narrow portion of the paper. Try to keep the edges lined up as you fold the paper back and forth.
Once you have your paper completely folded – you can trim off any excess – then you can start to cut your snowflakes.
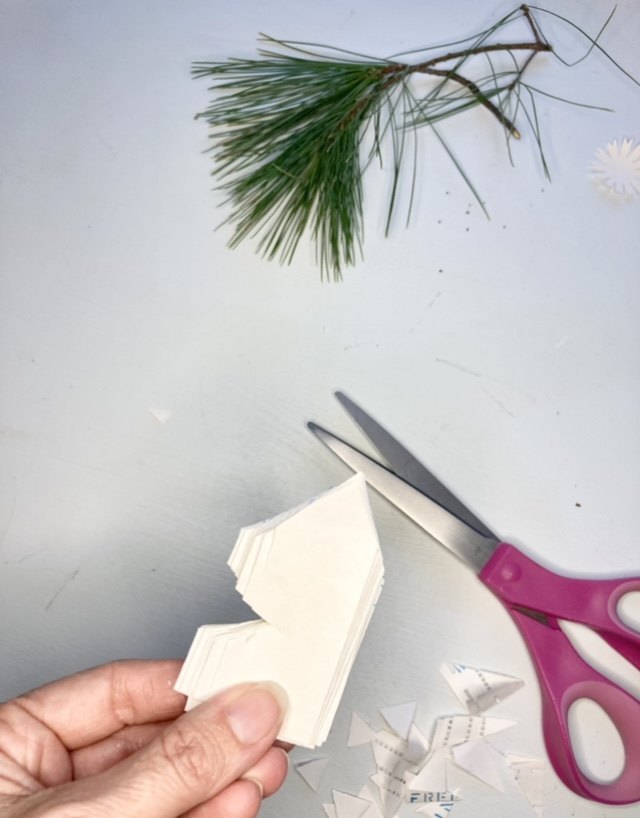
You can cut any design you choose on either side of the paper. I cut a point at one end so the snowflake would have pointy tips. Make sure that you cut through all the layers of paper!
Next, all you need to do is glue the ends of the paper together and glue the center of the snowflake.
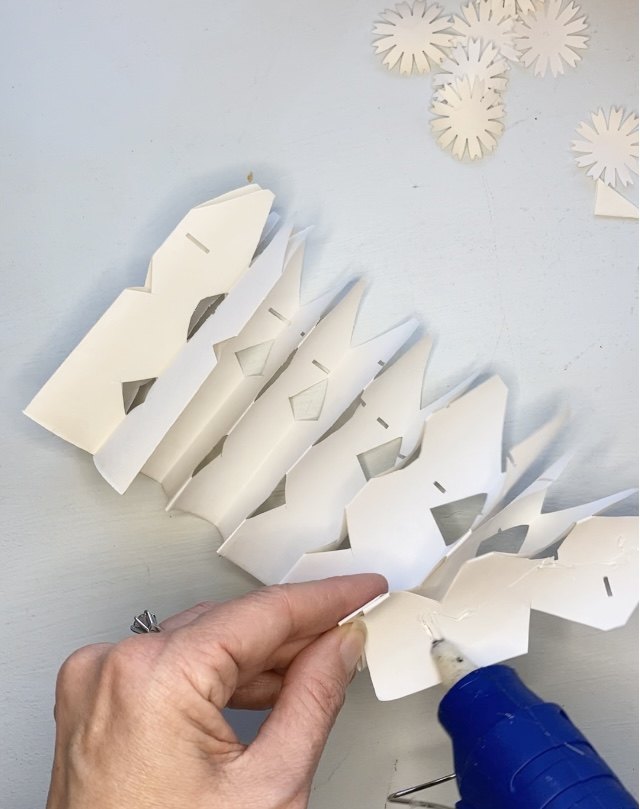
Simply glue one end of the paper to the other end of cut out paper.
Once you glue the ends of the paper together, your snowflake should look like the photo above.
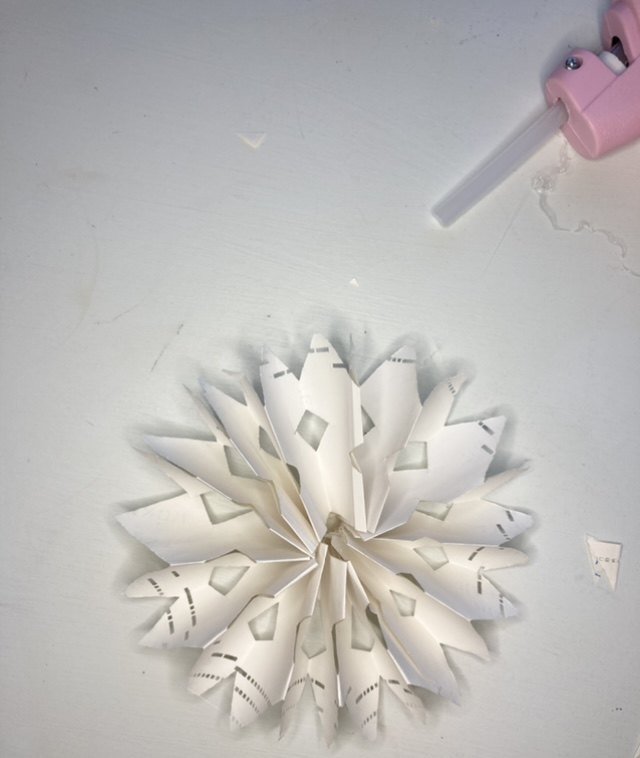
Then the next step is to secure the center of the snowflake. This is where you use your punch cut outs of the star or circle.
I applied glue to the center of the snowflake and then attached the star. I repeated the same for the backside of the paper snowflake because it gave the paper snowflake more stability.
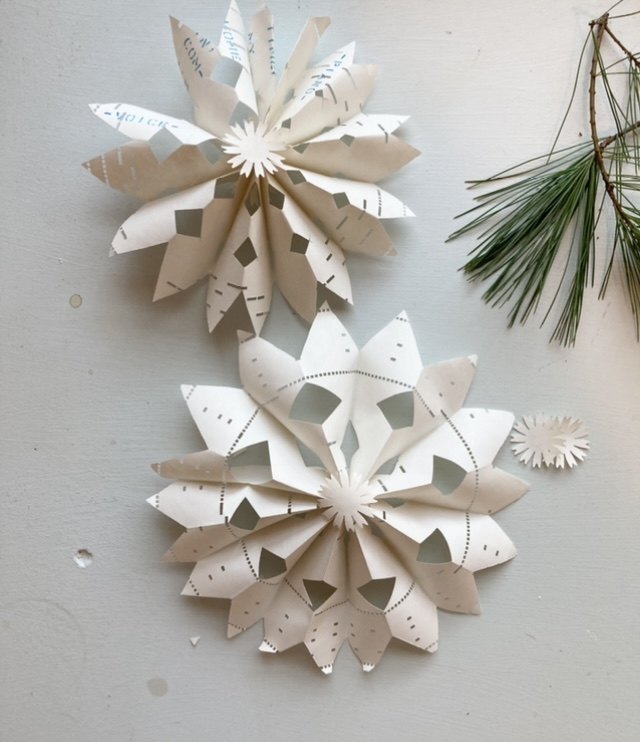
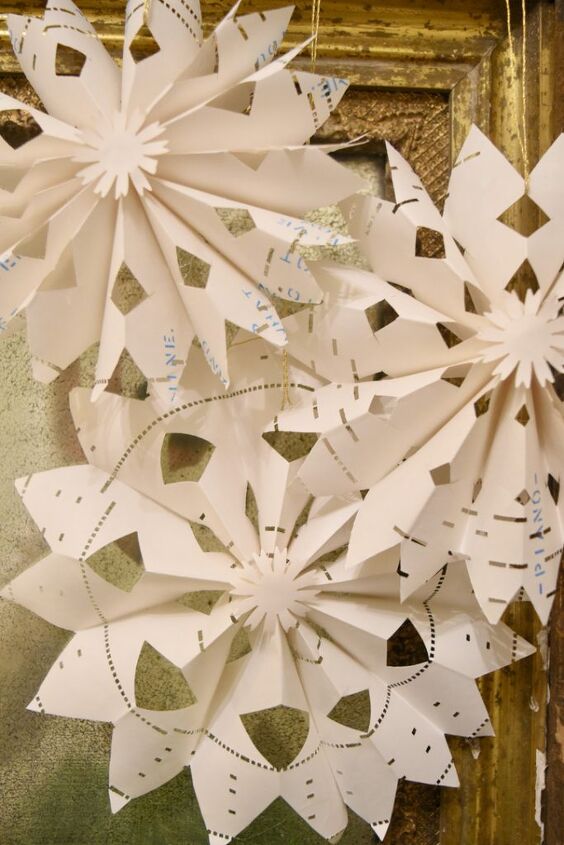
The first paper snowflake I made didn’t turn out that great. However, after my third paper snowflake – I was on a roll. It’s quite easy to make a bunch of these in the space of 1 hour.
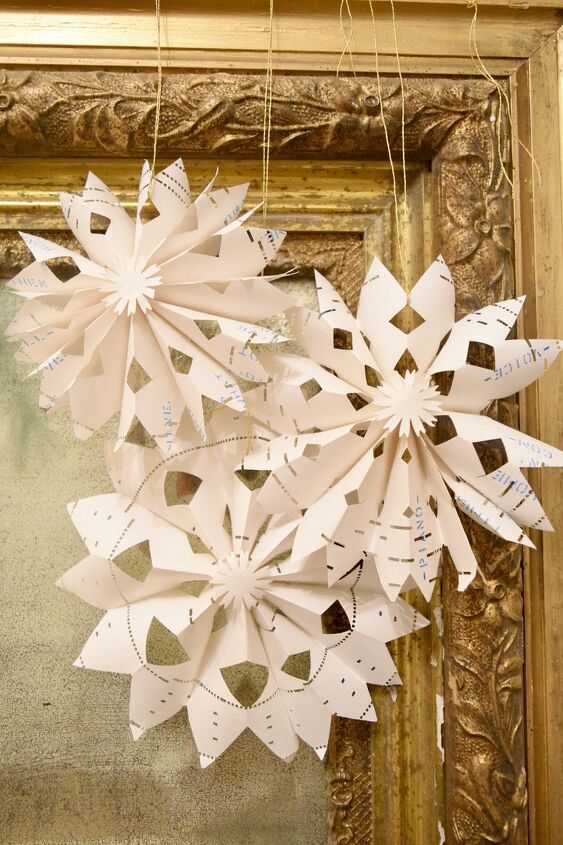
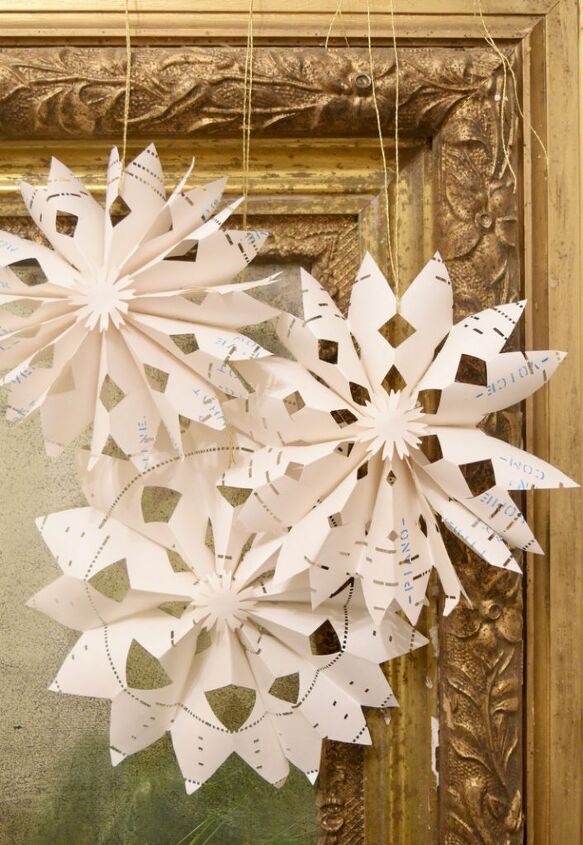
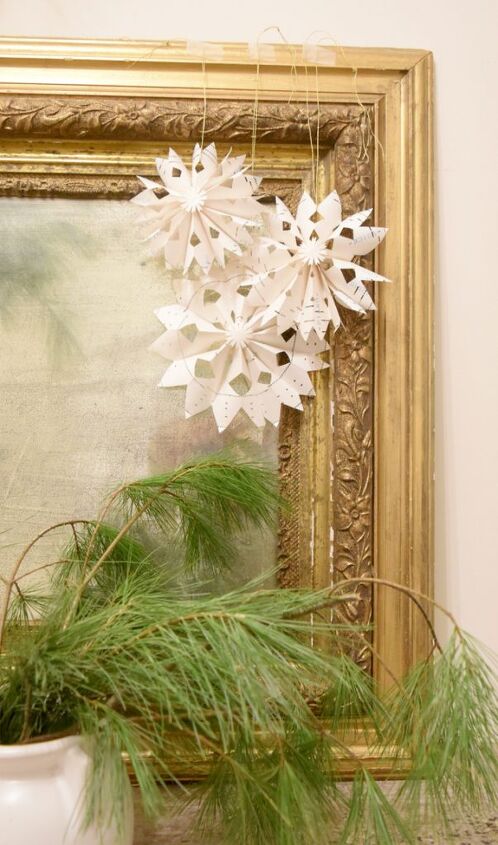
The photo above shows three paper snowflakes that I made after I got the hang of the process.
I think these snowflakes would be great attached to a gift. They could be used as a gift tag or simply to embellish a present. They would also look great as ornaments on a tree. Finally, you could string them together to create a garland.

I noticed when I was using the paper from the piano roll, the lyrics to the song were printed on the paper. How charming! It melted my heart. I love that the lyrics are printed on these snowflakes.
Needless to say, a video showing these steps provides a lot more valuable information. I always find that videos convey things that I can’t capture with words. So here is a short 20 second video showing you the steps outlined above.
Thanks for stopping by the blog today! Have fun making these easy paper snowflakes.
Join our mailing list to receive the latest news and updates from our team.
- Easy Paper Snowflakes
- Reflections on the Holiday Season
- Easy Christmas Crafts with Paper
- Collecting Vintage Santa Mugs
- Holiday Booth Refresh 2021
Resources for this project:
See all materials


Frequently asked questions
Have a question about this project?