


Easy to Make Toilet Roll Snowflakes - Christmas Decor on a Budget
In this tutorial we will use toile paper rolls to make a pretty snowflake to hang up at Christmas. This tutorial will show you the basic technique and then you can copy it or let your creativity run wild. Design many different snowflakes just like in nature.
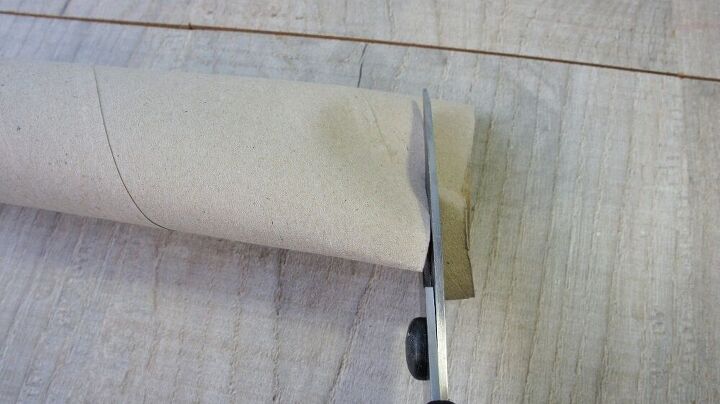
Lay one of your tubes on the table on its side. Measure along it however deep you want your snowflake. Mine are 1.5cm (approximately 0.5″). Repeat the measurement all the way along the roll.Rotate the roll and repeat so that you have 2 marks at each length. You can now join up these marks to make a cutting line or simply cut using the 2 marks as a guide. You are making lots of rings.
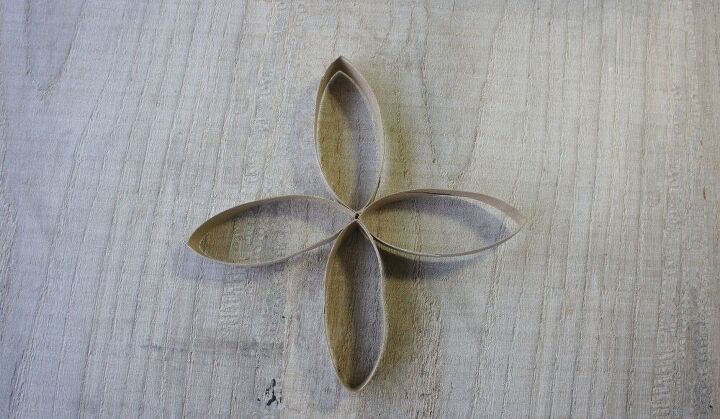
Now start designing your snowflake. Firstly arrange four slices in a cross shape and glue them together. This is the centre of your snowflake.
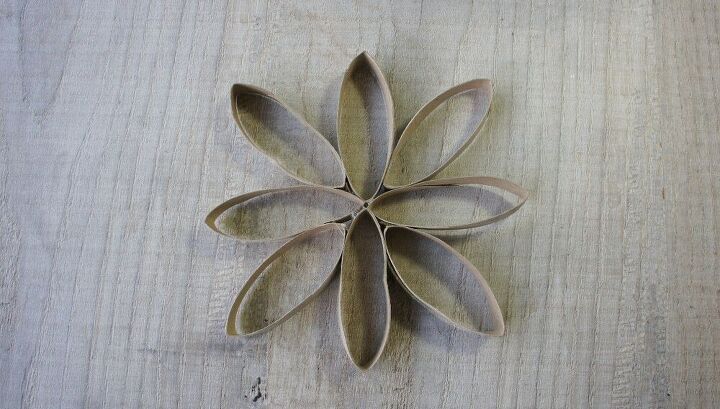
Now add in 4 more slices in the spaces between the first four. Glue them in place.
To add detail to your snowflake take a slice and fold it in half. Now add those to four of the slices in your snowflake. This will make some nice centre detail.

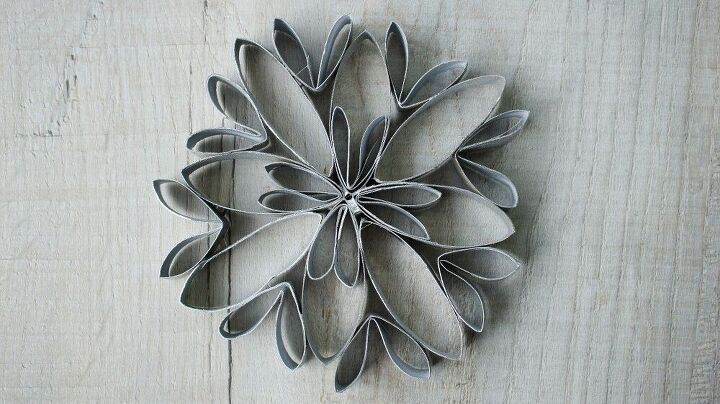
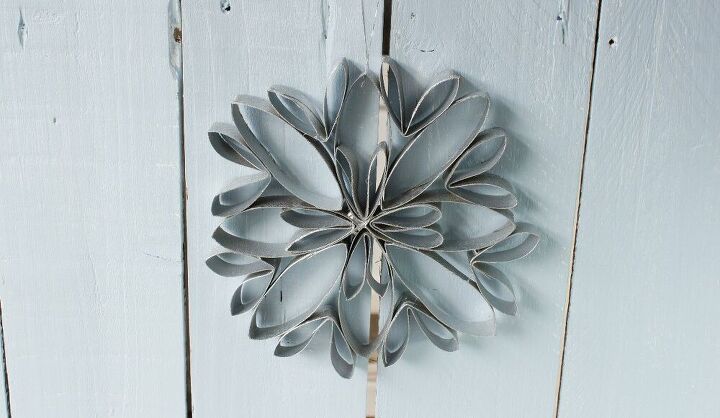
Fold some more slices and add them to the outside of the snowflake. This will make it just like mine.
Once you are happy with your design you can spray paint it, add glitter or leave it as is. It is up to you.
Then hang it up using cotton thread or fishing line. These look great in a window.
So get creative and design your own unique snowflakes. Make them much larger or smaller simple ones. Add as much detail as you like. Use larger tubes for even larger snowflakes.
If you need more guidance take a look at my blog post which includes video instructions at Christine's Crafts
Resources for this project:
See all materials


Comments
Join the conversation
-
We go through a lot of toilet paper with 4 kids and 3 adults here so gathering up the tubes won’t be a problem. We are going to have so much fun with this. Thanks for the great idea!
-
I have always wanted to do a project with toilet paper rolls. Thanks! Love your snowflakes.


Frequently asked questions
Have a question about this project?
That is so creative and cute ! I would make a big one & paint it & leave it up all year long. Because it’s so pretty! Your a smart cookie. God bless you and your family