


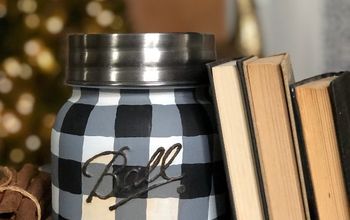
Embellished Painted Mason Jar Fall Decor
2 Materials
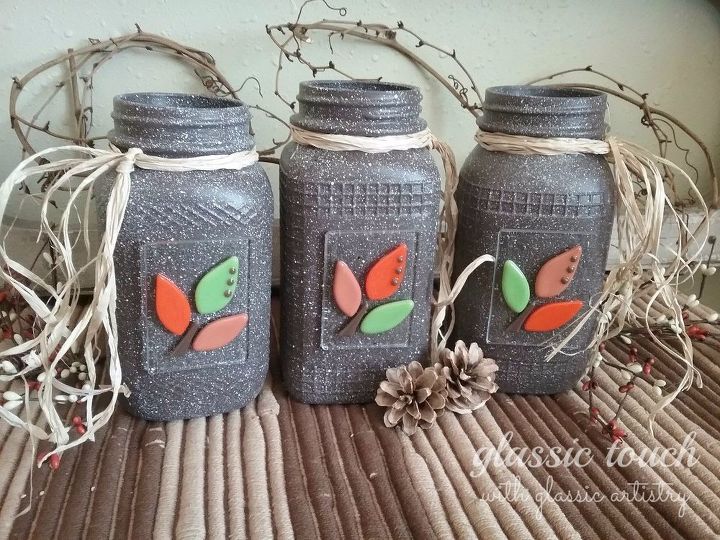
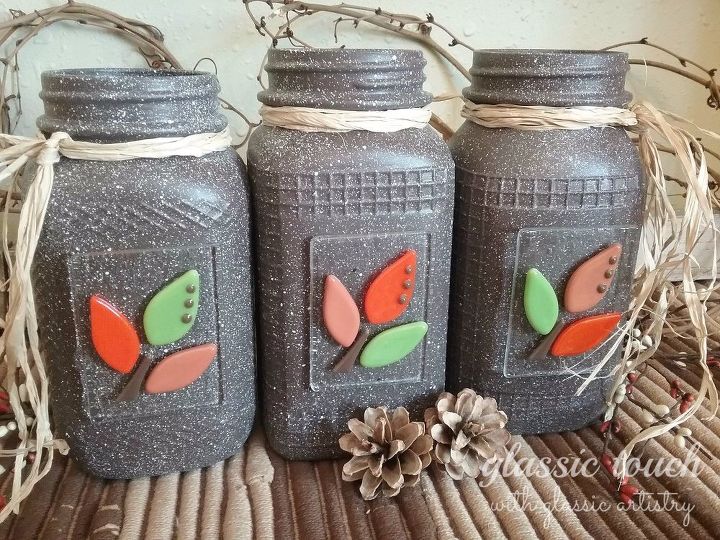
With re-purposed and painted Mason jars being so trendy these days, I thought I’d make a little fun Fall decor with a few of mine.
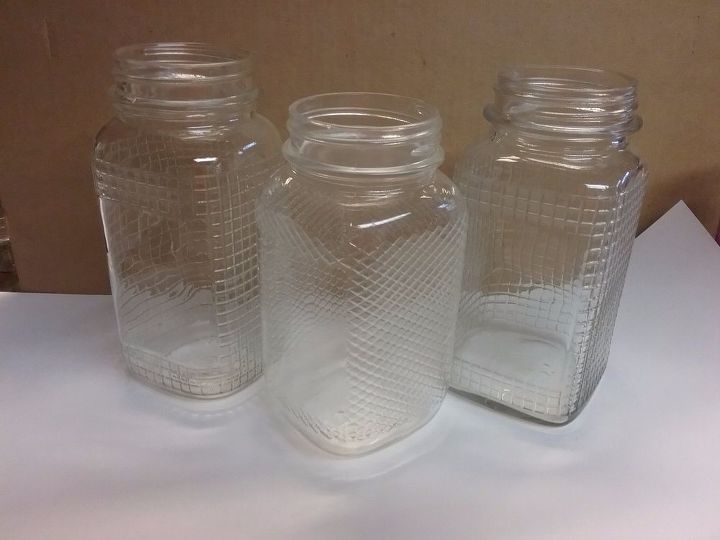
Last spring, I had saved some jars because they were embossed with a small checkered design on three sides, and had a smooth front, which I’m assuming was probably for a label. I wasn’t sure what I was going to do with them, but I liked the texture, and remember thinking the front might offer a nice surface for a tiny mosaic.
Last spring, I had saved some jars because they were embossed with a small checkered design on three sides, and had a smooth front, which I’m assuming was probably for a label. I wasn’t sure what I was going to do with them, but I liked the texture, and remember thinking the front might offer a nice surface for a tiny mosaic.
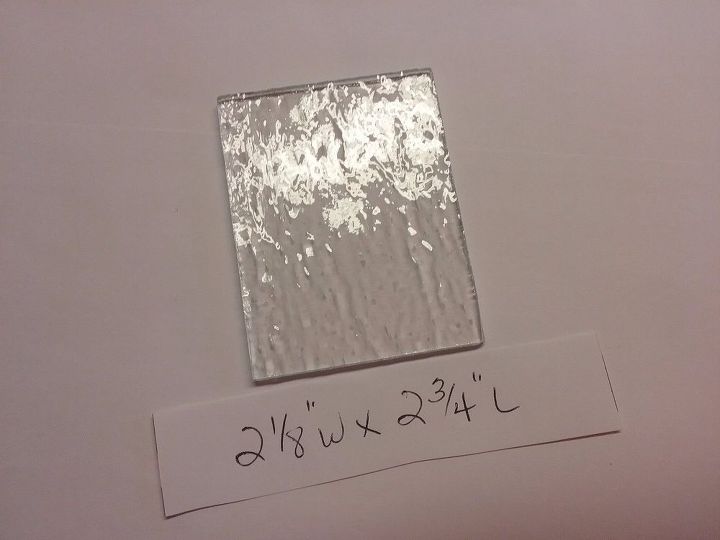
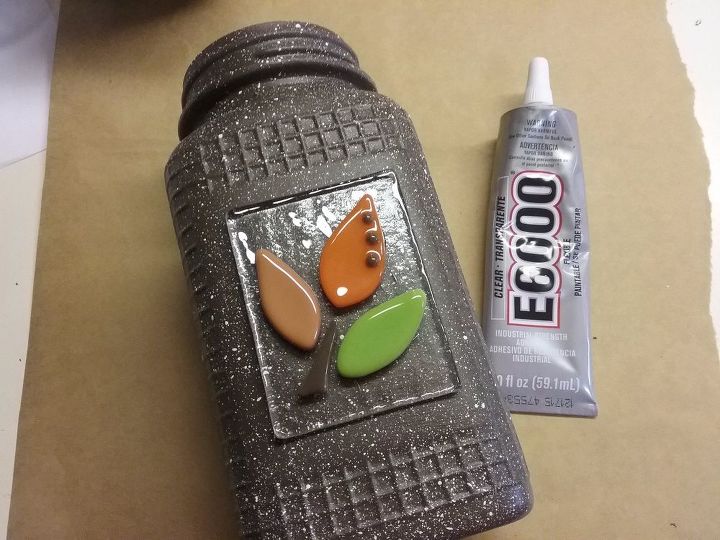
After rethinking it a bit, I still liked the idea of a design on the front, but scratched the idea of a mosaic with grout, and choose to go with a fused glass tile instead.
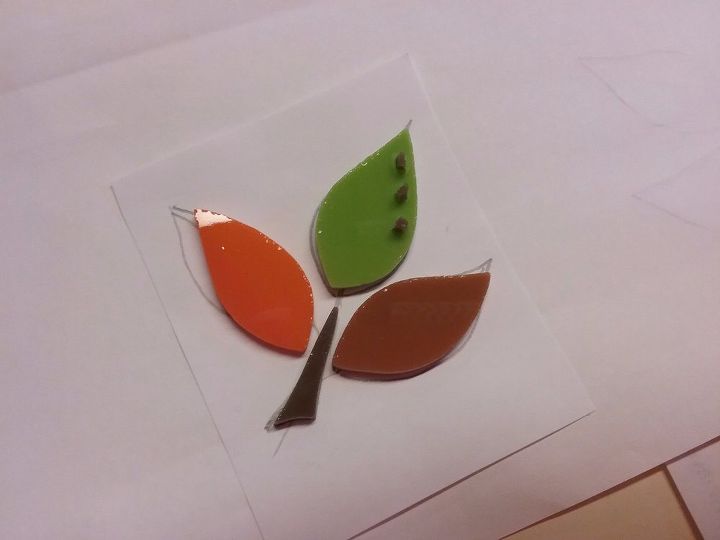
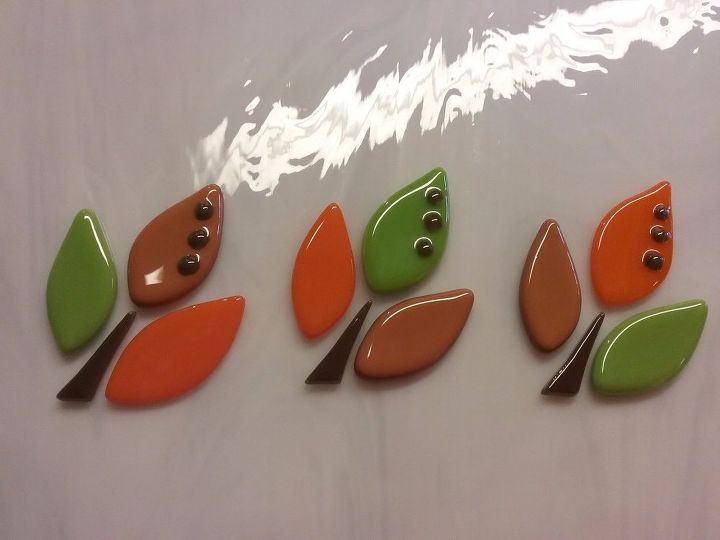
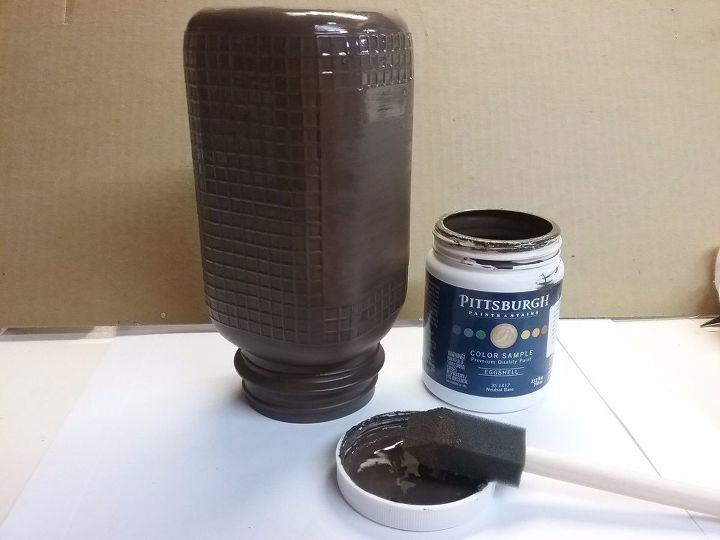
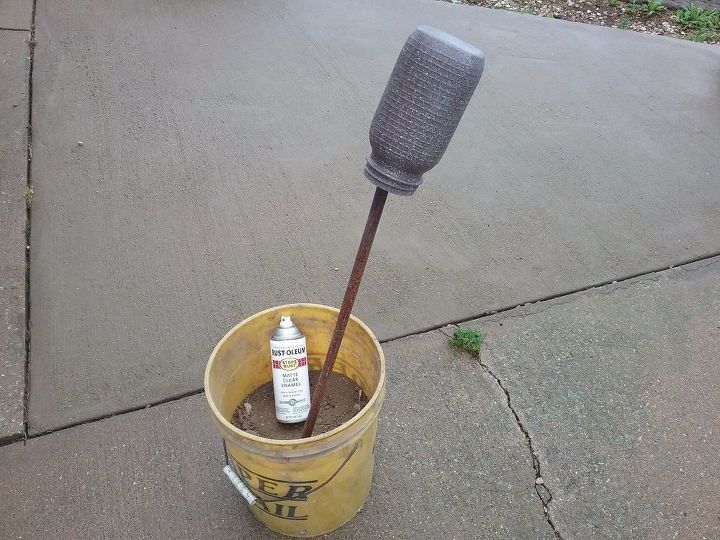
Wanting my jars to be dark brown, I waited until I could take a piece of fired brown glass to town to match it. A brown spray paint would work too, but I opted to have a small sample sized can mixed for about $3.00.
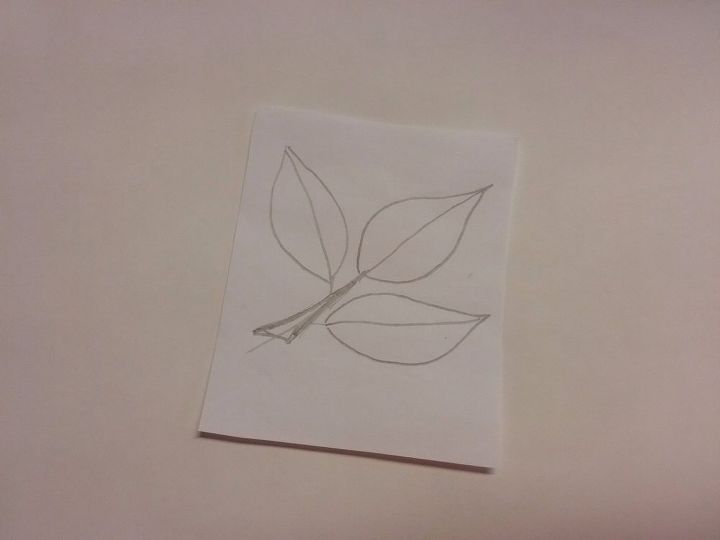
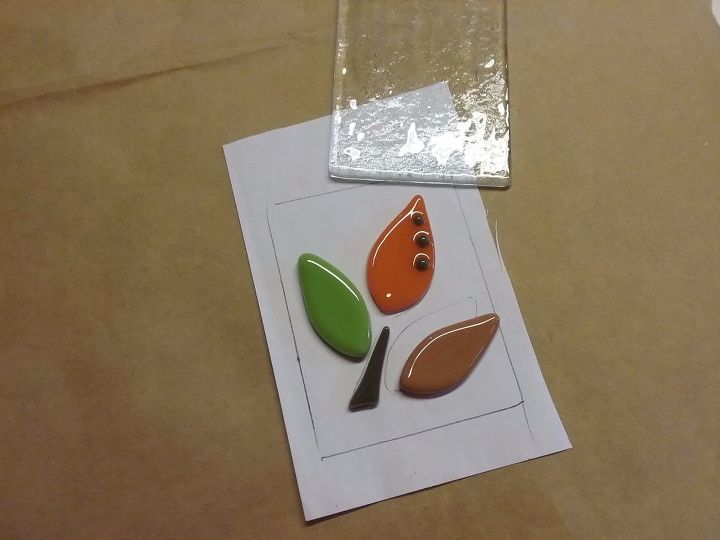
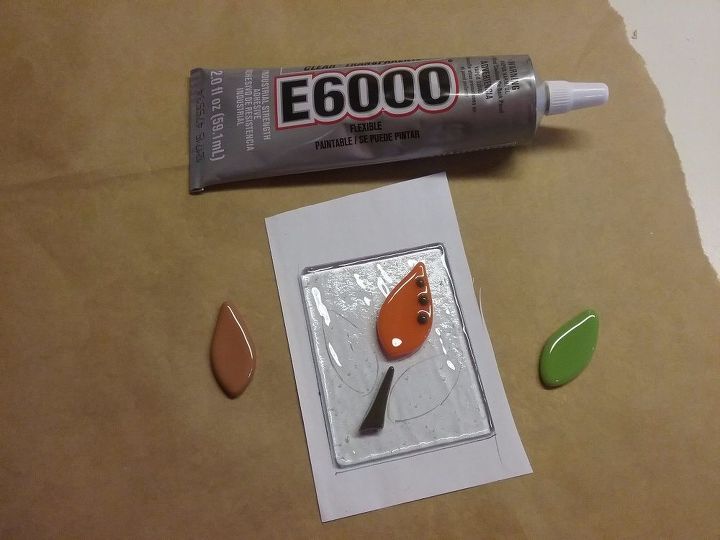
A fired leaf arrangement was traced inside the traced shape of a clear glass tile. Remove the leaves and replace the clear tile in it’s place over the leaf tracing. Following the traced pattern, glue leaf pieces in place with E6000. Let dry completely.
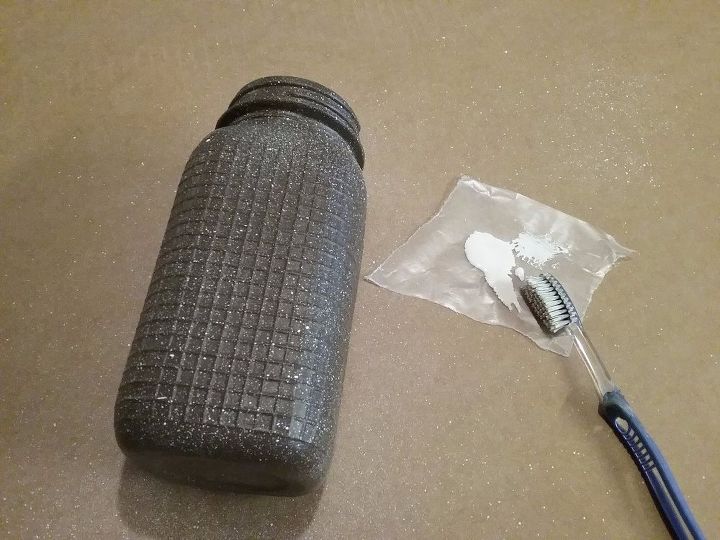
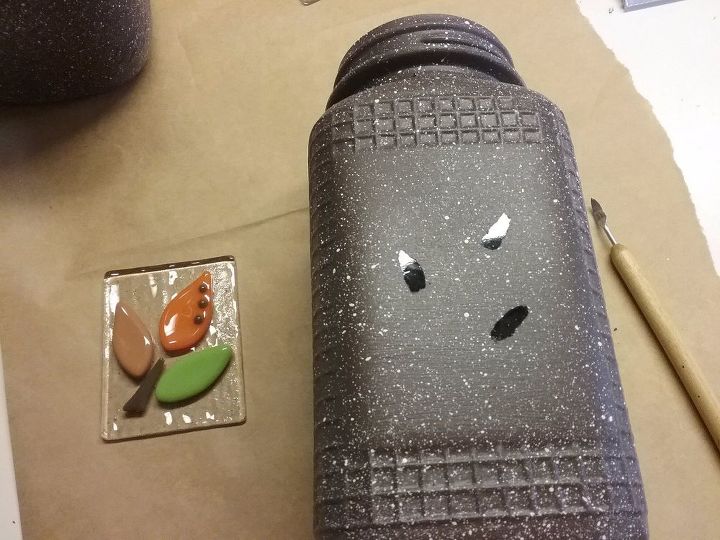
Lay a dry tile on the front of the jar to determine where your leaves will be located before gluing. For the best adhesion, scratch off a very small amount of paint in the areas that the leaves will cover. Put a small dab of E6000 on the scratched areas, lay the tile in place, and press down very lightly, obscuring the glue. Be careful not to use too much glue or it will seep out beyond the leaf and be seen through the glass. Let dry overnight.
Knot a length of raffia around the neck of the jar. Fill with fall flowers, a pretty napkin and tableware for an informal fall gathering, anything you like!

Want more details about this and other DIY projects? Check out my blog post!
Comments
Join the conversation
2 of 38 comments
-
Tasteful use of Mason jars. I love these!
-
Great alternative suggestion Vicki for this project when you don't have kilm


Frequently asked questions
Have a question about this project?