


Fabric Pumpkin Topiary for the Fall Season

I love crafting for the fall season. I also love projects that use materials I already have on hand. This fabric pumpkin topiary meets both criteria - this festive stack of pumpkins is a great Halloween or Thanksgiving decoration and can be made using scrap fabric and leftover trim. And the best part is that it looks great on my fall mantle!
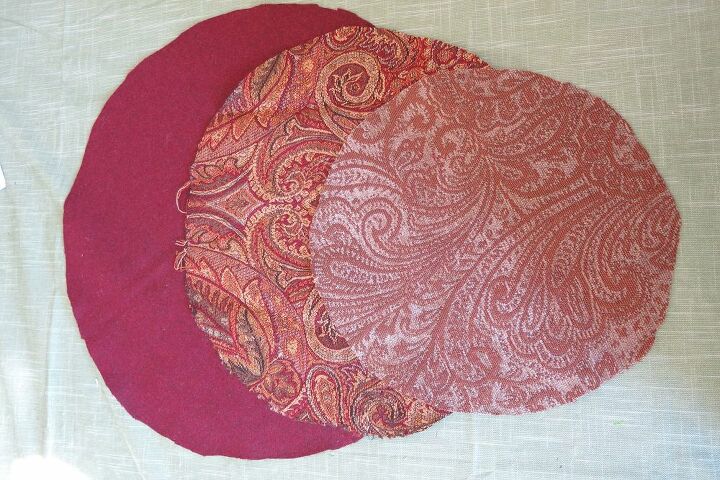
This project is very adaptable, but begins with cut three circles of fabric (though you can also just use two circles). You can use the same fabric for all your circles, or use different material for each.
I made my largest circle 14 inches in diameter, my middle circle is 11 1/2 inches in diameter, and my smallest circle is 9 inches. I just traced containers and plates in my kitchen to make my circles.
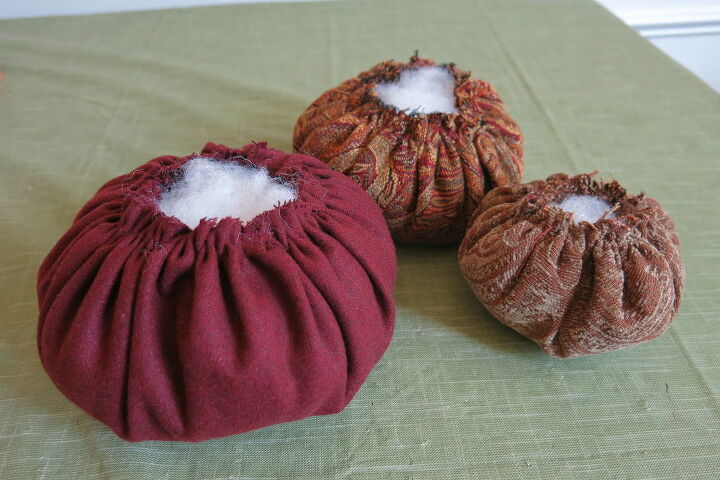
For each circle, sew a running stitch around the circumference of your fabric. When your stitching is complete, pull your fabric together along the stitches to form a pouch. I have more details about how to make your pumpkin pouches on my blog.
Then fill each of your fabric pouches with fiber fill. You may need to move your fiber fill around to get a round and even shape. I filled each of my pumpkin pouches quite full, then tightened my stitches as tight as possible and sewed off the opening.
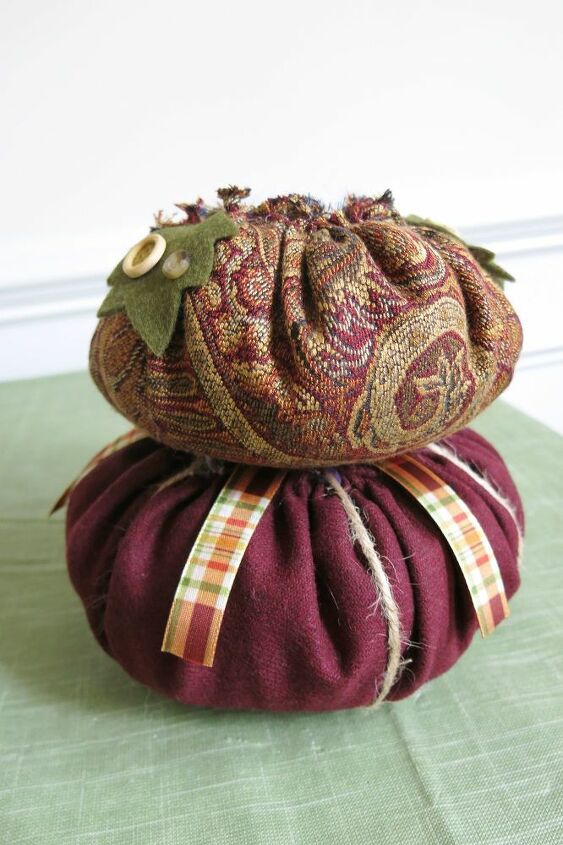
The next step is to decorate each of your fabric pumpkins. This is a great way to use up any little bits of trim and ribbon. I decorated my bottom pumpkin with some twine to section off my pumpkin, then added some ribbon strips.
For my middle pumpkin, I cut some pumpkin leaves from green felt and decorated them with buttons. I have the template for the leaves on my blog.
When your two bottom pumpkins are complete, attach your middle pumpkin to the bottom one with hot glue. Be sure to hold the middle pumpkin in place while the glue dries.
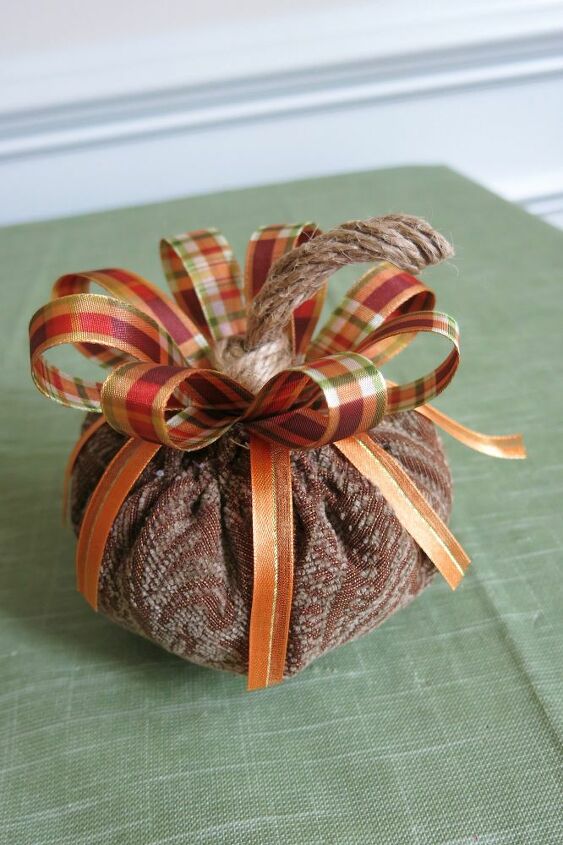
Next, begin to decorate your top pumpkin. I really wanted to add a lot of decoration, so I glued some strips of thin ribbon around the sides, making sure to glue these strips to the edge of my pumpkin's opening (not to the fiber fill). Then I added some loops of a different ribbon around the edge of my pumpkin's opening.
When my ribbon was in place, I added a stem to my pumpkin topiary. I made this stem out of twine (directions are included on my blog).
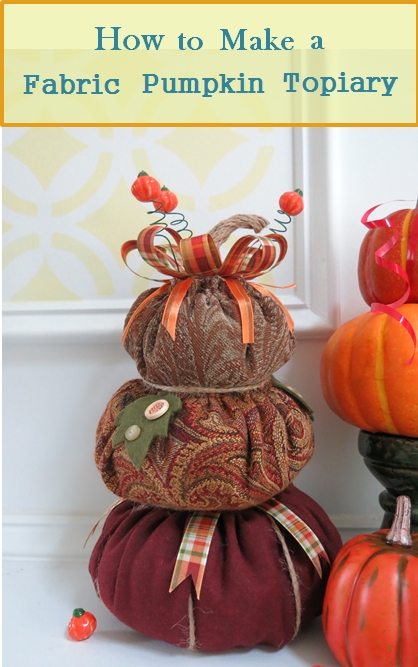
Once your top pumpkin is complete, glue it to your middle pumpkin using hot glue. If your join between pumpkins is a bit messy, you can cover it up with a length of twine, ribbon, or yarn. Then add whatever finishing touches you choose. I trimmed my ribbons to create even finished edges, and added some pumpkin beads to the top of my topiary. I really love how it looks!
Resources for this project:
See all materials


Comments
Join the conversation
-
I will try this. Love the country feel it has.


Frequently asked questions
Have a question about this project?