


Fall Front Porch and Window Box Decor Ideas!
It’s fall front porch reveal time! I always love transitioning from my summer porch to my fall porch. Let’s take a look at the changeover, shall we ( original blog post with product links here)?
Below is our somewhat simple summer porch.

I pulled out my tubs of fall decor and made a plan. I really liked what I did last year, so I knew I mostly wanted to mimic that.
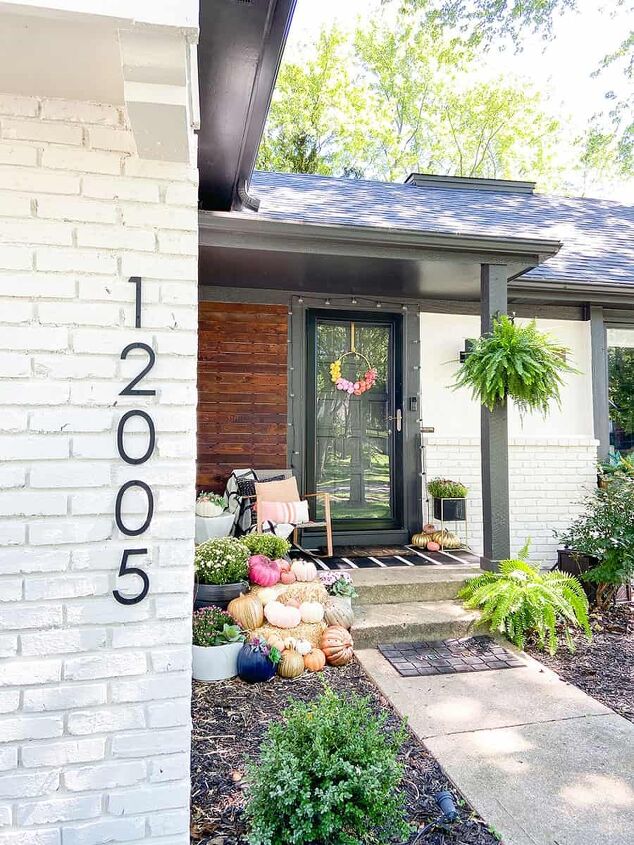
Over the summer we got the exterior of our house painted a creamy white (SW Oyster White) and the trim went black (SW Iron Ore). I was excited to decorate a house in a completely new color (I get very easily amused as you can see.) 🙂
I started decorating the front porch.
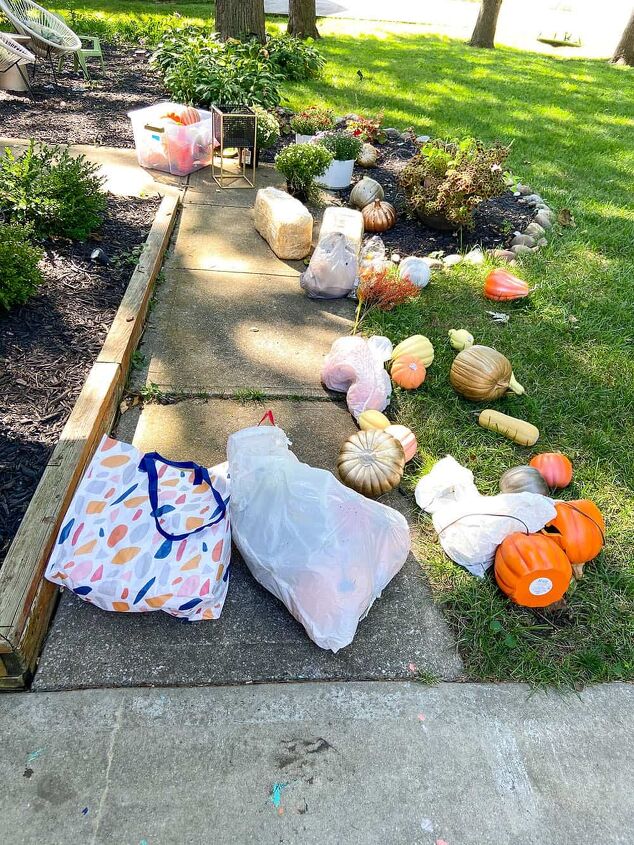
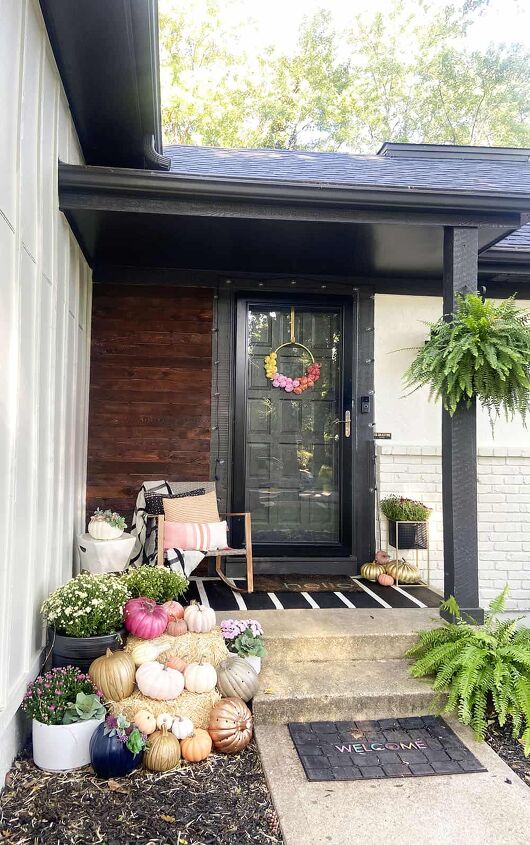
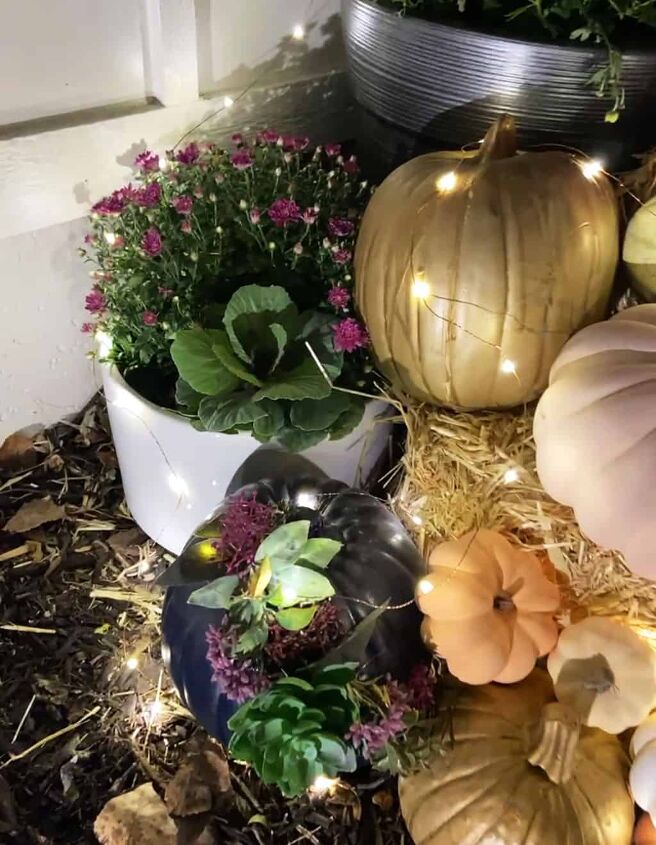
After stacking up 3 medium sized hay bales, I went to my trusty stash of faux pumpkins to start the pumpkin stacking.
I’ve been collecting faux pumpkins ( more options) for the last 10 years, so the stash is quite large at this point – I really need to stop adding to it. My favorites are the luminary drill holes ones I made a couple years ago. They look fabulous at night.
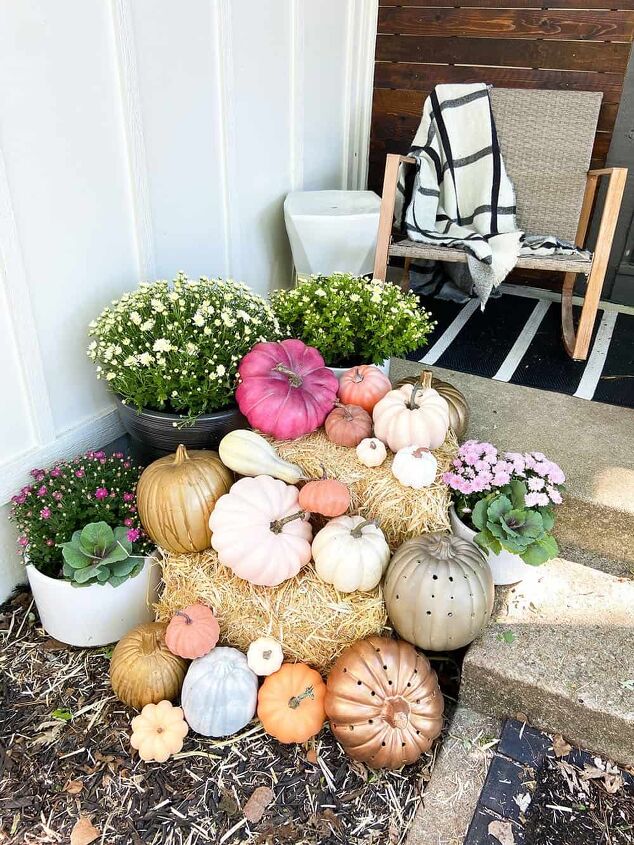
Once the pumpkins were placed I added in my potted mums and ornamental cabbage.
After the pumpkins were placed, I draped in a soft throw I scored in the Target Dollar Spot a few years ago. I like how it cozies up the whole area.
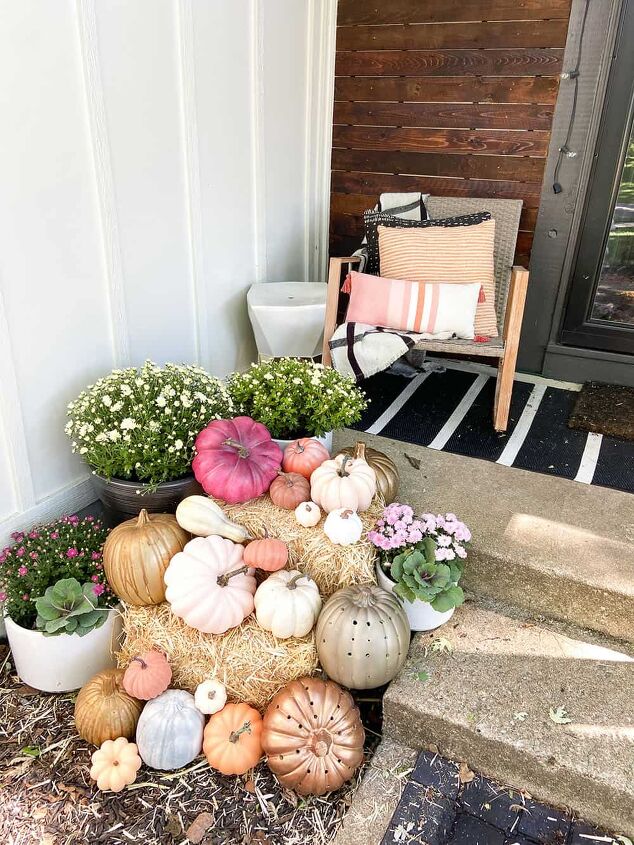
A few pillows were tossed on top of the blanket.
The DIY wood cladding wall is a super affordable project we did this summer in case you’re interested.
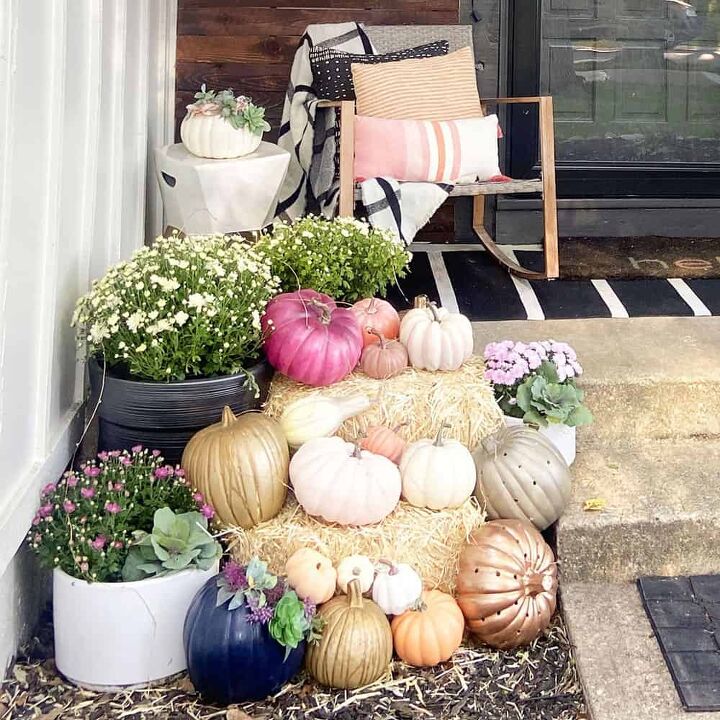
And on the garden stool table I added one of my DIY floral pumpkins. I like how it softened up the hard lines of the table and added an element of surprise.
I added another floral pumpkin to the grouping on the hay bales too.
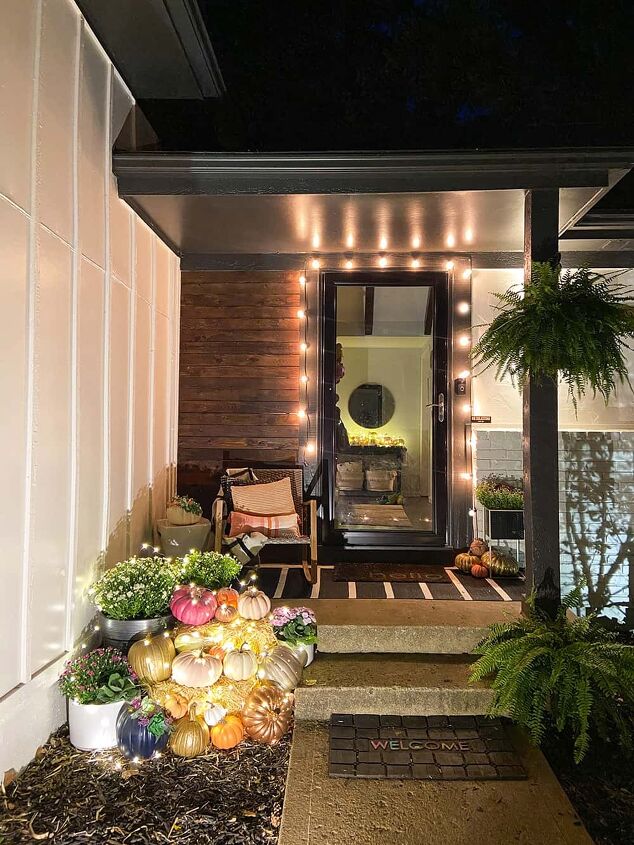
One of my favorite fall front porch touches is adding indoor/outdoor plug in fairy lights to the pumpkins. I have them all over our house inside and out, and they offer them in 33′ and 66′ lengths.
In the evening the lights put off the most beautiful, unexpected glow. I use them in all our window boxes too. Big fan!
To finish off the porch I hung my DIY pumpkin wreath. What do you think?
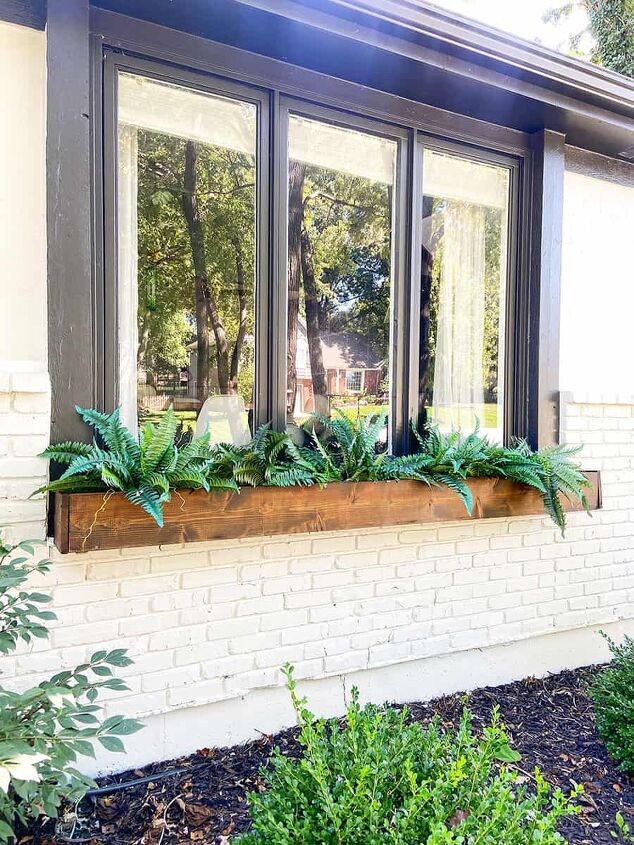
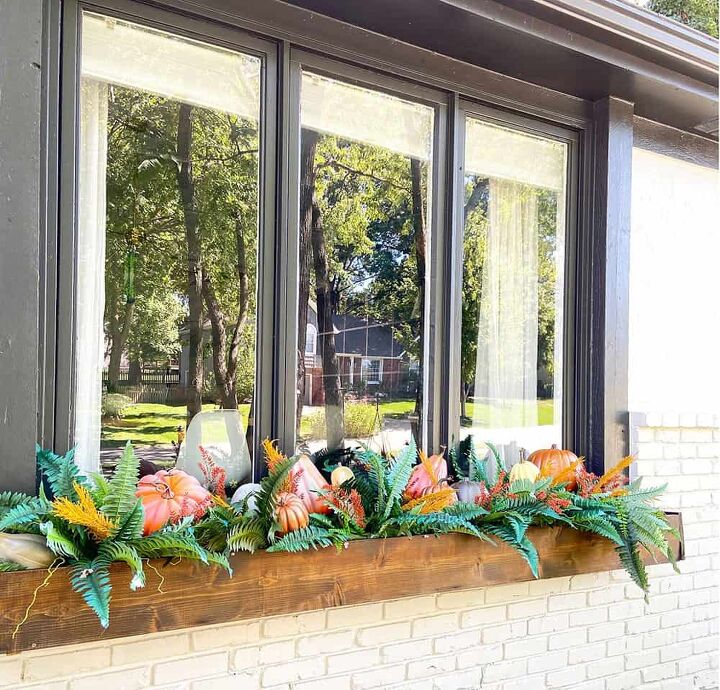
Next up it was time to decorate the three DIY window boxes.
I started with Boston Ferns. When the pan-damnit (as I like to call it) started awhile back I wasn’t able to go to stores to buy my real ferns, so I decided I would use faux ferns in this large window box. I’ve been using them ever since.
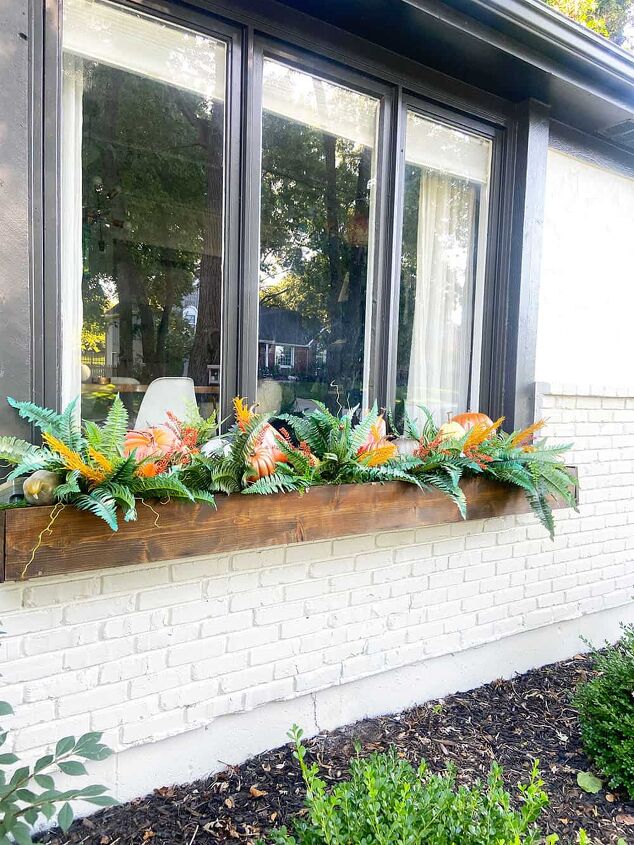
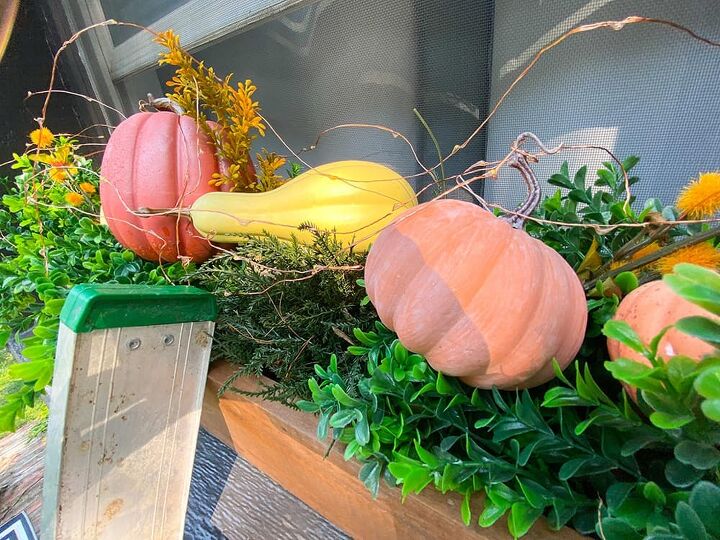
I stuck in some faux fall floral springs in orange and yellow (similar) throughout the box.

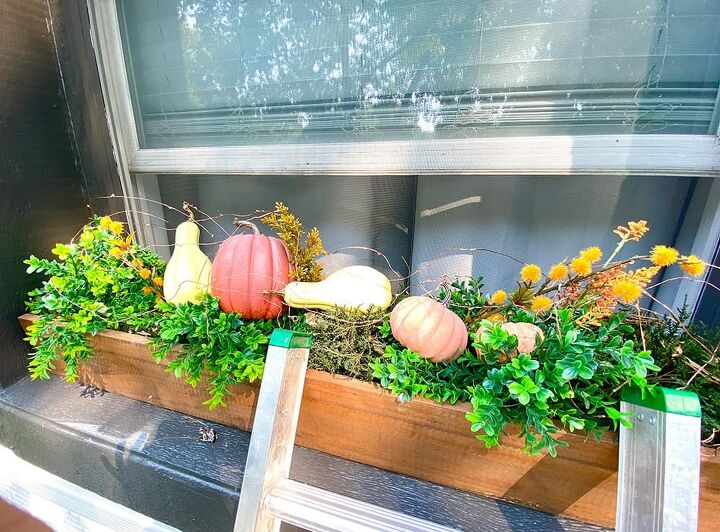
Next, I added in about 15 pumpkins in carious sizes, colors, and shapes.
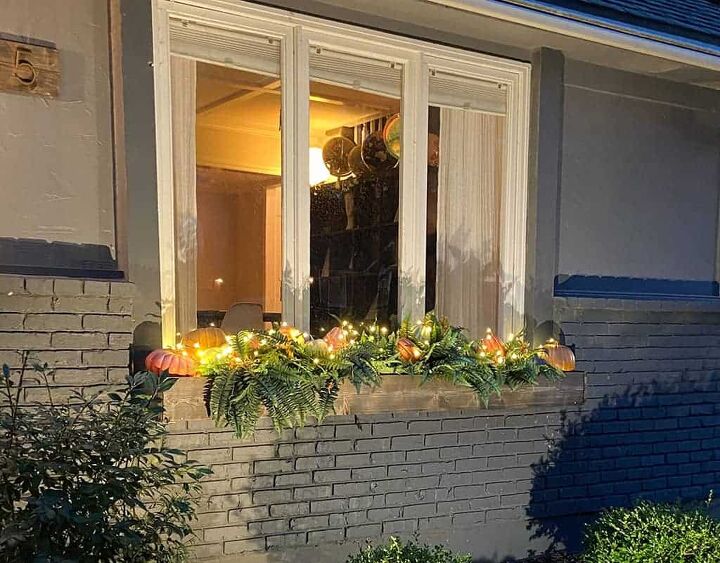
Not pictured (oops): I added a 66′ strand of outdoor fairy lights for a night time glow.
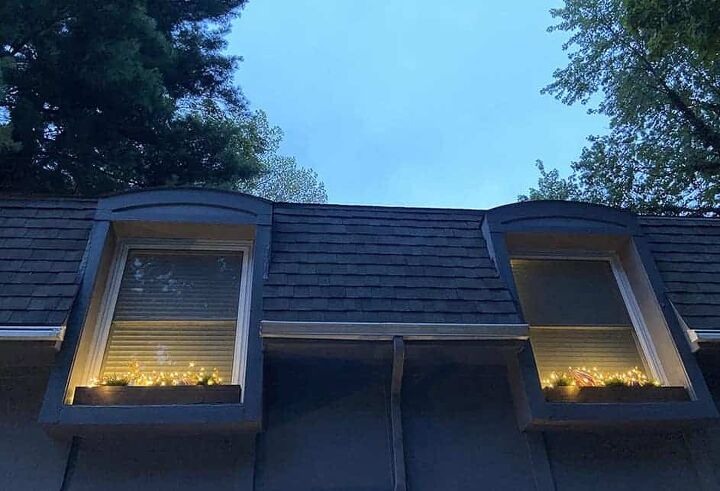
Another big oops….I forgot to take a night time photo of the fall window boxes before I switched over to Halloween. Here’s a peek of last year’s window boxes at night. they look the same, just on a white house with black trim. 🙂
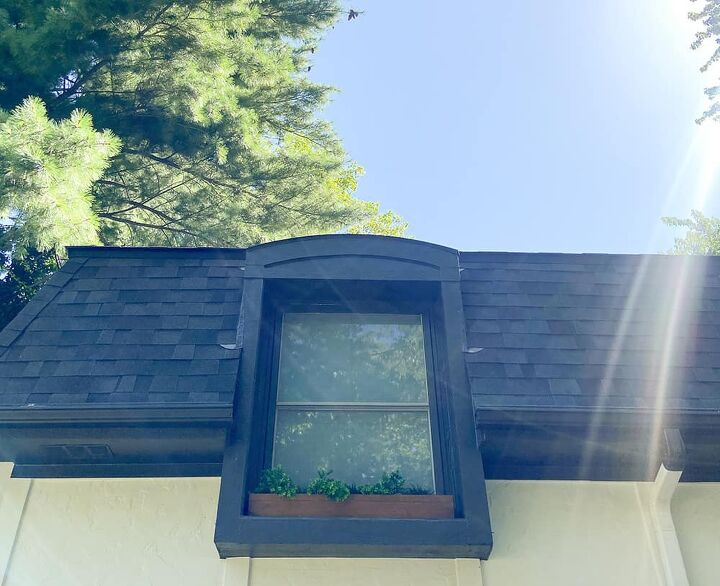
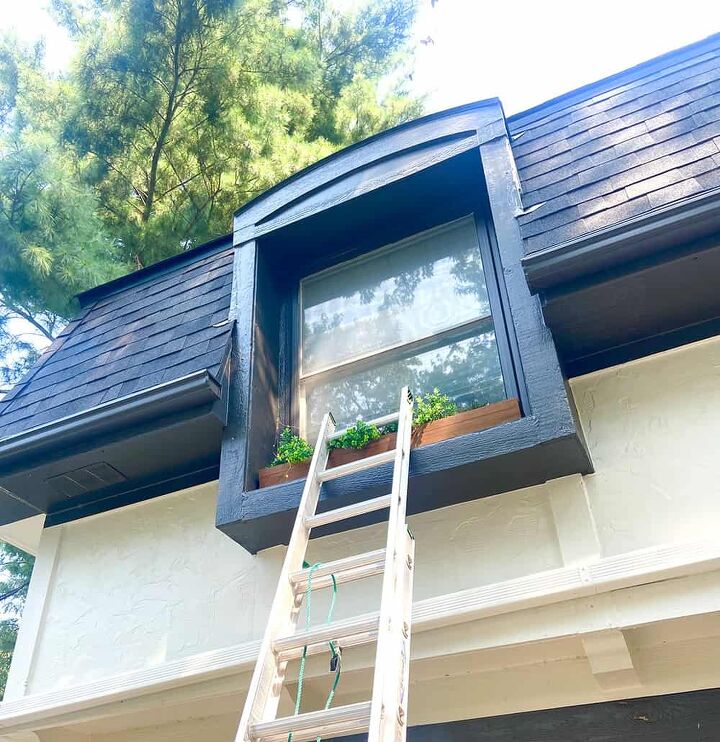
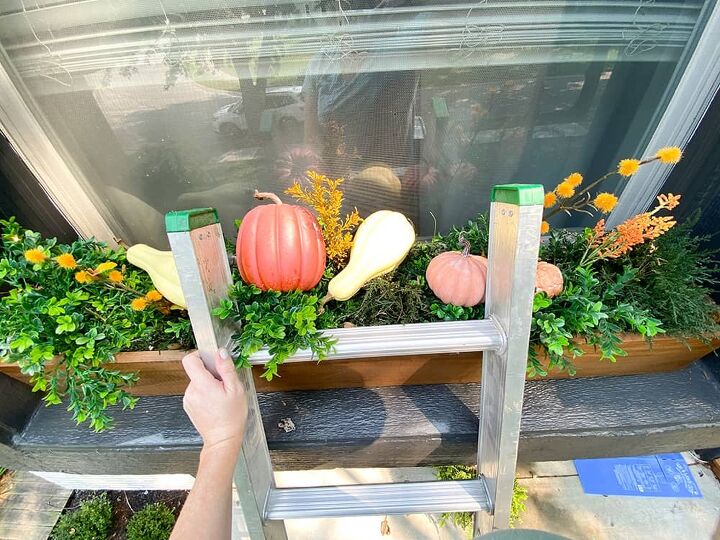
I wish these windows were accessible from the inside windows, but no such luck. Each season I pull out the extension ladder to change out the decor.
I added more of my faux pumpkins and fall floral springs to my faux sweet grass bush and cedar bush greenery. I always use faux in these boxes since they’re so hard to water from below.
Finally, I fished some fairy lights through a small cutout in the window screen and plugged them in inside.
I repeated the same steps on the other window box.
Once again, I failed to take photos of these two smaller window boxes at night, but here they are last year when our house was gray.
And finally, here’s a zoomed out look at our fall front porch at night!
What do you think? I always have so much fun decorating our fall front porch. It only stays up for two to three weeks before I start adding all the Halloween decorations to it though.
I’ll share or Halloween decor as soon as I can get it on the blog.


Comments
Join the conversation
-
Your brick to be painted.
-
It does look great. However the fake pumpkins are rather expensive , starting at $8.00 each (for small) at local craft centers and dept. stores. I like to see fresh and new ideas.


Frequently asked questions
Have a question about this project?
Very lovely, my questions is why climb ladder when you could open the window and do it?
Do you secure the pumpkins from blowing around? In the fall we’ll have some wind and I have yet to figure out how to secure them. Any ideas?