


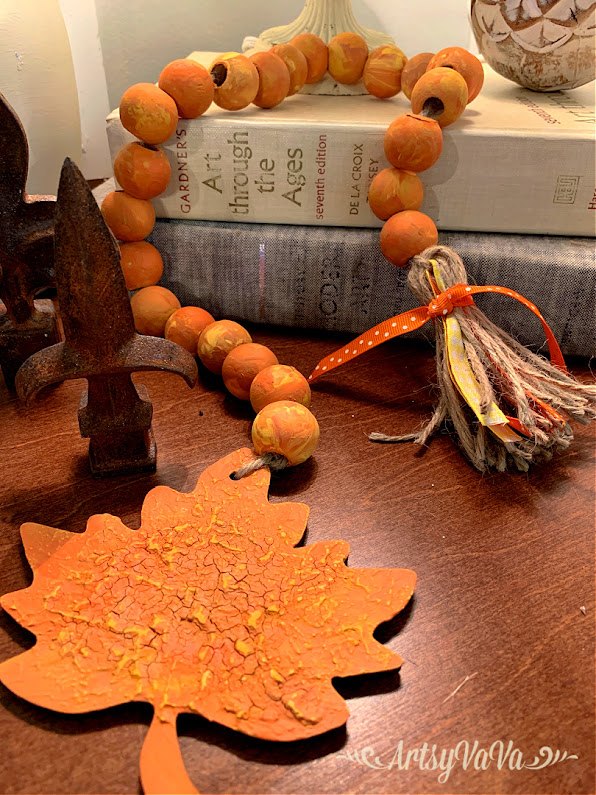
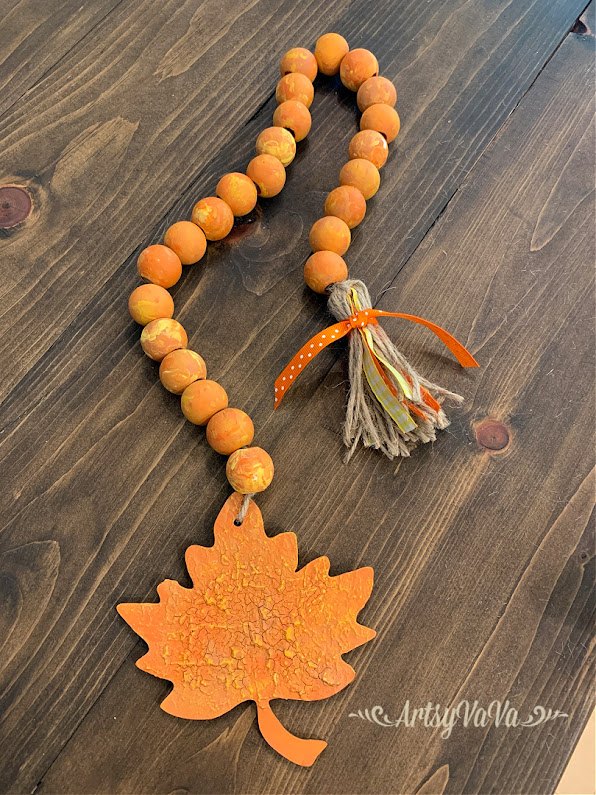
Fall Leaf Beaded Garland

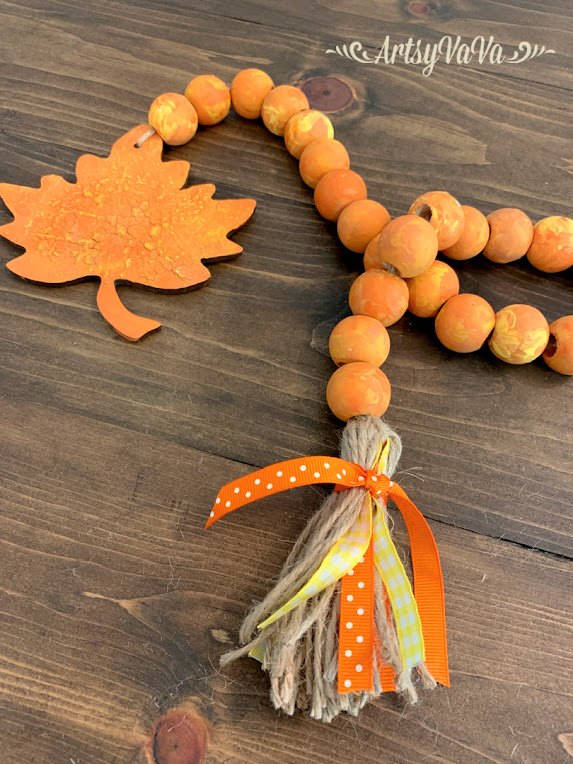
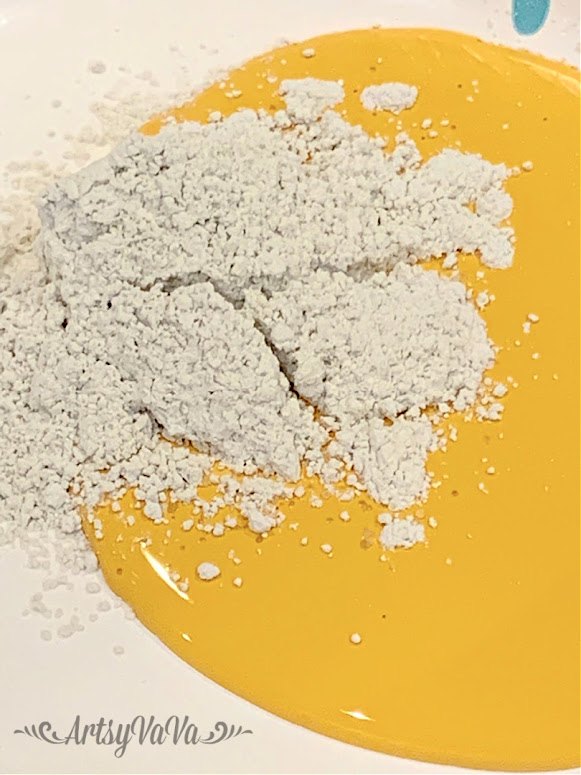
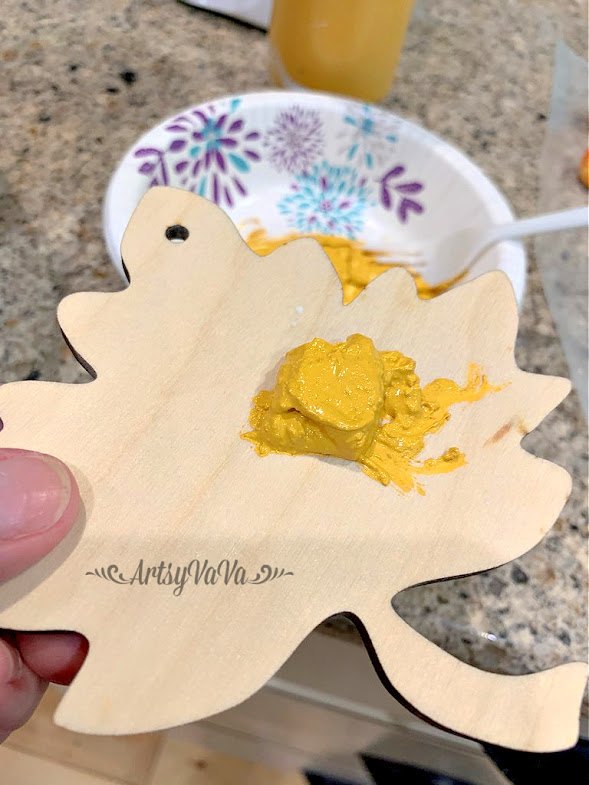
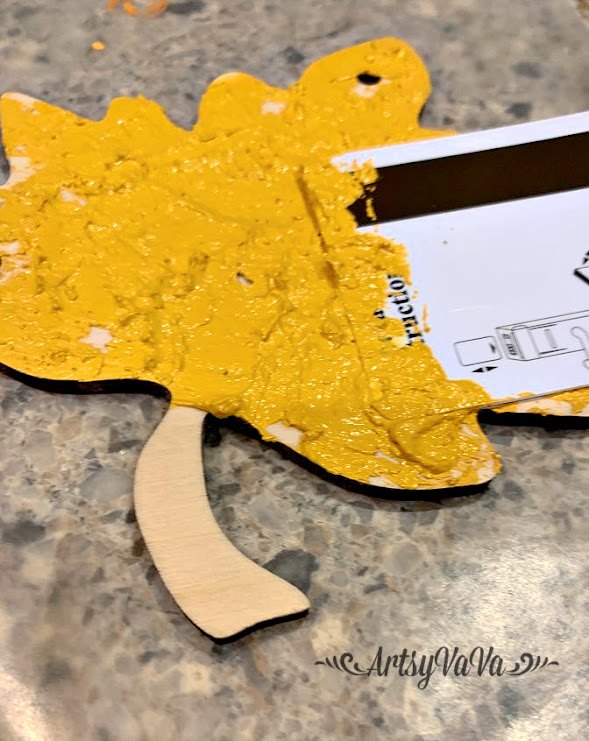
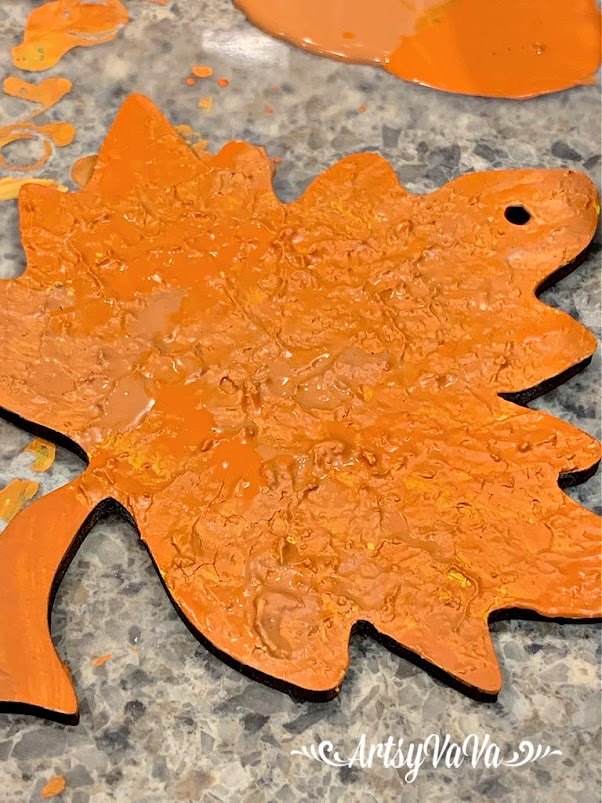
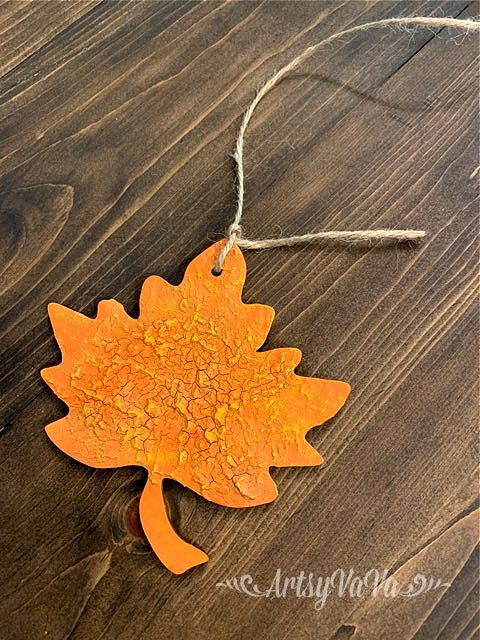
Fall is my favorite time for crafting. And, because there's never enough time to do all the projects I want to do, there's no better time to start Fall crafting than Summer!Beaded garlands are all the rage right now. I see them in every home decor store I go in. So, why not stay on trend, but with an Autumn twist? So, I asked my friends at Signopoly to cut me some 5" leaves with a hole in the top to string them.Leaves are never just one solid color & I wanted my leaf to have several colors along with some texture. To create the texture, I mixed the color Colonel Mustard from the Dixie Belle Paint Company with Dixie Belle's Sea Spray texture additive.
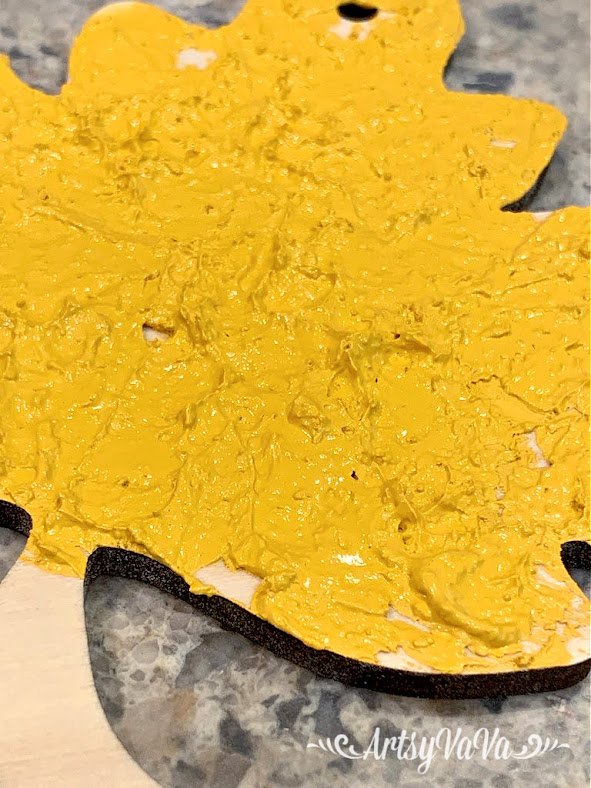
Once the paint & Sea Spray were mixed well, I spread the mixture over one side of the leaf using a hotel key card.
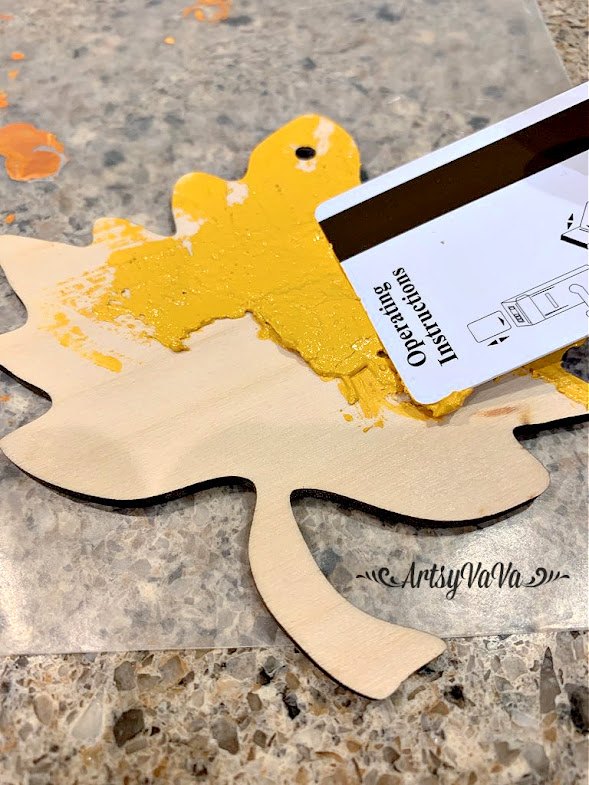
Once the leaf was covered, I pressed the key card flat onto the mixture & then lifted it to create peaks.
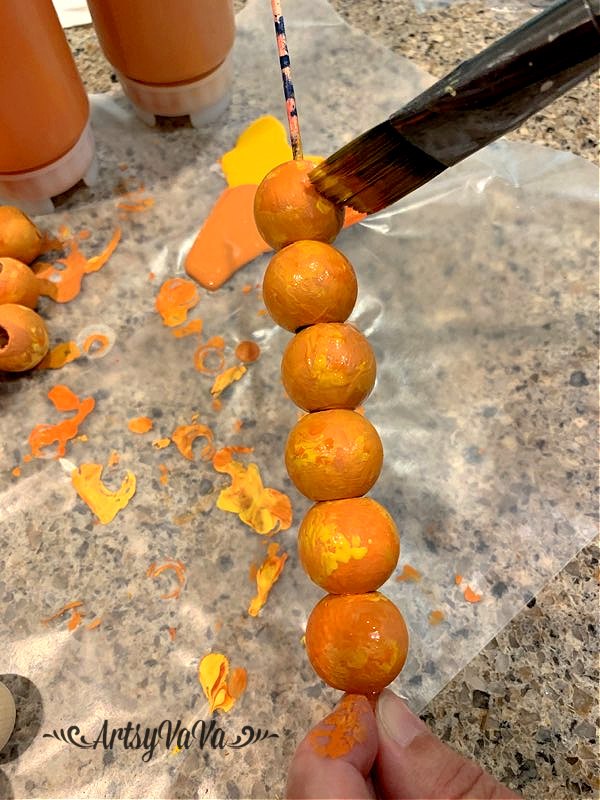
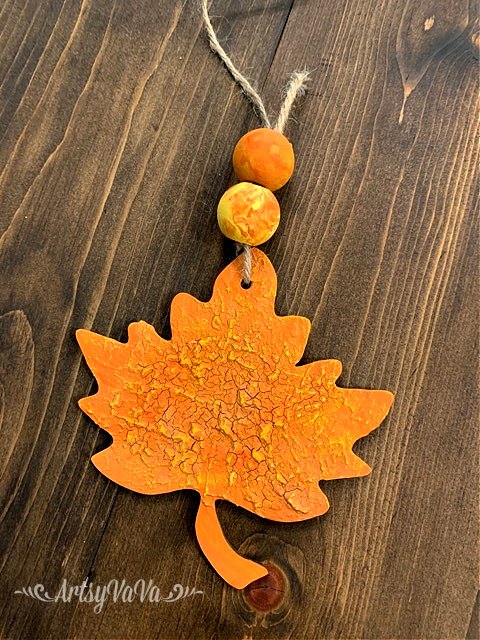
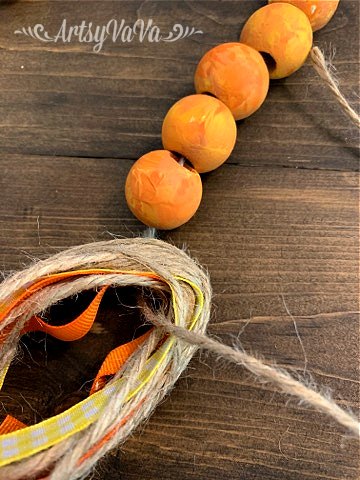
After I set the leaf aside to dry, I placed 25mm wooden beads onto a skewer & began painting them with 3 colors, Colonel Mustard, Terracotta, & Florida Orange. I painted a total of 24 beads.
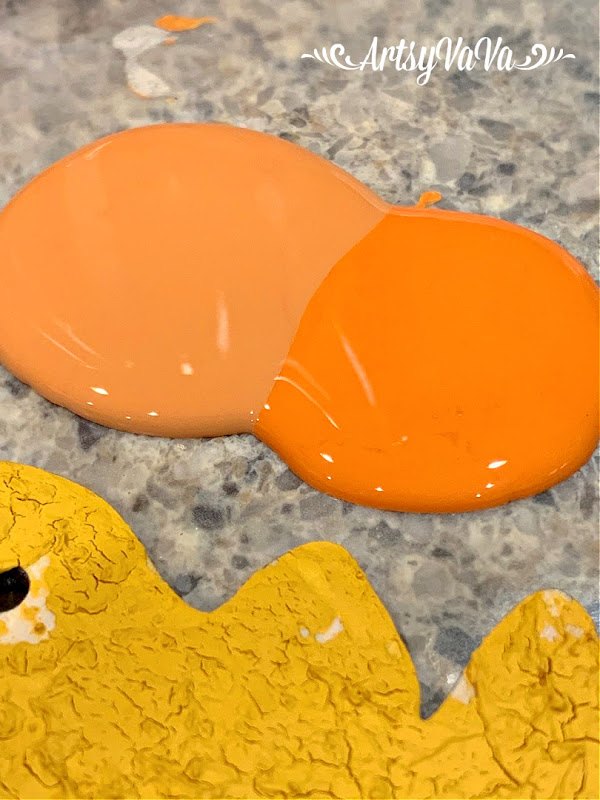
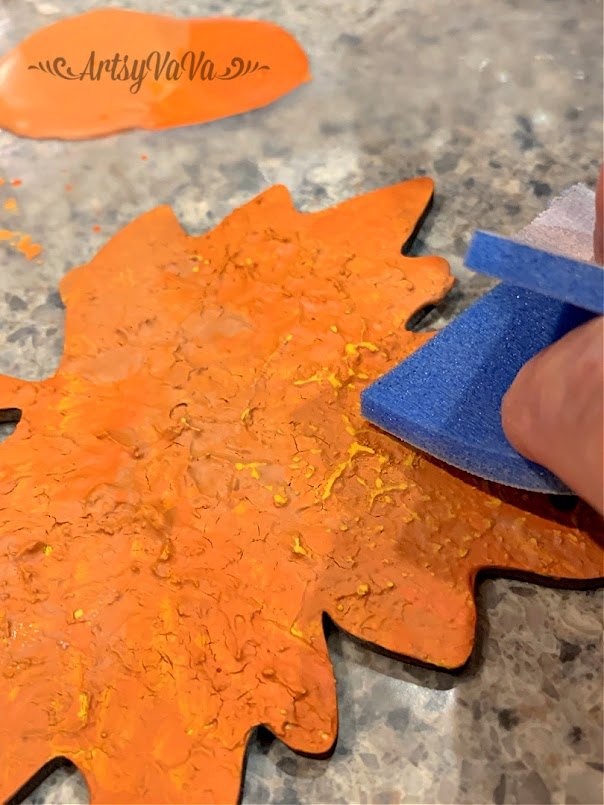
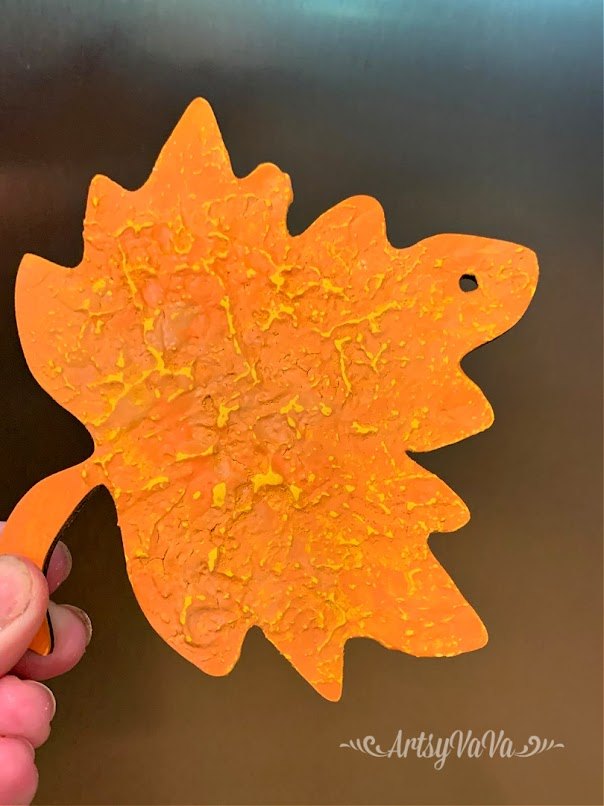
Once my leaf was dry, I painted over it with the Terracotta & Florida Orange, making sure not to blend them to create just one color.
Once the paint was dry, I sanded the leaf to expose some of the Colonel Mustard.
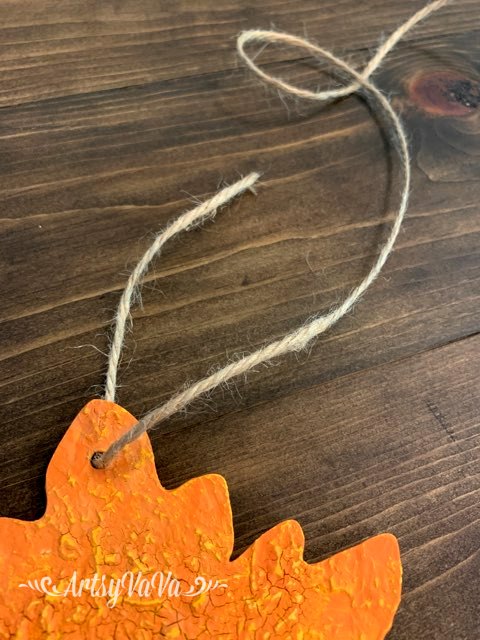
To create the garland, I threaded twine through the hole in the leaf, tied a knot, & left a 3" tail.
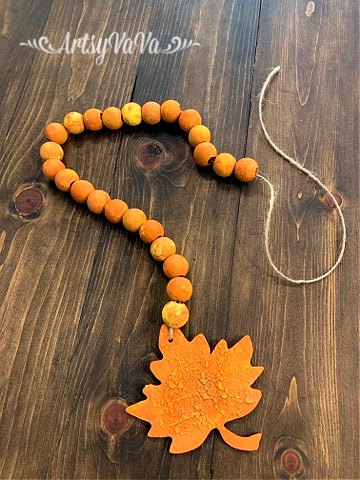
I began stringing the beads onto the twine & the tail.

Leaving a tail keeps you from having to cut close to the knot, which could make it fray.

I continued threading beads onto the twine until there were 24 beads. Once the beads were threaded, I left a long tail of twine.
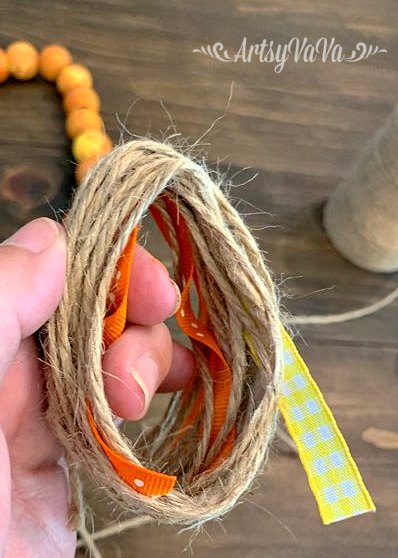
No beaded garland is complete without a tassel! I used an orange & a yellow ribbon to add some color to my tassel. To measure, I wrapped the ribbon around a hotel key card twice, then cut it in half so I would have 2 equal lengths of both ribbons.
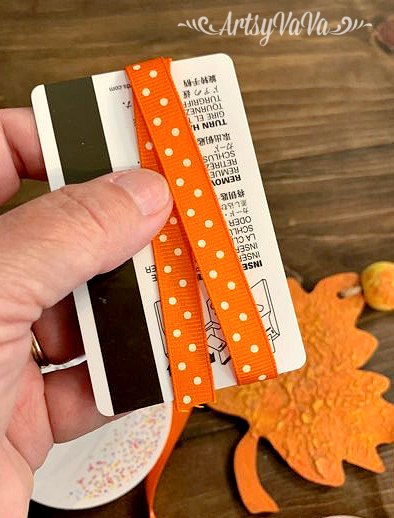
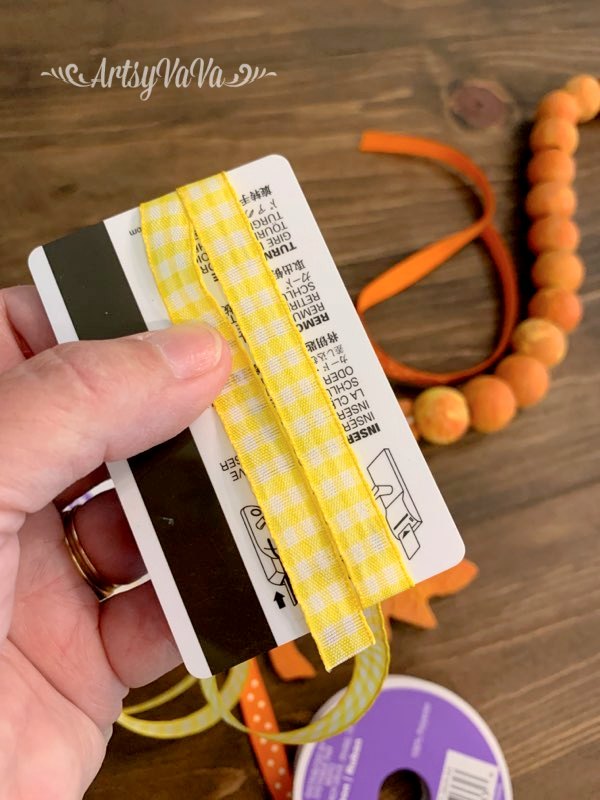
I began wrapping the key card with twine.
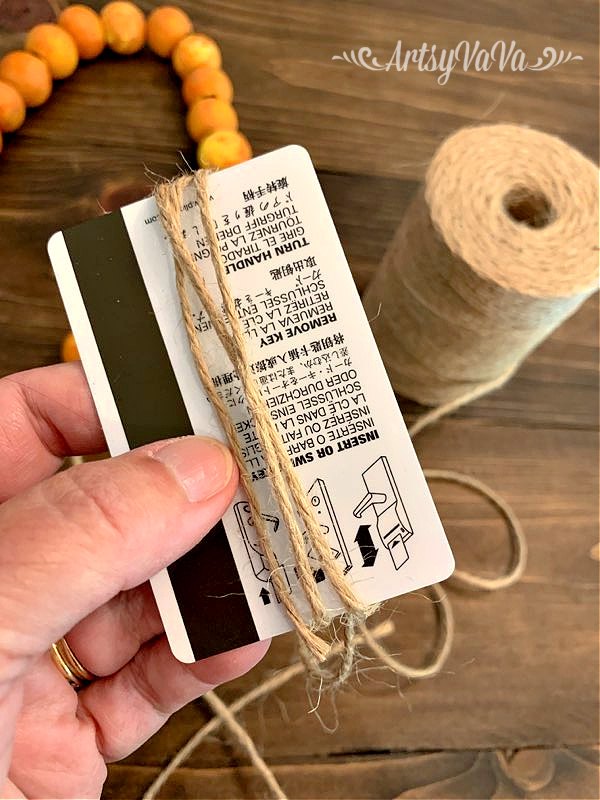
Every few wraps, I added ribbon.
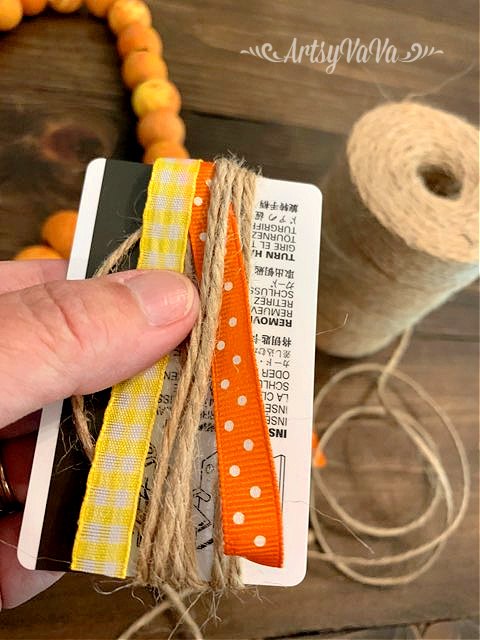
I continued until I had the size tassel that I wanted.
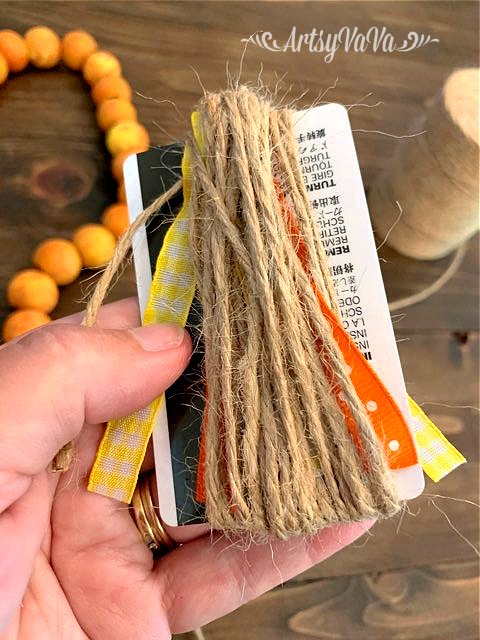
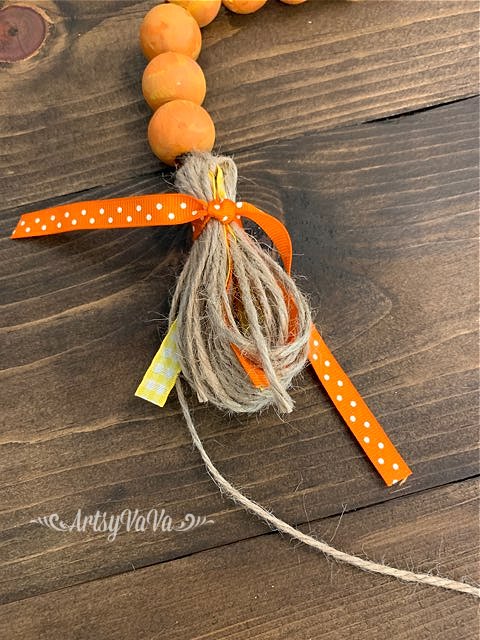
I slipped the twine & ribbon off of the key card, & tied a knot at the top with the tail of twine.
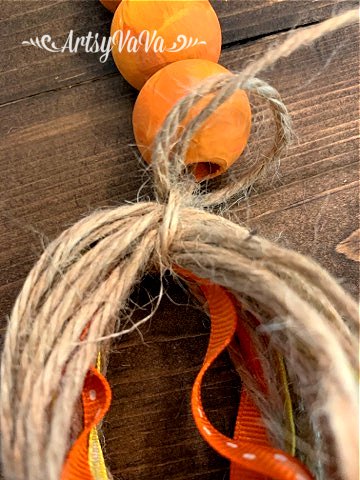
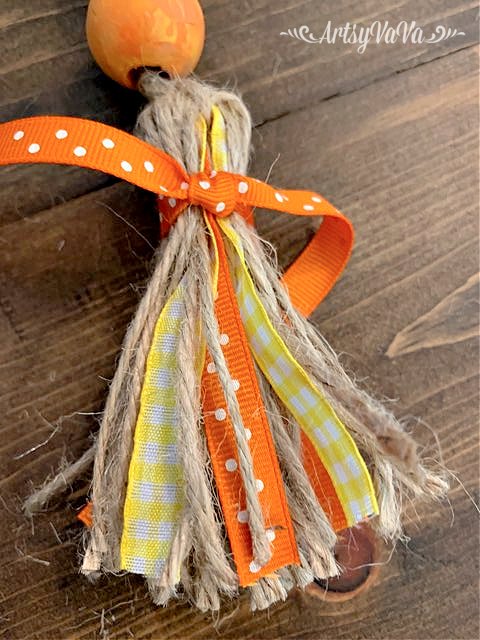
I cut a piece of the orange ribbon & tied it about an inch from the top of the tassel.
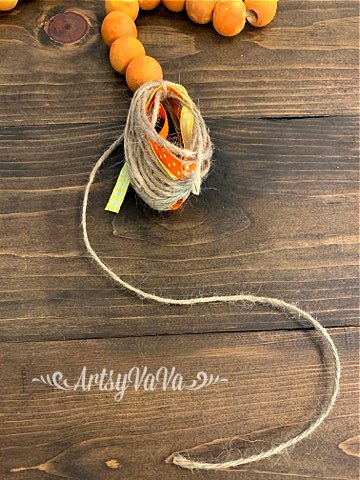
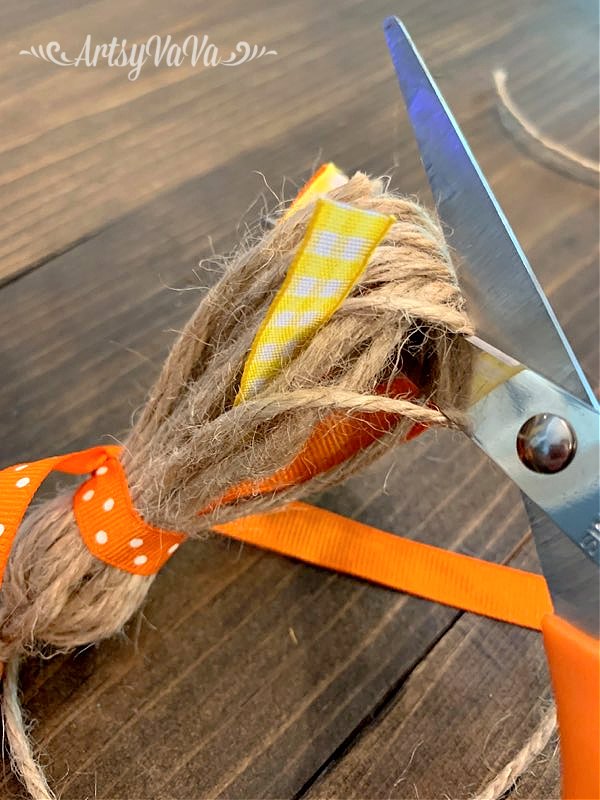
I cut the twine at the bottom of the tassel, then trimmed the twine & ribbon to be even.
It's a little early to put out Fall decor, especially when it's still so hot out. But, when the temperature cools down & leaves begin to turn colors, I'll be ready!


Comments
Join the conversation
-
I really enjoyed the texture and paint colors showing through on your leaf. Very creative! Thank you for sharing it. It looks very realistic. I have maple trees, the leaves look very similar in coloring to what you did. Blessings!
-
♥️


Frequently asked questions
Have a question about this project?