


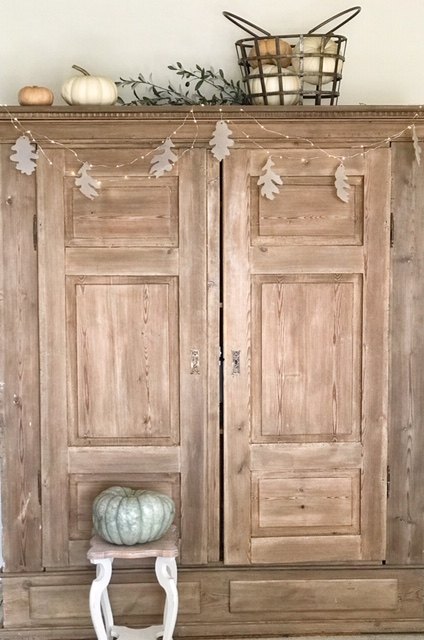
Fall Leaf Garland
I love the simplicity of this leaf garland!
Remember last year when I made this paper leaf garland?
(If you missed it, you can read about it HERE)
Well, this year I decided I wanted a little more color in my fall leaf garland.
So I took the leaves off of the lights and painted them!
But first, here's a look at the first few steps of this project from before:
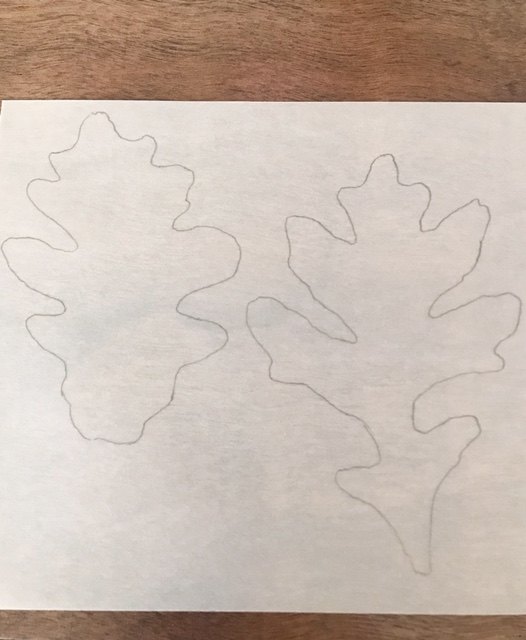
Trace leaf shapes onto vellum translucent paper and cut them out
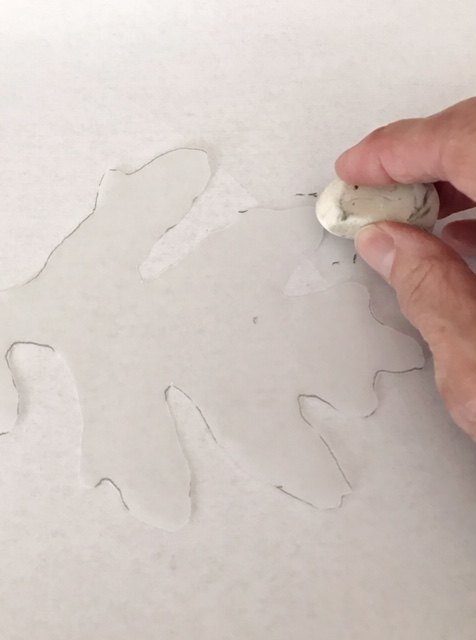
Gently erase the pencil marks from the edges.
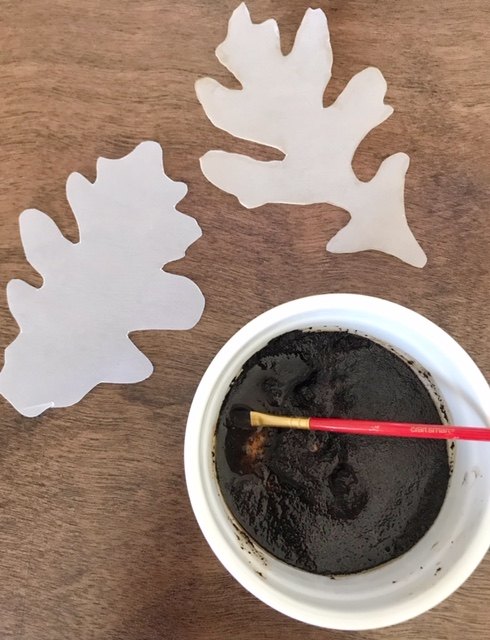
Use coffee grounds...
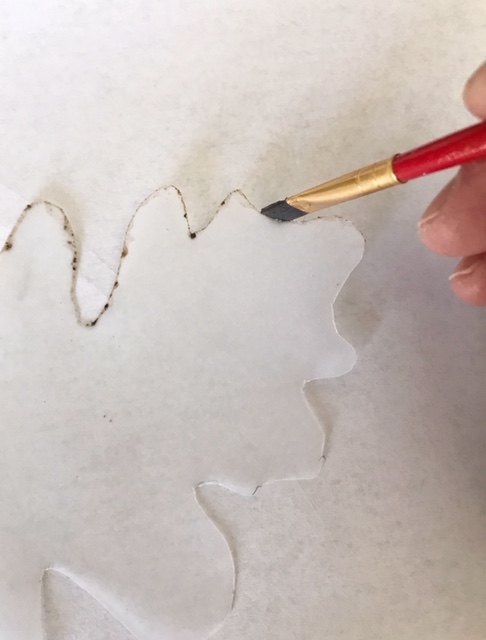
... to stain the edges.
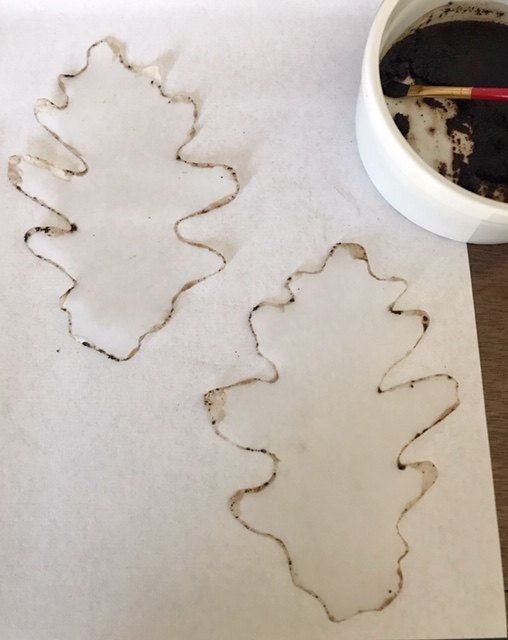
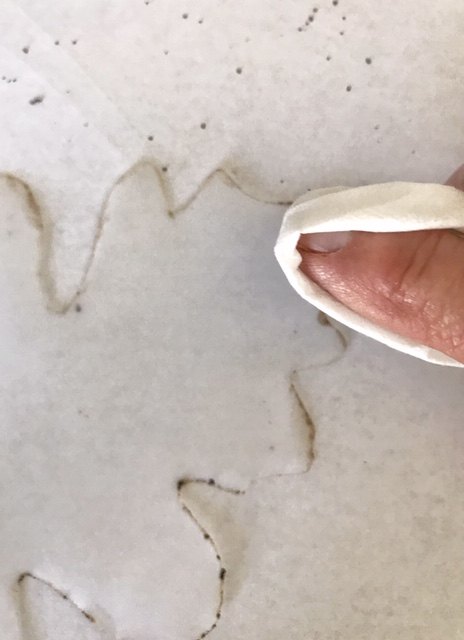
Wipe off any excess coffee and grounds with a tissue.
Your leaves will curl a little at the edges which will make them look more realistic.
Punch a hole in the stem of each leaf for stringing onto the fairy lights.
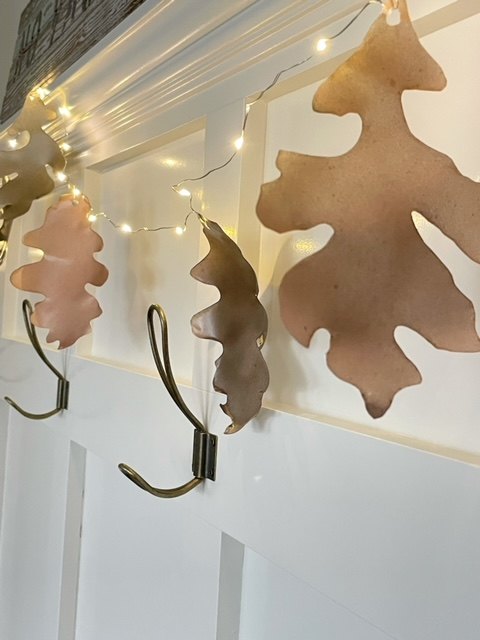
Now, here's the new part:

Using metallic copper, metallic gold and metallic dark copper spray paint, paint each leaf a different color.
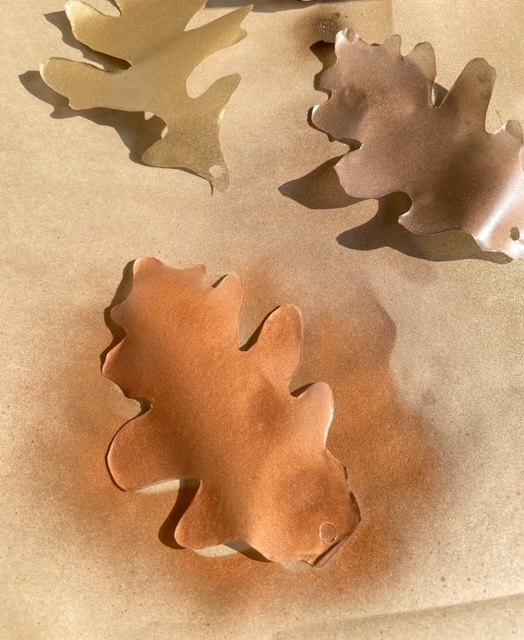
I gave each leaf one pretty thick coat on just one side.
The paint curls the vellum even more which I think adds to the look.
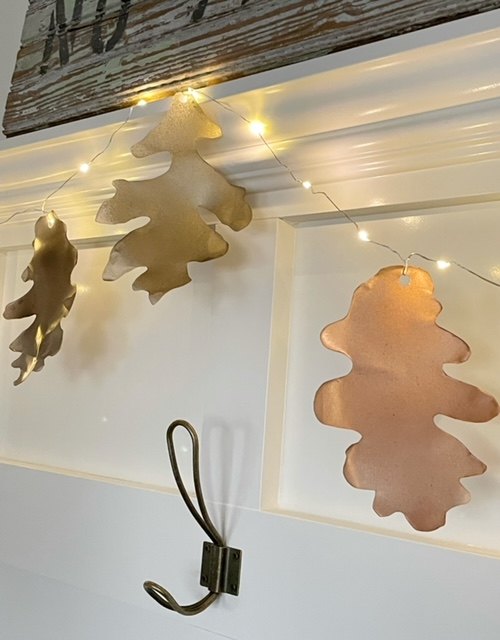
When they were dry, (they dried really quickly) I just strung them back onto the fairy lights and hung them up and…
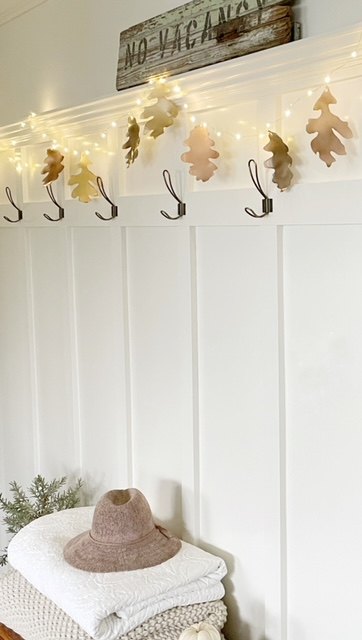
Hello, Fall!
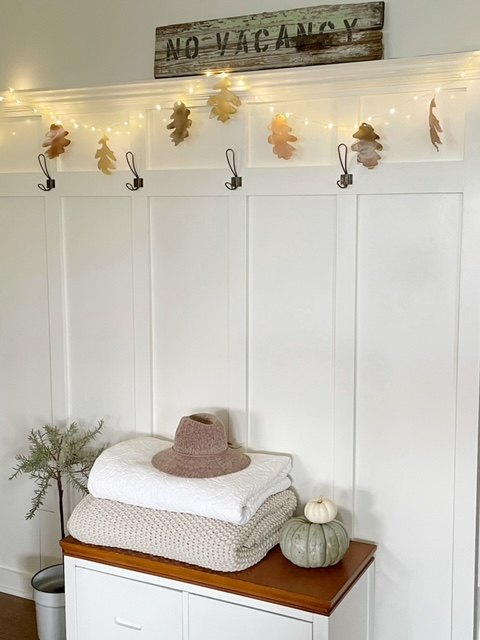
This Fall leaf garland reminds me
Of trees changing color,
Frosty mornings,
And falling oak leaves.
Resources for this project:
See all materials


Comments
Join the conversation
-
So beautiful, what a great idea! Thank you for sharing!!!!!
-
I love this. You are very clever.


Frequently asked questions
Have a question about this project?
Are the coffee grounds used after you brew your coffee or straight from the bag