


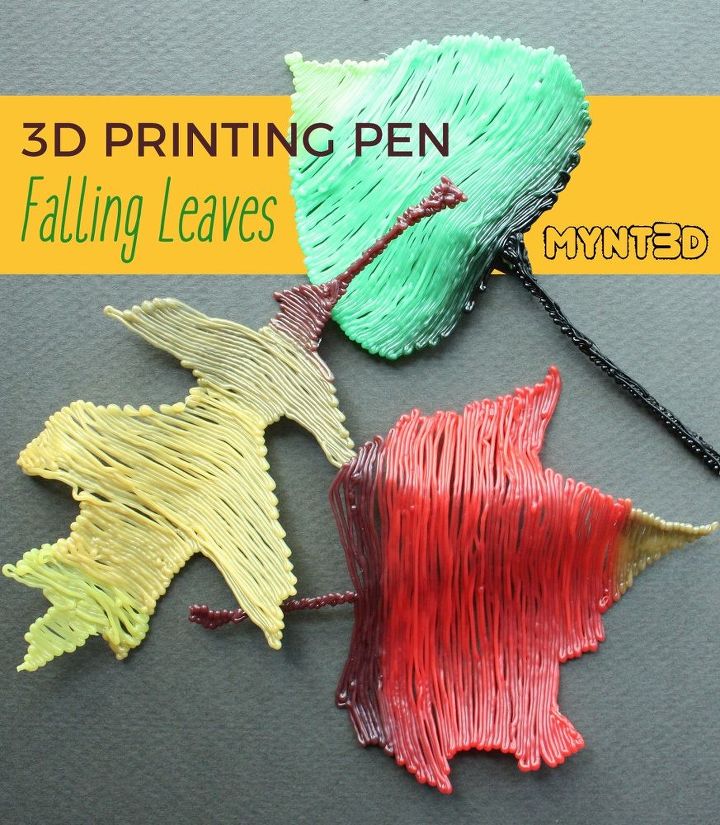
Fall Leaves Made With a 3D Printing Pen
2 Materials
$10
30 Minutes
Easy
Love the colors of fall leaves? Bring them into your home without the drying, crumbling mess by making lasting leaves with a 3D printing pen. An easy beginner DIY project that yields beautiful, lasting results. The 3D pen naturally creates a stunning gradation of color as you change out filament colors.
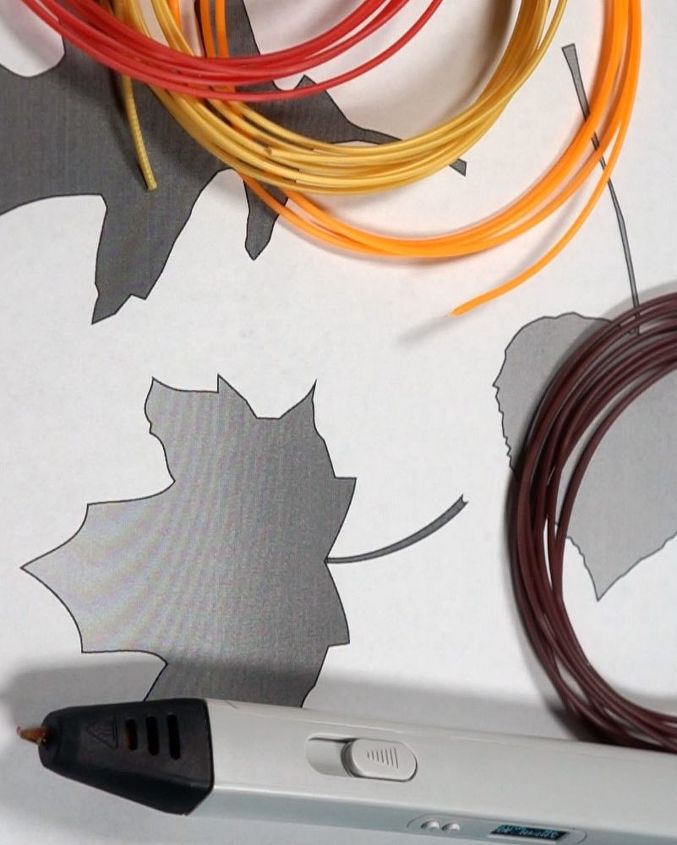
1. Start by downloading the Falling Leaves Project Template. Use your printer settings to scale the template if desired.
2. Start heating your 3D pen. When it reaches the proper temperature, load the darkest filament color first.
3. Use your fingers or rods to contour your printed template so that it's wavy. This will give you an easy curled leaf effect.
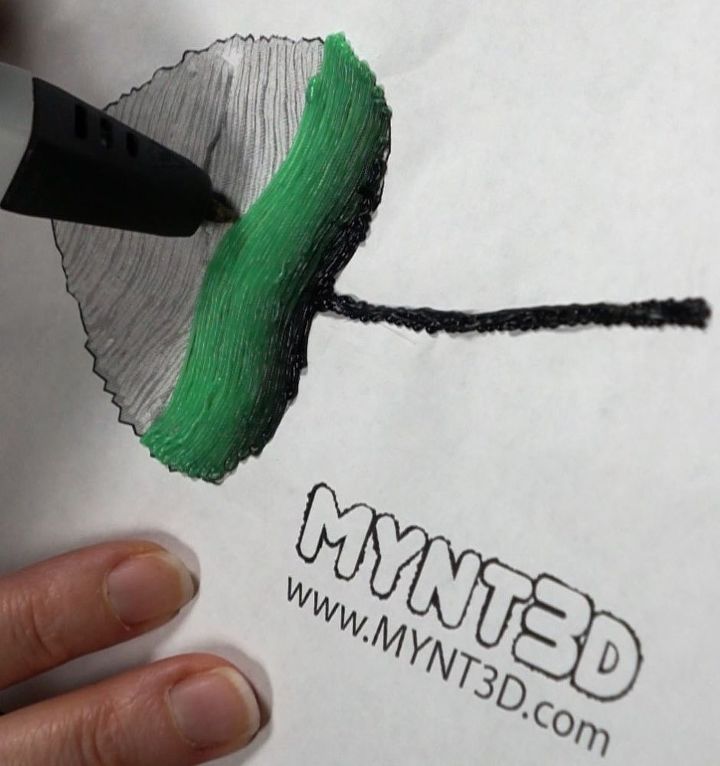
4. Start at the stem and trace over the template following the curves of the paper. Reverse out the filament and insert lighter hues as you work your way to the tip. This will give you that ombre gradient look.

TIP: Be sure that the filament has completely cooled before removing from the paper template.
These beautiful leaves inspire many decorating ideas such as:
- stringing them into fireplace garland
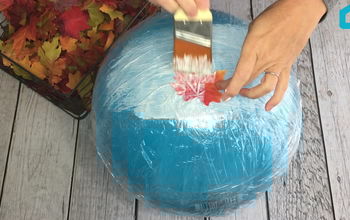
- adding them to a pumpkin for a no-carve solution
- arranging them as part of your Fall center piece
- add a ring to make into a napkin ring
- add to a Fall wreath

Want more details about this and other DIY projects? Check out my blog post!
Comments
Join the conversation
2 comments
-
I can't wait to make these! They will be perfect to add little pops of fall color all around the house.


Frequently asked questions
Have a question about this project?