


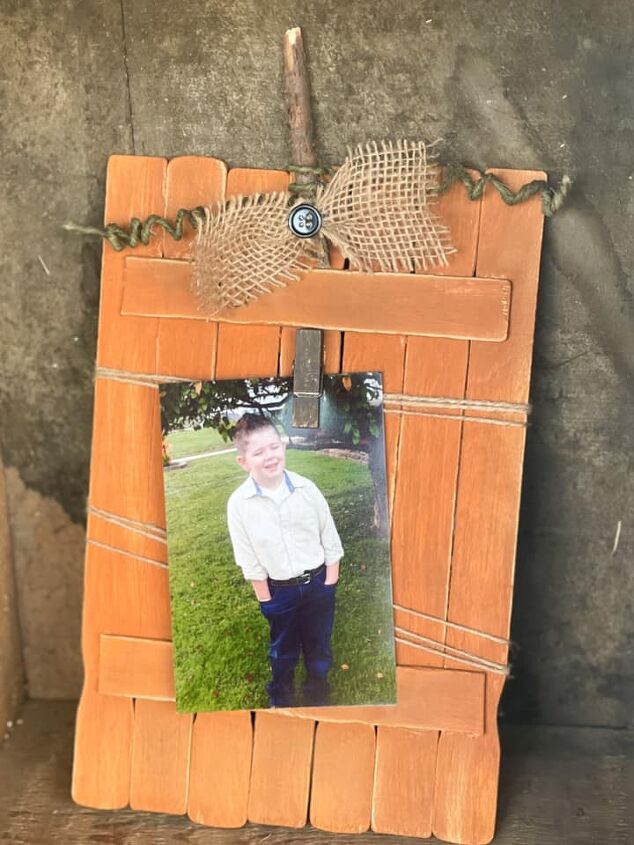
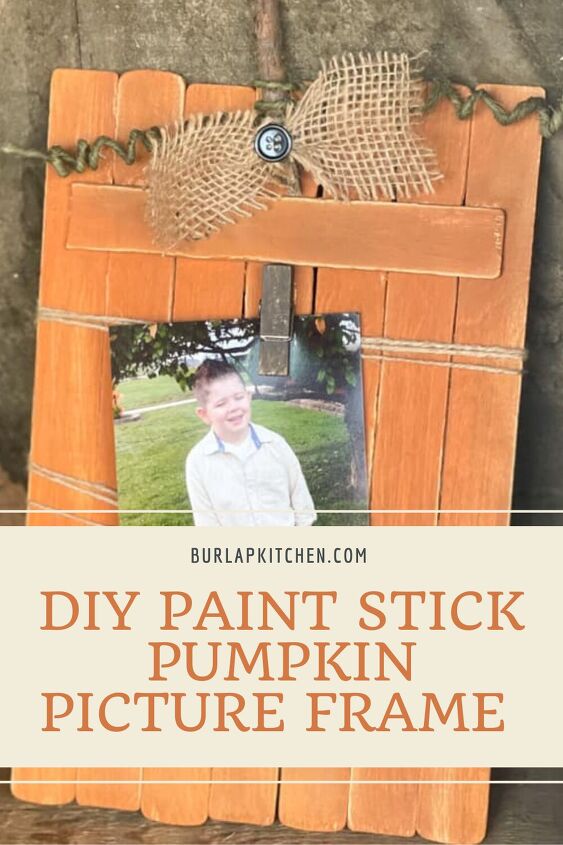
How to Create a Paint Stick Pumpkin Picture Frame
Today, I am so excited to share with you how to create a paint stick pumpkin picture frame. This pumpkin picture frame is such a cute fall DIY. If you love fall, pumpkins, and farmhouse style DIYs, this picture frame is a must try! This farmhouse style pumpkin picture frame is also very budget friendly, which I love! You could make this simple DIY for your fall décor to show off those back to school pictures of the kids!
Materials needed:
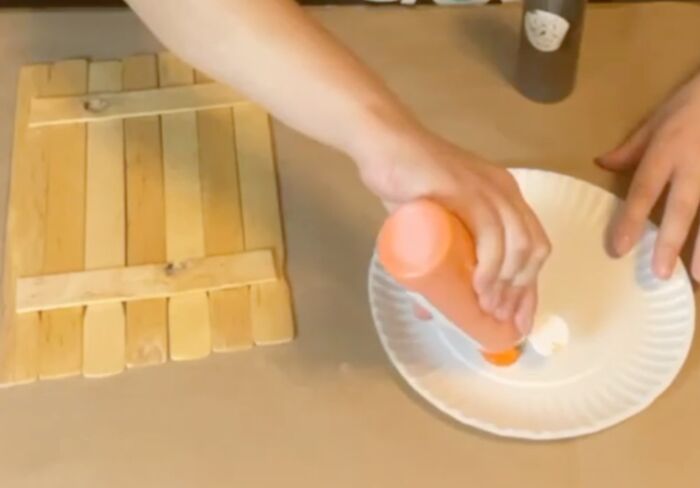
- 12 paint sticks
- paint color of your choice
- paint brush
- stick
- twine
- wire for tendrils ( I found mine at hobby lobby in the wedding section
- burlap or ribbon
- button
- small clothes pin
- hot glue gun & glue sticks
- cute photo
How to:
Step 1: Take 7 paint sticks and line them up vertically next to each other. Then, take another paint stick and trim it so that it lays/fits horizontally across the 7 paint sticks without going over the edges, I cut a paint stick in half and it fits. Using a hot glue gun, glue the horizontal paint stick piece across the top of the 7 paints sticks and hot glue the other half/piece of the paint stick across the bottom of the 7 paint sticks. This will create your picture frame, and hold all the paint sticks together. Allow to dry.
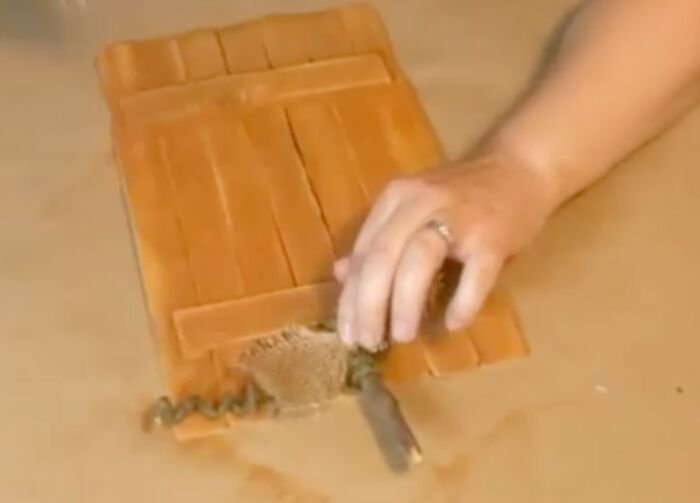
Step 5: Using some floral wire, take a piece of a stick found outside, cut the stick to size to serve as the stem for the pumpkin picture frame, and tie the wire around the stick. Be sure to have enough wire on each side of the stem. Then, use a pencil to make curls in the wire on each side of the stem. Hot glue the stick stem with the curly wire to the top of your paint stick picture frame. Allow to dry.
Step 6: Take a piece of burlap, or whatever material you prefer, and use some jute to wrap it around the burlap/material to make a bow. Hot glue the bow down onto the stick stem of the picture frame. Then, hot glue a decorative button in the middle of your bow. Allow to dry.
Step 8: Take a small wooden clothes pin and chalk paint it black. Allow it to dry.
Watch me! – YouTube (Coming soon!)
Want more simple paint stick craft ideas? Check these fun projects out!
If you decide to make this DIY I’d love to hear from ya! You can drop a comment below or message me on any of my social media pages. Hope you have a blessed weekend and as always remember to keep it simple. Catch ya next week my friends! Facebook, Twitter, Pinterest, Instagram, youtube
.
.
Tags: back-to-school, Fall, Fall DIY, farmhouse-style, how-to, paint-stick-crafts, pumpkins, school-pictures, simple, simple-diy

Comments
Join the conversation
-
Super cute. And easy. I like easy.


Frequently asked questions
Have a question about this project?