


How To Make A DIY Scarecrow For Fall
Welcome to Cloches & Lavender Halloween will be here before we know it so I’m sharing how to make a DIY scarecrow for fall.
Before making the scarecrow, I took the time to decide the look I was trying to achieve.
I immediately knew I wasn’t looking to make a DIY scarecrow for fall looking as though it should be in a flower garden. I also didn’t need one scaring the crows from eating crops.
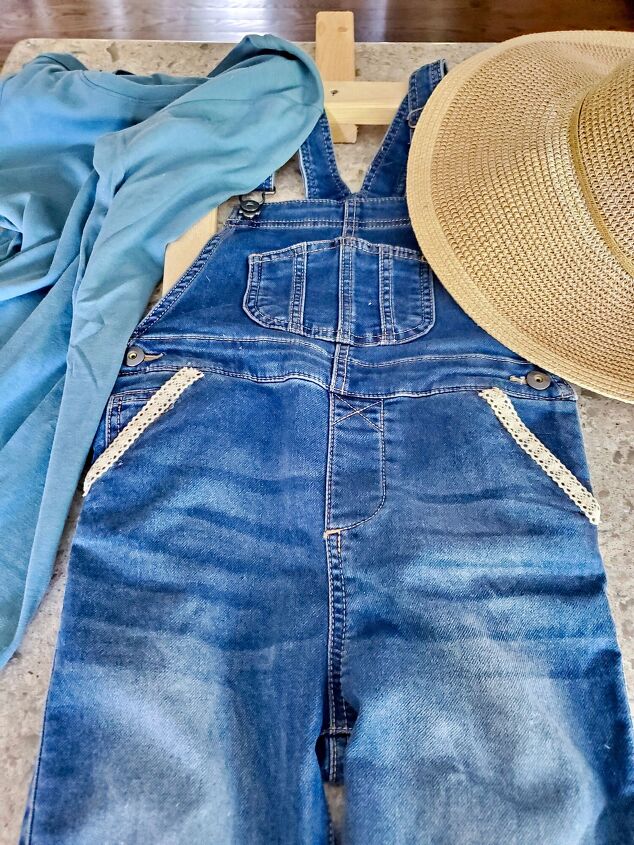
DIY Fall Scarecrow Begins With Adding Lace To The Overalls
Step 1
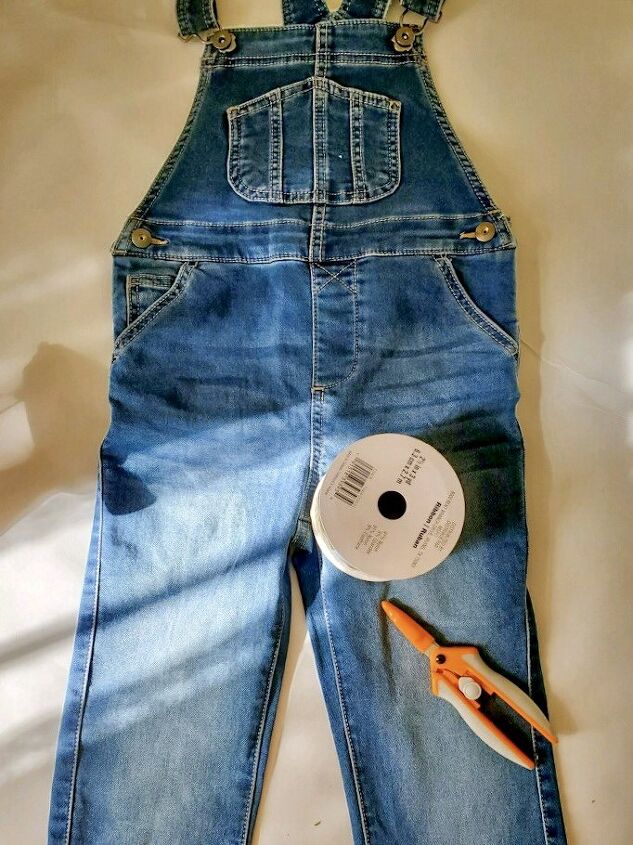
So, what am I looking for as my design of my DIY scarecrow? For example, after thinking about the look I decided to purchase inexpensive overalls.
Afterward, I began adding lace to them. Making the lace become an accent on the overalls on how to make a DIY scarecrow is perfect for our home.
In fact, adding lace to this scarecrow makes it well suited for our French Country home. Besides, who will not enjoy seeing an elegant scarecrow on the front porch?
Step 2
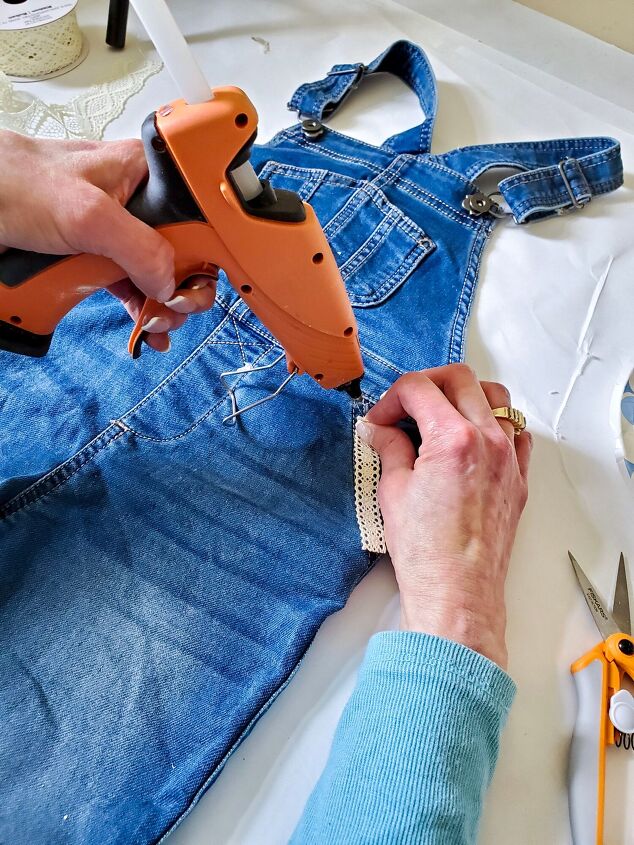
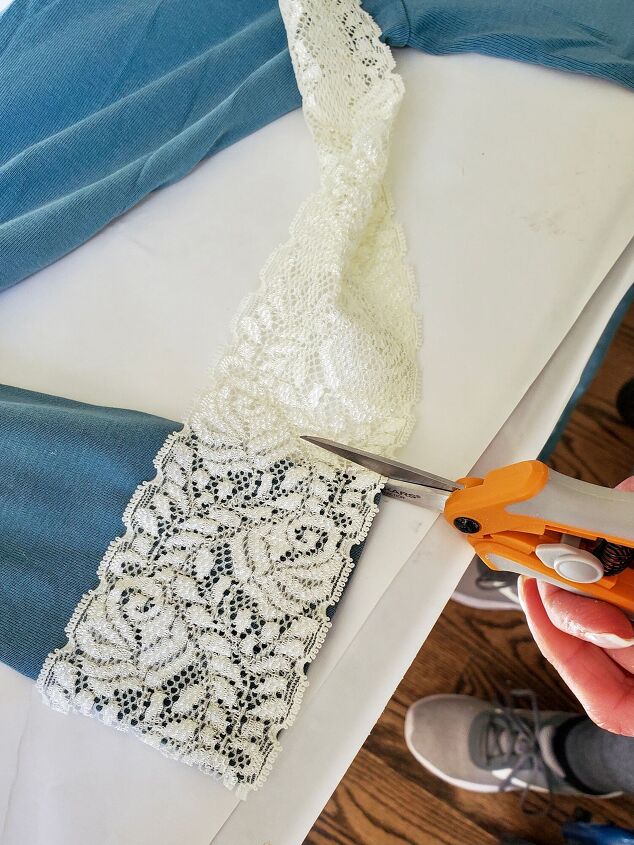
First, I gathered my overalls, wide and medium lace ribbon and glue gun needed for my DIY scarecrow. In the meantime, while my glue is heating, I began to get the size of my first ribbon.
Items Needed:
- scrap wood
- child size overalls – 5T is used for this project
- T-shirt or shirt of your choice
- lace ribbon
- Mod Podge
- hot glue gun & glue sticks
- flowers for pockets and overalls – optional
Adding Lace To The Overalls
Step 3
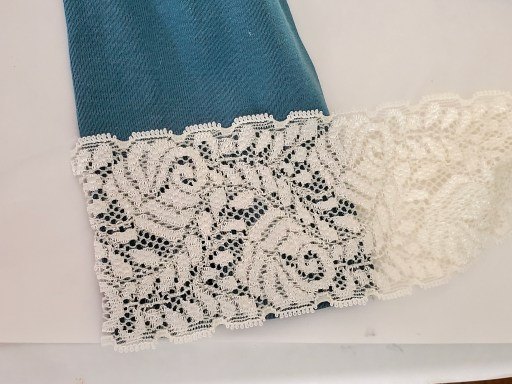
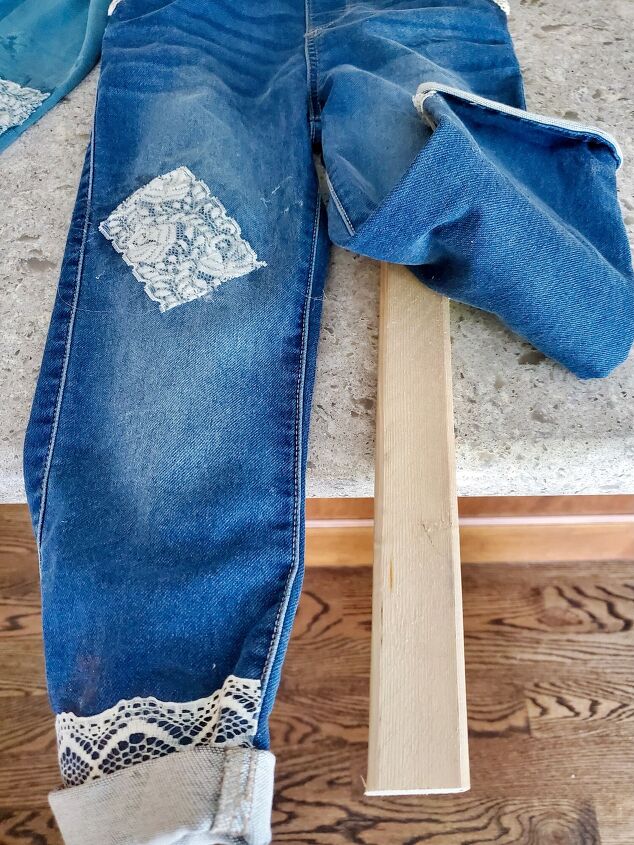
Here, I began with the bottom of the legs. Because these overalls came with the legs rolled up, I decided to leave them this way or my scarecrow. I like the contrast with the denim and lace.
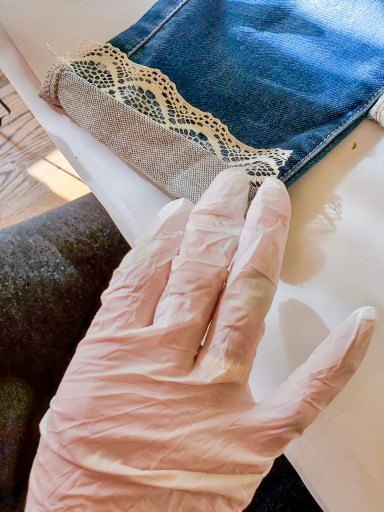
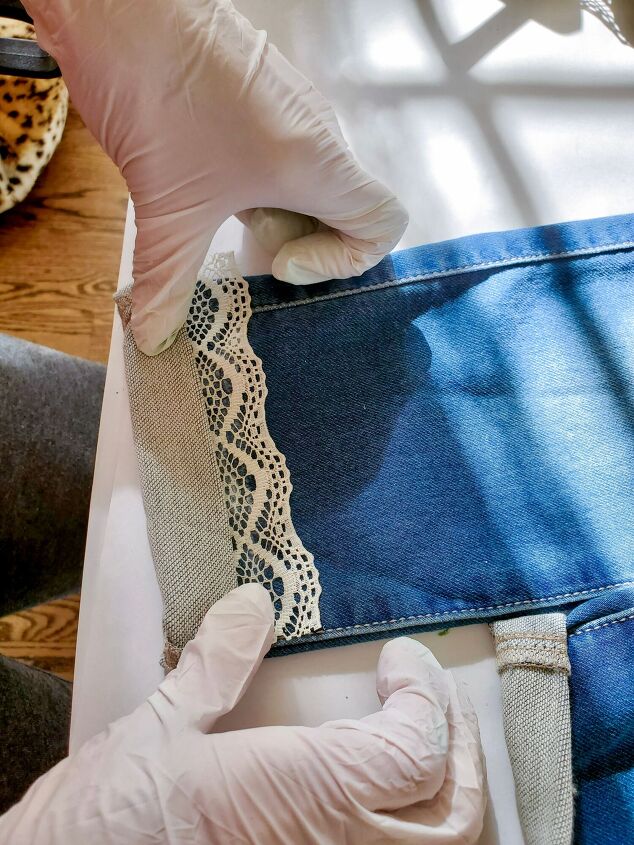
After snipping my ribbon I added a thin line of hot glue. Since I am working with lace, I made sure I had a glove on my hand not to get burned.
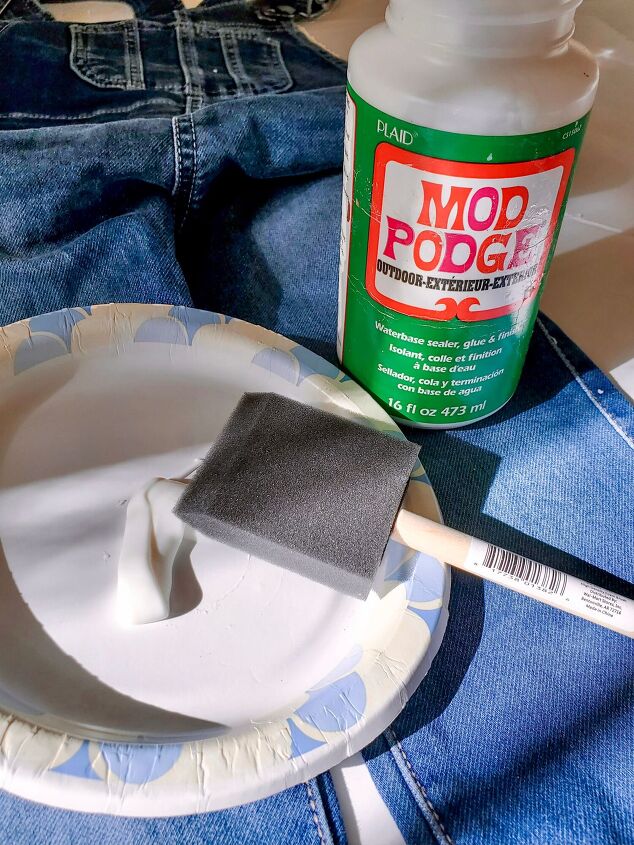
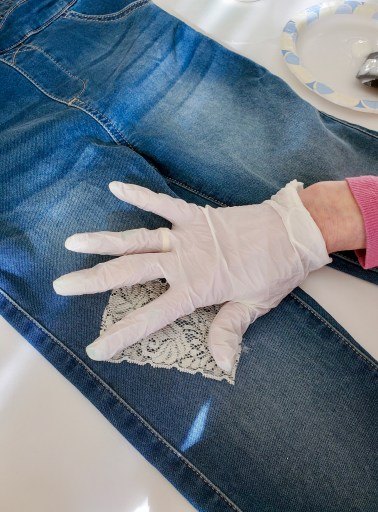
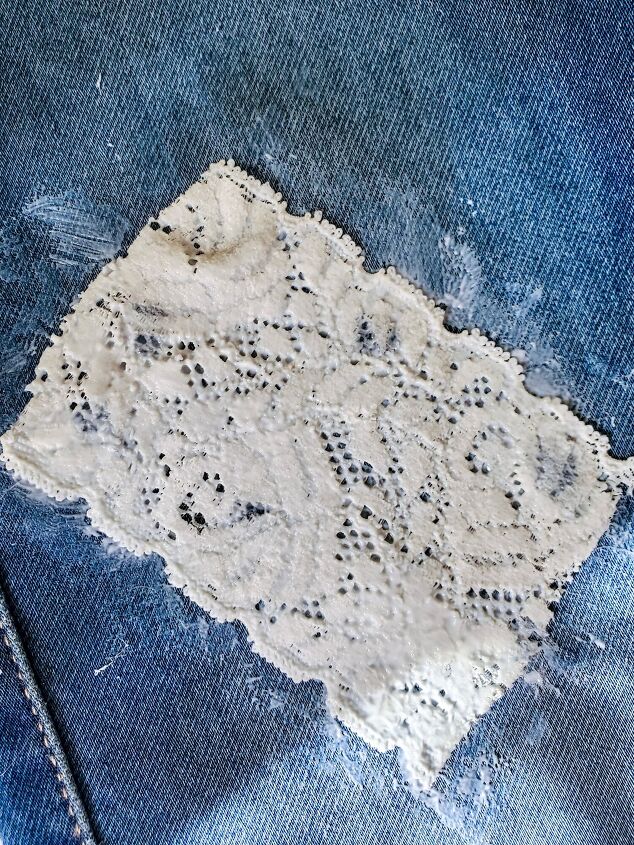
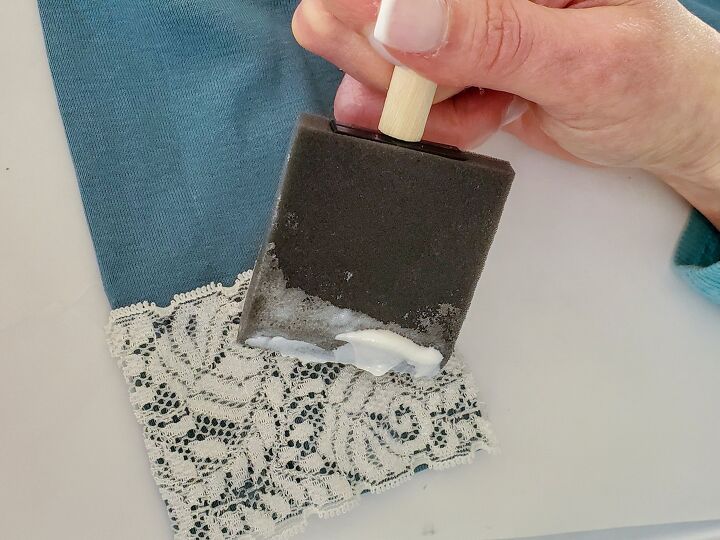
Because this DIY scarecrow will be outdoors, using a sponge brush, I added a layer of outdoor Mod Podge for protection from the elements. Let this dry. It takes a few hours to dry well.
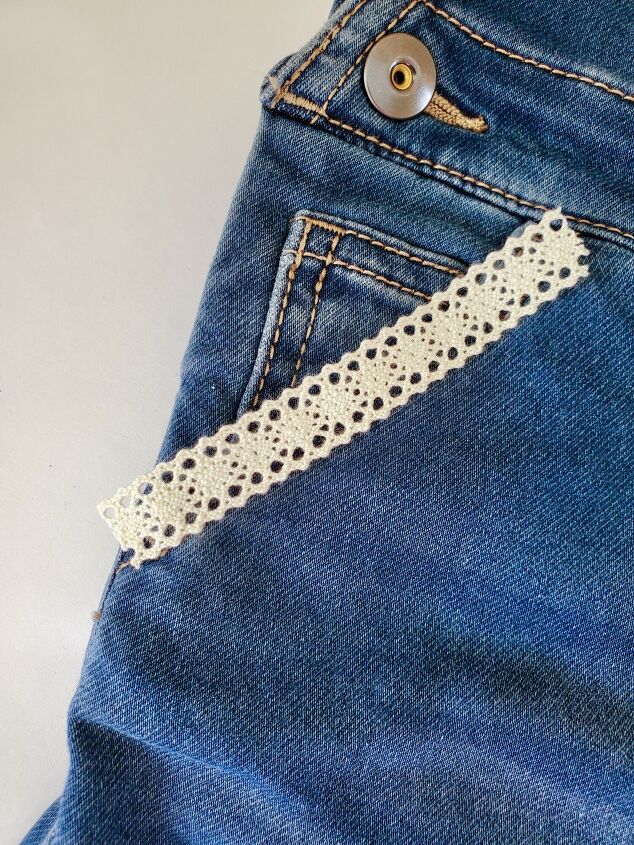
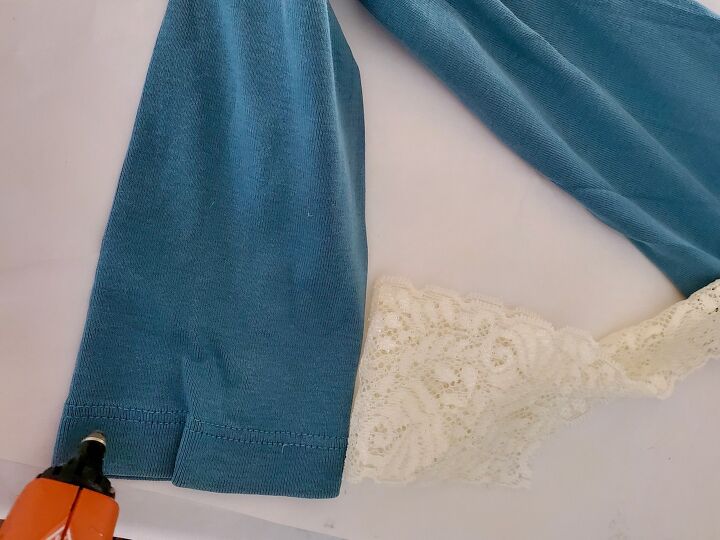
In addition to ribbon on the bottom legs. I also added a piece of wider ribbon to resemble a patch. I also added a ribbon to the edge of the side pockets. This step was easy and fast to achieve.

Finding A Shirt To Add Under The Overalls For My Autumn Scarecrow
Step 4
After adding the lace to the overalls, I began looking for a shirt. By the way, for the top of the DIY scarecrow I am using a long sleeved T-shirt that is too big on me. Because the T-Shirt is plain, I added wider lace to the ends of the sleeves. For the most part, this ties in with the overalls. As a rule, every women likes to be styled and to coordinate. So, my DIY scarecrow wanted the same, to coordinate.
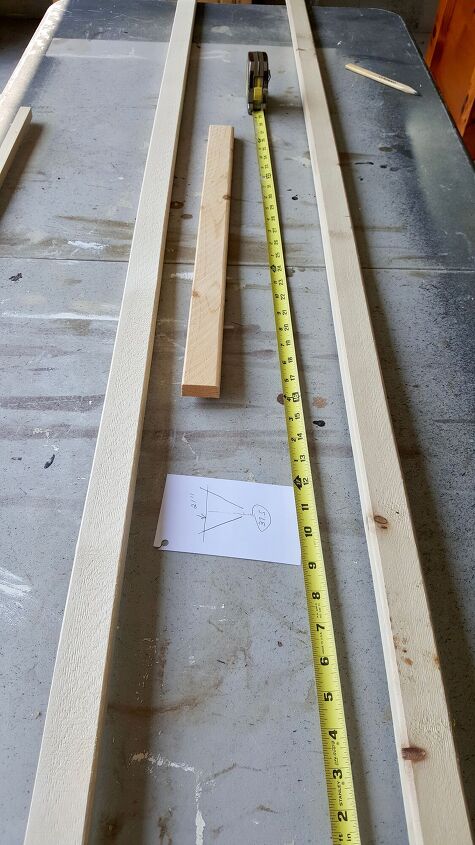
Getting The Wood Measured For My Scarecrow Project
Step 5
Now it’s time to construct the base of my DIY. Incidentally, my husband John, is the construction man in my life.
I immediately knew I was not going to stuff this DIY Scarecrow. That’s the norm I know, however, I didn’t want that for my DIY.
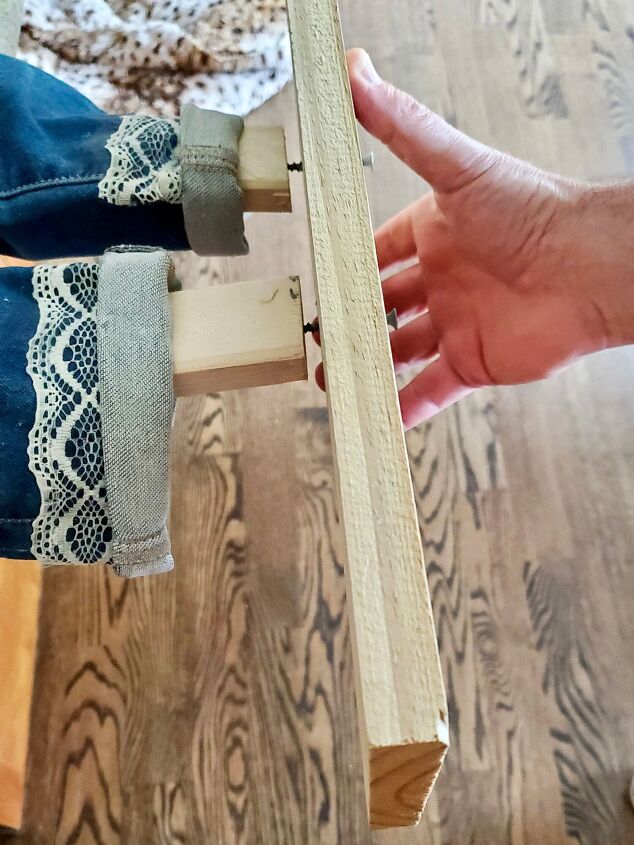
So then, John using some scrap wood left from another project began putting the pieces together. First, we measured the length and width of the overalls. Next we measured the width of the shirt as well.
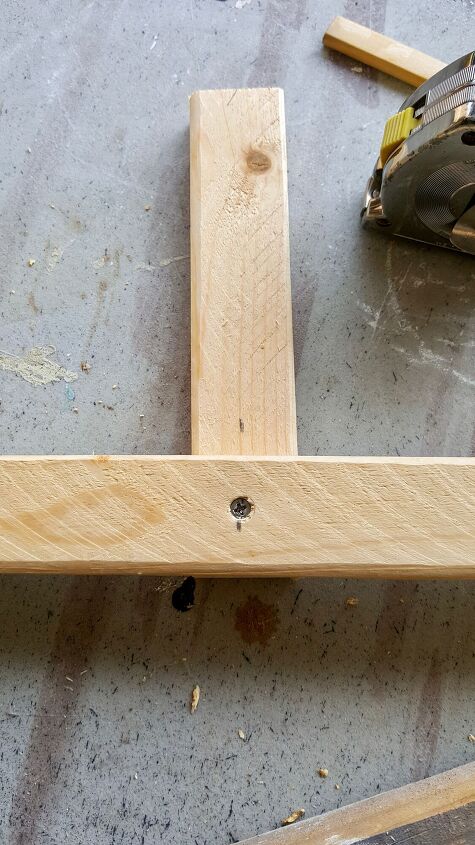
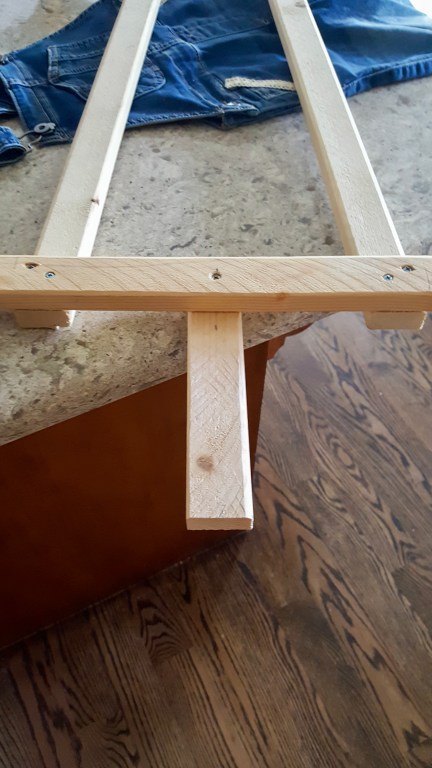
Getting the Wood Cut For the Scarecrow Skeleton
Step 6
Here we made the crossbar for the sleeves on the shirt. After this step, we attached the neck. Next, the wood was assembled for the legs of the skeleton. Cut the skeleton legs at a slight angle at 6 degrees so they lay flat base to stand.
Styling The Scarecrow For The Fall Season
Step 7
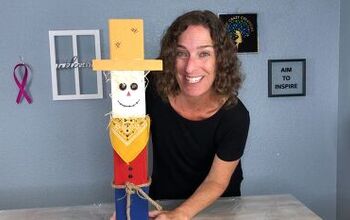
Now I began styling my scarecrow for fall. Here I dressed her in the the shirt. Next I added the overalls over the skeleton.
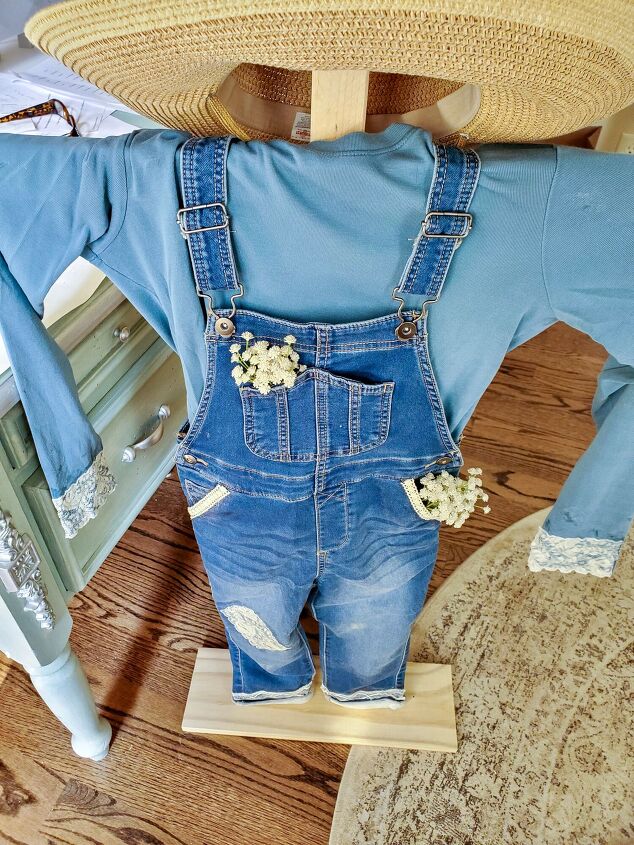
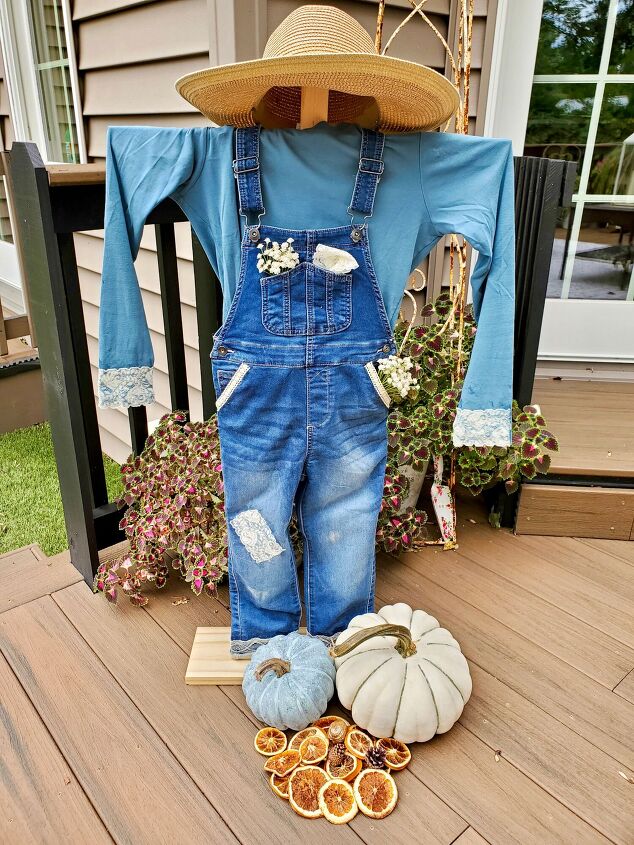
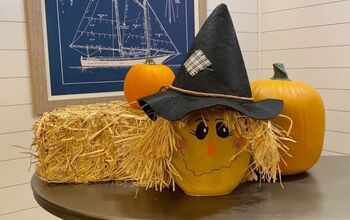
Lastly, add babies breath to the pocket as well as the bib. I also cut a piece of lace bib as an accent as well. Adding pumpkins and dried orange slices adds rustic and natural fall touches.
I hope you enjoyed this DIY scarecrow. Do you decorate with scarecrows in your yard or home?


Follow Cloches & Lavender so you never miss a craft, DIY or decorating ideas I share. I'd love for you to follow my blog just click the link and sign up and done!
Resources for this project:
See all materials


Comments
Join the conversation
-
Love your scarecrowette, she opens up so many possibilities! Thanks for sharing your talent
-
I think it's a good foundation for one, but needs stuffing and a face or head for it.


Frequently asked questions
Have a question about this project?
Did you modge podge the whole thing for protection?