


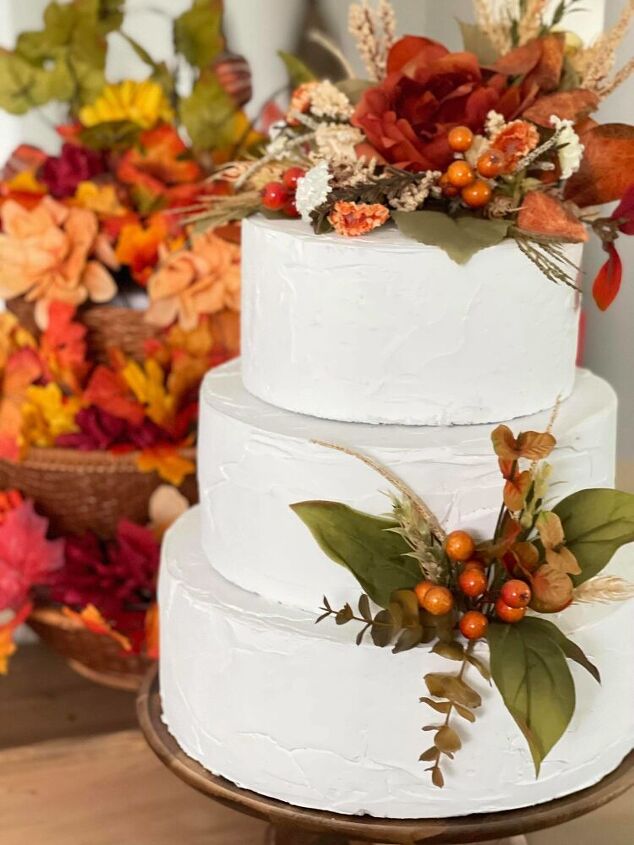
How To Make a Faux Fall Cake - The Curated Farmhouse
Have you ever wanted to know how to make a faux fall cake? This project is perfect for someone who is planning a photoshoot and maybe doesn’t want to spring for the expensive three-tiered cake. Maybe you are planning a wedding, outdoor tablescape photo, or birthday photo shoot. A fun project that is not only affordable, it is pretty easy for the most inexperienced DIY-er to do.
I learned this technique last year when I was scrambling to find a baker for a fall outdoor tablescape photo shoot I was doing. So I decided to create my own faux beautiful cake instead! I am so excited to show you how this one turned out.
Be sure to check out my site for more fun DIY's.
Materials
- Styrofoam Rounds
- Hot Glue Gun and Glue
- Brush
- Lightweight Spackling
- Plastic Putty Knife
- Cake Decorations
- Cake Stand (Optional for Staging)
- Acrylic Paint: your preferred color
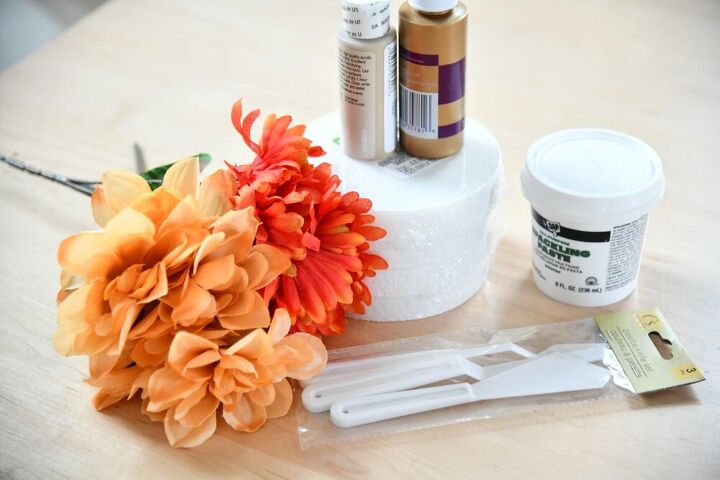
You can choose to substitute brands or craft supplies when necessary. All of the materials were purchased at the dollar store excluding the spackling.

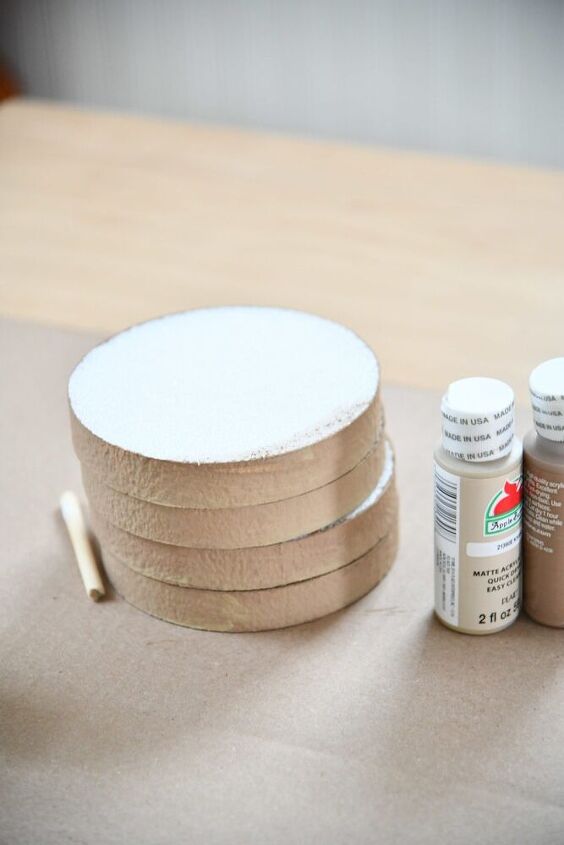
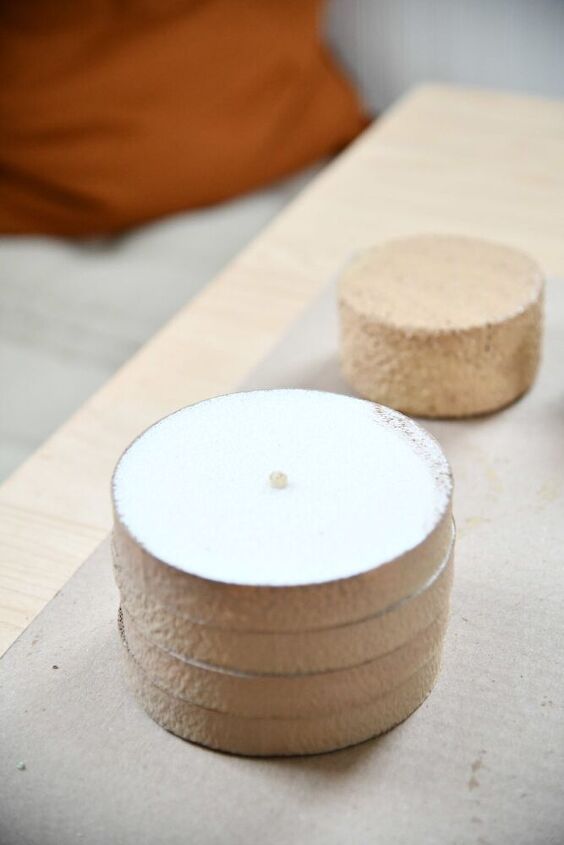
I purchase a set of Styrofoam rounds from the Dollar Store, but you can pick these up at any craft store. You can also choose any size or shape for your cake rounds, there are so many options.
Naked Cake
Use the Styrofoam Glue to glue your cake forms together.
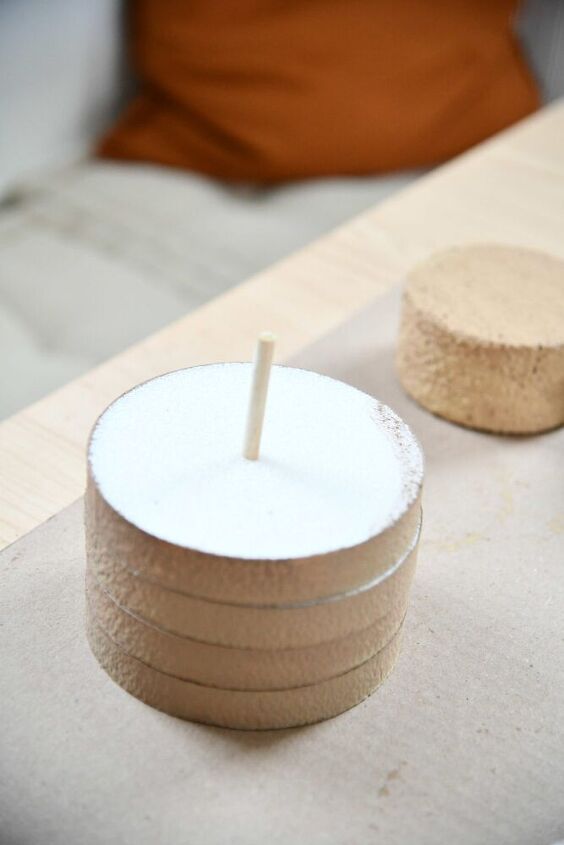
You can also secure with a dowel rod.
Make sure they are centered when you place each tier.
If you are doing a large cake I prefer to do this after spackling the cake.
It is easier to do each cake separately in my opinion when you are dealign with larger sections.
You could do before you paint totally your preference.
If you are wanting to make a naked cake, then you want to make sure you paint the rounds before applying the spacking.
I recommend painting your cake with a tan or brown paint before you spackle.
You will lightly coat the cake with spackling, not full coverage.
Be sure to allow it to completely dry before moving on to the next step.
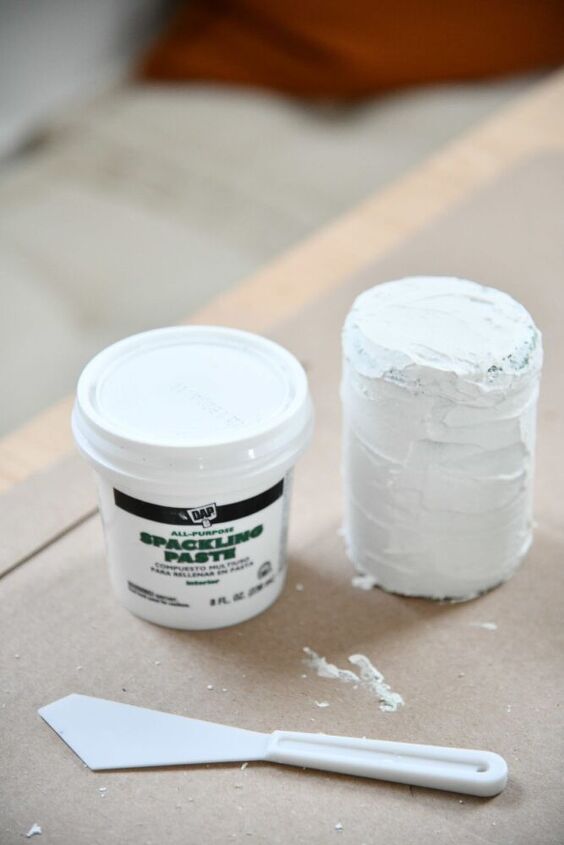
Spackle (Frost) Your Cake
You can use the All Purpose Joint compound or spackling paste. Apply to the styrofoam forms with a spackling knife. This is literally the easiest part, it is like frosting a cake.
Dry Time
Allow your cakes to completely dry before adding any decor.
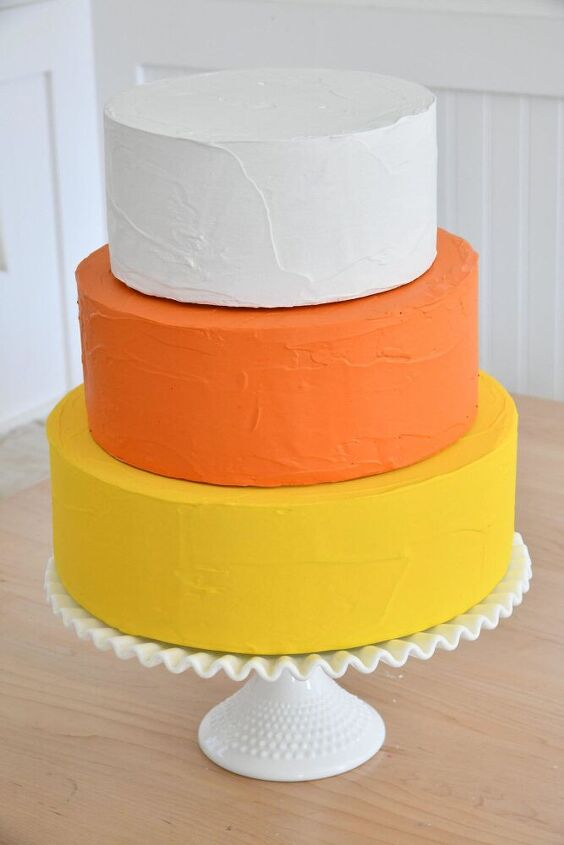
Get Creative
You can choose to paint your cake or leave white. If you want to paint them make sure your spackling is completely dry.
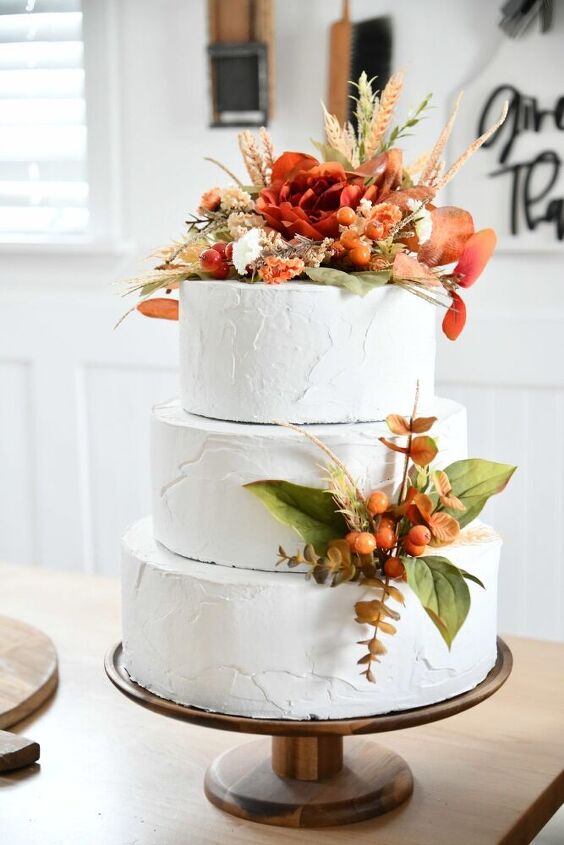
Decorate Your Cake
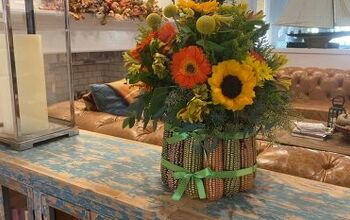
This part is so much fun. You can add in florals, fruits, whatever you heart desires.
Resources for this project:
See all materials


Comments
Join the conversation
-
Love this project! Came out beautiful ♥️
I made a few small ones b4... for bday gifts.
So fun! TFS
-
During WW II when sugar and butter were rationed, especially in the UK, these same types of 'faux wedding cakes' made from cardboard were very popular.
Bridal couples could still have a traditional centre piece and the photos cutting the cake, while no one was the wiser (or at least they pretended not to be) that the insides were not actually edible.🎂


Frequently asked questions
Have a question about this project?
And what is the purpose of this "cake"?