


How to Make Fun Fruit Props
I love to style a fun table! Summertime has arrived and it is time for a fun luncheon, this time for some dear blogging friends. First job was to make these fun fruits!
To see more of my fun crafts visit me at Celebrate & Decorate!
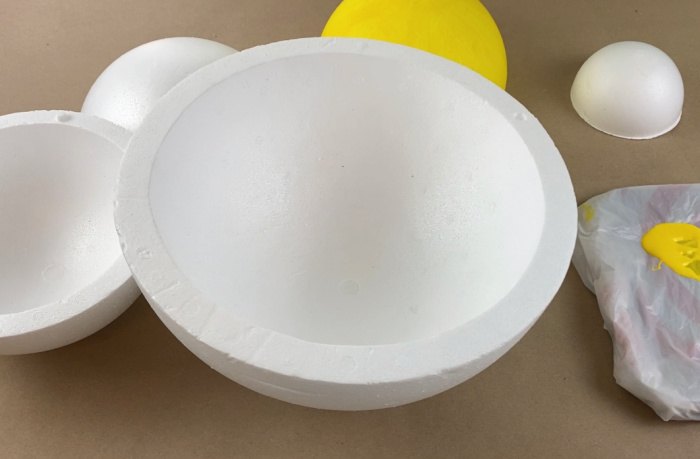
You begin this project with smooth styrofoam hollow spheres and half spheres. The important part is that they must be the smooth finish styrofoam. You can easily paint smooth styrofoam with acrylic paints. I used a large 12 inch one for the watermelon and 8 inch ones for my half and quarter slices of fruit.
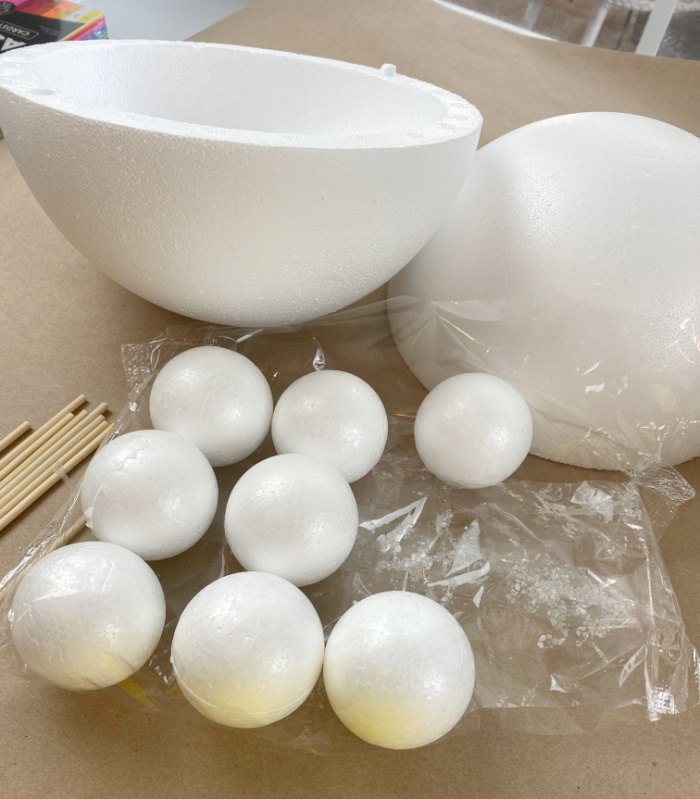
To make the cluster of grapes I used a dozen 2 inch smooth styrofoam balls.
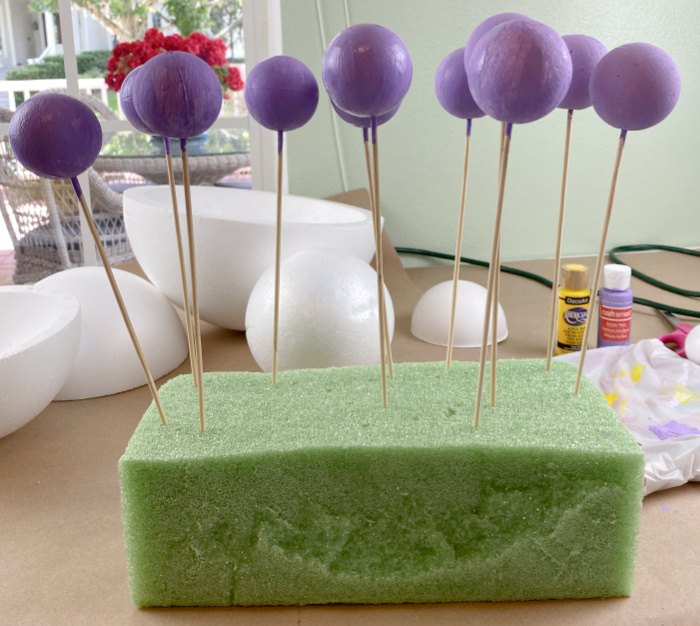
The smooth styrofoam balls were painted with purple acrylic paint. The easiest way to paint the styrofoam spheres is to stick them on a skewer so you can paint all around the sphere without getting the paint all over your fingers. You can stick the skewers into a piece of styrofoam to allow the ‘grapes’ to dry.
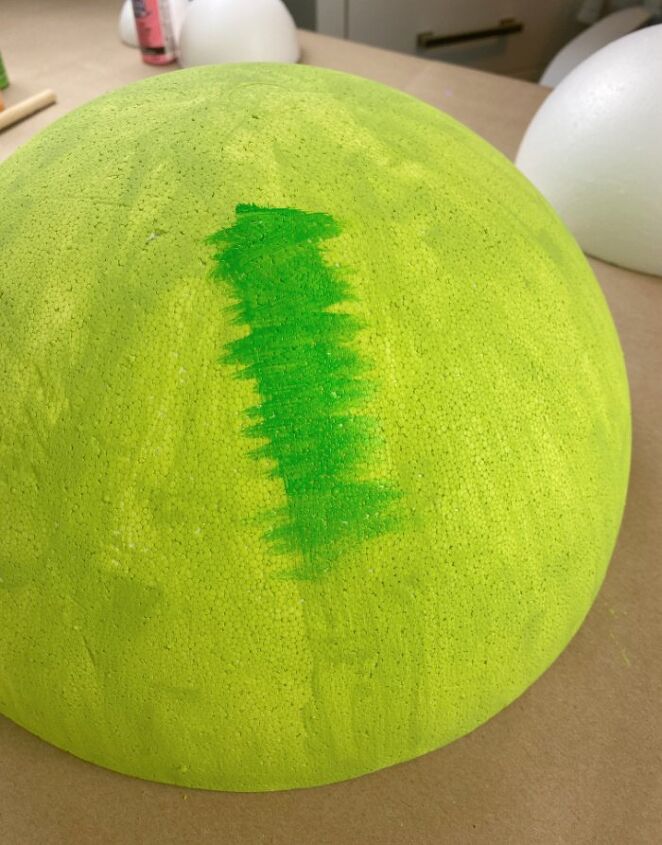
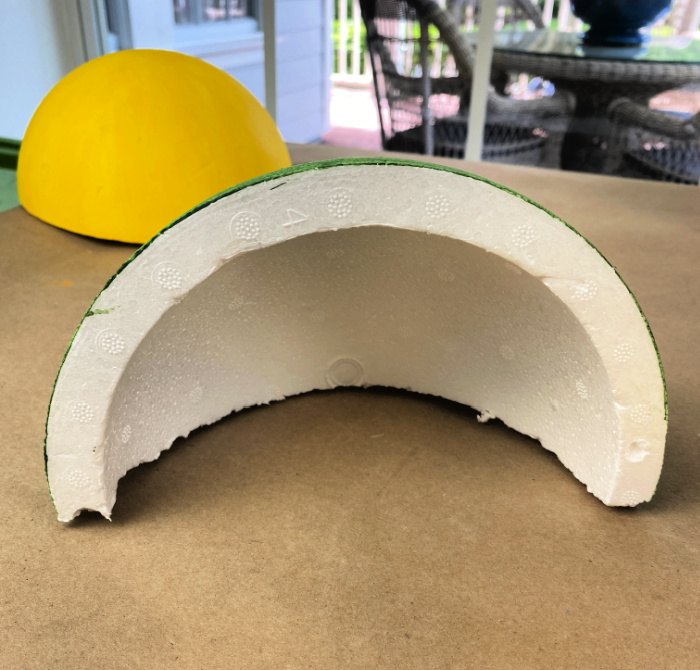
To make the watermelon, I painted a light green on the outside of the large half sphere and then used a darker green using a bristle brush in a back and forth motion to give the effect of the watermelon texture.
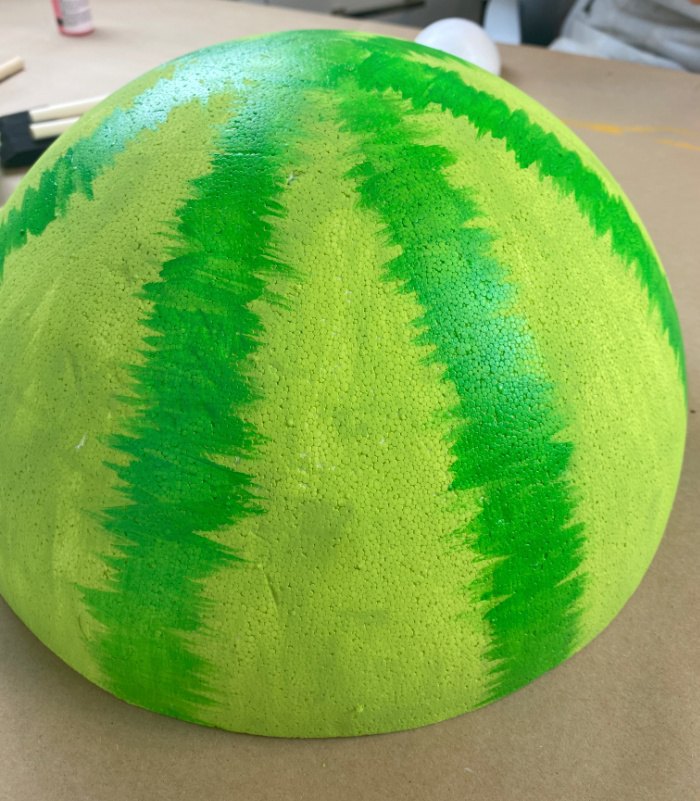
Your watermelon will look something like this when you have finished painting it. I only used my watermelon upside down like this. I did not finish the inside of my watermelon, you can if you would like using one of the techniques I explain below.
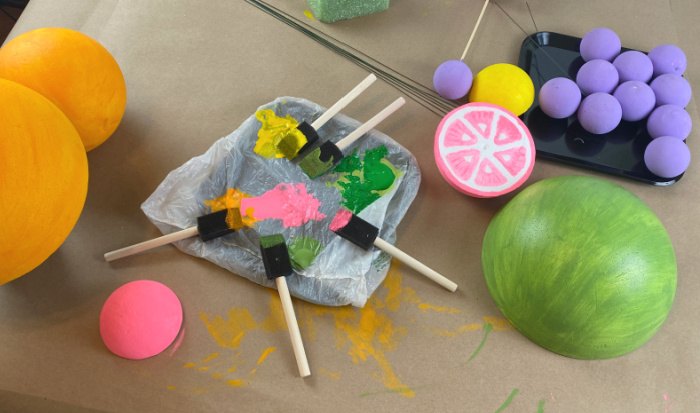
If you use a plastic plate for your paints, you can cover it with a plastic grocery bag and use it for your paint pallette. I painted half spheres yellow for lemons, and green for limes. Some of the complete spheres were painted solid orange to sit in as oranges and half spheres as pink grapefruits.
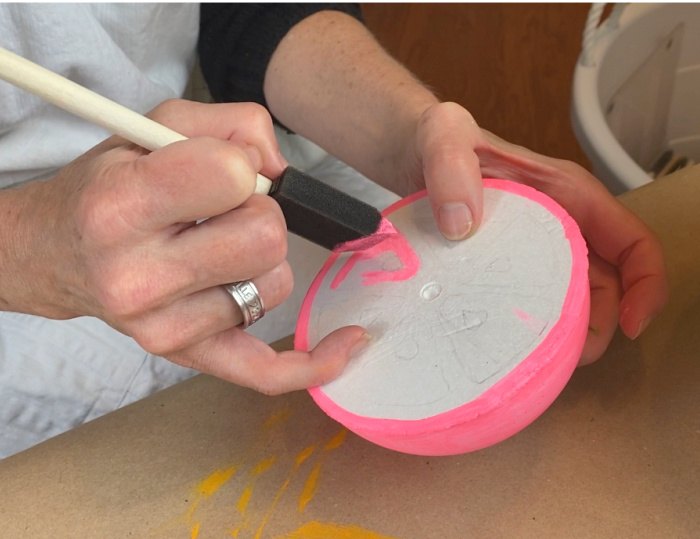
My friend, Chas from Chas’ Crazy Creations was visiting from Colorado and helped out by painting the sweet little pink grapefruit on a half sphere of smooth styrofoam.
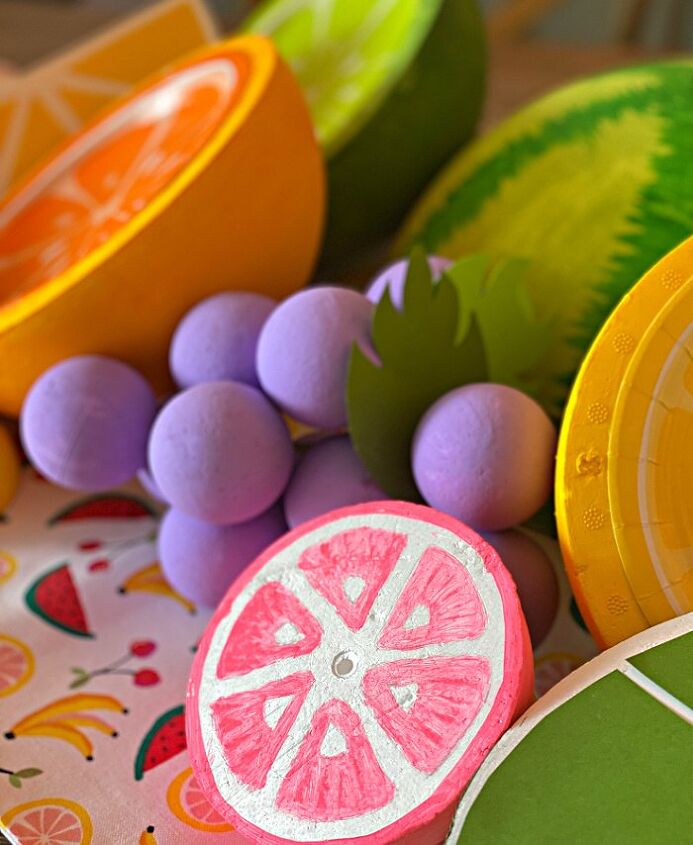
Didn’t she do a great job?! Anyone for a little bit of tart pink grapefruit?
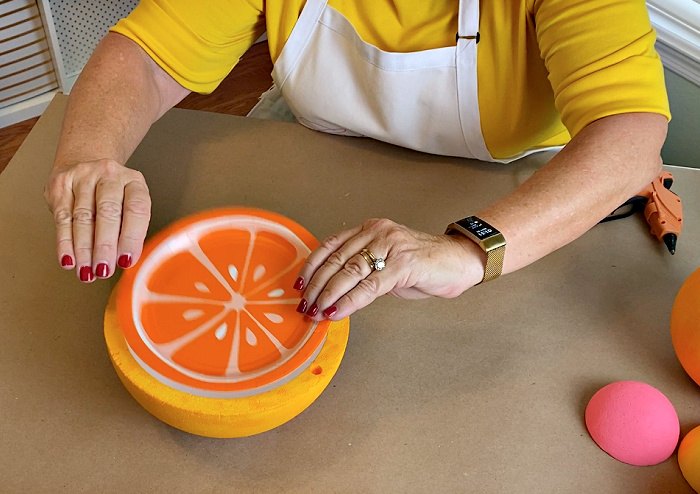
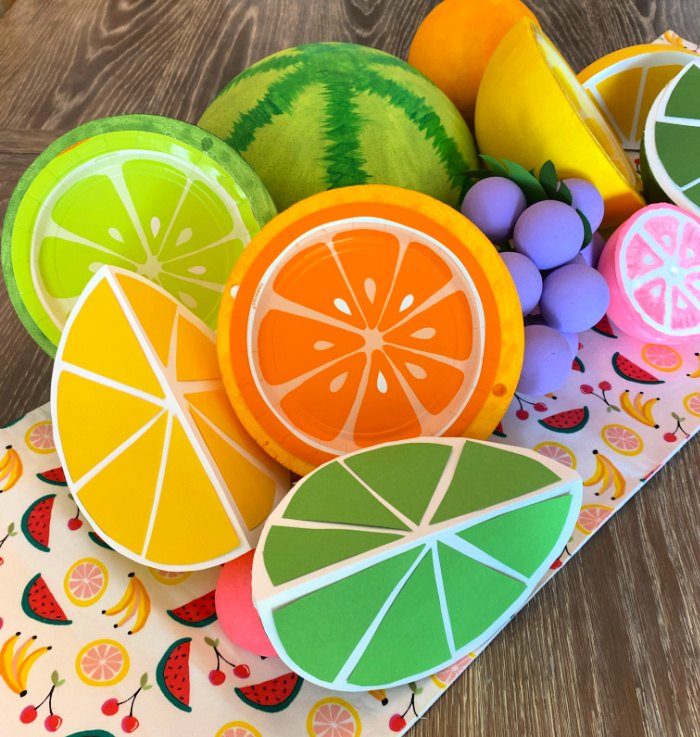
The half spheres where topped with fruit slice paper plates, oranges, limes and lemons. You would need to use 8 inch paper plates to cover the opening of the sphere.
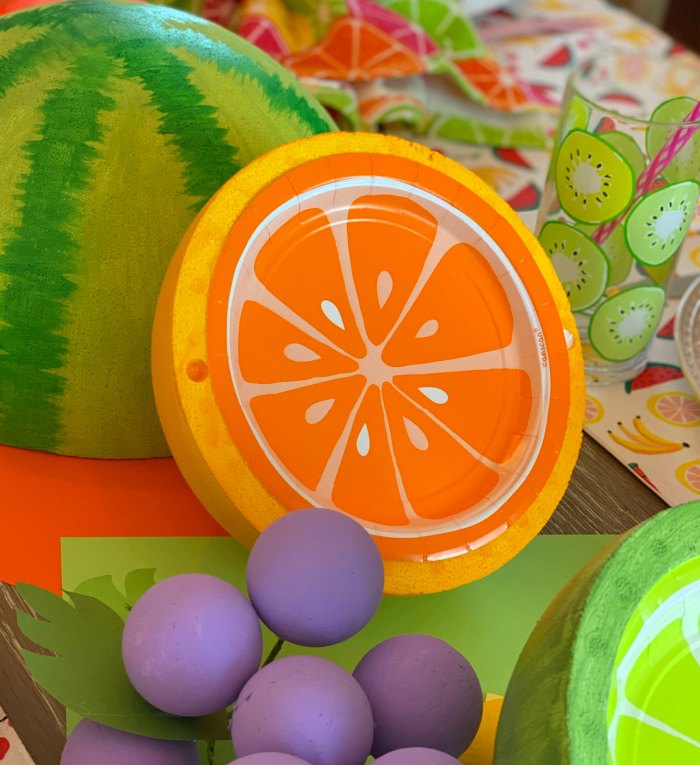
Using a thin bead of low temperature hot glue, secure the paper plates to the edge of the half sphere and you have what appears to be a half of a lime, orange or lemon!
What if you can’t find the paper plates?
When I got ready to write I Iooked online for the paper plates I had used. Alas, they were not available. I didn’t want to leave you hanging if you are unable to find the paper plates, so I wanted to show you an alternative way to make these fun fruit props!
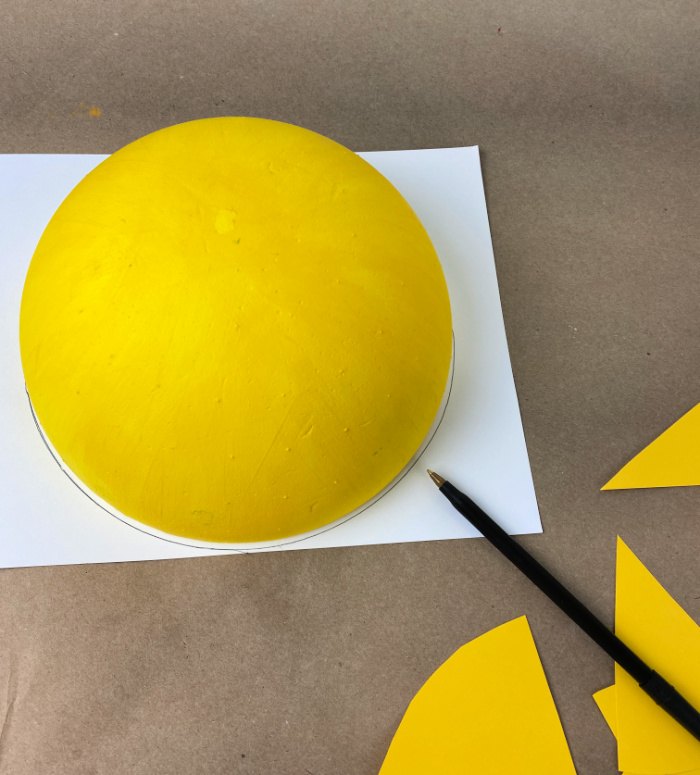
Take your eight inch hollow half spheres and paint them the color you want. In this case I made mine into lemons and limes. Place the half sphere down on a piece of white card stock and draw a circle around the half sphere as shown above. Since I already had half fruits, I decided to make these into quarter slices.
After you have used your half sphere as a pattern for your white cardstock, cut your half sphere in half as shown above.
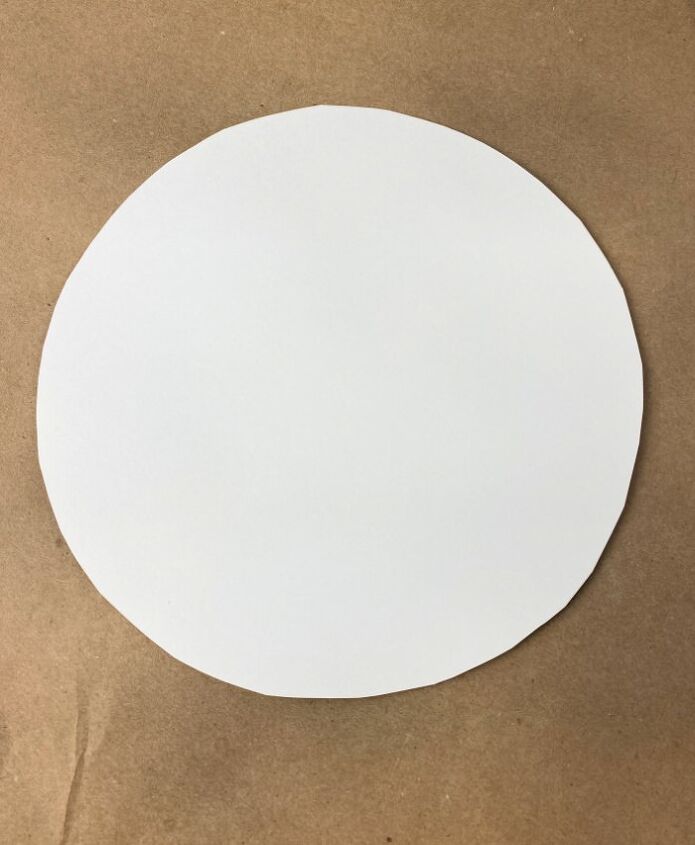
Cut the circle of cardstock out as shown above, OR if you have a Cricut or Silhouette you can use it to cut out an eight inch circle of white cardstock.
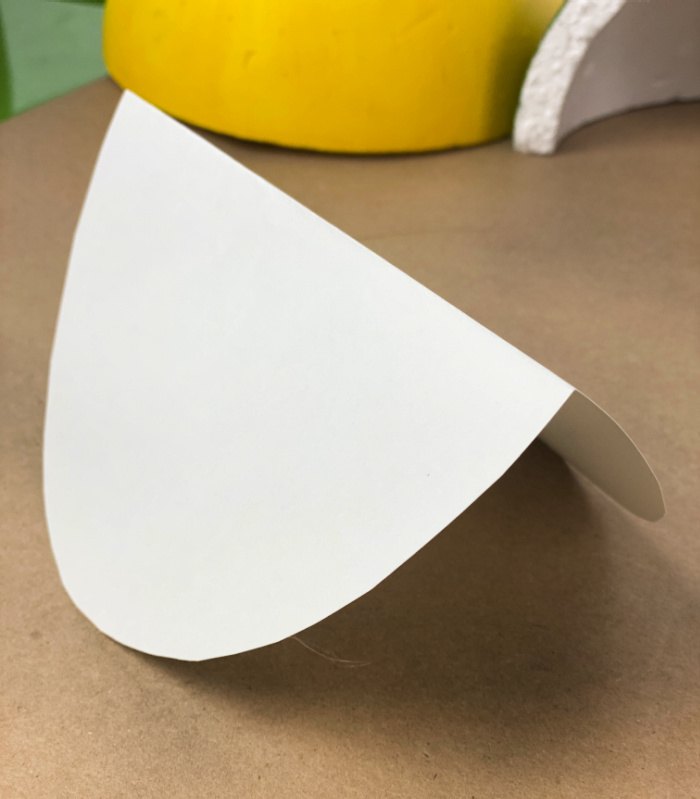
Fold the white circle of cardstock in like I have done above.
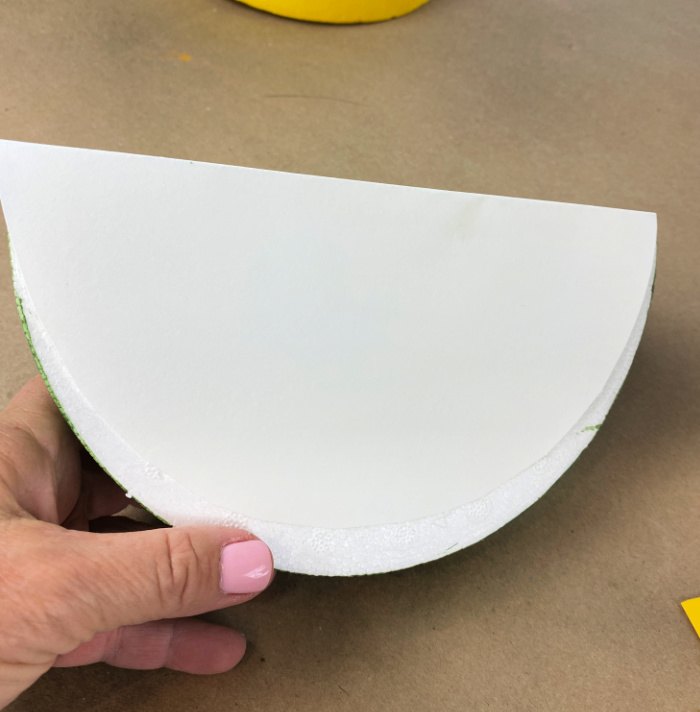
You can then use a low temp hot glue to secure the white cardstock to the quarter of the hollow sphere.

Use the appropriate color of card stock and cut your fruit sections. Glue your fruit sections onto the white cardstock…it is that easy!
I came up with these as an answer to the problem that you may not be able to find the paper plates, but now that I finished them I love that I have the variety of the fruits! Now I am going to have to plan another tablescape or something using these fun fruit props!
Want to see the table I styled with these fun fruits? Click here: A Tutti Frutti Tablescape


Comments
Join the conversation
-
Charming, charming, CHARMING! Never, EVER would have thought of this...thank you TONS! PS....I bet you have a fun Christmas! Would love to see 'those' ideas of yours:)
-
Oh! tis is so fun and bright for decorating. This gives me the idea to make large fruit from fabric for decorating. Large enough to use a pillows for comfort. OH! now to get fabric and make a pattern.


Frequently asked questions
Have a question about this project?