


Join Me In Creating A Shiplap Pumpkin

by
Shoppe No. 5
2 Materials
When I created the Happy Fall Y’All sign I really wanted to hang it over the TV cabinet in my Great Room but it was the wrong proportion. Instead of putting it in that spot, I decided to sell it, and it did sell. I figured I would make something fallish for that spot. Inspiration struck and I had an idea. Join me in creating a shiplap pumpkin.

When I got this small pallet from work I had no plans for it. That is until I went to Dollar Tree for something else and saw Fall-Themed Felt Décor. They are good size cut outs in the shape of an owl, leaves, and a pumpkin. I guess you know I bought the pumpkin cut out.
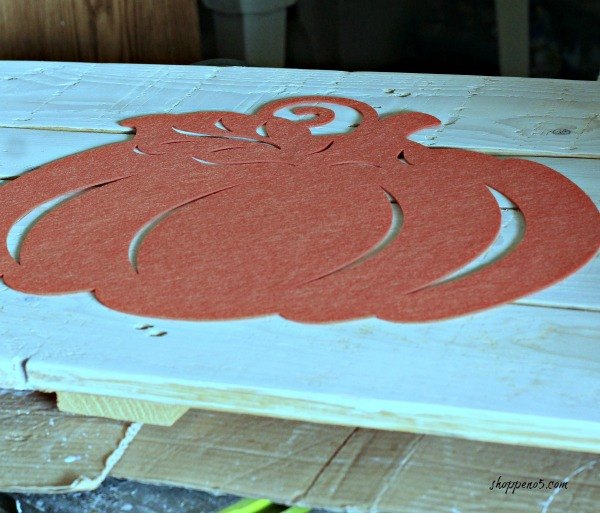
I traced around the pumpkin. As I started painting it, it made me think of shiplap. And that may be the closest I ever get to having it in the house.
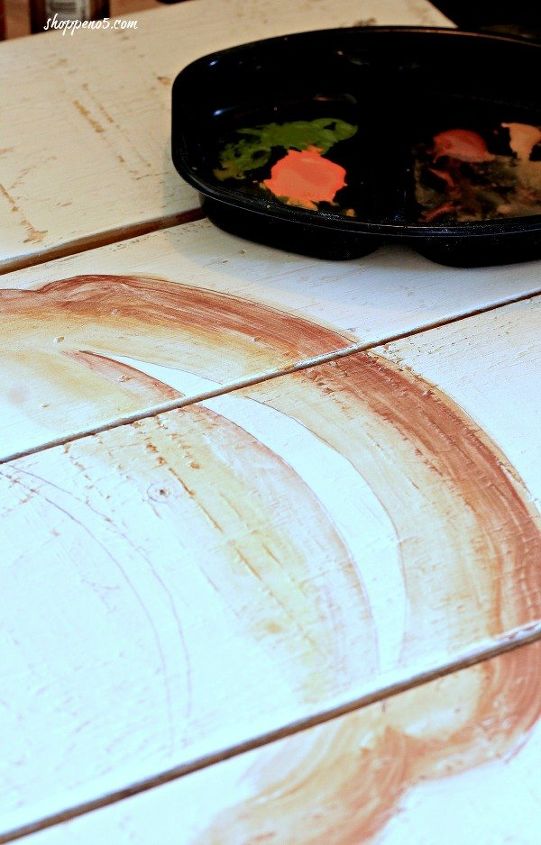
I selected 6 coordinating colors from my craft paint supply. Using them like watercolors I started painting. It was amazing to see the pumpkin take shape.
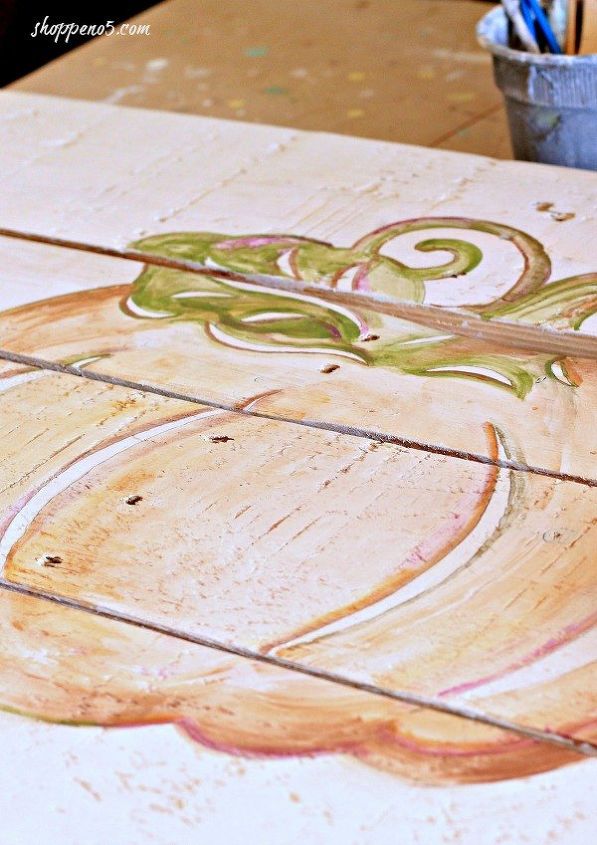
As the paint dried I went back over the pumpkin with a small brush to paint in details. Be careful not to muddy the paint. I change the water and rinse the brushes frequently.
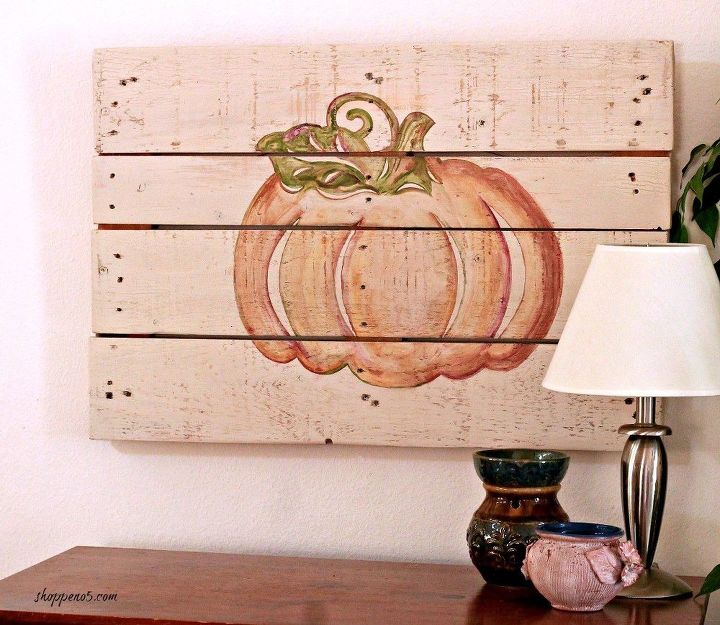
Once it looked how I wanted it to look I waxed it. To hang it I screwed in screw eyes on either side and added picture hanging wire. It really is an easy project that will bring a little bit of autumn into your house. For more detailed instructions please visit www.shoppeno5.com
Want more details about this and other DIY projects? Check out my blog post!
Comments
Join the conversation
2 comments
-
It's just lovely! Looks great! Good Job!


Frequently asked questions
Have a question about this project?