Make These Charming Fall Directional Signs With an Easy Arrow Tip!

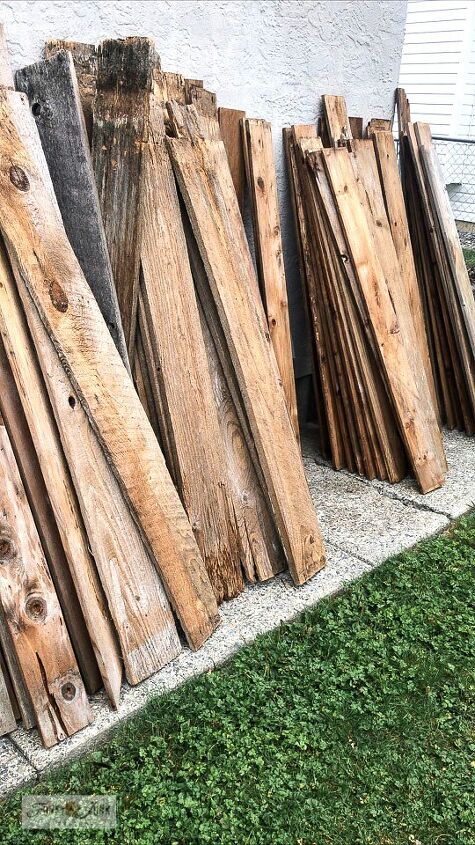
After recently landing some reclaimed cedar planks from a generous neighbour, they were pressure washed and busy drying, waiting for my intended shed project...
Until I got a new fall brainstorm...
By golly, these planks were such a good size for DIY fall signs! A directional fall sign to be exact... so I couldn't resist.
Gathering up 4 of the cedar planks and 4 fall stencil sayings, the cutest fall project emerged before my eyes with a perk...
This project shares a super cool way to add an arrow tip to any sign! It's as sturdy as can be and so easy to make out of the same board. It's my fav one to date!
This is a wonderfully EASY project to copy to make for yourself, host a workshop with or make-to-sell!
Here's how:
Cedar planks are easy to repurpose, whether you pick them up reclaimed or brand new from the lumber store.
Mine measured 5.5" wide x standard length.
Arrow tips were created by cutting the same plank at a 45 degree angle.
To create arrow tips:
- At one end of board, cut straight down to start clean.
- Reposition plank to end of cut, then cut at 45 degrees.
- Move plank again to end of last cut, then cut straight down... and repeat for as many arrow tips desired.
To add arrow tips to signs:
- Position arrow tip on sign blank where desired.
- Trace around it.
- Cut sign plank to traced image.
- Screw arrow tip to plank.
Be sure to visit the original blog post tutorial which shares these steps in a video! Link is at bottom of post.
4 different fall saying stencils were used for this directional sign:
- Pumpkin Patch
- Hay Rides
- Corn Maze
- Apple Cider
All images were stenciled in Fusion Mineral Paint's Coal Black.
The key to flawless stenciling is using a very dry-to-the-touch stencil brush. Here's how:
- Position stencil where desired, and tape into place.
- Load stencil brush, then off-load most paint onto a rag.
- Swirl the stencil brush over the stencil until image is covered.
I chose to rotate arrow tips so all 4 signs could become a fall directional sign! Fun, right?!
Then add a little raffia and rusty junk and here they are, as cute as can be!
Don't they make a great impact when displayed all in the same spot?
And of course, they look equally adorable displayed on their own as well. Consider a front porch with your pumpkins or on your fireplace mantel!
And here they are displayed on the garden shed! Cute, huh?
Just don't tell the shed the wood is stolen...
Think you'll whip up a few fall signs this season too? How will you make yours?
Wish to learn more?
Click HERE - to visit original blog post tutorial
- to learn more about this project
- see more pictures
- watch helpful video of entire process!
Click HERE to view many other easy, unique sign projects!
Enjoyed the project?
Resources for this project:
See all materials


Frequently asked questions
Have a question about this project?