


My First Pom Pom Wreath

Lately I have seen ads for pom pom wreaths on so many websites and even featured in a magazine. I like that they have a whimsical and playful look. But the price tag is a bit much for my budget.
Instead, I took a little time and effort and finally made my first pom pom wreath this weekend.
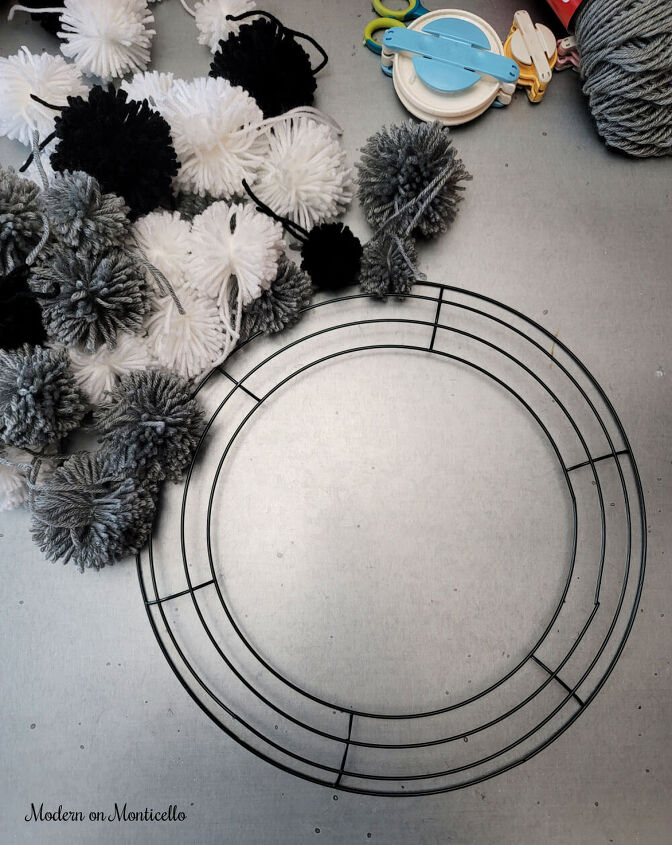
I choose to make a 12″ wreath and purchased the form at Dollar Tree.
The Clover Pom Pom Makers were purchased from Michaels.
If you are using the Clover Pom Pom makers, follow the instructions provided in the package. I have included photos of the steps I did to make them as well. You can also purchase them at Amazon online.
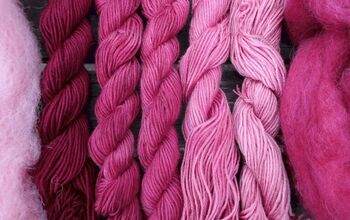
After some searching on Pinterest, I found that 100% Acrylic yarn is the best yarn to use for making pom poms. Good to know!
Learning to use the pom pom makers is actually very simple and easy and really does cut down on the time to make lots of pom poms needed for a wreath.
For my wreath, I used 3 sizes of the makers in 3.375 inch, the 2.5 inch, and the 1.75 inch.
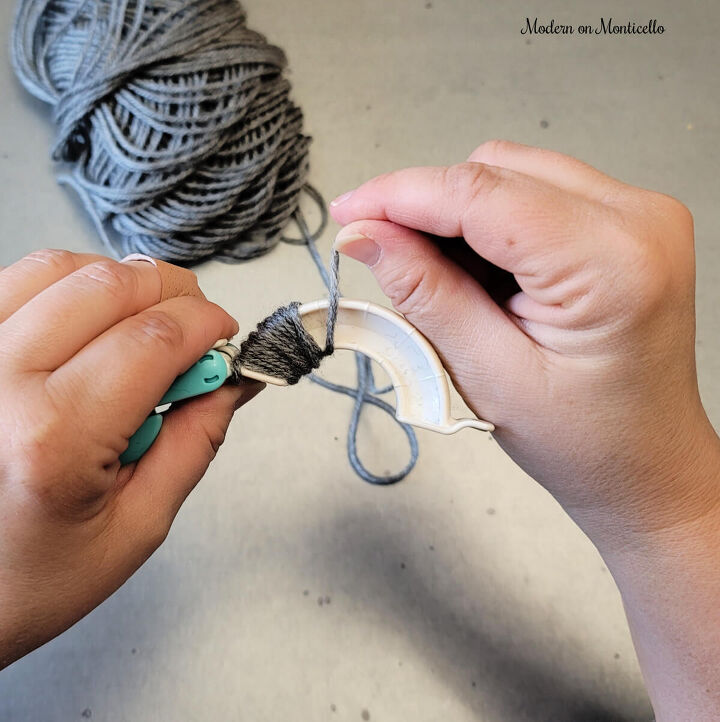
To start, wrap the yarn around one side of the pom pom maker from the hinge to the open end.
Once at the end of first side, close that side, and open up the next side of the maker to continue to cover the full circle of the maker.

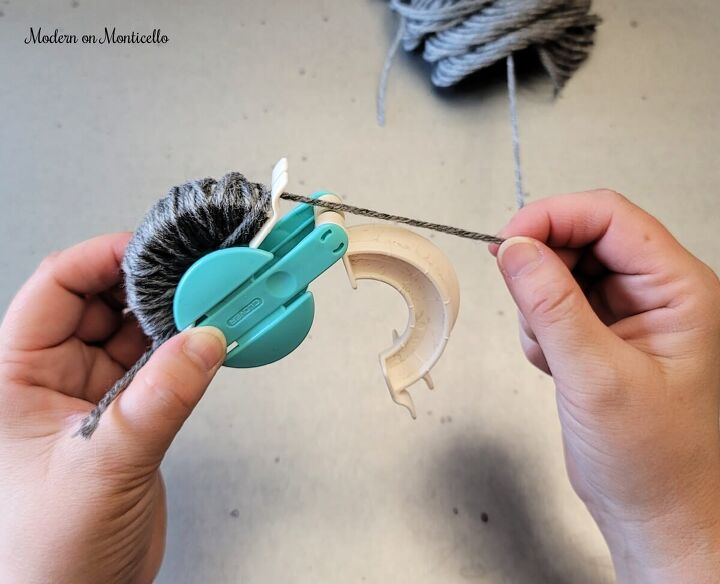
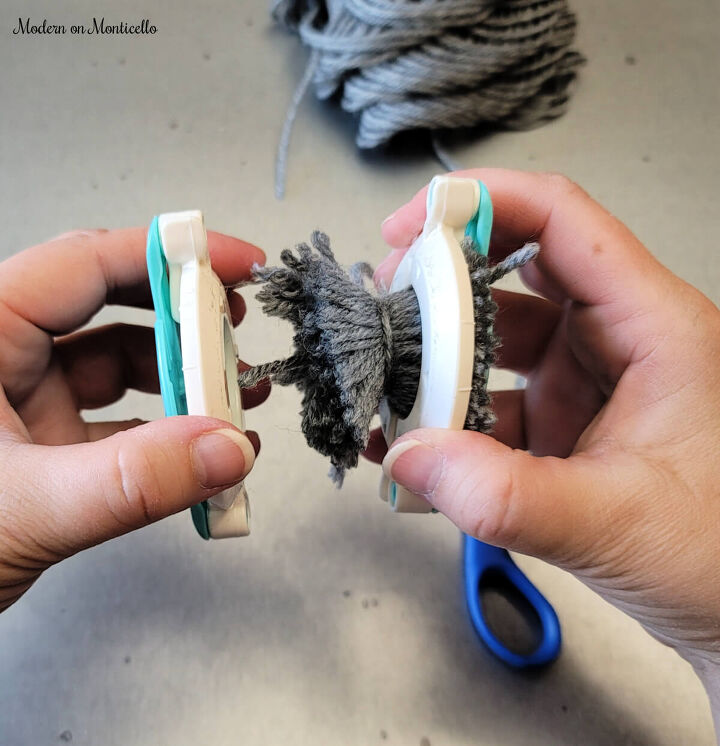
Close both sides and using a small set of scissors, cut off the end of the yarn.
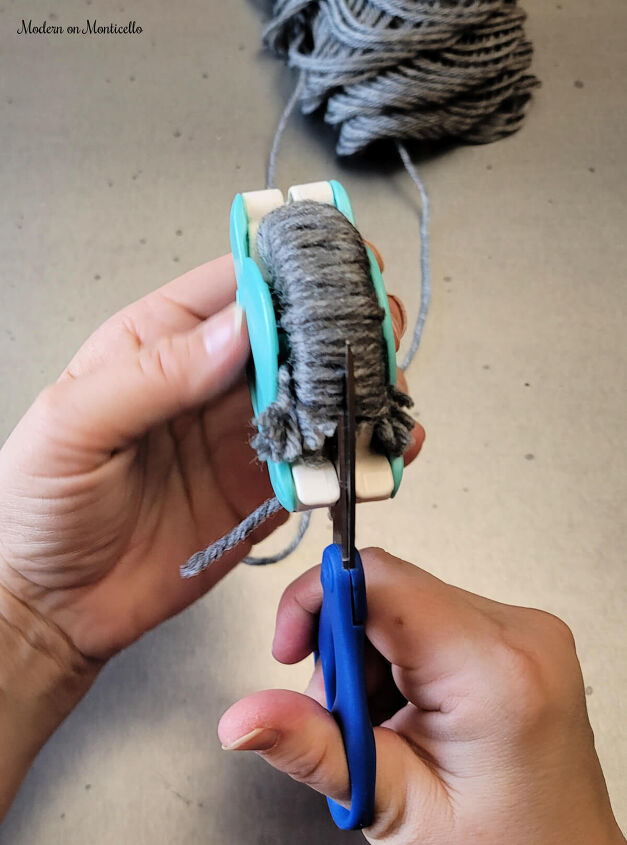
Insert the scissors between the two sides of the maker and cut the yarn all the way around each side.
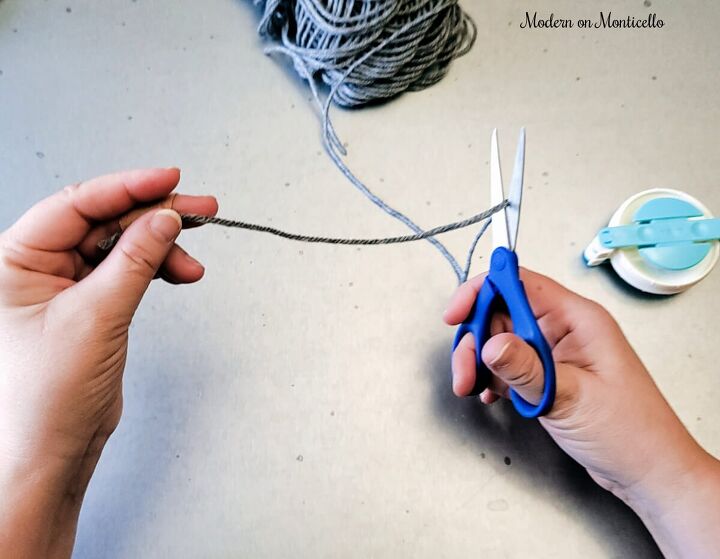
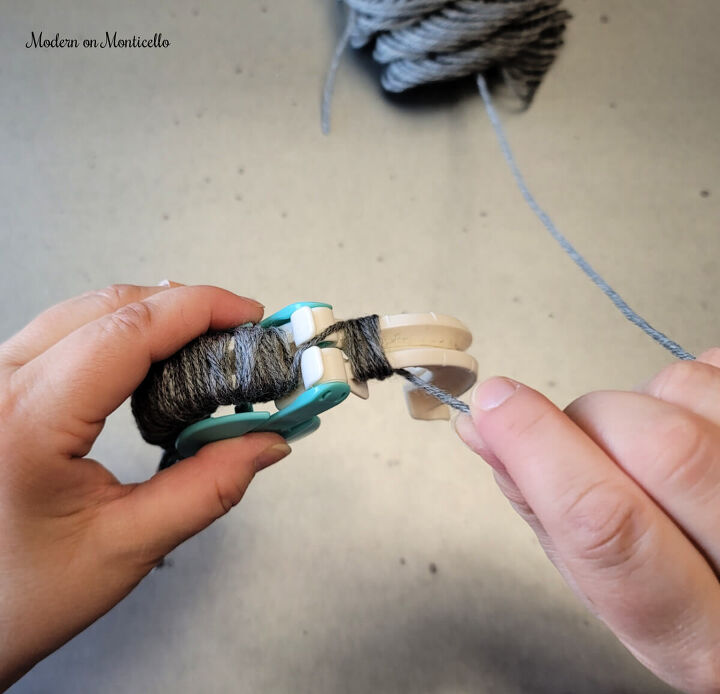
Cut a small length of yarn and slide it between the middle of each clip. Then tie it off around the yarn tightly in a double knot.
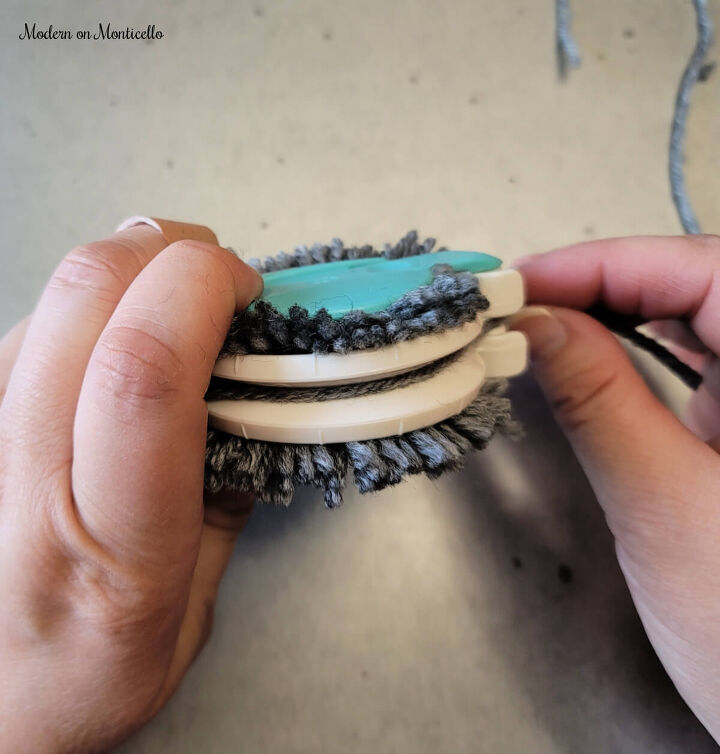
The two sides of the maker come apart so it is very easy to slide the strand of yarn between them.
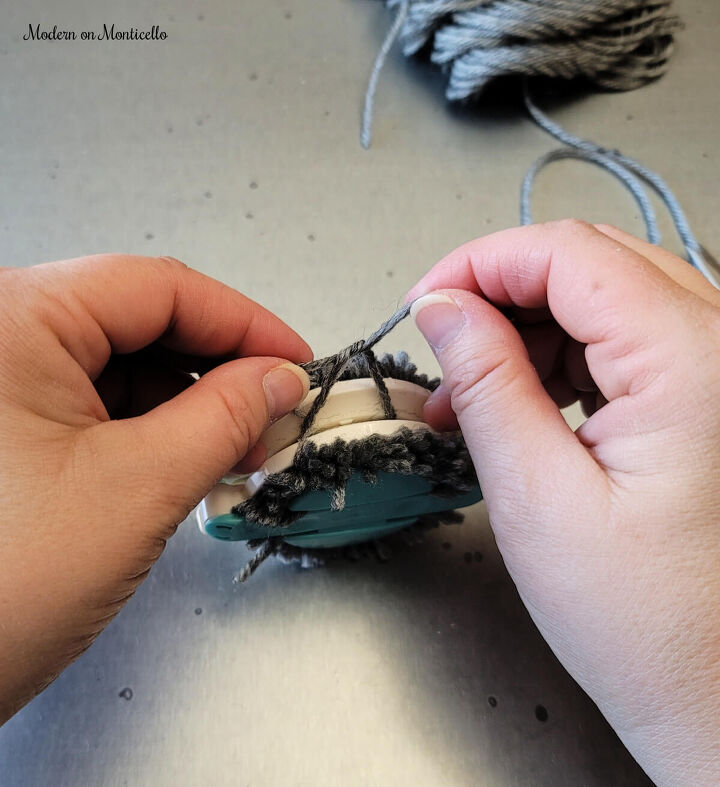
Pull tight on the strand to tie the double knot.
Then you just pull the two sides of the maker apart and you have a pom pom.
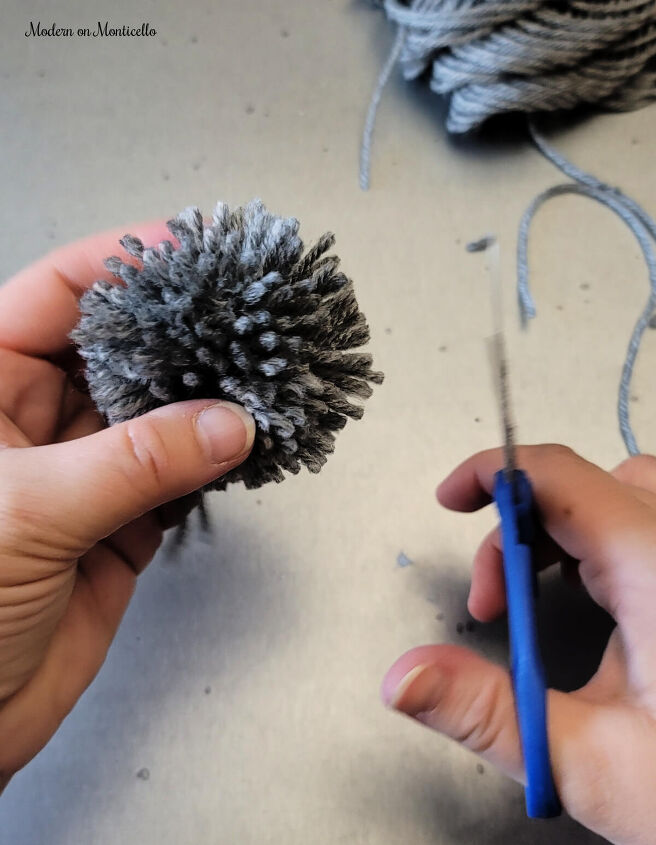
Fluff and cut it to shape the pom pom.
For my pom poms I left the two long strands for the tie in the middle to use to tie the pom pom to the wreath form.
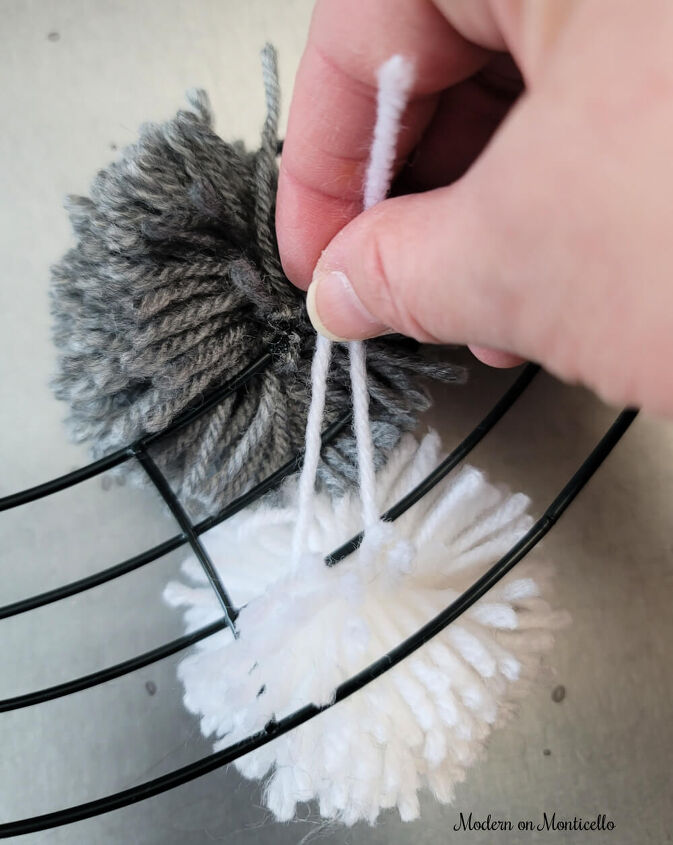
Flip the wreath form over to the back side to tie on the pom poms.
Use the two long strands from the middle tie to tie the pom pom to the wreath form.
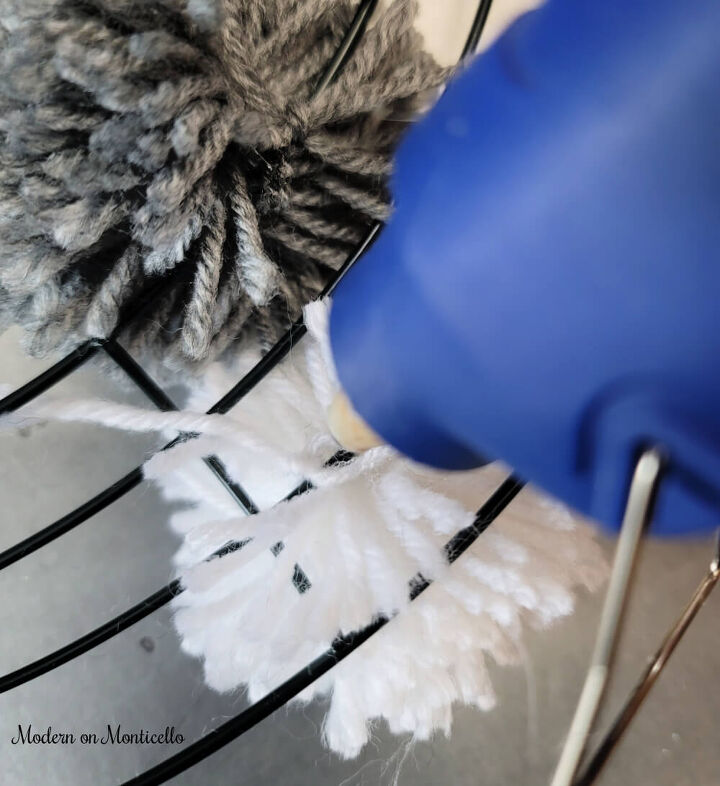
Add a small amount of hot glue to secure the pom pom in place.
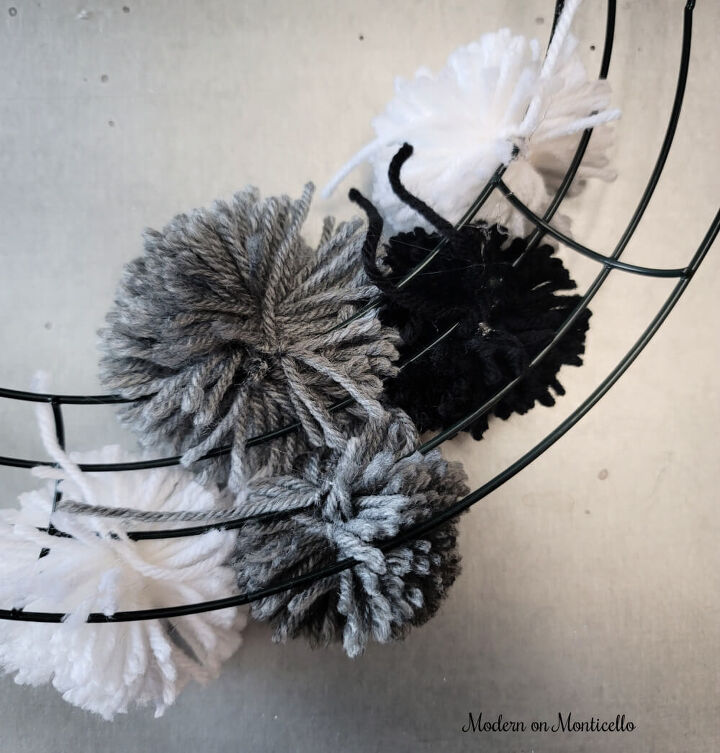
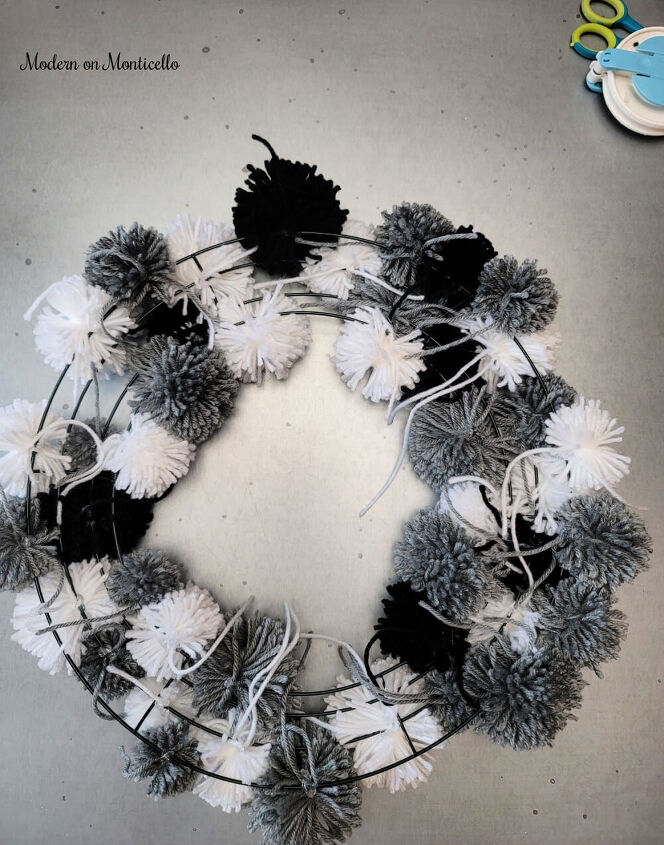
Continue around the wreath form to tie on more pom poms. I varied the color and the size all around since I made three different sizes of pom poms.
Once I got started adding on the pom poms, I realized I needed to make even more to fill out the entire wreath form. I have no idea how many pom poms I made in all for this wreath so you just have to figure out how many you need as you go along.
Cut off the tie strands and flip the wreath over to fluff. Now you have a finished pom pom wreath!
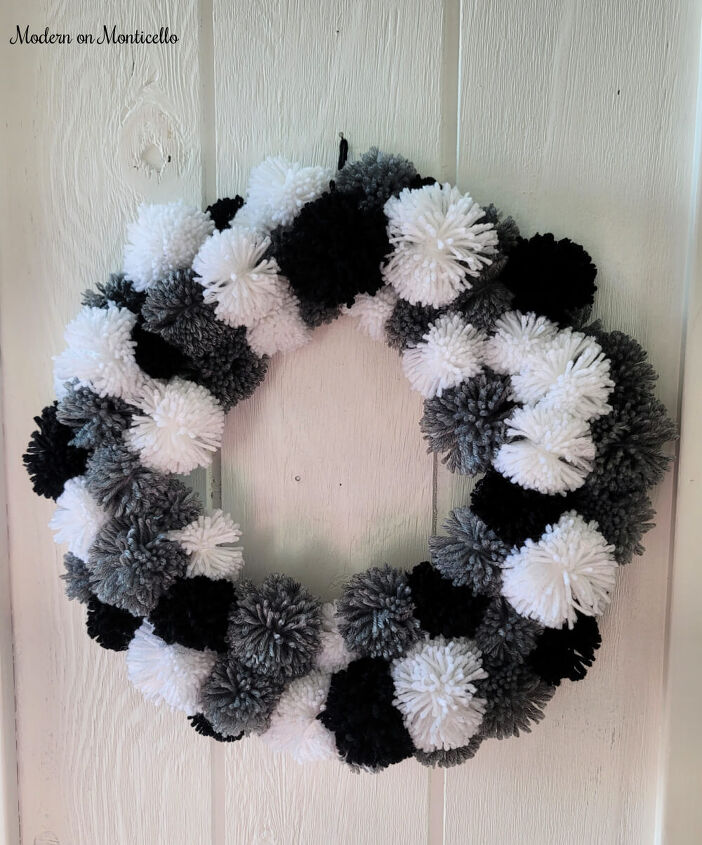
I learned a lot while making my first pom pom wreath. One being that I need to make my pom poms even fuller next time. And second, it takes more pom poms than I originally thought to complete the wreath.
In the end though I really like the look of my first wreath and it is now the starting point for my winter mantel décor. Even better that it didn’t break the bank to make it myself either.


Frequently asked questions
Have a question about this project?