


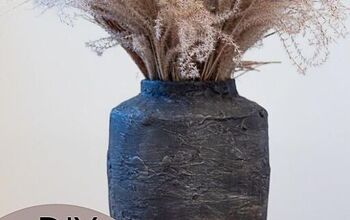
Plaster Cloth Egg Vase DIY
Hello Springtime! As a favorite pastime of mine, I'm always looking around sites and other places for craft inspirations - one of them being HGTV Handmade on YouTube. This particular video features the Crafty Lumberjacks making an adorable Easter Egg Display using plaster bandages.
I was quite intrigued with the plaster bandages craft, so afterwards I did a search for the Crafty Lumberjacks' blog site. For a couple of links I got a 404 codes but finally found their blog featuring them making their Easter egg vases on The Chew, a tv show I use to watch, no less!
I read the post and looked at the comments - low and behold, I had left a comment - back in 2019! But I don't remember anything about seeing this technique before! Usually, I will write a craft or technique down in my project book if I'm interested in it. But not this time.
The fun thing about knowing how to make this lovely egg vase, it's not just for Easter or Spring. You can make one anytime of the year and decorate it according to the season or theme. I'm so glad I found it again and I hope you will love it, too!
So here's my version of making a Plaster Cloth Egg Vase
Materials
- Balloon (12" oval)
- Masking tape
- Glass
- Plaster Cloth
- Scissors
- Plastic container
- Water
- Flowers
How To
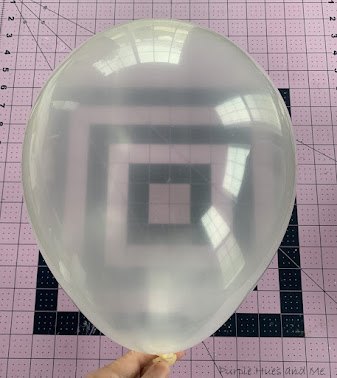
Let's get started by creating a work surface that will be subject to plaster dust, water and a whole lot of messiness! Lol! Then gather the supplies and blow up the balloon, tying it off into a knot.
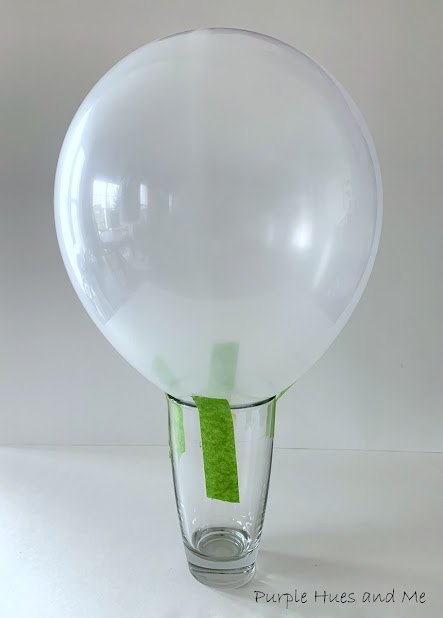
Next, insert the balloon into the opening of a sturdy glass and tape it to the glass using masking tape.
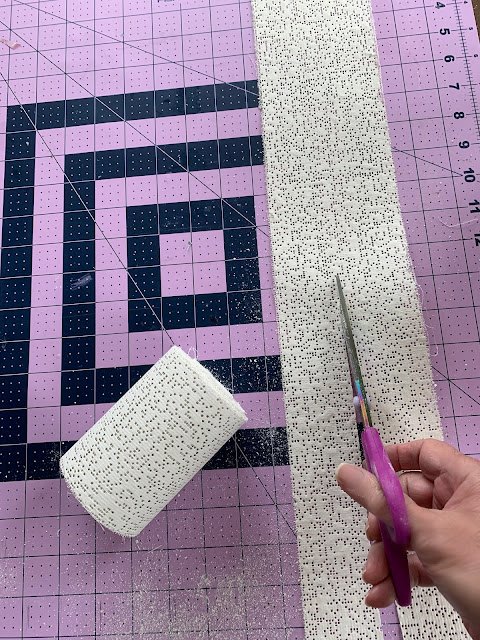
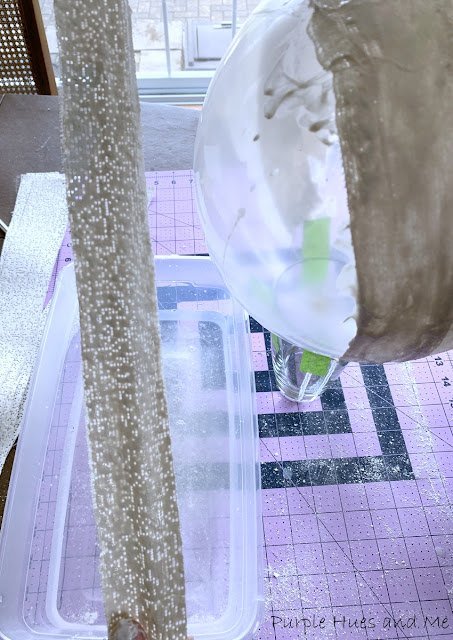
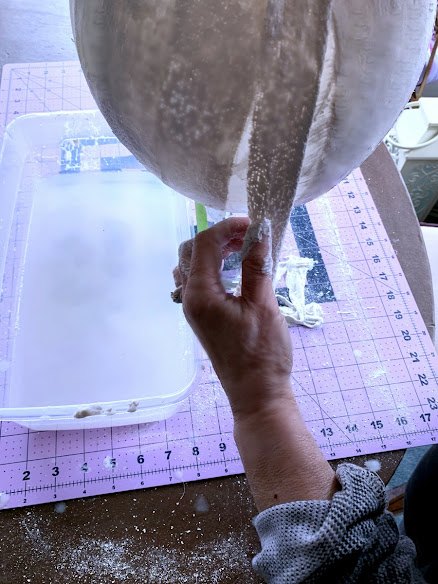
Then, measure the area using a strip of plaster cloth from one side of the balloon - up, over and down the balloon leaving a gap near the knot (not shown). Cut several strips of plaster cloth about the same length measured from the roll. Then cut the strips in half.
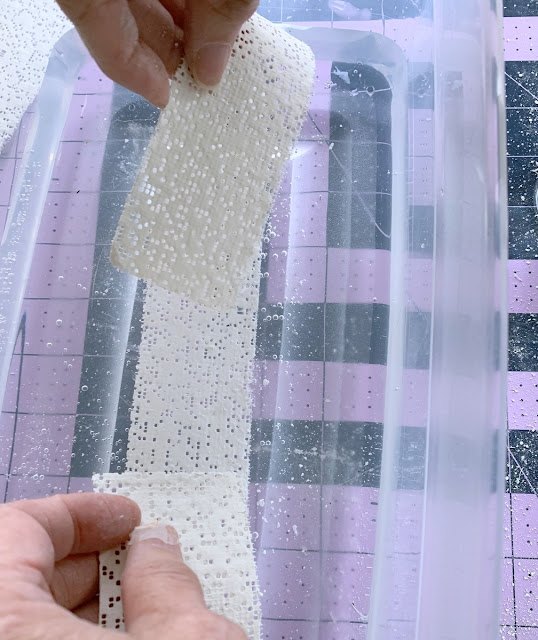
Next, add water to the container and dip a plaster cloth strip into the water. Hold the strip as taut as possible since the cloth will wrinkle when wet.
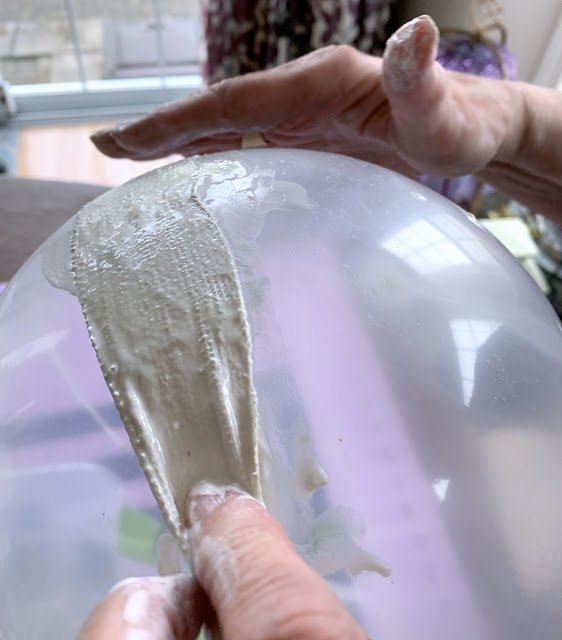
Then quickly wrap the balloon with the wet strip . . .
smoothing out the plaster cloth over the balloon. The water activates the plaster in the cloth. Smoothing it out gives it a smooth plaster appearance.
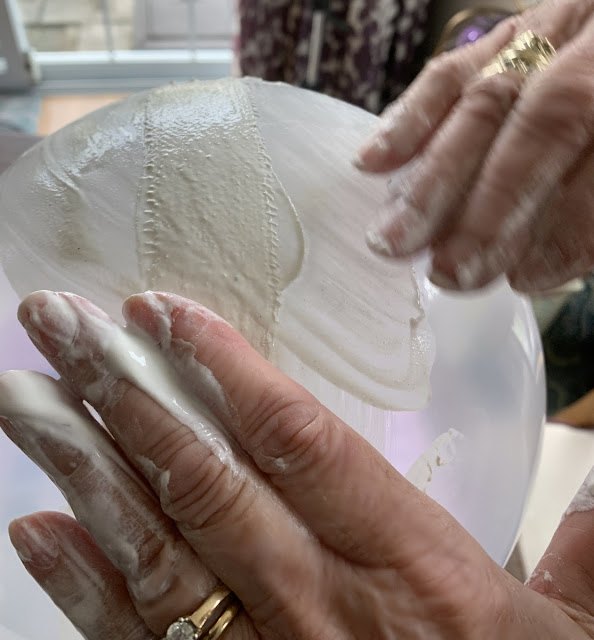
Continue wetting the plaster strips, laying them on the balloon - overlapping strips and smoothing them out.
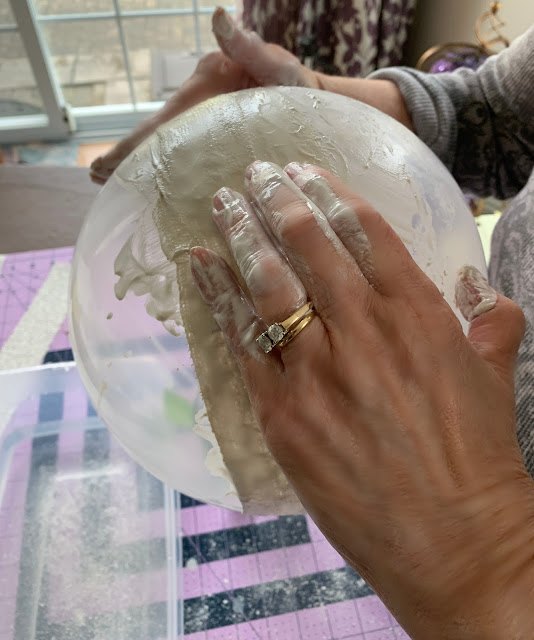
Notice how messy this is! There's lots of watery plaster drips everywhere! I guess I should have used gloves, or taken my rings off since I got plaster all over them! But I always like to actually feel what I'm working on. I know, sounds crazy right, lol!
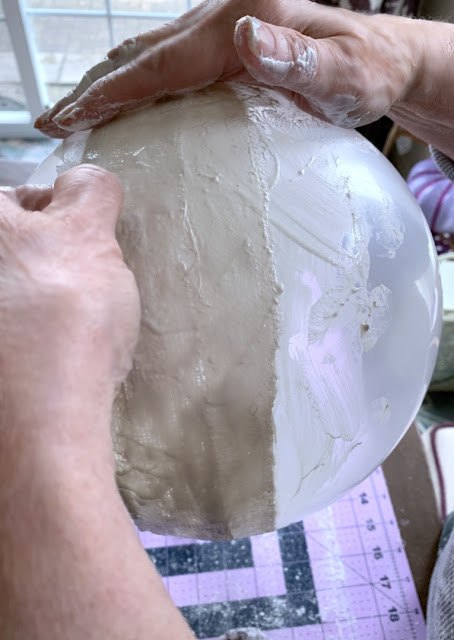
Continue adding strips of plaster cloth over the balloon and . . .
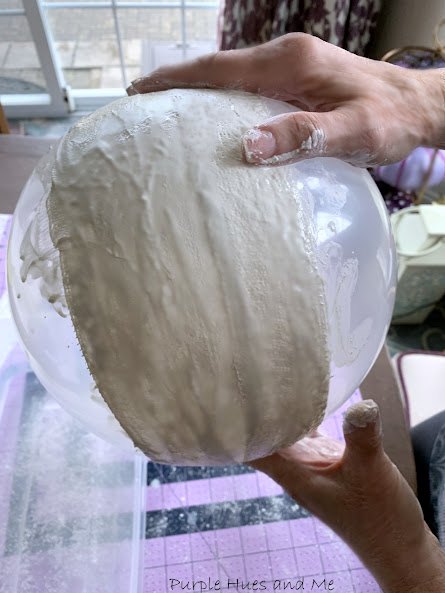
smoothing them out - as best you can!

As you add more plaster strips to the balloon, you might want to cut them shorter, since the area will get smaller and smaller.
Carry on with placing plaster cloth strips over the balloon and smoothing them out. See the wrinkled strips on the table? I tried straightening them but that wasn't happening!
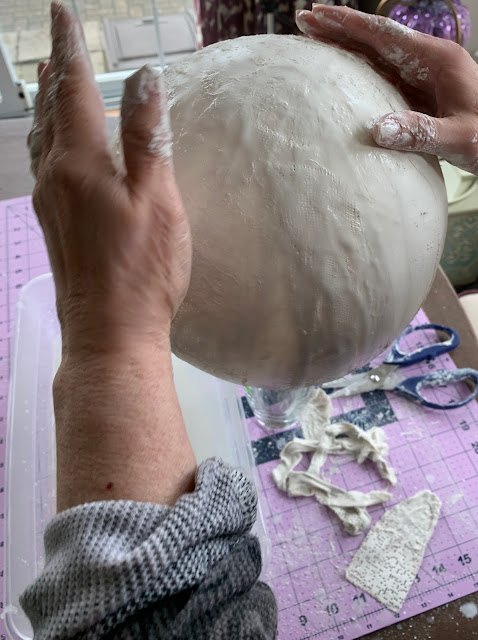
Once the balloon is completely covered, make sure no areas are missed or need more strips.
Once you're satisfied with how the plaster cloth egg looks and feels, let dry overnight. Be sure to clean up all the plaster dust particles and residue that's around. And please, do not pour the plaster water down the drain. Put it in a jar and throw in the trash.
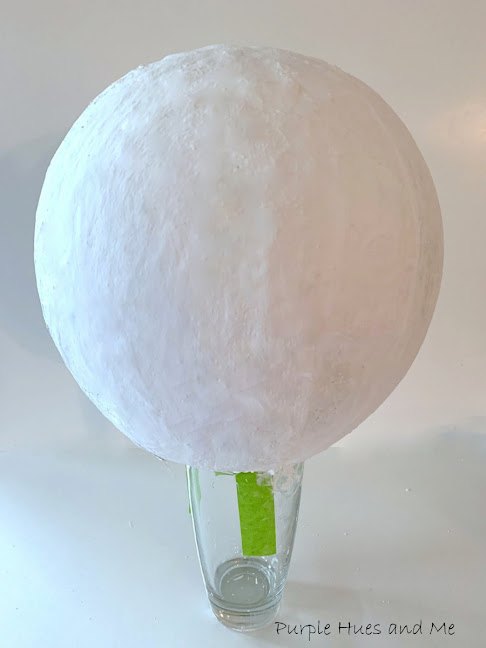
Once dry, remove the tape from the plaster cloth egg and . . .
pop the balloon and remove after it deflates.
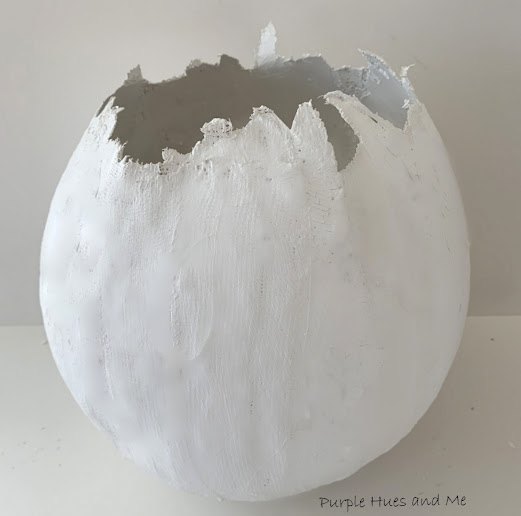
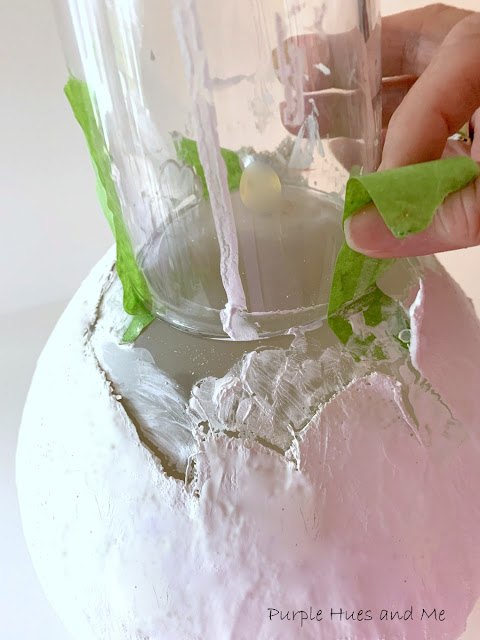
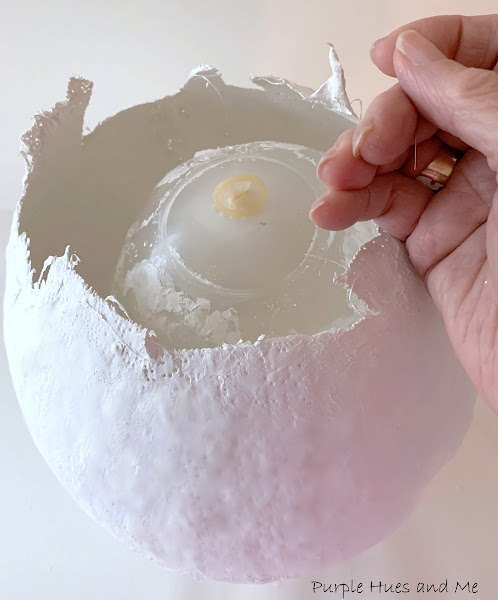
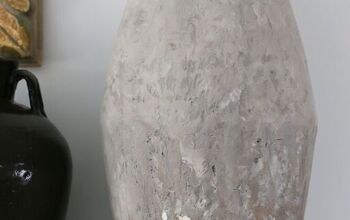
The edges of the plaster cloth egg will be rough, so use scissors to shape into a more cracked egg look.
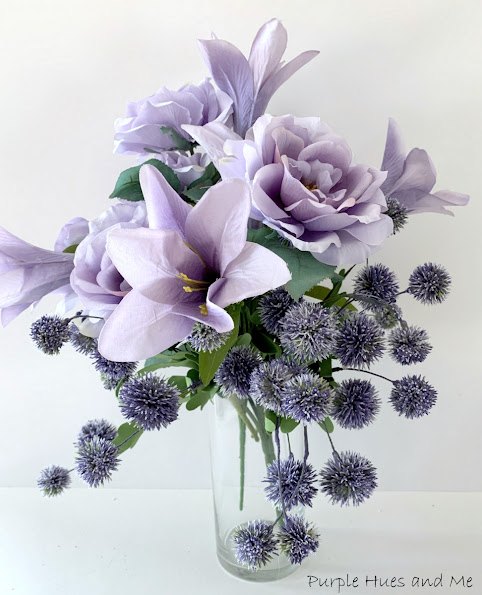
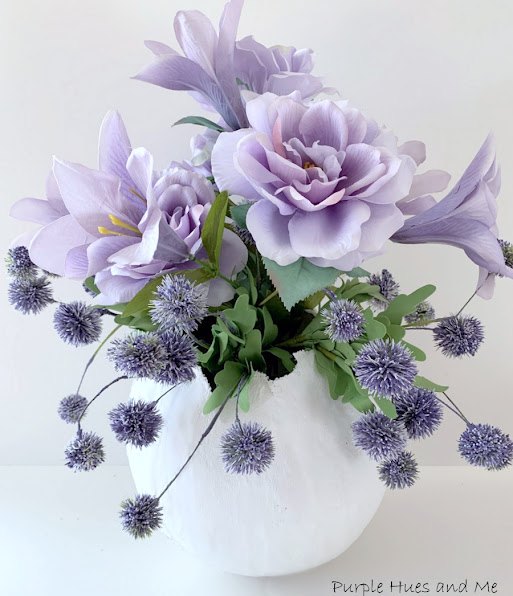
For the vase, place faux flowers in a sturdy glass . . .

and place in the center of the plaster cloth egg for a pretty spring look!
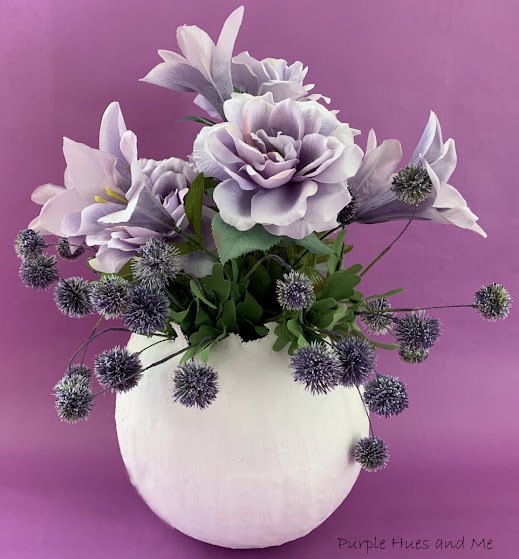
Just perfect for Spring!

Comments
Join the conversation
-
Yes!! I love this. I’ve wanted to try some of these types of projects. Thanks for posting.


Frequently asked questions
Have a question about this project?