


Pumpkin Topiary
by
Jodi
6 Materials
$40
2 Hours
Medium
Embellished pumpkins greet you at entry.
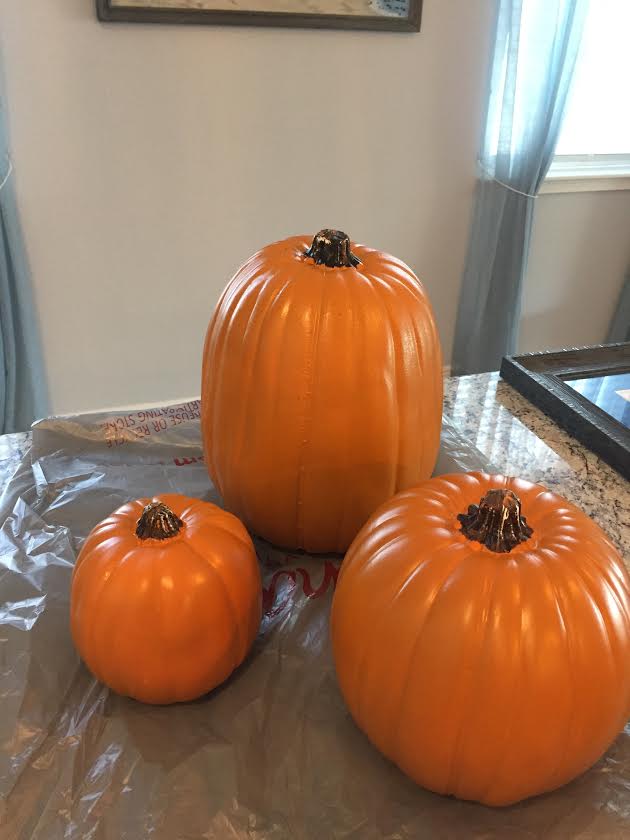
Bright orange foam pumpkins.
I felt these little guys were just so bright. See next photo where I added paint to them. I used my dremel to remove the stems from the two larger pumpkins. The little pumpkin is left with the stem on.
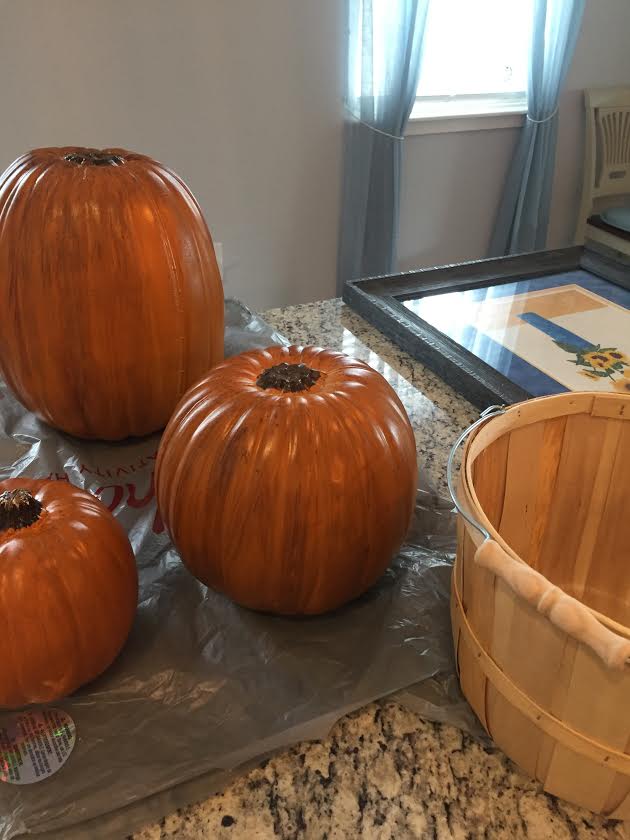
Brown paint added, stems were cut off.
Here you can see where I sponged on some brown paint to add depth and make the pumpkins look more real. I painted brown paint on top of where I sawed off the stems. Use your sponge to lighten up parts. This make them look real.
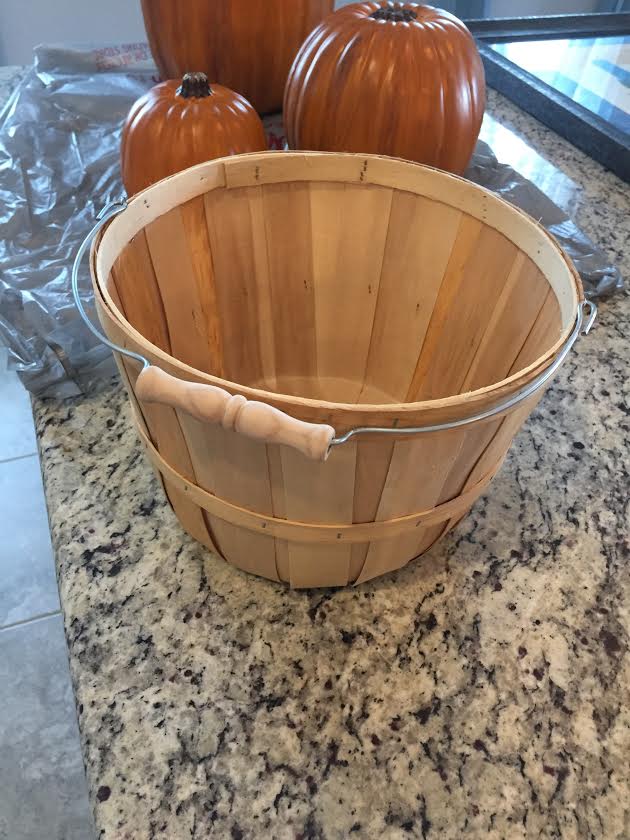
Apple basket used as the base.
This is the basket I selected to use. I thought about using a dollar store dark orange-brown plastic trash can to put the pumpkins in as a second choice. But I liked this look much better. If you want to save money make it without placing the larger pumpkin in anything.
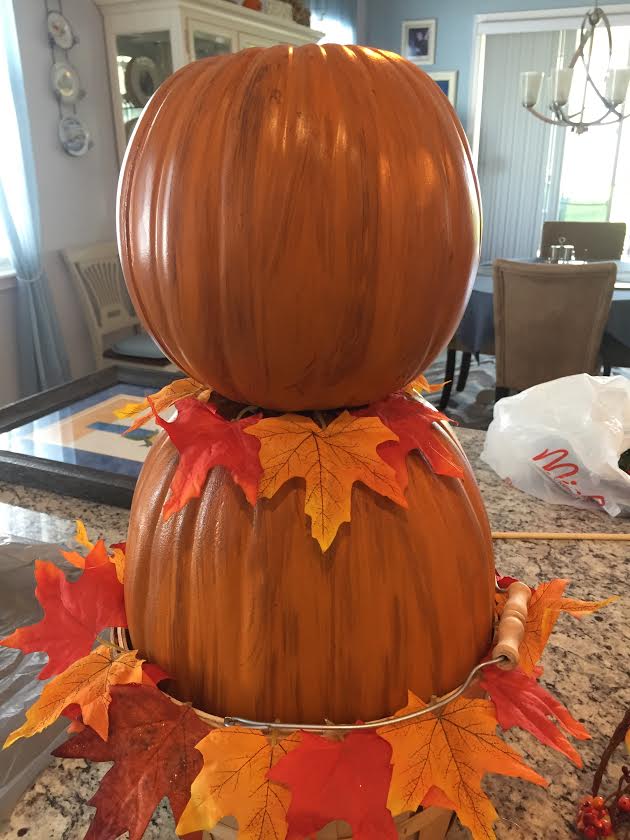
Hot glue used to add leaves.
So in this photo I have glued the larger two pumpkins together and am adding leaves around the basket rim and between the pumpkins. This also served to hide the glue while adding color and the pretty decorations.
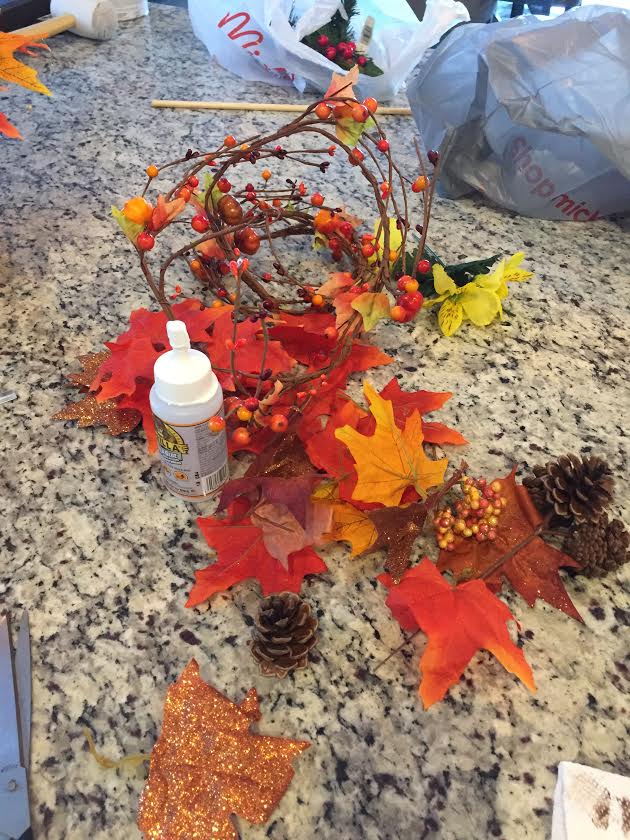
Picture of my Embellishing items.
Here I used my wire cuter to cut pieces off the wired berries, leaves and tiny pumpkins. The pine cones were cut off the stem wire they came with. I used these between the pumpkins for color and to add some small embellishments. I also used Yellow, red and glittered leaves between the pumpkins.
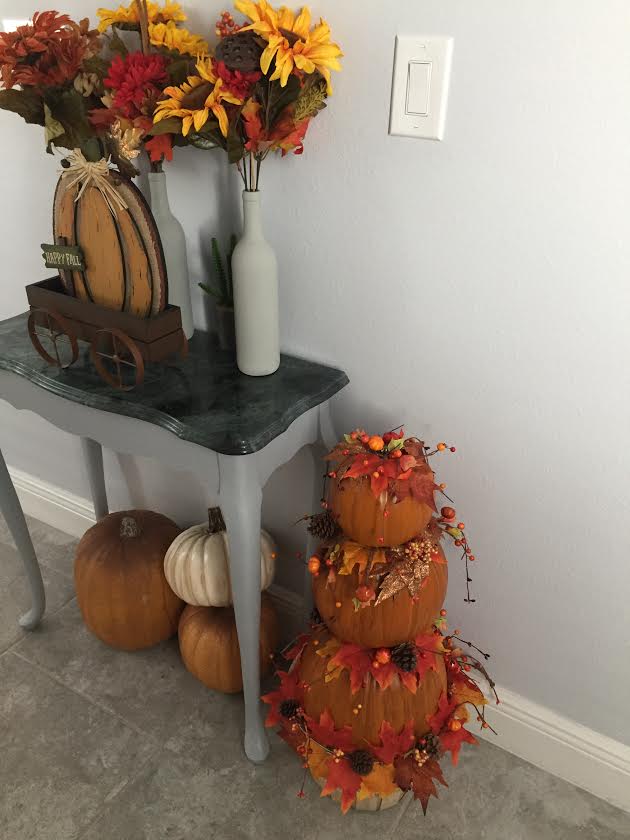
My Topiary in the entry.
After placing the finished project in our entry, hubby thought we would enjoy it more in the great room where we could see it.
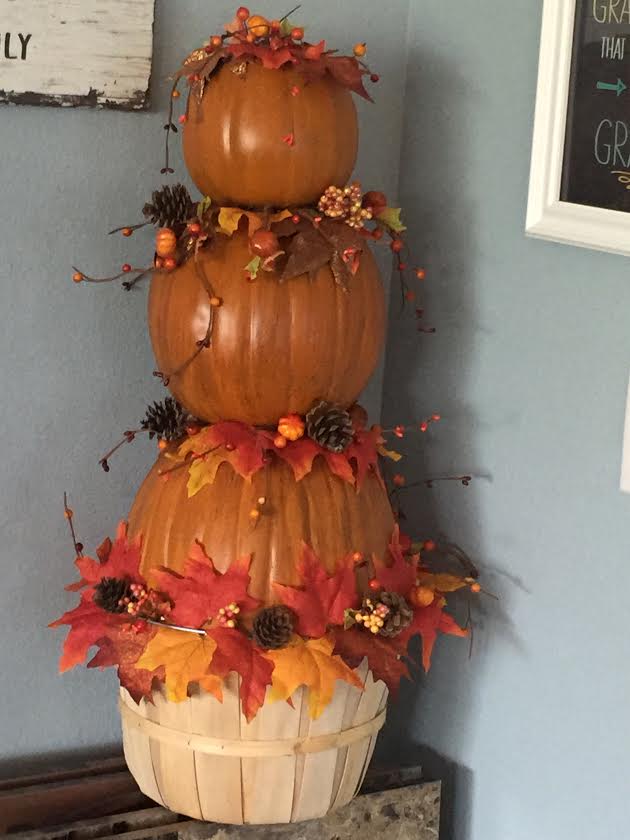
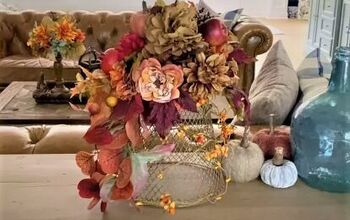
Finished project in great rrom
This picture shows the pumpkin Topiary in the great room where we can enjoy it. I am very happy with the final project.
Resources for this project:
See all materials


Any price and availability information displayed on [relevant Amazon Site(s), as applicable] at the time of purchase will apply to the purchase of this product.
Hometalk may collect a small share of sales from the links on this page.More info
Comments
Join the conversation
2 of 23 comments
-
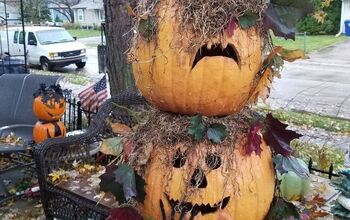
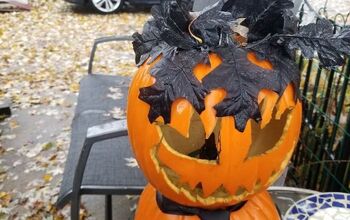
We used large pots for a base and filled them with cement for stability. One side is cut as jack-o-lanterns. The second one has a thick board as a base.
-
That’s a good idea if I was using it outside. I


Frequently asked questions
Have a question about this project?