


Quick and Easy Seasonal Burlap Bunting

I love making burlap bunting to fit in with each season as an addition to my seasonal decor. Recently I discovered a super easy trick to speed up the process so I used this method to throw some together to add to my fall decor.
I used a triangle template to draw around on the burlap with a sharpie. I had loads of scrap pieces of this which was left from other projects so didn’t need to purchase fabric.
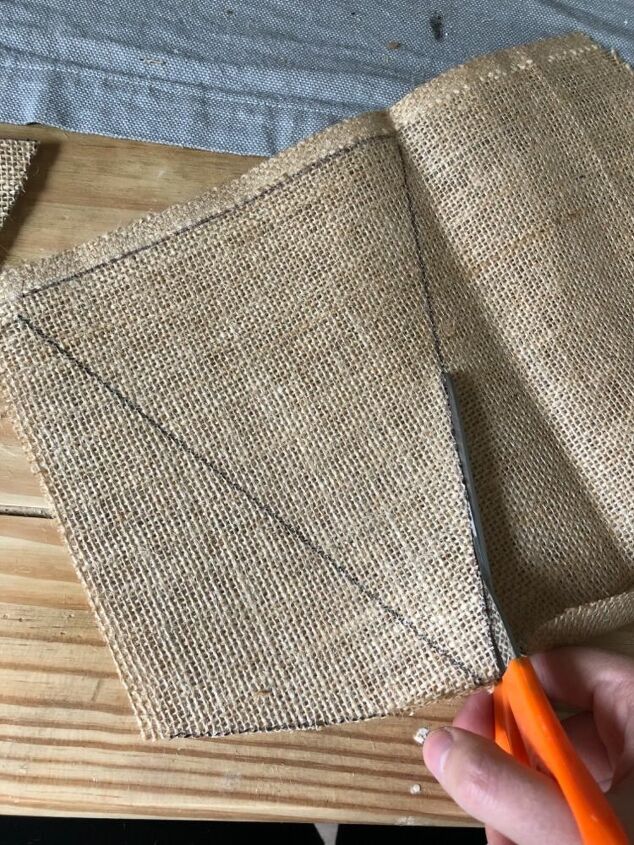
Cut out the triangles.
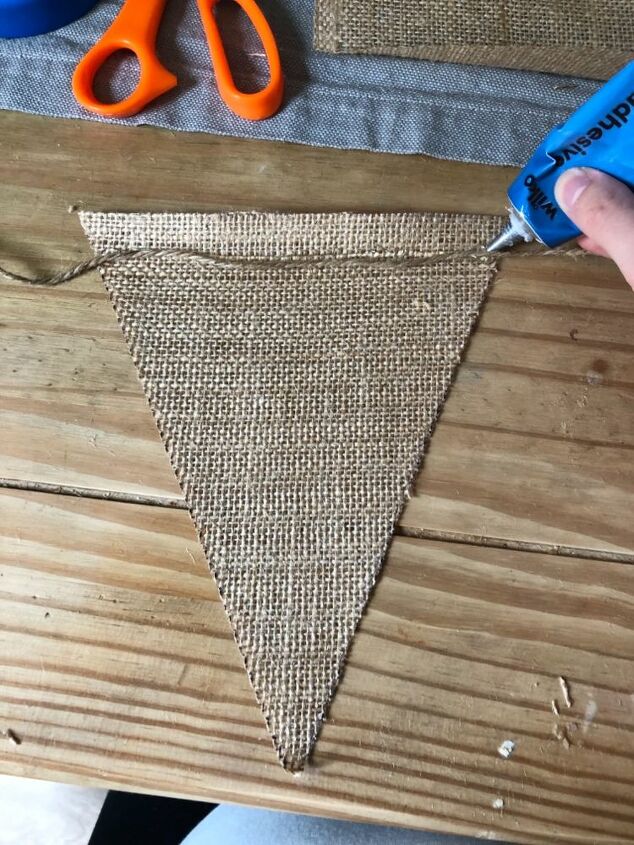
Ensure that you place the burlap triangles pen side up (so that any pen left where the triangles were drawn doesn’t show when you put it together) then line up some twine at the top. Glue along this line.
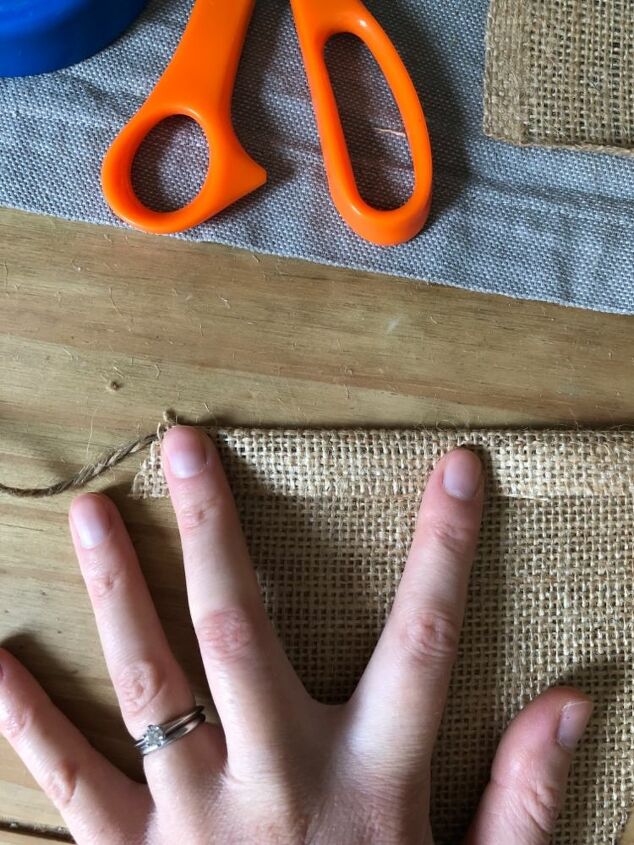
Fold the fabric over the glue and twine. I folded about a cm of fabric over and made sure this was the same on each triangle.
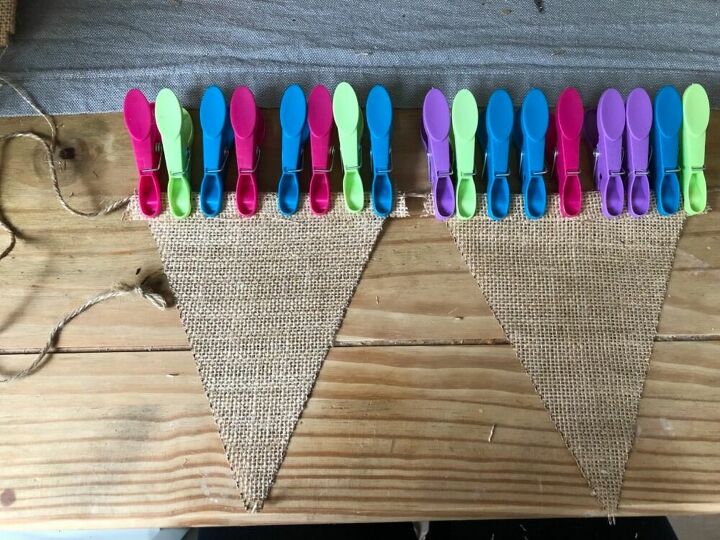
Peg along the folded strip with laundry pegs to hold the glued fabric in place while it dries. Continue this process along the twine, placing the triangles the same distance apart until you have the amount of bunting you need.

On the computer type out your lettering in your chosen font and resize to fit the bunting triangles. I used Times New Roman and enlarged to 240.
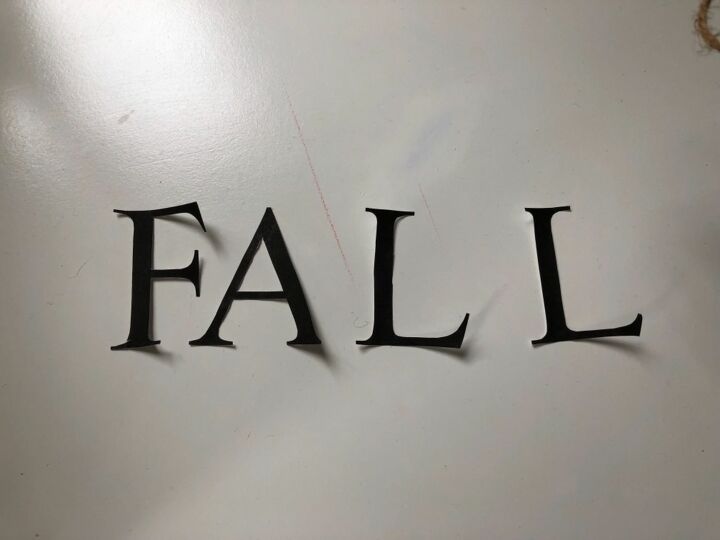
Carefully cut out the letters ensuring there is no white outline from the paper.
I have previously used cut out letters as a template to draw around onto the fabric and then used acrylic paint for the lettering. Then last time I made this bunting I realised I could just stick these letters directly to the fabric which obviously saves a huge amount of time but produces neater lettering.
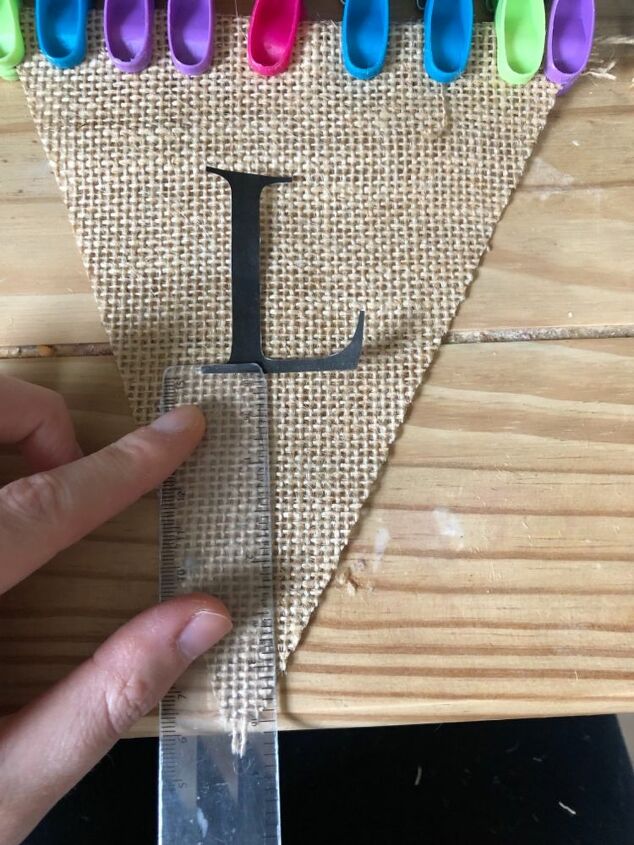
Measure each triangle to ensure the letters will be placed evenly.
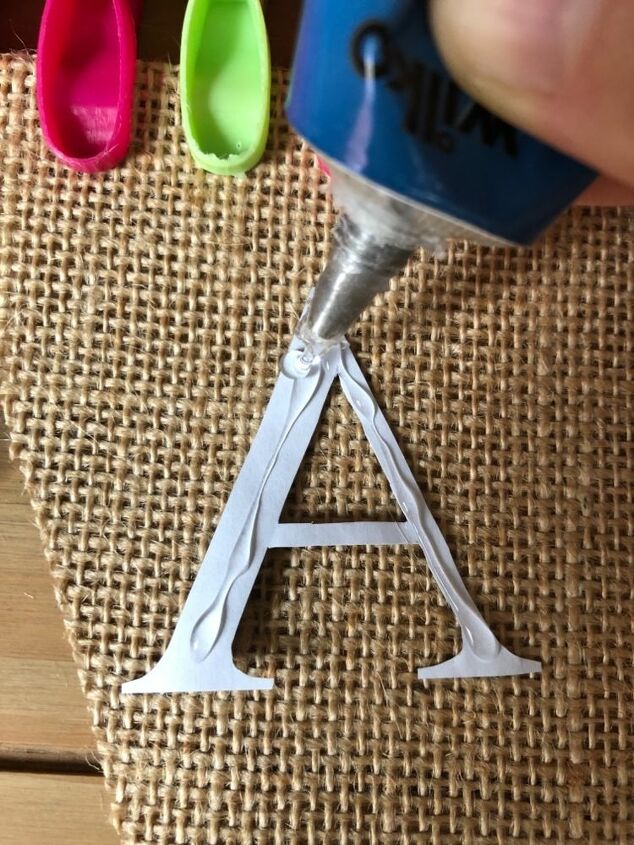
Glue the back of the letters and neatly stick in place on the burlap.
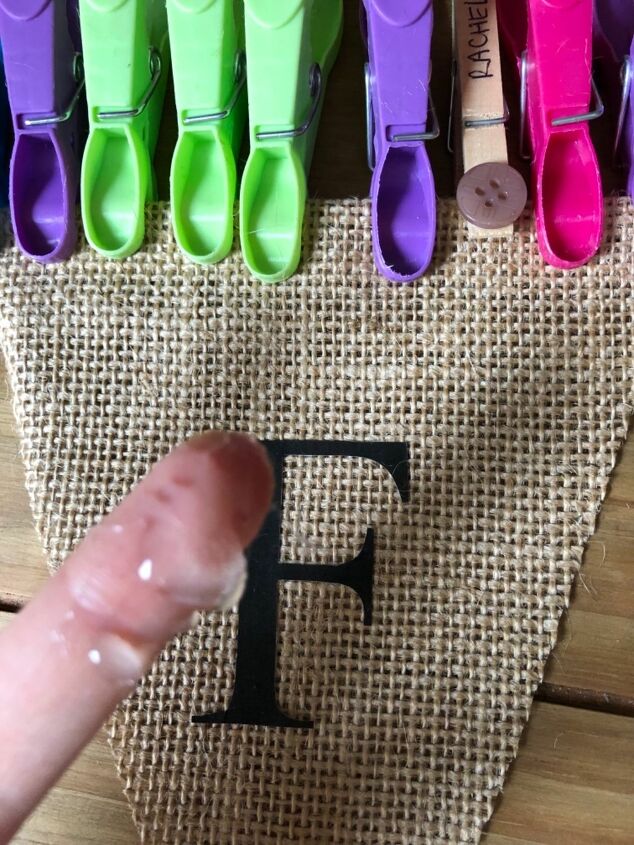
Then take a small amount of glue on your finger and smear it over the top of the letter quickly so that the letter doesn’t start to stick to your finger. This means that all the small edges of the letter will be firmly stuck and blended with the fabric.
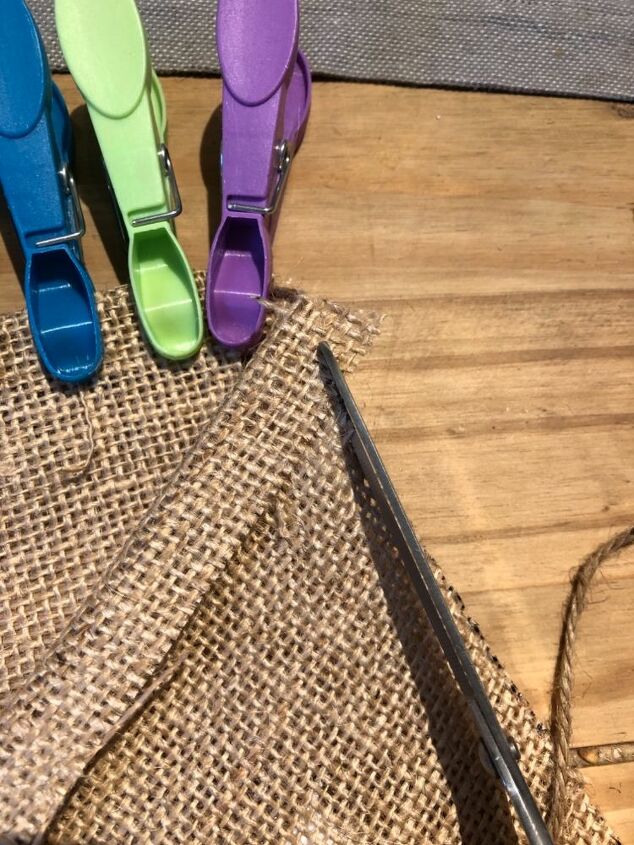
Once the glue is dry remove the pegs and carefully trim the excess burlap at the edge of the strip to finish off.
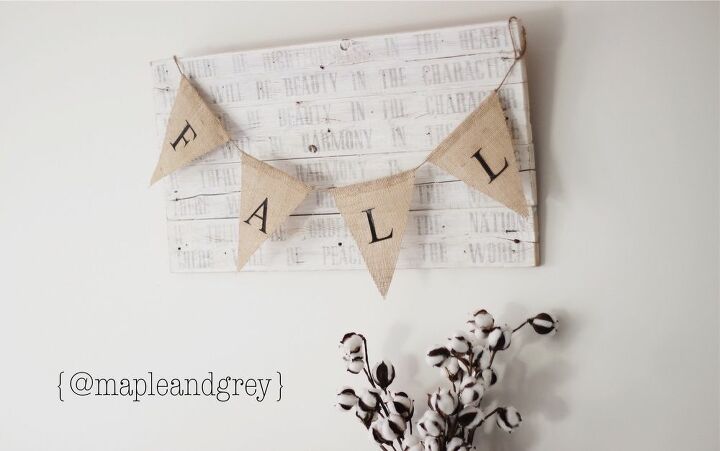
This is the finished result! It’s so versatile and cheap to make so can be adapted for any season.
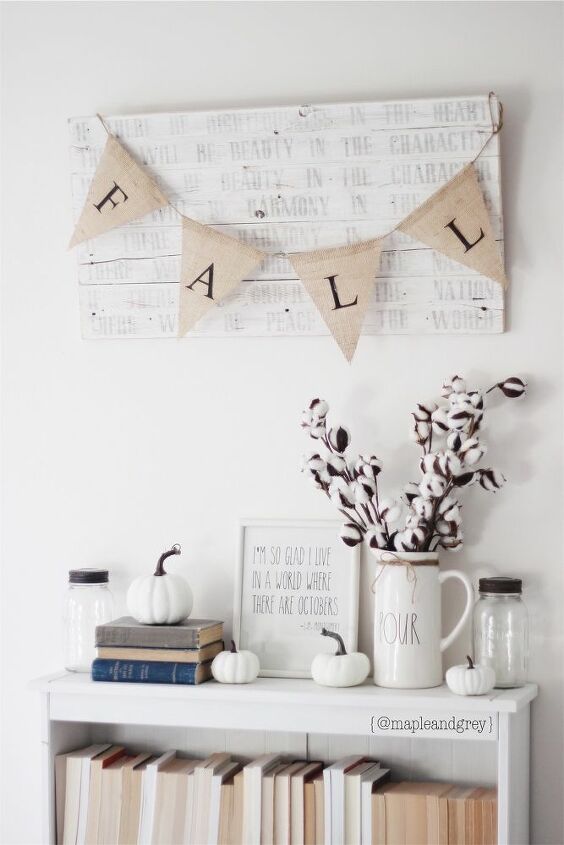
So quick and easy and it was the perfect finishing touch to this year’s fall decor!
Resources for this project:
See all materials


Comments
Join the conversation
-
Okay, this is too pretty and too easy! I have a weekend project now


Frequently asked questions
Have a question about this project?