


Recycled Tea Towel Spring Carrot Bag

Today I'm making a fun Spring project using things I already have at home. I'm also combining it with another DIY project from the Homeroad archives...
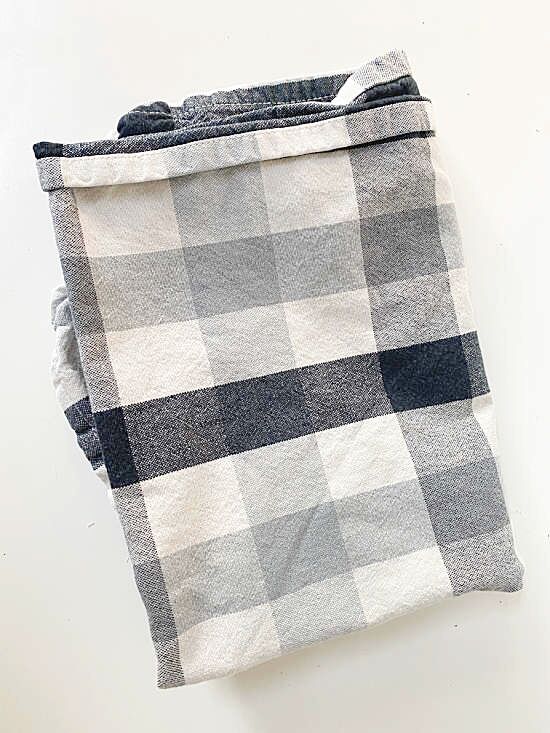
I started with a tea towel, not a new one but an old one from the kitchen lol!
It was clean, unstained, and nice and soft.
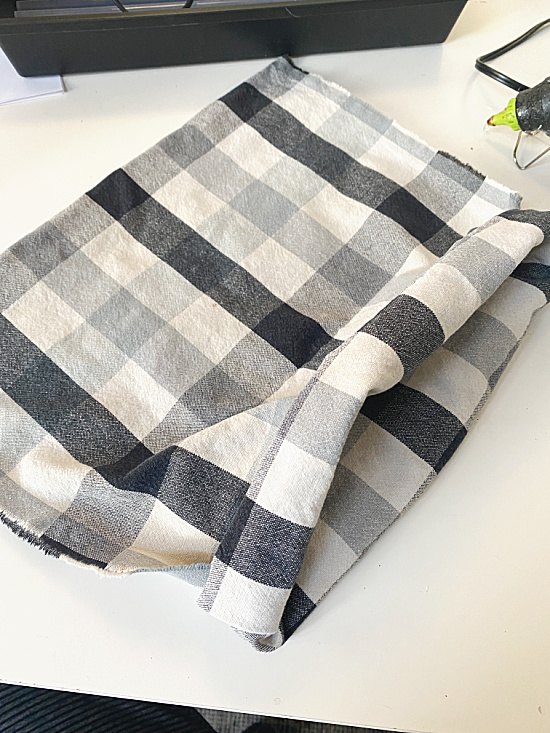
The first thing I did was to fold the tea towel in half, top to bottom.
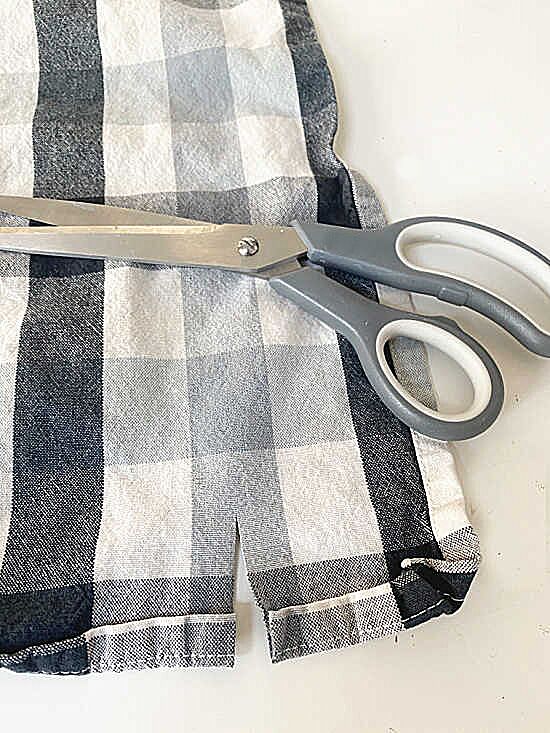
Next, I made a snip in each side of the towel and ripped the fabric so the edges would be frayed.
I ended up taking about 3" off one side and an inch off the other.
Save the 3" scrap for the end!
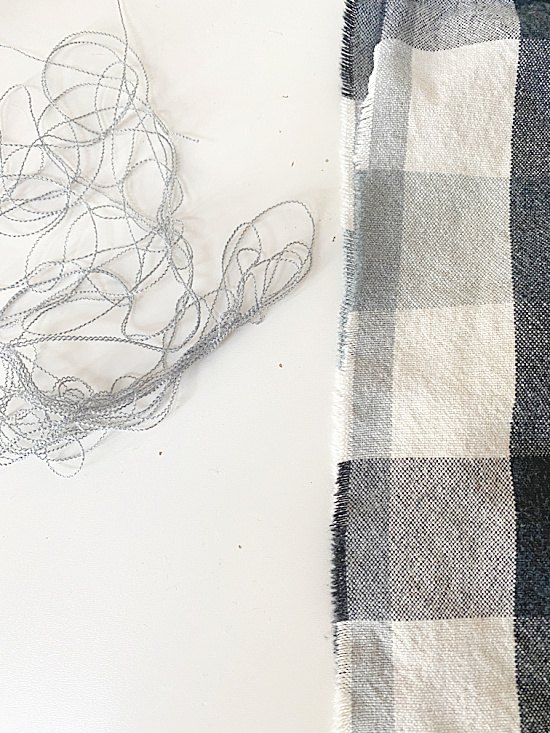
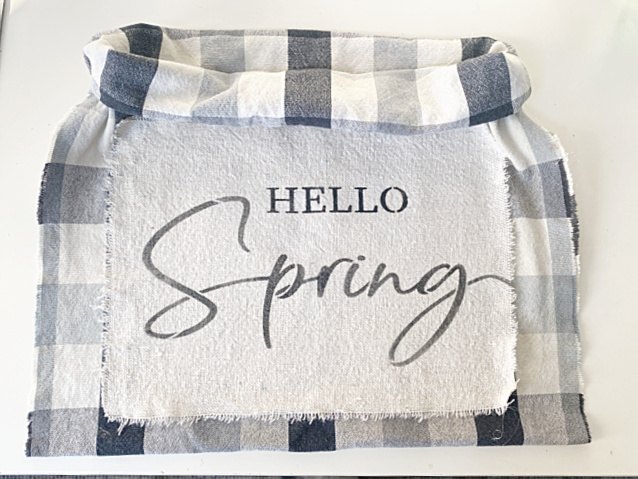
Next, I hot glued the edges of the tea towel closed.
I ran the bead of glue about 1/2" from the frayed edges.
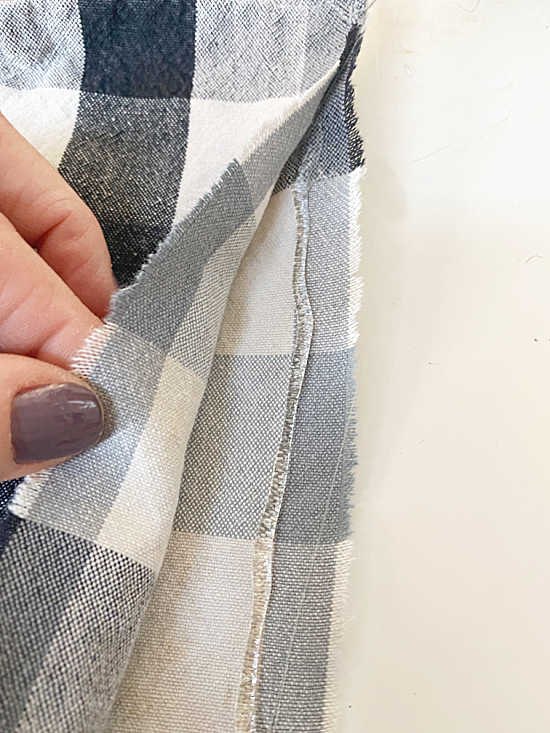
The top edge of the tea towel still has the original seams.
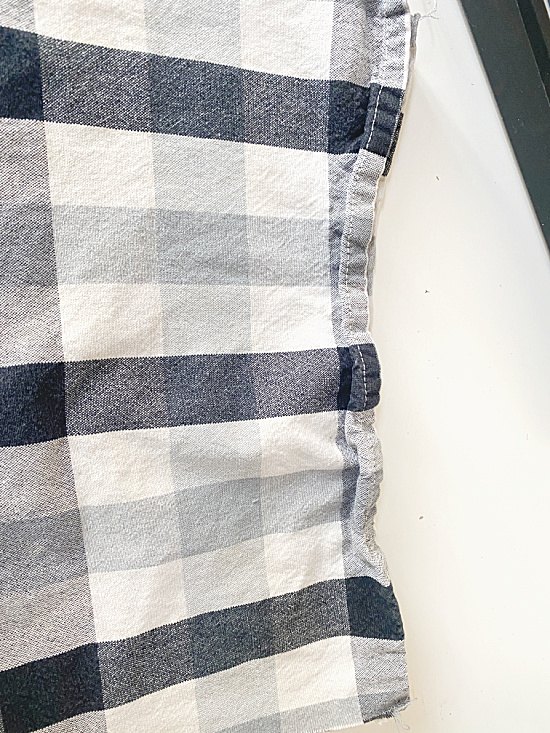
When the glue dried, I folded over the top seamed of the tea towel bag a few times.
Next, I cut a rectangle of painters cloth fabric and frayed the edges.
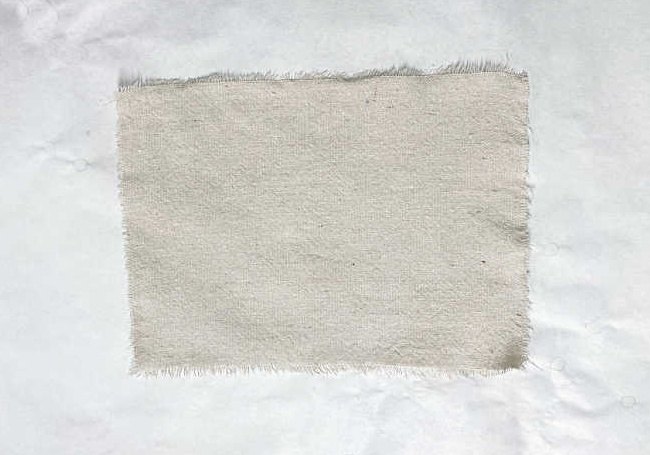
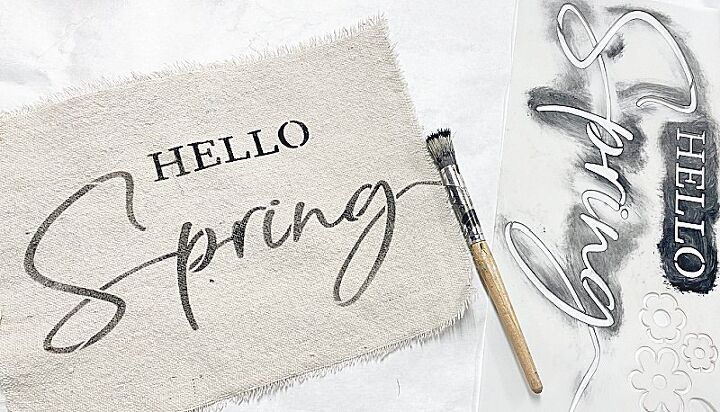
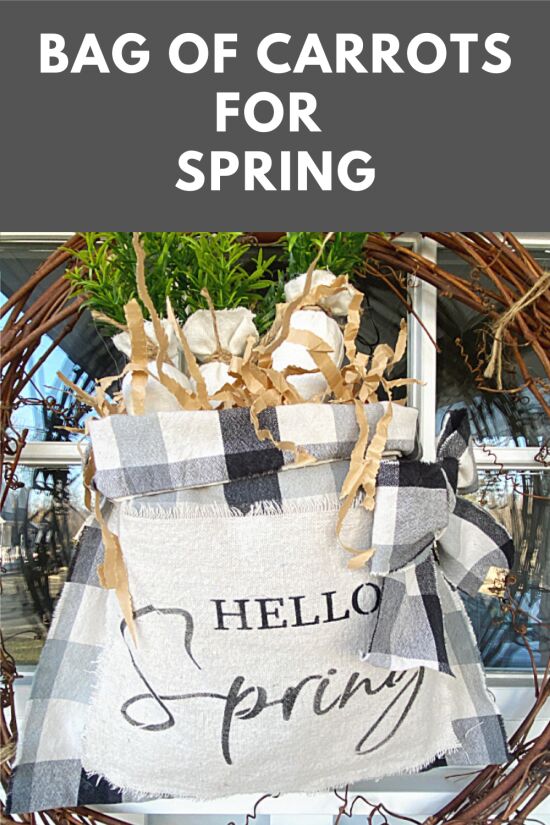
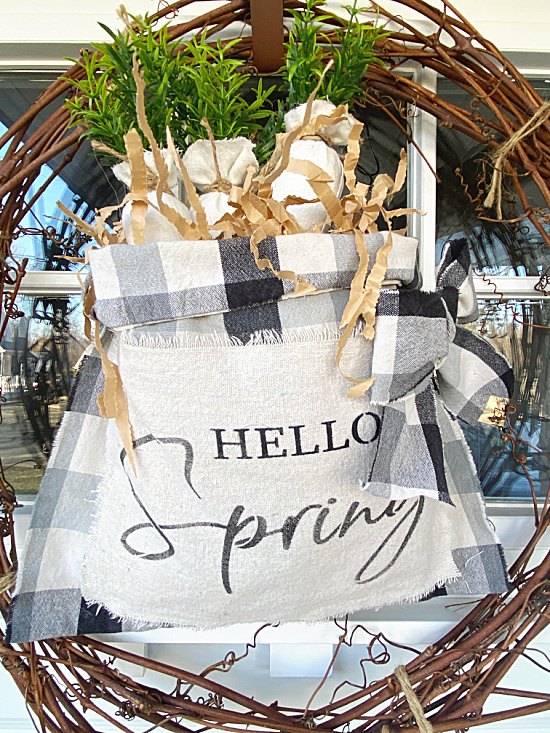
I chose a Hello Spring stencil from the set of Spring stencils I purchased from Amazon recently.
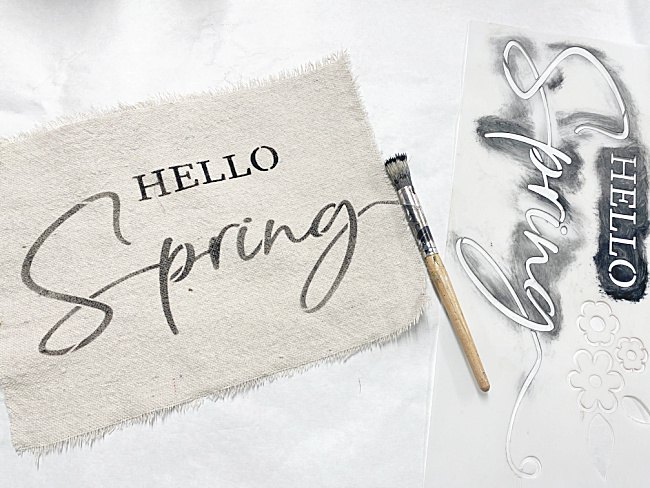
I hot glued the stenciled fabric onto the front of my tea towel bag.
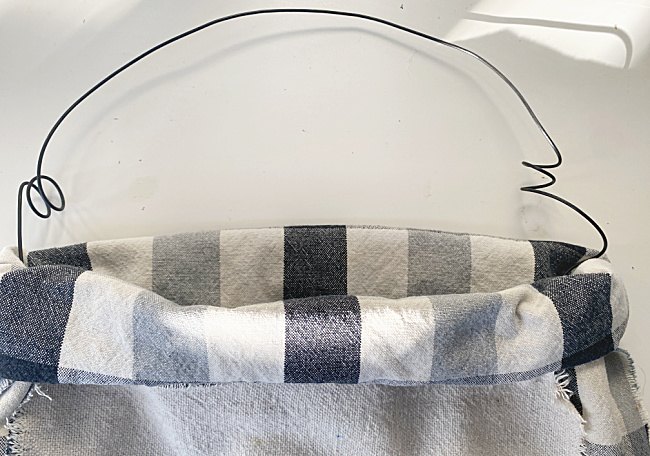
Next, I used a length of rebar wire and stuck it through the fabric on each side to form a hanger for my bag.
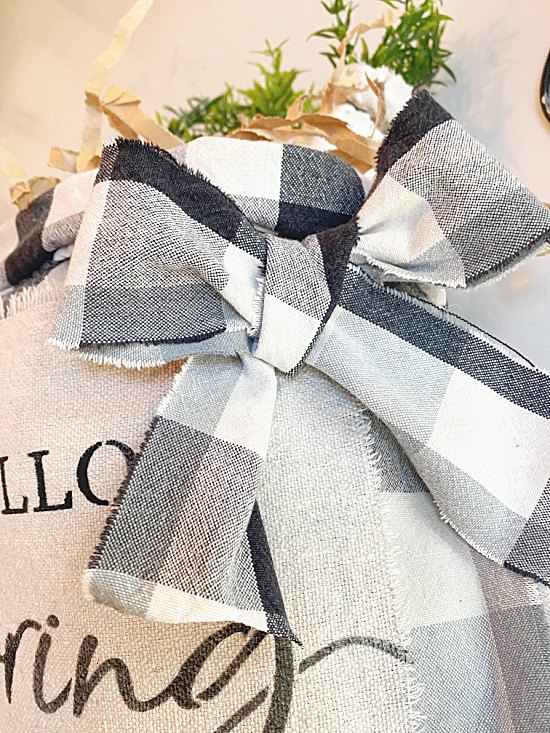
Now it was time to grab that 3" piece of fabric I tore off the tea towel.
I tore the last edge and formed a bow that I hot glued to the side of the bag.
Now it was time to fill the bag!
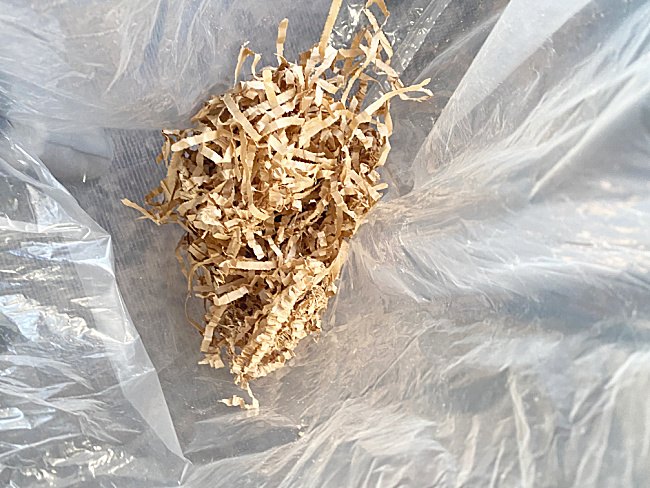
I saved shredded packing material that came in a delivery box and stuffed my tea towel bag.
I stuffed the bag then added stuffed carrots .
The stuffed carrots were another fun Homeroad project!
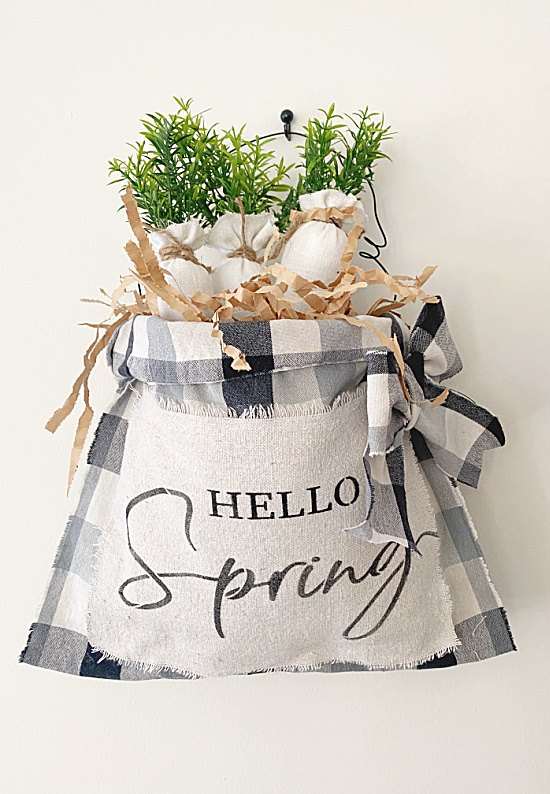
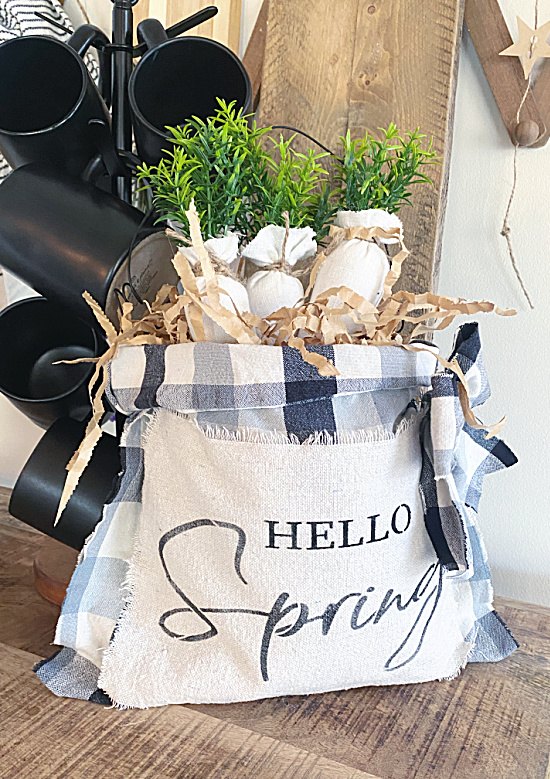
How cute is this old tea towel now?!
It can hang or sit on a shelf.
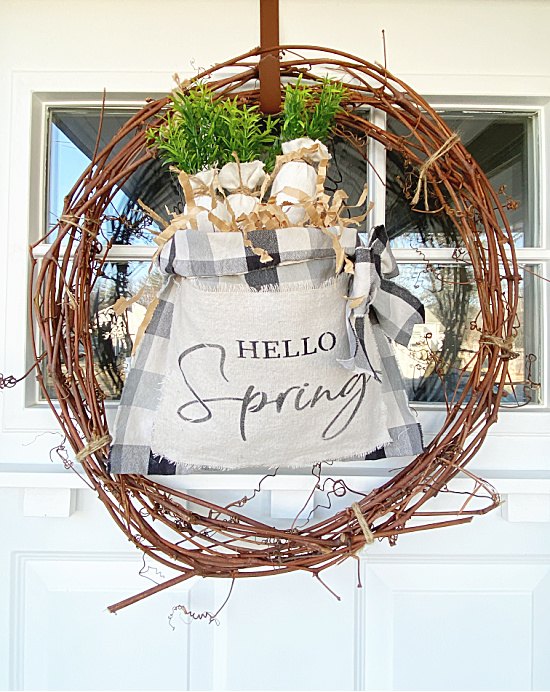
I decided it looked great hanging on a simple wreath on my DIY front door too!
I made the wreath using grapevine I found in my Mom's yard.
This project can be done with any kind of pretty tea towel!
I happen to be a big fan of buffalo check projects!
Thanks so much for visiting and before you go please sign up for the Homeroad emails in the pop-up so my next DIY tutorial will go straight to you!
Resources for this project:
See all materials


Comments
Join the conversation
-
Great idea!
-
Very cute !


Frequently asked questions
Have a question about this project?