


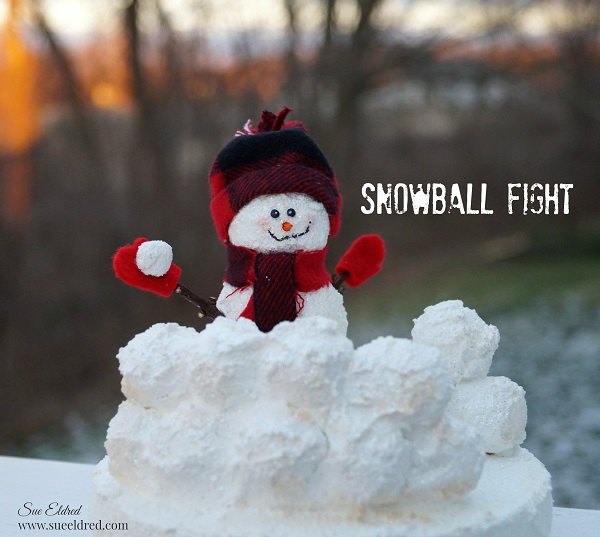
The Best Way to Have a Snowball Fight
This one's for my East Coast Friends...
Ready for some good old fashioned fun? How about a snowball fight?
Ready for some good old fashioned fun? How about a snowball fight?
If you're not loving the cold...
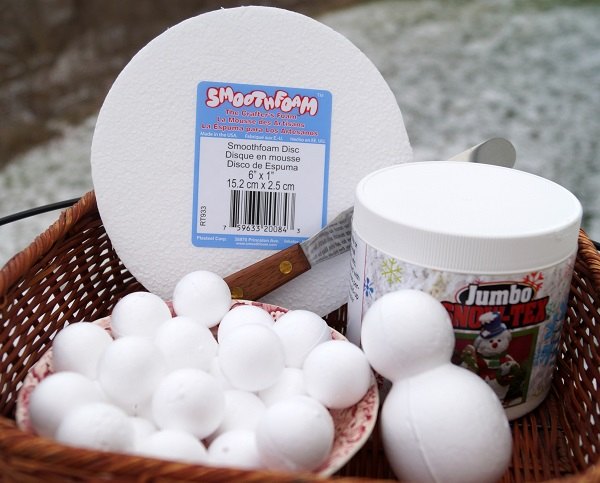
Here's what's you'll need:
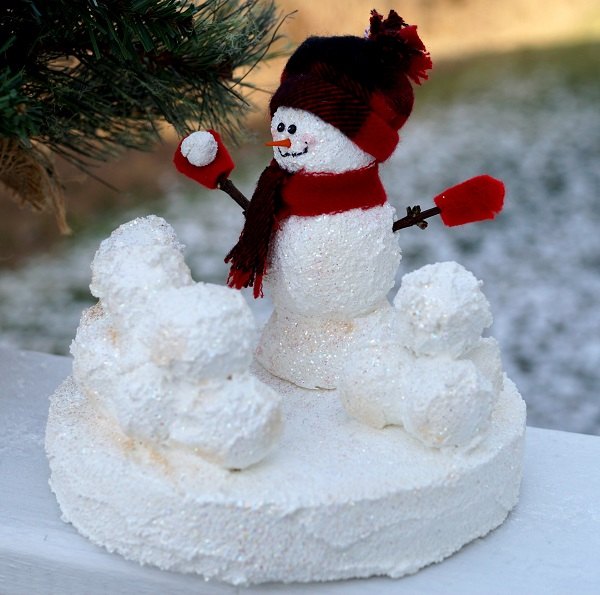
Directions:

Want more details about this and other DIY projects? Check out my blog post!
Comments
Join the conversation
2 of 5 comments
-
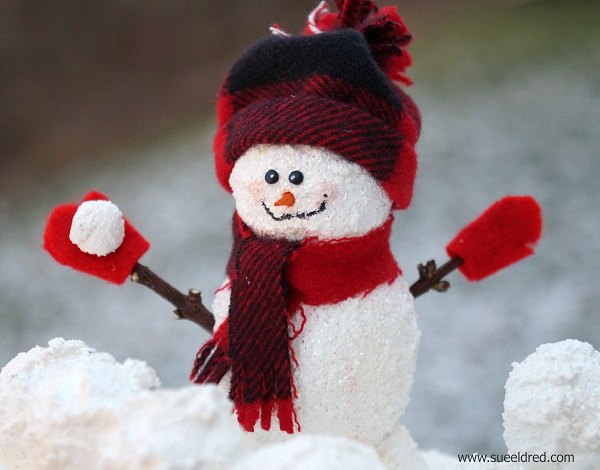
This is so darn cute!
-
TOO cute!


Frequently asked questions
Have a question about this project?