


Winter Dried Fruit Decor
When you think of lemons, limes, oranges, and grapefruits, I bet most of you think of warm weather and tropical cocktails. But today, I’m going to show you how a little dehydration can turn those juicy summer favorites into rich, winter design elements. Here’s what you’ll need to get started!
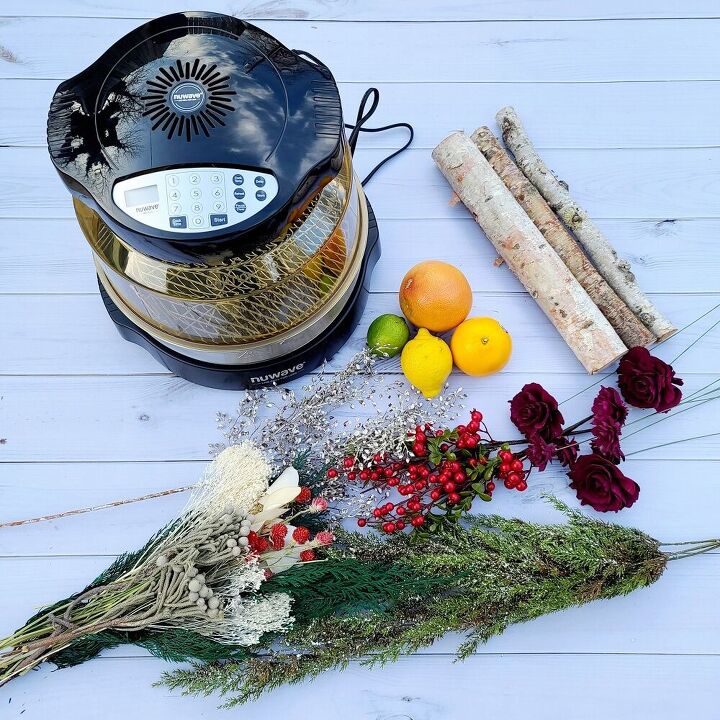
Here is what I used for this project:
- Citrus fruits (ruby red grapefruit, orange, lemon, lime)
- NuWave oven (you can use a regular oven or dehydrator)
- Birch logs (these came in a 3 pack from Michaels)
- Greenery and filler from Oh You're Lovely
- Wood flowers from Oh You're Lovely
This is definitely a process and will take quite a bit of time. There are sooooo many different ways to dry fruit and I am definitely not an expert in this area! That said, this is what has worked for me:
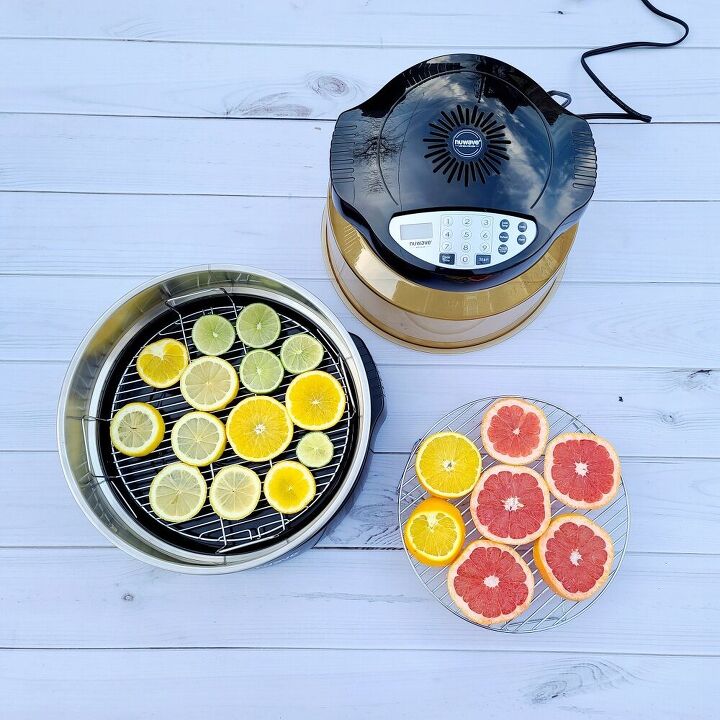
- Cut your fruits into thin slices
- Arrange them onto a grill-type grate
- Set the NuWave oven at 175 degrees
- Leave on for 2.5 hours
- Flip fruit slices
- Continue to "cook" at 175 degrees, checking every 30-45 minutes
- The limes and lemons will finish first so pull them when they are ready!
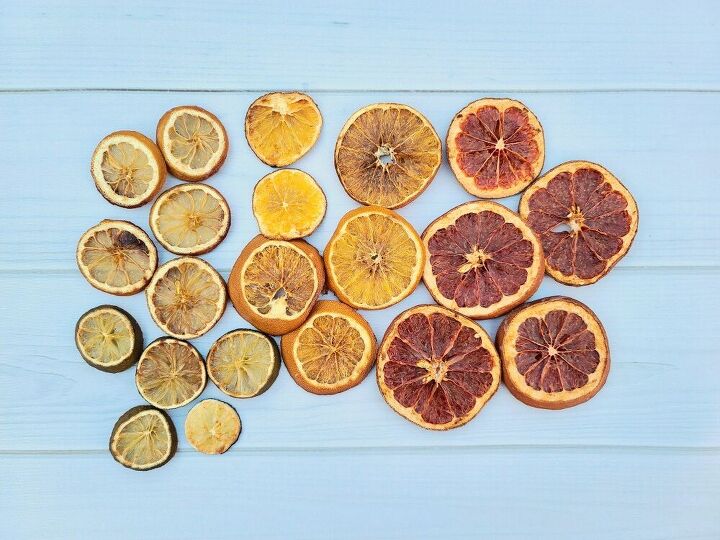
Everything is dried and smells amazing! Excited to create with these 
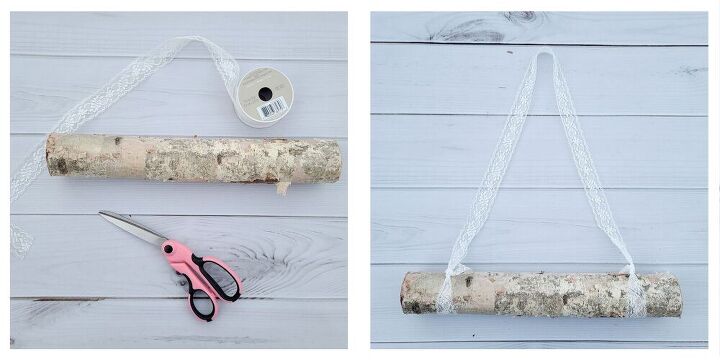
I love the look of lace with a more rustic arrangement so for the hanger part of the piece, I used a stretchy lace ribbon. You can use any type of ribbon, twine or string though! To attach, I made a loop of the lace around the log (at each end) and triple knotted.
We will cover up the connection points with greenery, flowers and fruit so use whatever method works best to secure the ribbon or twine to the log!
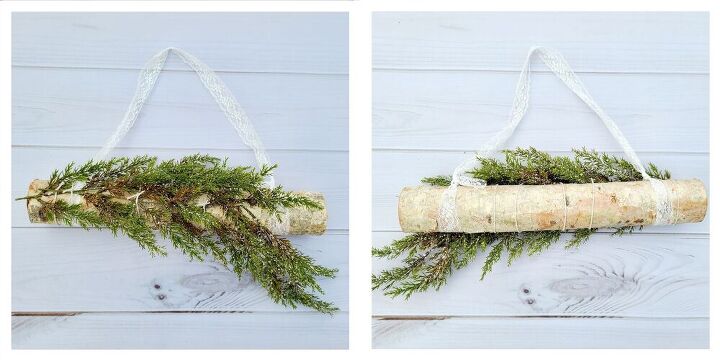
I wanted the greenery to have a bit of a waterfall effect on one end so I used a longer, more flowy faux pine greenery as my base. To attach, I took some string, pulled it under the log and tied the knot at the front facing side of the piece. I tie it on that side for two reasons:
- This keeps the back of the log flush so it can easily hang on a wall or door.
- We will be adding more fillers and the fruits and flowers to the front so they will cover up any string that might be seen as you build this base.
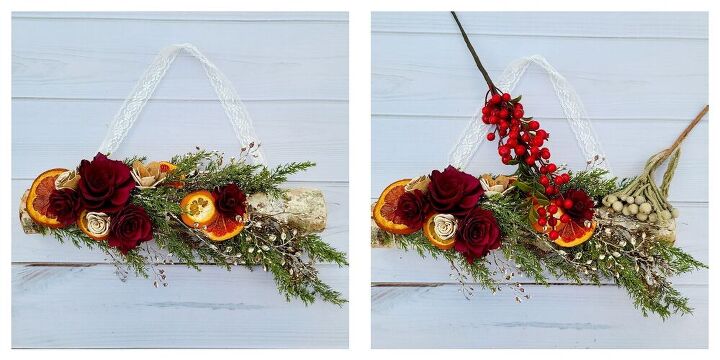
Starting at the left side of the log, I layered a few fruit pieces and then added some flowers directly on the fruit and onto the base greenery. For this part, I used hot glue, making sure that for the fruits, I was hot gluing the rind for a secure connection.
I was really loving the way the grapefruit looked with the overall vibe of this arrangement but some of the slices were a bit too big. I simply took scissors to one of the slices, cut it in half and then the two halves were ready to use!
After adding all of my fruit slices and flowers, I wanted to bring in a bit more of a holiday vibe. Red berries and brunia were the perfect touch!

My favorite part about this piece is that I can have it up all winter long.
What have been your favorite crafts to work on this winter season?!
Resources for this project:
See all materials


Comments
Join the conversation
-
Wow!! This is so elegant lookin'.........the lace adds grace. Binder twine or burlap would add rustic. I love it. The birch trees in the North are beautiful!! Western Pennsylvania is a beautiful state where they thrive.

-
I love it!!!!!


Frequently asked questions
Have a question about this project?