


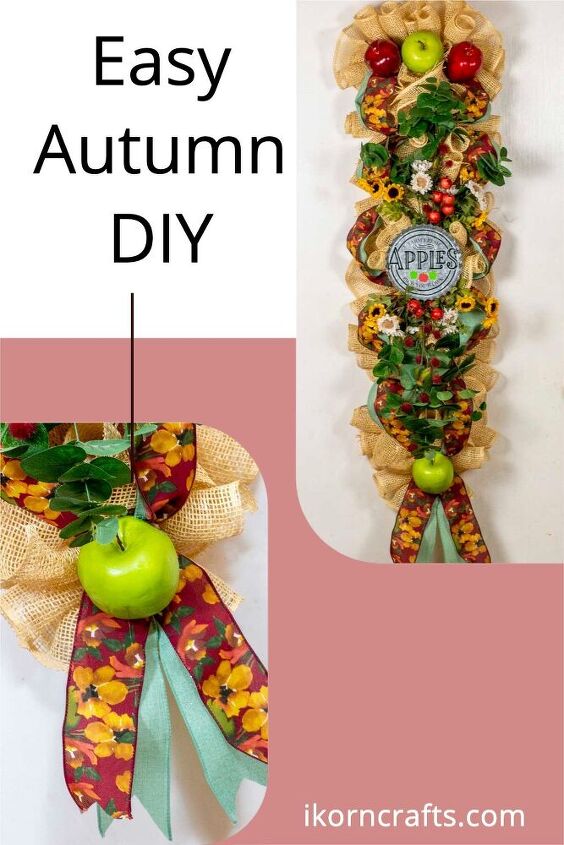
Apple Harvest Door Swag (Easy Autumn DIY)
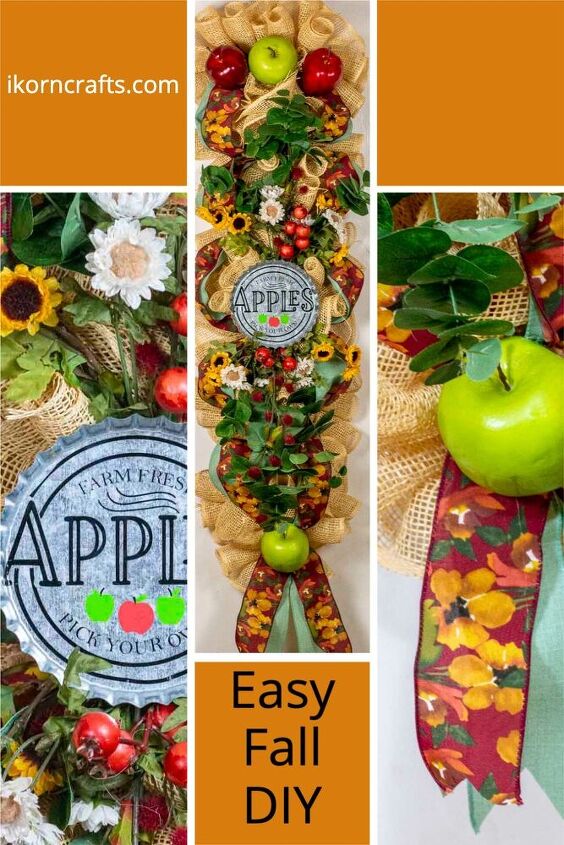
Learn how to make a DIY Door Swag using poly burlap mesh, a yard stick, fall ribbons and embellishments to celebrate the autumn apple picking season.
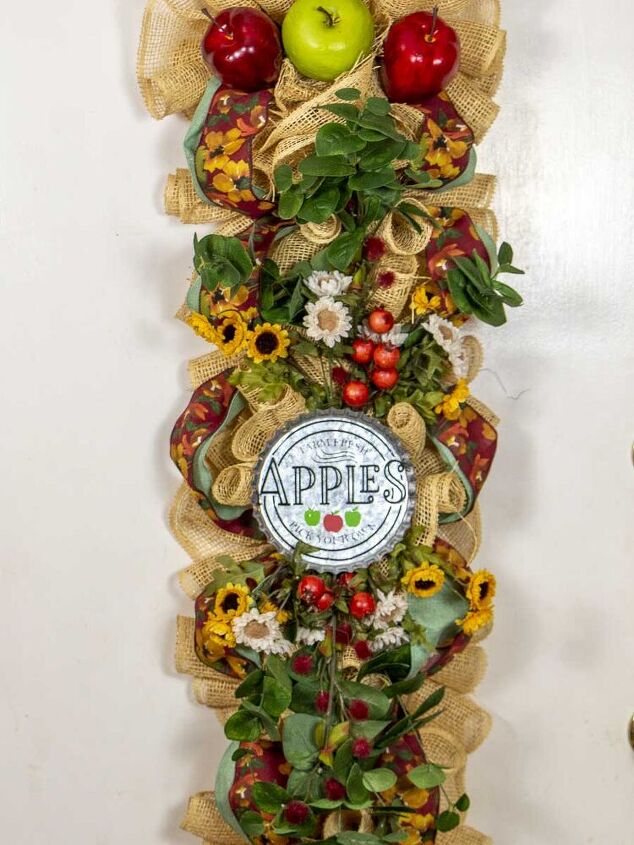
This easy door swag made on a yardstick (yes, the 36″ wood ruler you can find at the local home improvement store for about $1). The base of the swag consists of 10″ poly burlap mesh shaped into “Woodland Ruffles.” Using these ruffles provide a full base that combines both curls and ruffles.
To that base, I added apples, gorgeous fall-themed ribbons from Michaels, and a mix of florals and greenery.
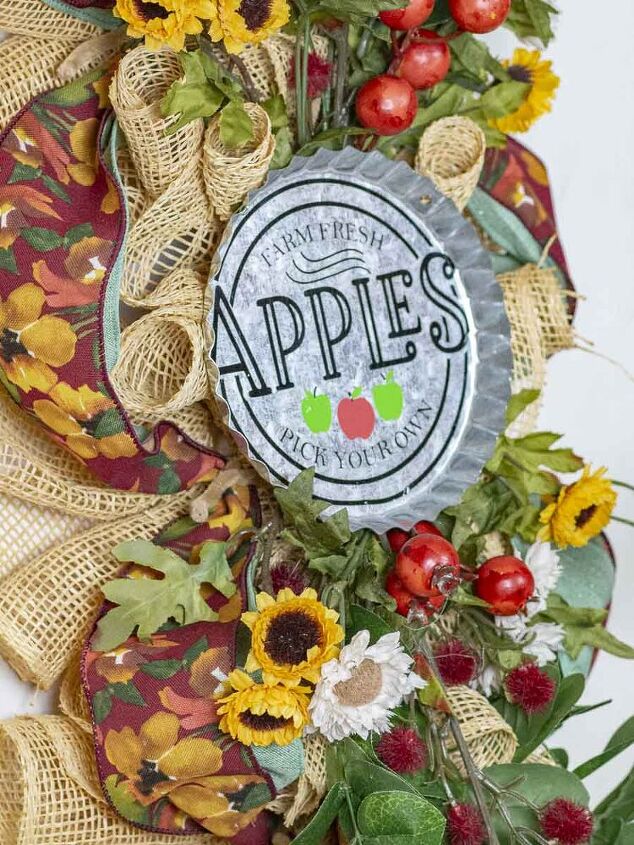
Finally, I added a cute sign I made from a Dollar Tree oversized bottle cap and an an Apple-Picking design I found on Etsy. However, you add any fall sign to your swag (purchased or hand made). I purchased the graphic design from AllThingsWereCreated on Etsy. With the help of my trusty Cricut Maker, I cut the design out of permanent vinyl and applied it to a Dollar Tree metal bottle cap. If you can’t find a metal bottle cap, this apple-picking design also would look great on wood, chalkboard, or plain metal.
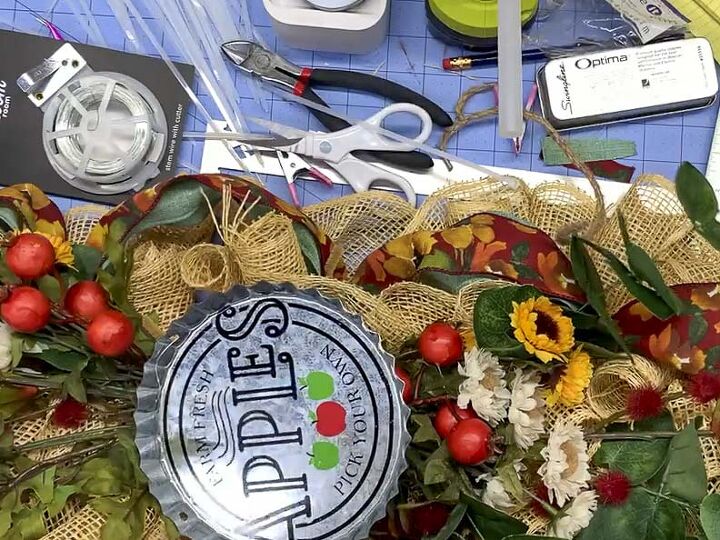
Here’s What I Used
Materials
Yardstick
Spray paint (optional)
Pipe cleaners (aka, chenille stems)
Wire (such as floral wire, a pipe cleaner or 18 gauge aluminum wire) Poly Burlap Mesh (2 rolls of 10 in by 19 ft)
Decorative sign
Zip ties
2.5″ wired ribbon (color/style A)
2.5″ wired ribbon (color/style B)
Floral stems and greenery
Wood floral picks with wire
4 artificial apples
Tools
Tarp or drop cloth (if painting yardstick)
Drill/Driver & bits (if drilling hole in top of yardstick)
Hot glue gun and glue
Ruler
Pencil
Rotary cutter and/or scissors
Cutting mat
Wire cutter
Clips (such as a clothes pin, chip clip, craft clip, etc.)
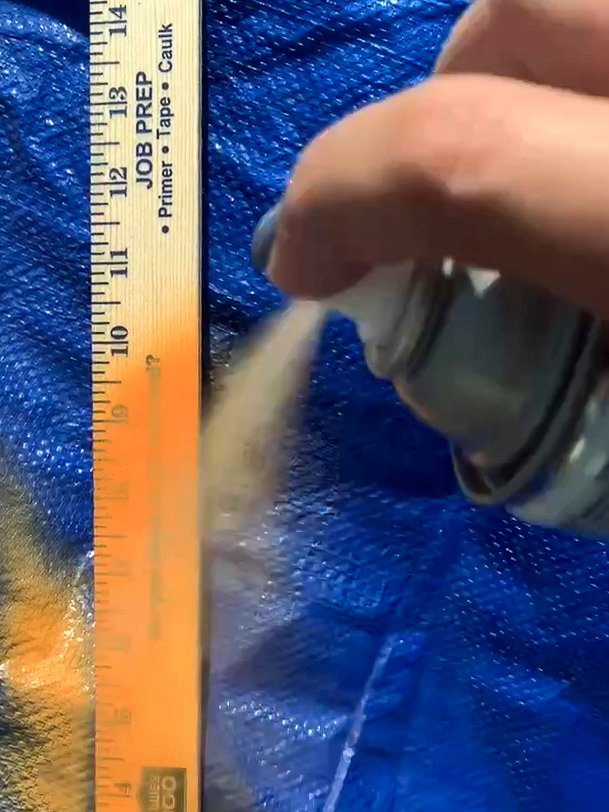
Paint yardstick (optional)
If desired, paint the yardstick. This step is optional since you most likely won’t be able to see the ruler through all the ruffles and embellishments once the swag is complete. Protect your work space against overspray with a drop cloth or tarp. Spray outside or in a well-ventilated area and wear a respirator to protect your lungs when spray painting.
Drill hole at the top of the yard stick for hanging (optional)
Carefully drill a hole at the top of the yardstick for hanging your wreath. I drilled a hole about 1 inch from the top. Unfortunately, my yardstick cracked when I drilled the hole. To fix it, I used a bit of wood glue. I should have used a smaller drill bit.
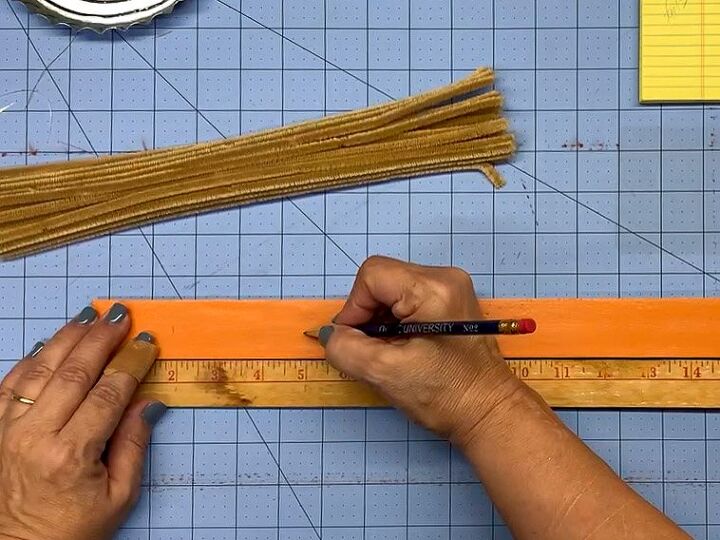
Mark stick for placement of pipe cleaners
Using a pencil, place a mark 2 inches from the top and then additional marks every 3 inches down the entire length of the stick. These marks represent where you will attach the pipe cleaners.
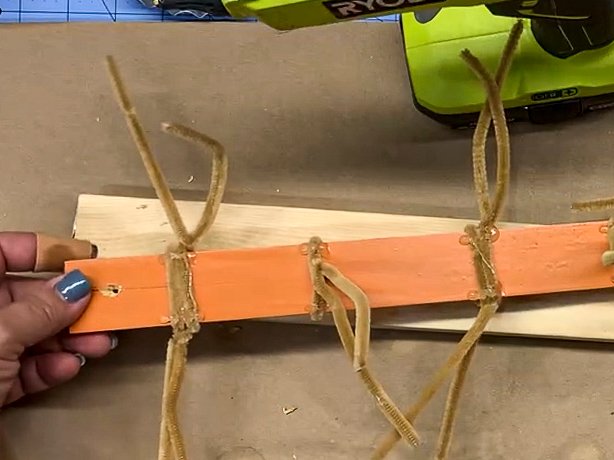
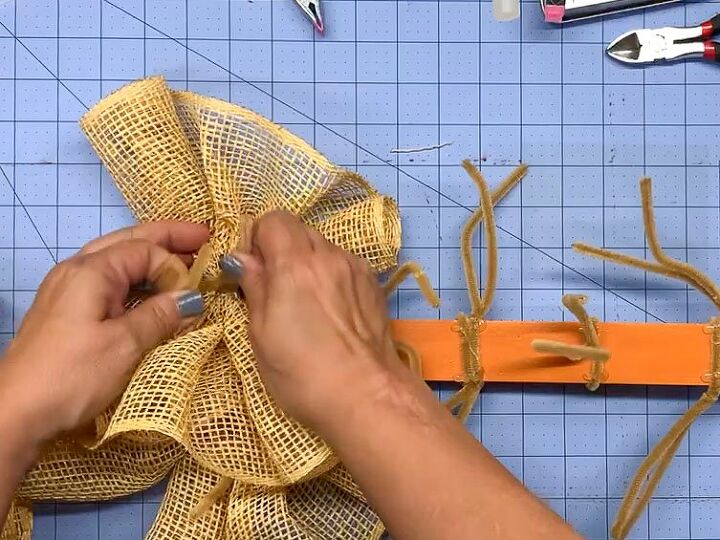
Wrap pipe cleaners around yardstick
Wrap pipe cleaners around your base in a double, single, double, single repeating pattern. You will be using the pipe cleaners to attach the mesh ruffles to the yardstick.
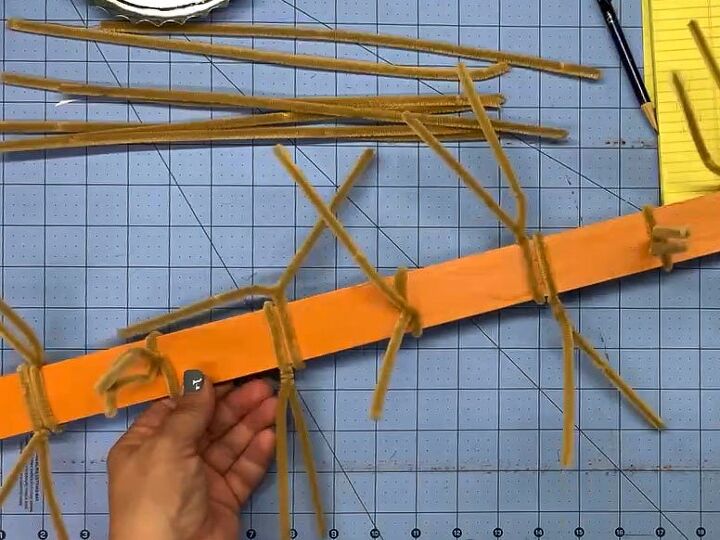
Form the V with the first pipe cleaner and attach it at the first mark (2 inches from the top) with a couple twists. The ends of the V should be facing out to one side.
Take the second pipe cleaner and place it right next to the first, but with the ends of the V facing out to the other side and secure with a couple twists.
Move down 3 inches and place attach a single pipe cleaner with a couple twists, but this time have the ends of the V facing straight up.
Go to the next mark, 3 inches down the yardstick, and add the double pipe cleaners with the ends facing out. Then add a single pipe cleaner with the ends facing up at the next mark (3 inches down the stick).
Repeat this pattern down the length of the stick.
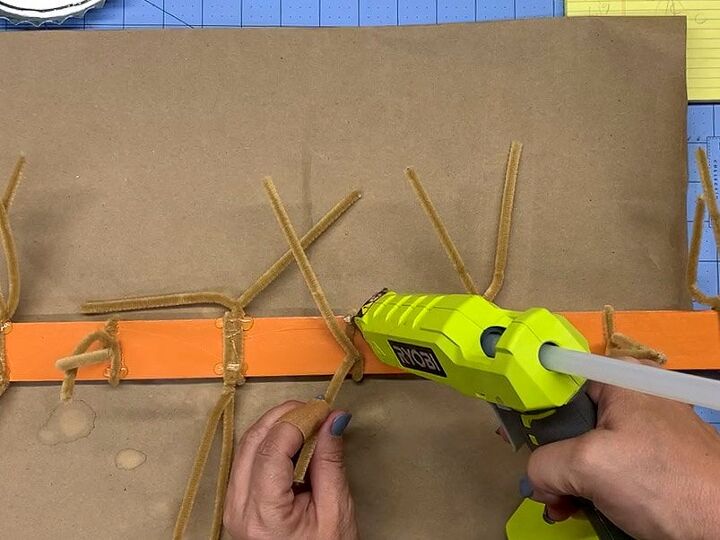
Secure the pipe cleaners
Use a dab of hot glue to secure the pipe cleaners to the yard stick. This helps to keep the pipe cleaners from moving around as you’re attaching the ruffles.
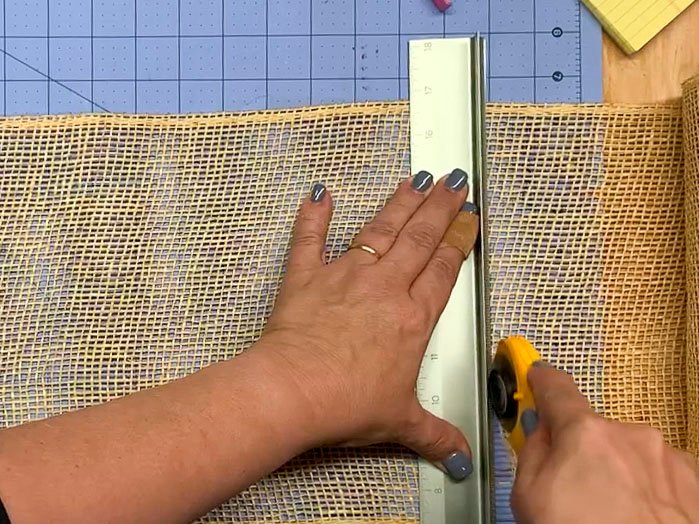
Cut poly burlap mesh into 22″ strips
Take your roll of 10 inch-wide poly burlap mesh and unroll a length of it on a cutting map. Using a ruler and a rotary cutter (or scissors), measure and cut strips of mesh, each 22 inches long. Cut both rolls of the poly burlap mesh into 22 inch strips. You should end up with about 20 strips (10 from each roll). I’m using my new Cricut Safety Ruler to protect my fingers from the rotary cutter.
Forming Woodland Ruffles (curl first end)
To form a Woodland Ruffle, first curl up one end of the poly burlap mesh strip (roll the mesh about 2-3 times) following the natural direction the strip want to curl.
Forming Woodland Ruffles (clip rolled edge)
Secure the mesh roll with a clip or clothes pin. This is to prevent the side from unrolling as you work on the other side in the next step.
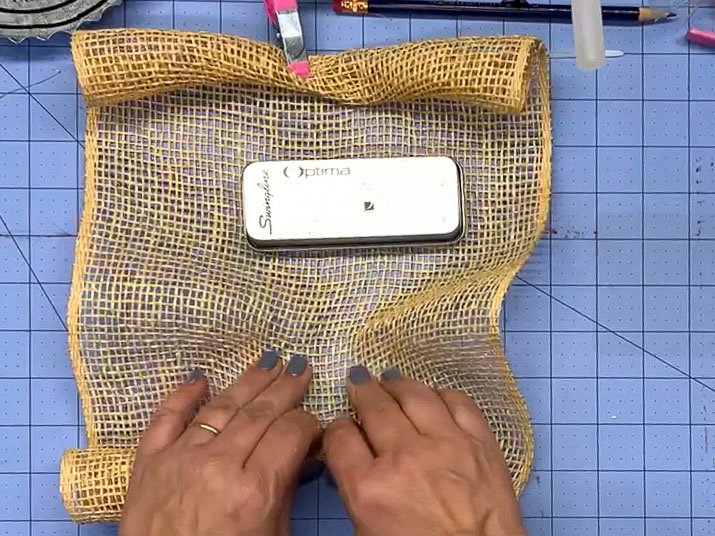
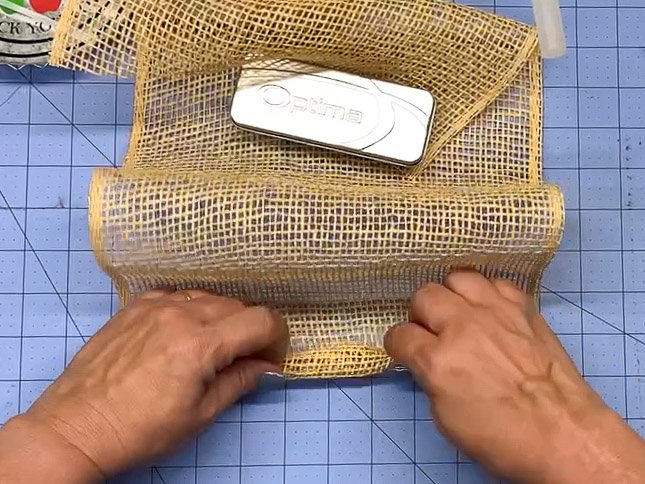
Forming Woodland Ruffles (roll other edge and scrunch up strip into a ruffle)
Roll the other side of the mesh 2-3 times to form a second curl. Pinch that curl and then begin to scrunch up the mesh along the middle of the strip.
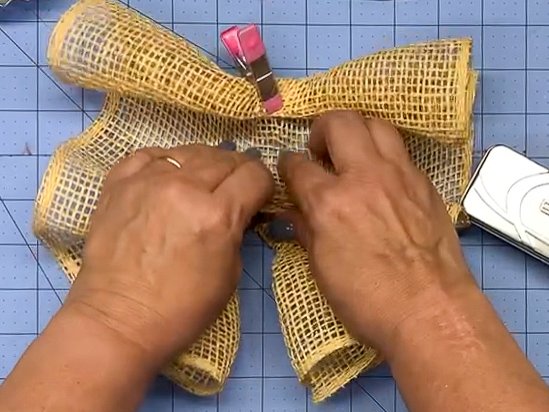
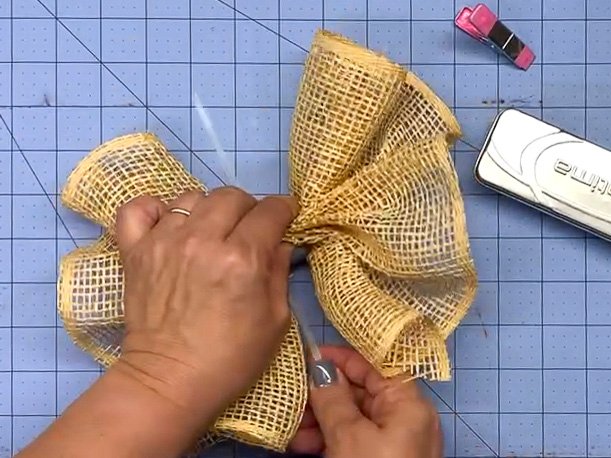
Forming Woodland Ruffles (continue scrunching until the two ends meet)
Continue scrunching up the strip of mesh until the two rolled end meet.
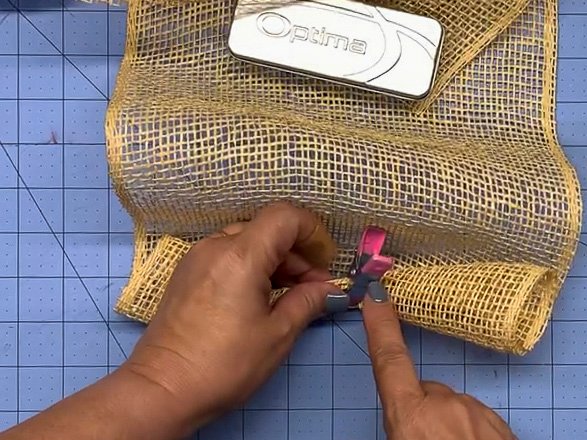
Forming Woodland Ruffles (secure ruffle with a zip tie)
Wrap a zip tie around the center of the ruffle, thread the zip tie, and pull tight to secure. Instead of using a zip tie you could put the ruffle directly on the wood frame and secure with the pipe cleaners. However, I wanted to form all my ruffles before attaching them to the frame.
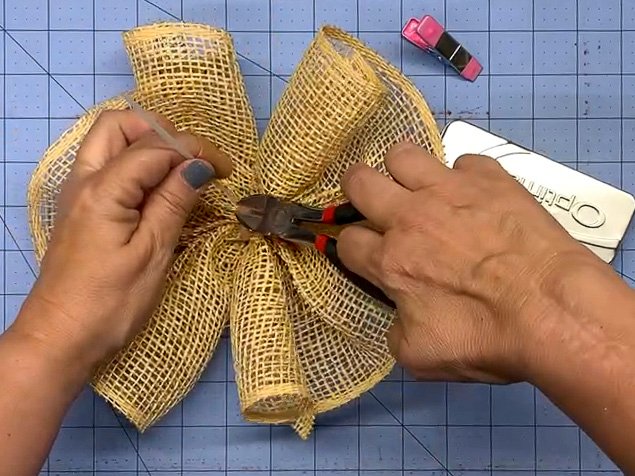
Trim zip tie
Using a wire cutter, trim the end of the zip tie.
Attach ruffles to yard stick
Attach the ruffles to each of the pipe cleaners on the wood frame. Twist the pipe cleaner a few times to secure the ruffle.
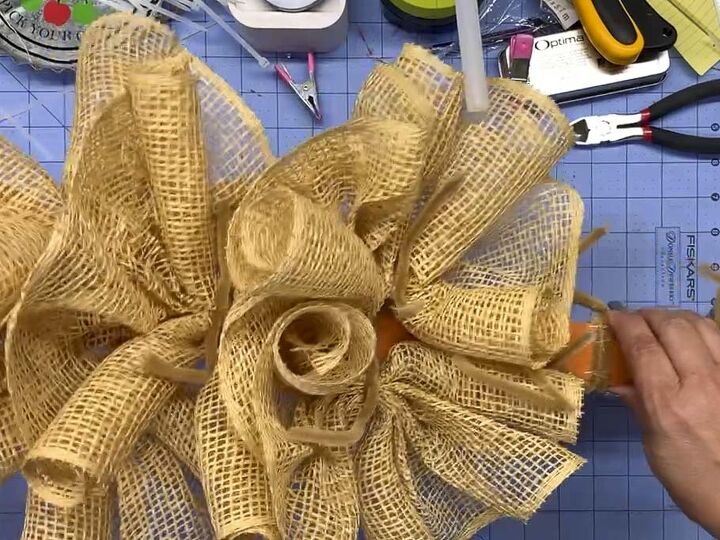
Attach ruffles to each pipe cleaners
Continue adding ruffles to pipe cleaners down the entire length of stick. Because of the double, single, double pattern of the pipe cleaners, you’ll attach two ruffles, then a single ruffle, then two more ruffles, followed by a single, etc.
Once you reach the bottom, go back and add 2 more ruffles to the very first two pipe cleaners at the top so they are double stacked. This will help make the swag extra full at the top.
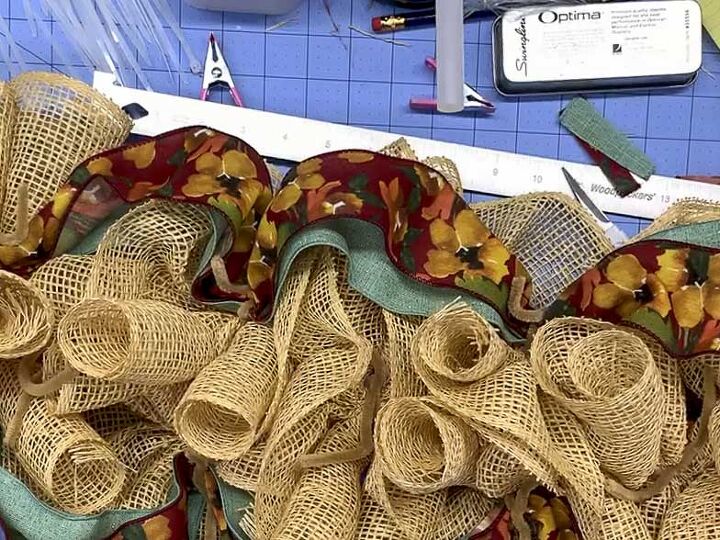
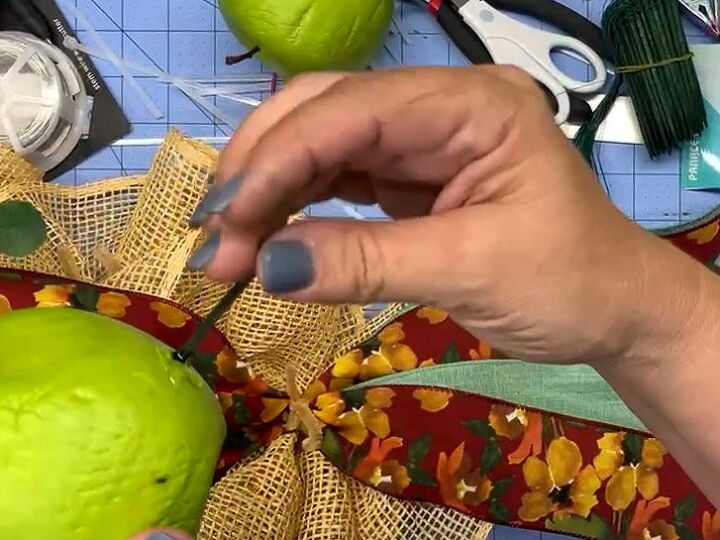
Add decorative ribbon
Add two strips of decorative wired ribbon down each length of the swag. I used a floral burgundy pattern and a solid green ribbon that I found at Michaels.
Start by pinching the ends of the two ribbons and twist them into the top of the swag using one of the pipe cleaners at the top. Unroll about 10 inches of ribbon and then attach that in the center of the next outside ruffle (don’t attach ribbons to the the single ruffles down the middle of the frame). Continue down the entire side adding about 10 inches of ribbon between each outside pipe cleaner.
When you reach the bottom of the sway, attach the ribbon to the single ruffle/pipe cleaner at the bottom. Leave about 12 inches of ribbon for a tail and then cut the ribbon.
Repeat the same process down the other side of the swag. Both sets of ribbon will meet and be secured in the single pipe cleaner at the bottom of the swag. Leave about 12 inches of each ribbon at the bottom to form tails.

Cut dovetails at the end of the ribbon.
Trim ribbon tails to desired length. Fold the ribbons in half length-wise and cut at an angle to form dovetail ends.
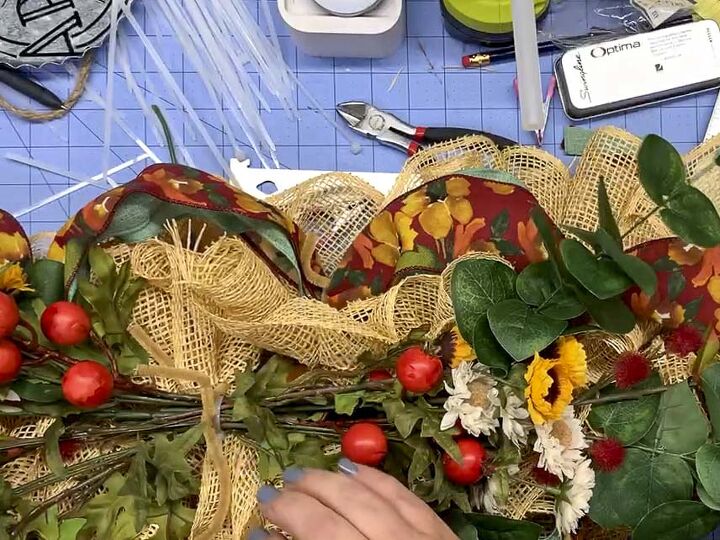
Add flowers and greenery
Add various artificial flowers and greenery to the swag. I made a swag of floral stems, berries, and eucalyptus branches. The ends of the branches were splayed out towards each end of the yardstick and the ends of the stems met in the middle of the swag. Attach the stems in to the middle of the yardstick using additional pipe cleaners. Use as many pipe clearers as needed to secure the floral arrangement to the swag.
Attach sign over center of swag
Using floral wire and hot glue, attach your sign to the middle of the swag covering the area where ends of the floral stems meet.
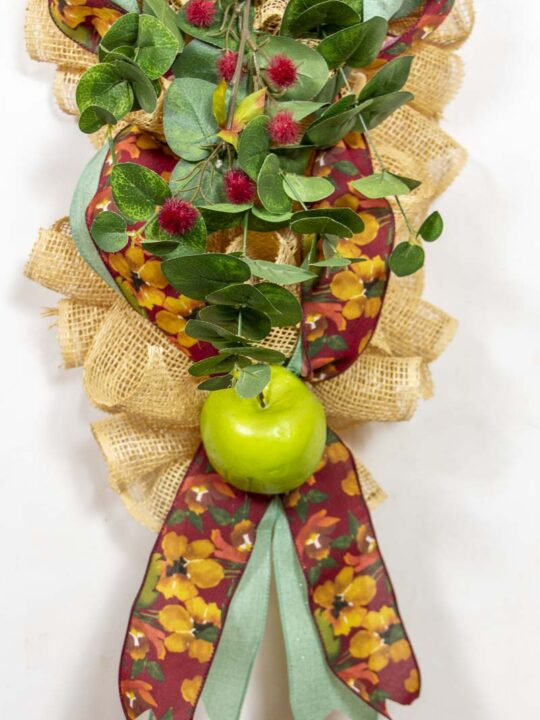
Add an apple at the bottom of the swag
Add an apple at the bottom of the swag at the point where the ribbons meet. Insert a floral pick into the apple and add a dab of hot glue to the entry point. Then thread the wired end of the pick through the mesh and wrap it around around the yard stick.
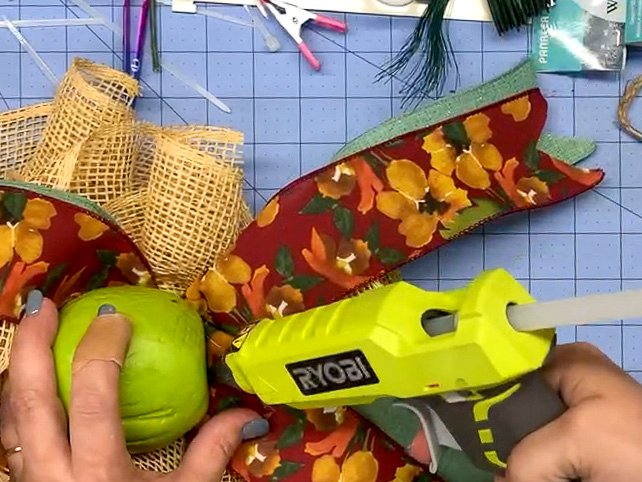
Glue apple to ribbons
Use a dab of hot glue to attach the apple to the ribbons.
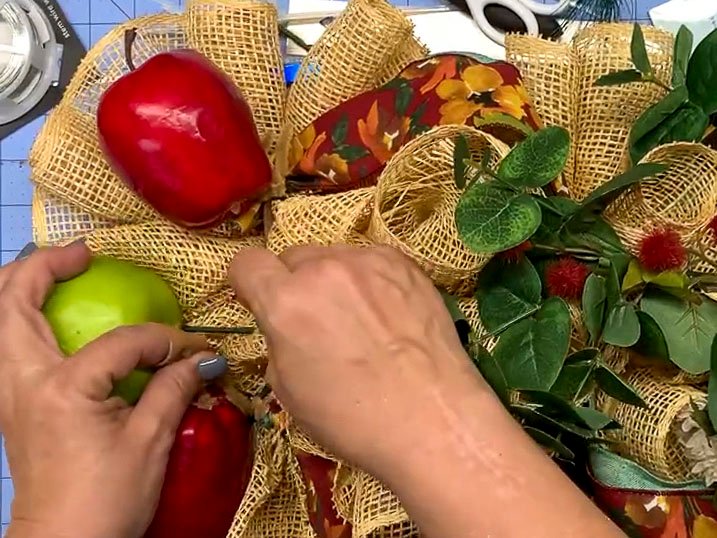
Using floral picks, attach 3 apples to the top of the swag
Insert a wood floral pick into each of the three apples and secure with a dab of hot glue. Then thread the wired end of the picks down through the mesh and around the yard stick. Because the artificial apples were a bit heavy, they tended to want to separate and pull the mesh outward I added hot glue to attach the apples together and curved the mesh to better support the apples.

Tuck away pipe cleaners and wire ends
Once you're happy with the design, fluff and shape the mesh ruffles. Also, separate and shape the ribbons along each side of the swag. Don't forget to fluff and separate the flowers and greenery too.
Tuck the ends of the twisted pipe cleaners out of sight under the the ruffles or behind the yardstick. Make sure no wire ends are poking out where they can scratch you or your paint. You can add felt along the back of the yardstick if you desire to protect the wall or door.
Resources for this project:


Comments
Join the conversation
-
Love this idea. Your instructions are awesome! Thanks for sharing.
-
I like use of inexpensive readily available materials. I love showcasing harvest bounty too. I’d definitely add “autumn sky blue” to mix. Nothing more beautiful than a crisp fall day with that clear blue sky. Thinking of changing up fall door decor and this is now top of list. Need to figure out way to enlarge for my setting though. Thanks for sharing


Frequently asked questions
Have a question about this project?