


Burlap Christmas Wreath DIY
This burlap Christmas wreath DIY is a super easy project for anyone, and makes a beautiful decor piece for Christmas.

This homemade Christmas wreath is super easy to make and will cost you less than $5 with items from Dollar Tree. This is a craft project that even a beginner can complete rather easily. I’ll share step by step directions below, but first, here are a few common questions that people have.
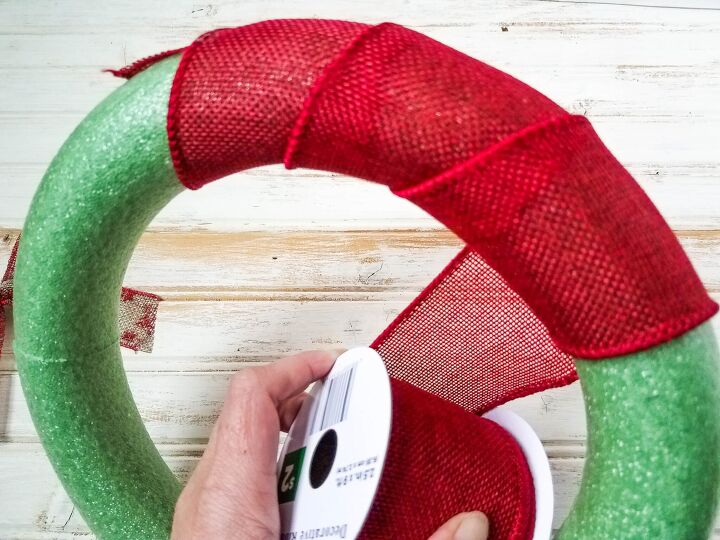
How do you make a cheap Christmas wreath?It doesn’t get much cheaper or easier than this one when it comes to making a cheap Christmas wreath. This one is super easy toi make, by wrapping the ribbon around a foam frame.
How do you waterproof a burlap wreath?If you would prefer to display this pretty wreath outdoors for the holiday season, you can spray it with a few coats of acrylic spray. This will help to make your wreath water resistant, and will protect it from the elements for the season.
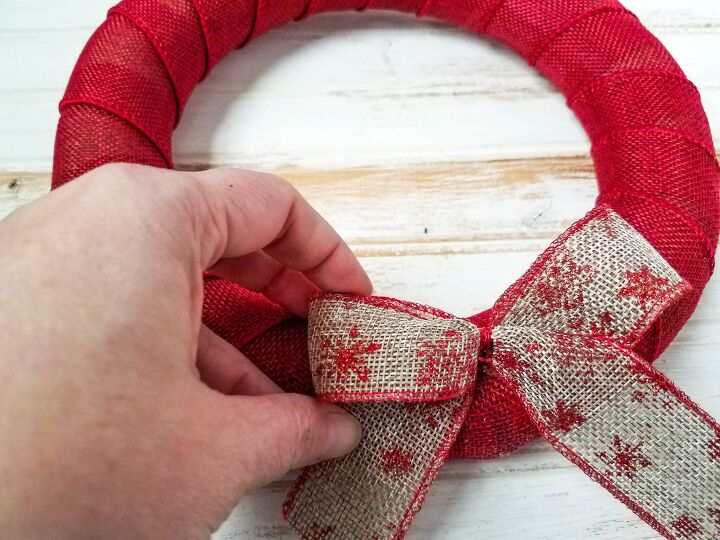
What do you put on a Christmas wreath?There are nurmerous different things that you can add to a wreath to make it more decorative. This one is calls for just a simple pre-made ribbon. However, you could add embellishments such as flowers, ornaments, berries and other things to your wreath as well. The possibilities are really quite endless, when you let your creativity take charge.

I’ve got a few other DIY wreath tutorials that you might want to check out as well.
- Mesh Wreath DIY
- Easy DIY Americana Wreath
- DIY Spring Burton & Burton Tulle Ribbon Wreath
- DIY Crayon Wreath
Like I mentioned, this wreath is a really easy one to make. Just follow these directions below, and you will be able to make this wreath in about 5-10 minutes.
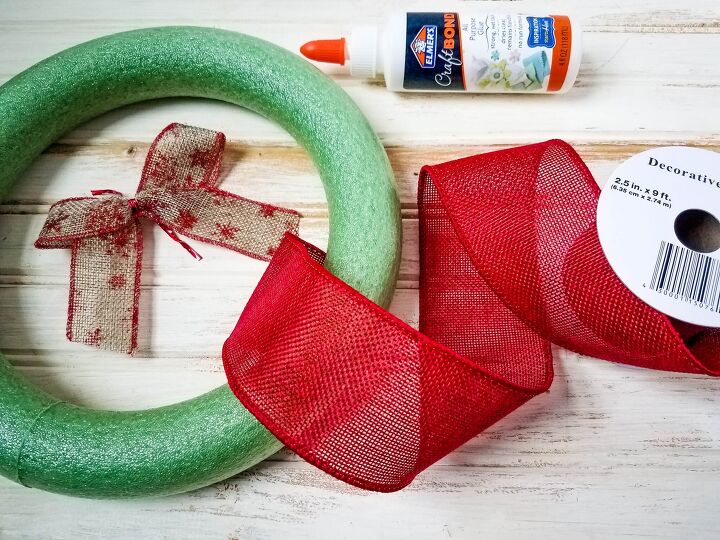
Supplies:
- 10 inch foam wreath form
- Red burlap ribbon – 2.5 in x 9 ft
- Burlap & red ribbon
- Glue, or hot glue
Directions:
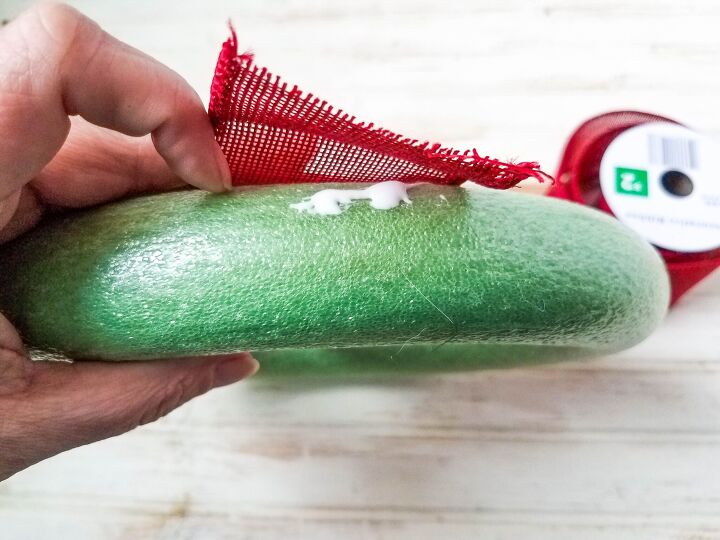
Step 1. Apply a small amount of glue to outer edge of wreath form.


Frequently asked questions
Have a question about this project?