


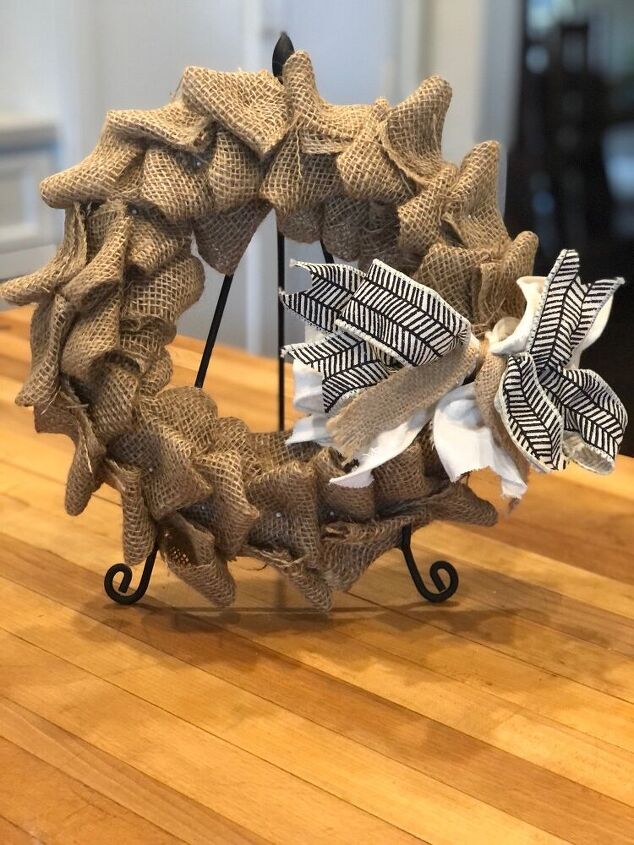
Burlap DIY Wreath

I thought burlap would make a great multi-seasonal wreath. Other than a bit of monotony, it worked out pretty well.
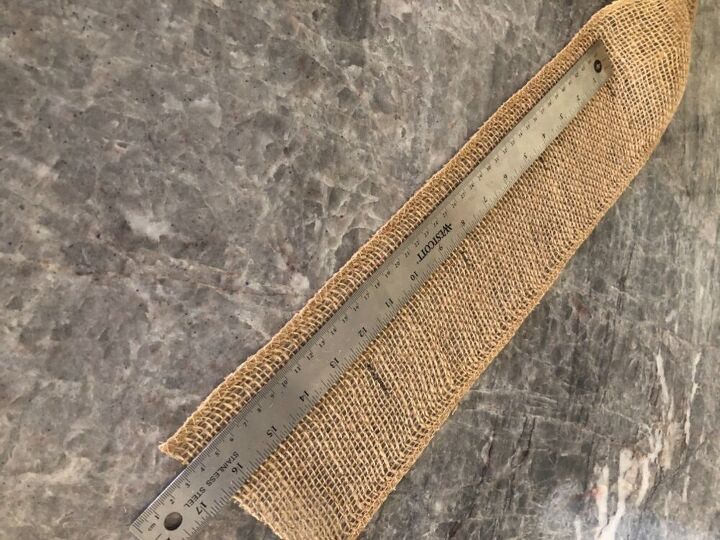
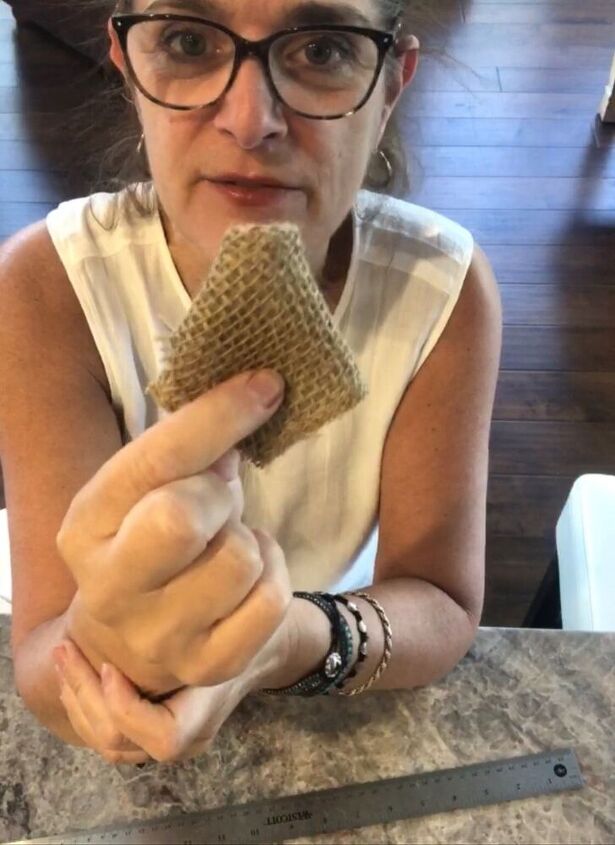
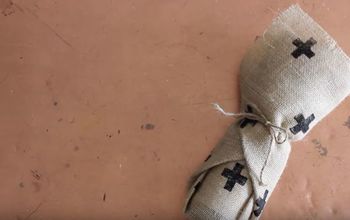
I found this roll of burlap at WalMart. If I was thinking ahead I would have cut them to 5” squares because that was the width of the ribbon. Instead, I used my ruler to mark 4 inch segments and then cut a bunch of them. That was part of the monotony.
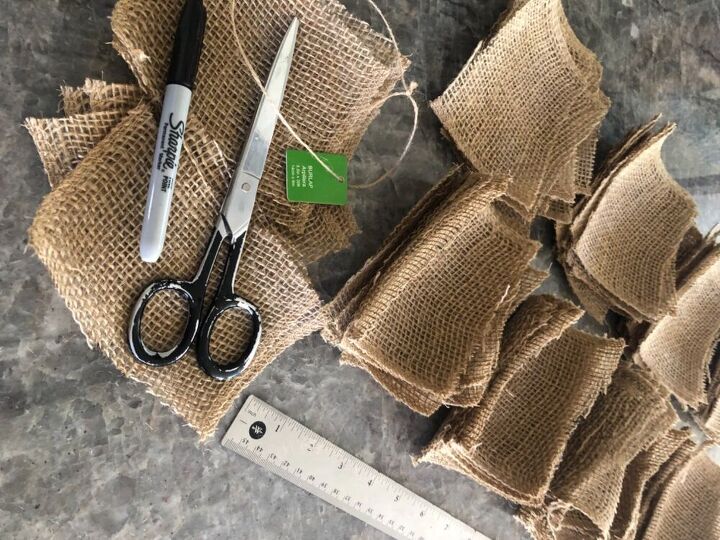
Actually cutting them into the squares was the other monotonous part. But what you get on a roll, it's not it doesn't take long.

I used an 8 inch wreath form but a larger one would work fine.
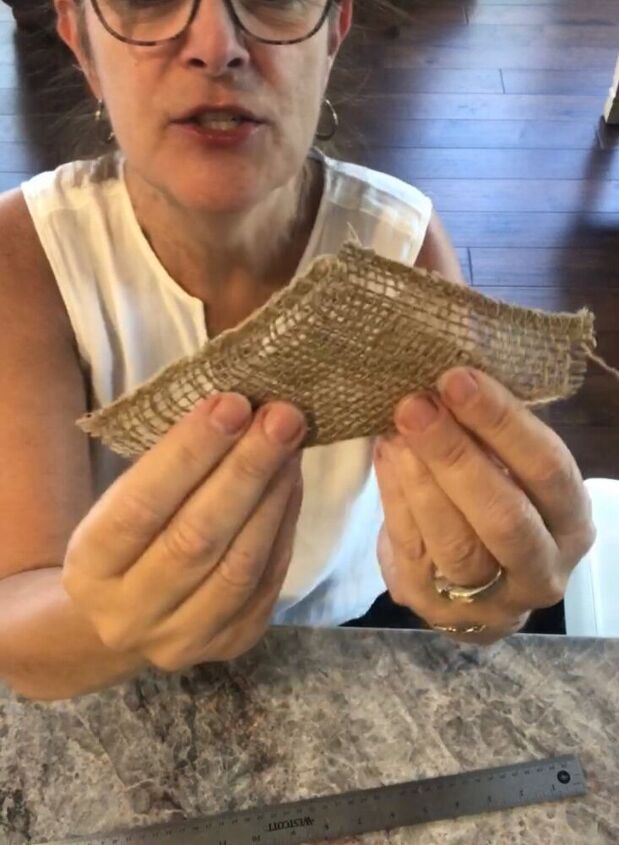
Fold each square in half. Then take the 2 corners on the outside and fold them inward each to meet the tip at the top.
Flip it around, and this the "front" side that's going to be pinned to the wreath form.
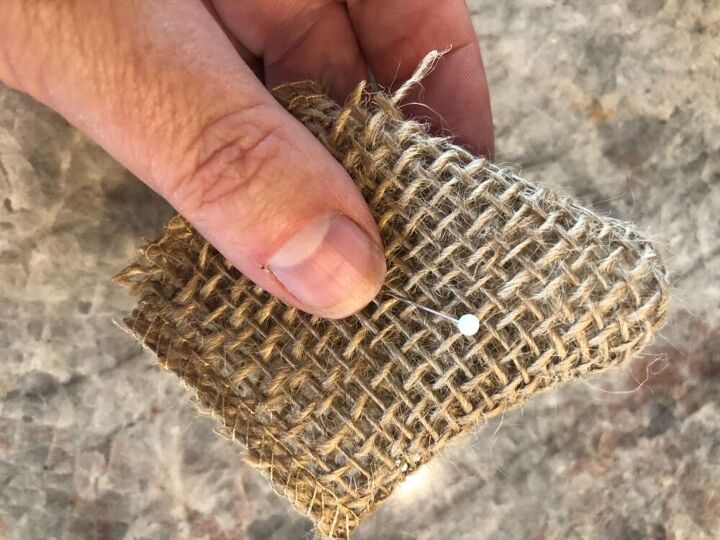
Since the burlap I used was so loosely woven it was really important to use pins with a head on them. I chose white heads, to blend in.
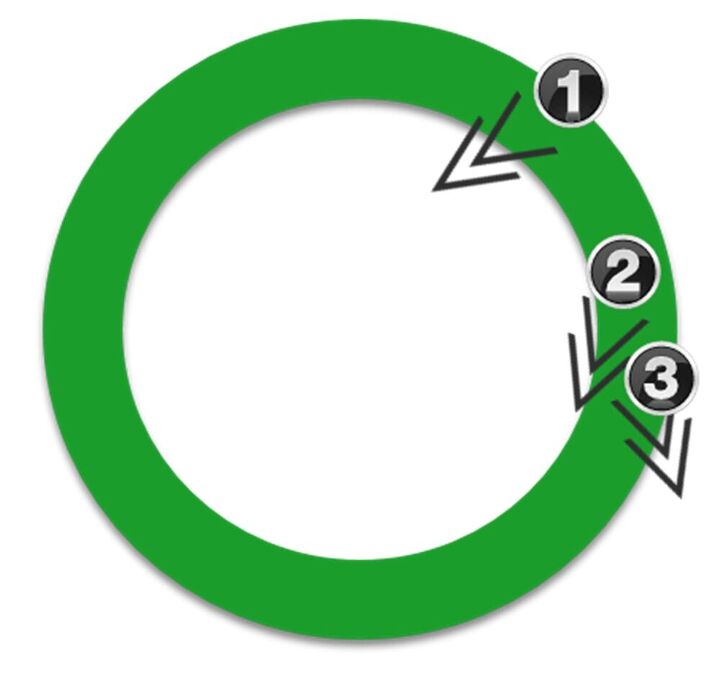
I started by placing a series of the burlap folds facing inward (see figure 1) all the way around the wreath. This hid the green wreath form when looking at the center of the wreath.
Then I alternated the angle of the burlap folds by aligning them left and right (see figures 2 & 3) as I went around the second time. This filled in the gaps on the top and outside of the wreath form.
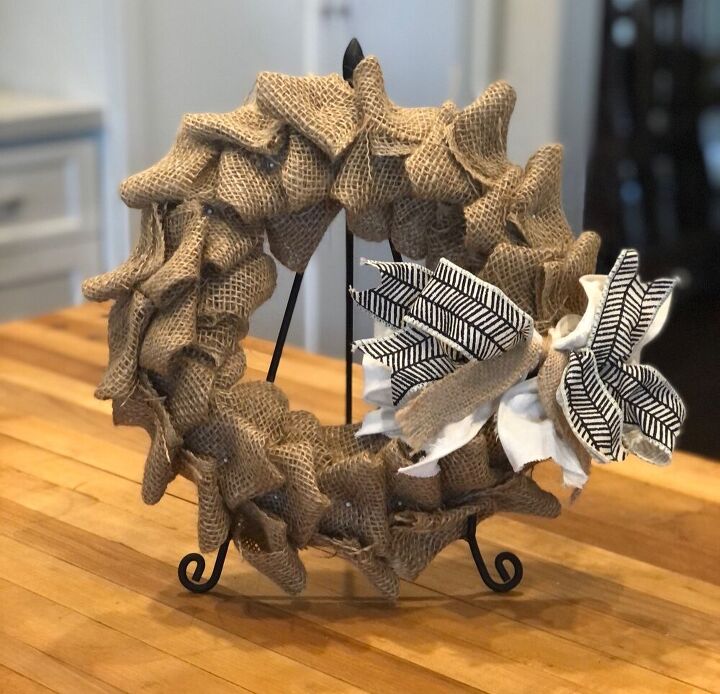
Adding a bow just finished it off.
Comments
Join the conversation
-
Very pretty!
-
WoW very pretty. Thanks.


Frequently asked questions
Have a question about this project?
Why didn’t you hot glue them???
How do I clean grease stains off chalk painted kitchen cabinets that have been waxed?