


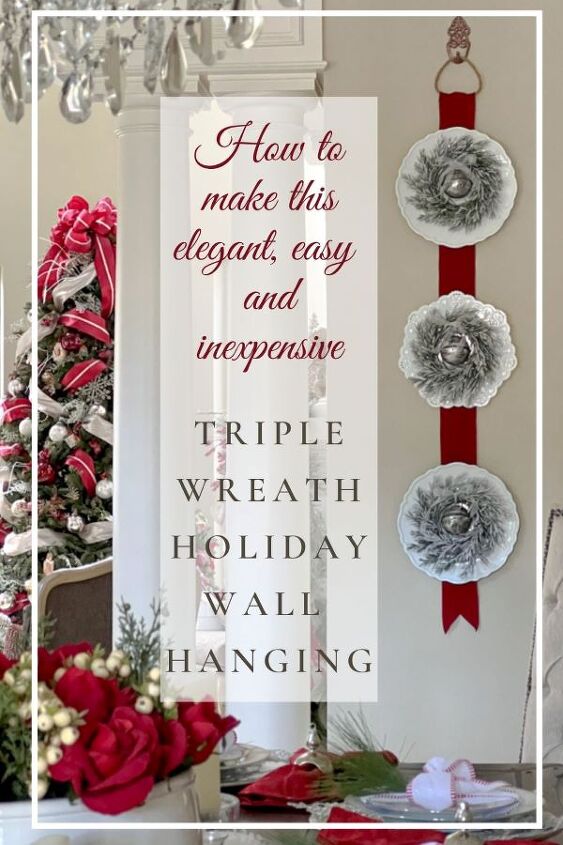
Christmas Craft: Triple Wreath Wall Decor

Here we are in mid-November and you’ve probably been noticing the Christmas decorating fervor has begun in blogland and on Instagram. Even if you are not quite ready to deck your halls, November is a great time to craft and prep before things get too crazy. So today I’ve joined a group of bloggers to bring you some holiday wreath crafts to inspire you and get you dreaming of Christmas!
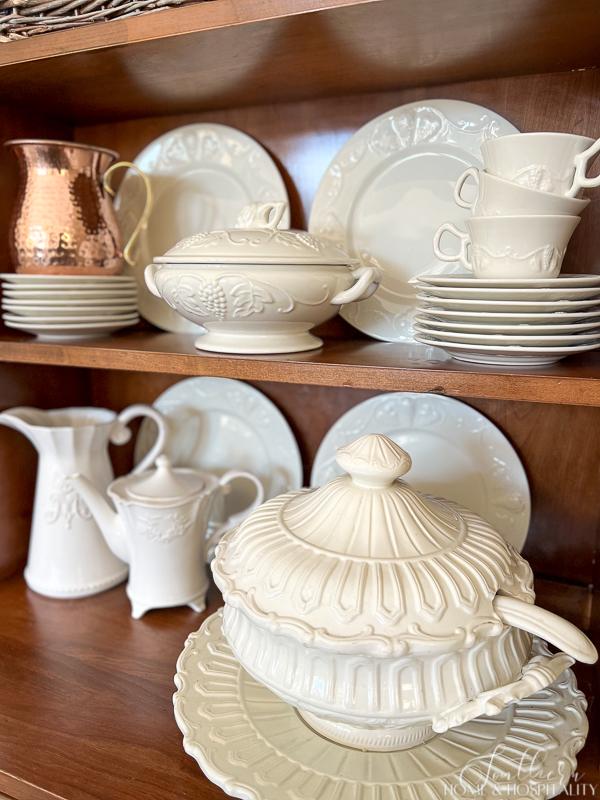
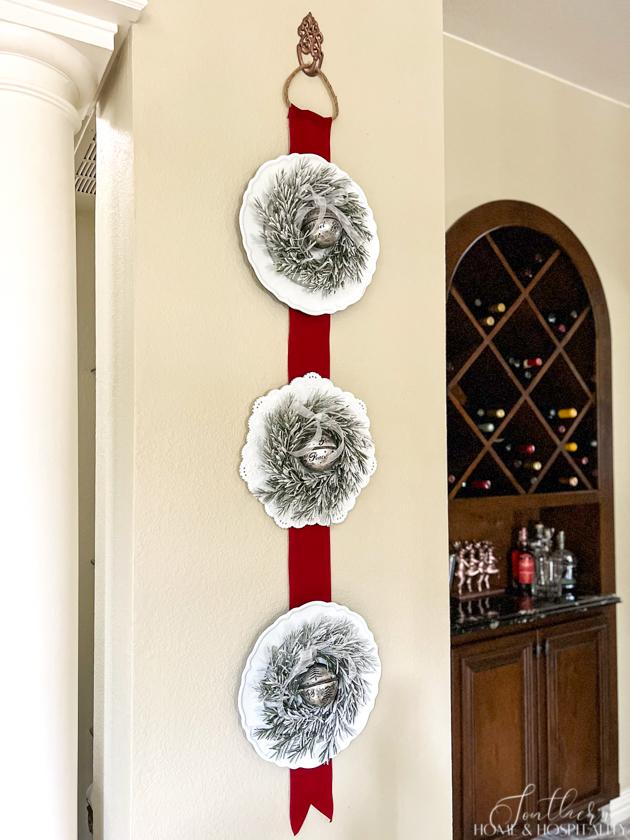
I decided to do a little something different than a traditional door wreath, but an indoor wreath wall decor project that is super simple. I love the look of triple wreaths hung with ribbon filling a front door to welcome guests during the holiday season. And I also love decorating with vintage white dishes. So I’ll show you how I did a little DIY mashup of the two!
This post contains Amazon and other affiliate links for your convenience. As an Amazon Associate I earn from qualifying purchases. If you purchase something through any link, I may receive a small commission, at no extra charge to you. I only recommend products that I love or would purchase for myself. See my full disclosure here.

I was at Hobby Lobby the other day and I spotted all of these cute mini wreaths:

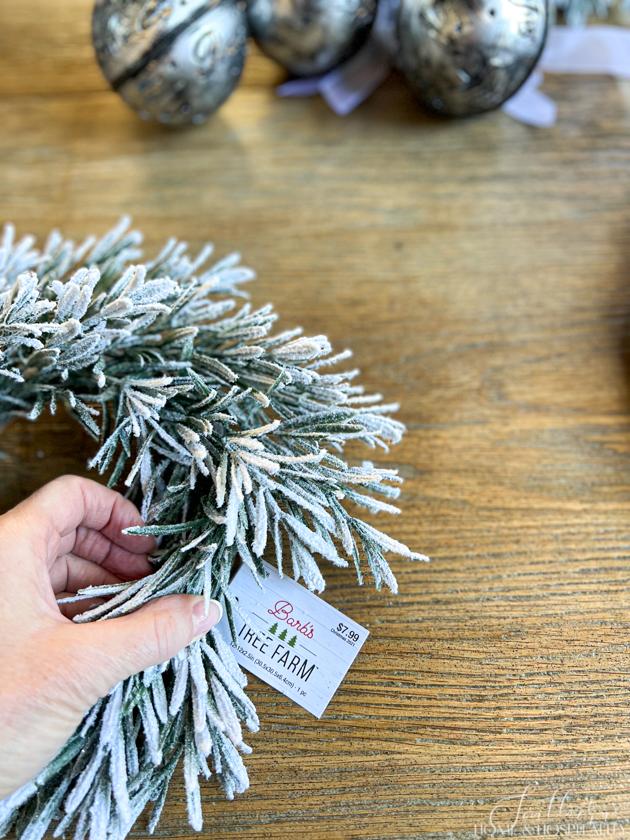
I bought two different styles, knowing there were so many things I could do with them when I was decorating. At 50 percent off they were only $4 a piece.
Walking toward the checkout, I spied the display of plastic charger plates…on sale for $1.99.
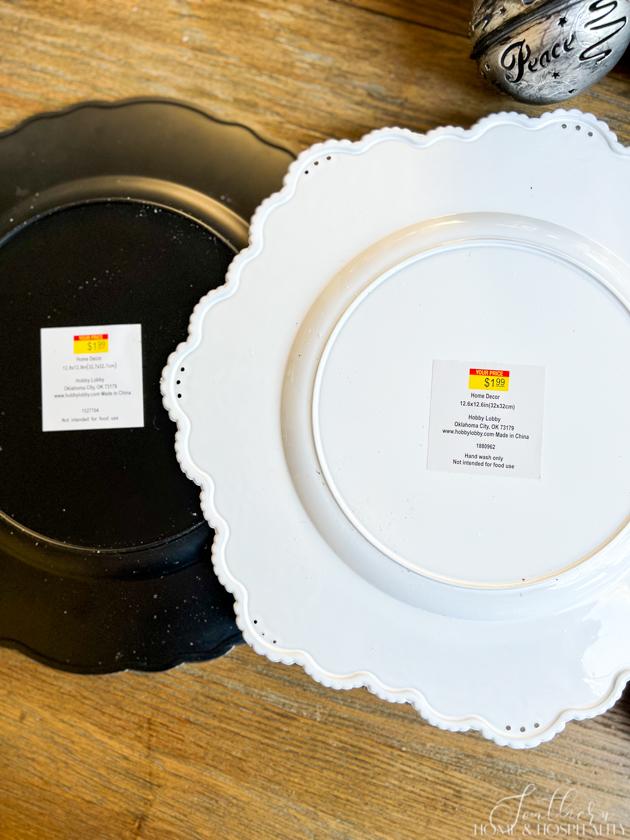
They had two styles that look like scalloped white plates. And they were the perfect size to frame a mini wreath to hang on the wall. So I had a plan to use some of the wreaths before I even got out of the store!
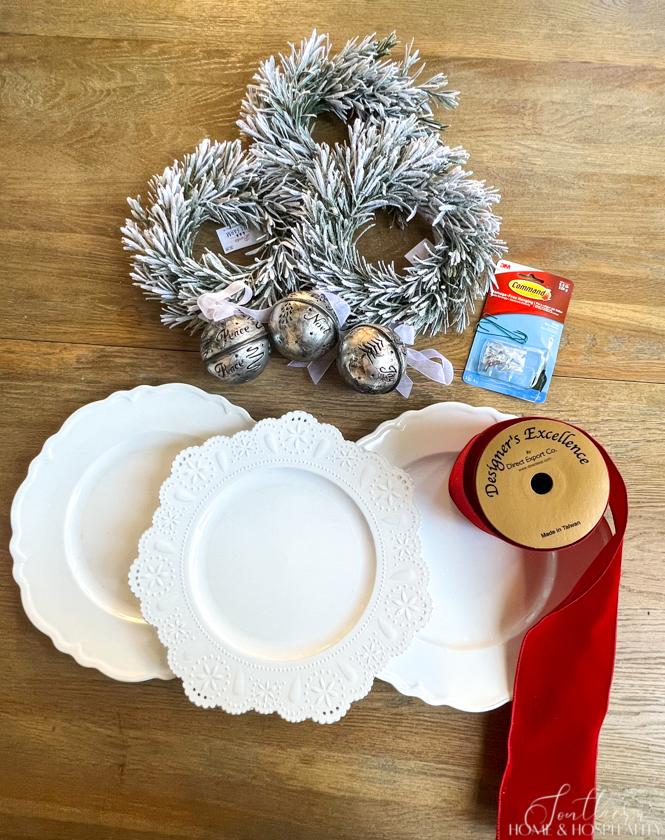
- Three mini wreaths
- Three lighweight, plastic charger plates
- 60″ of ribbon
- Three ornaments
- Six Command Strip Picture Hanging Strips
- Three Command Small Wire Hooks
- Command Strip Poster Tape or other two sided tape
- Optional: Decorative hook to hang and jute rope
- Measuring tape
- Scissors
- Level
- Optional: Hot glue gun to create top hanger, Floral wire or ornament hangers
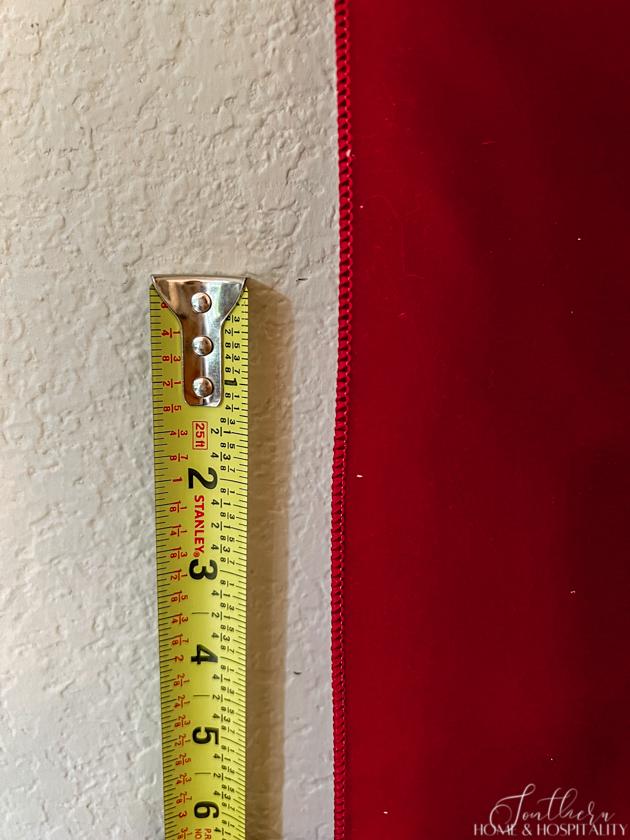
Step 1: Measure the ribbon.
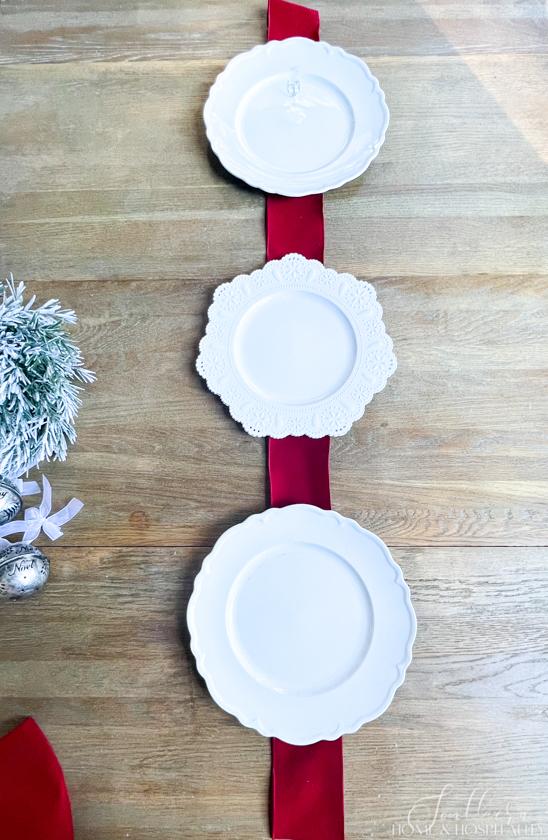
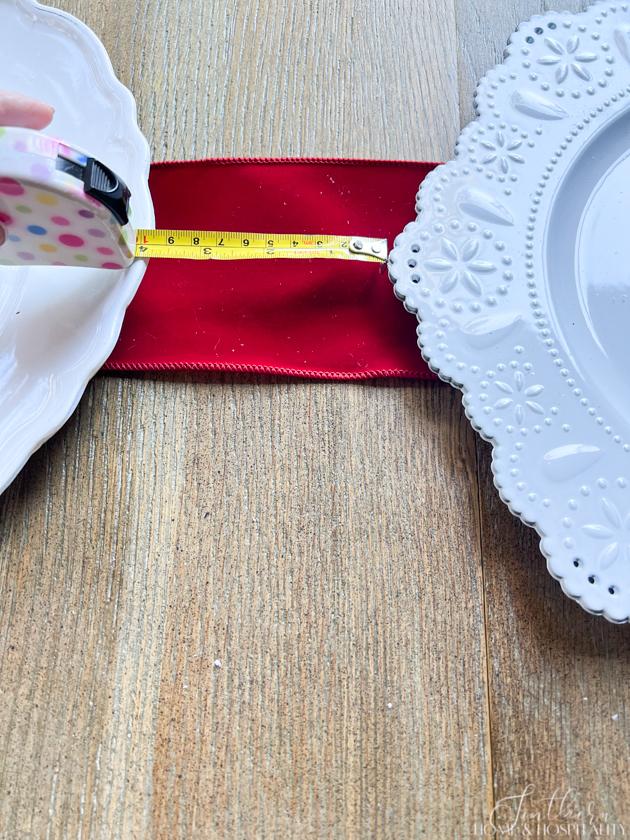
I laid it all out to decide on my placement and how much ribbon I needed. I decided how much space I wanted in between the chargers and above and below. These are the measurements I used:
6″ Top space and foldover allowance for hanger
13″ Plate
4″ Space between plates
13″ Plate
4″ Space between plates
13″ Plate
6″ Bottom space and dovetail allowance
59″ Total
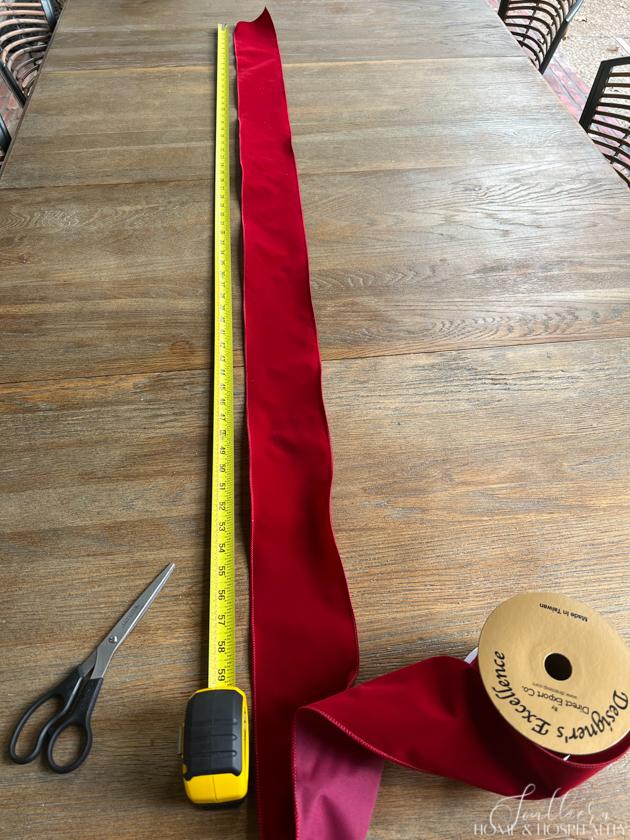
Step 2: Cut the ribbon.

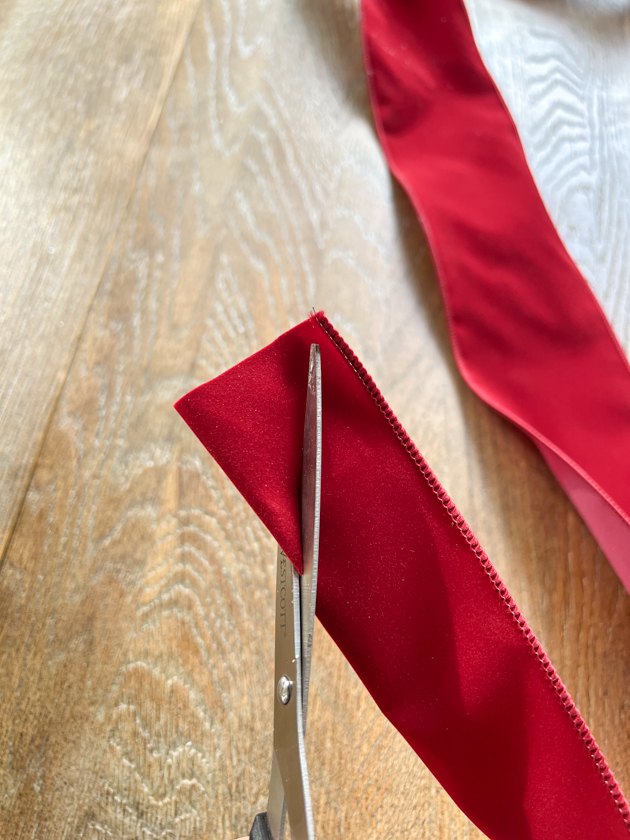
I cut off the total desired length. Then I dovetailed what would be the bottom by folding the end of the ribbon in half and cutting diagonally.
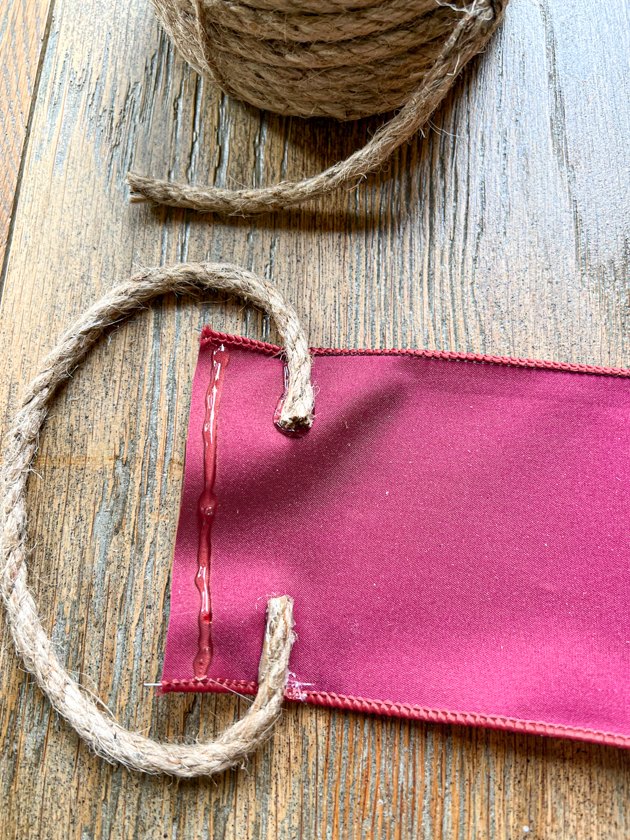
Optional: I wanted to make my ribbon extend above the top plate and hang from a hook, so I took a piece of thick jute and hot glued it to the ribbon on each side. Then I ran a strip of hot glue along the top of the ribbon and folded it over. (If I had to do it again, I would bring the jute all the way across so the top would hang nicer.) If you wanted to skip this, you could end your ribbon behind the top plate and attach it to the wall with poster tape or a thumbtack.
Step 3: Hang the ribbon on the wall.
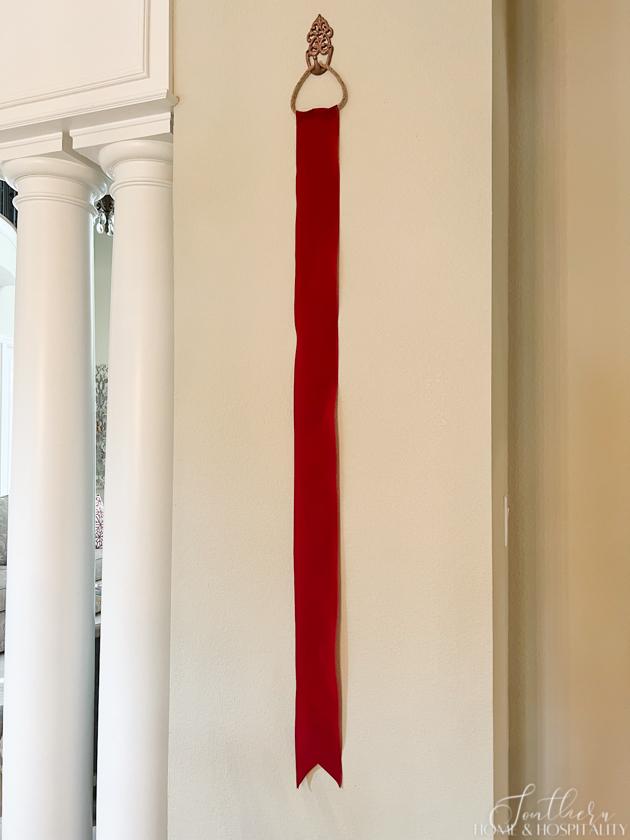
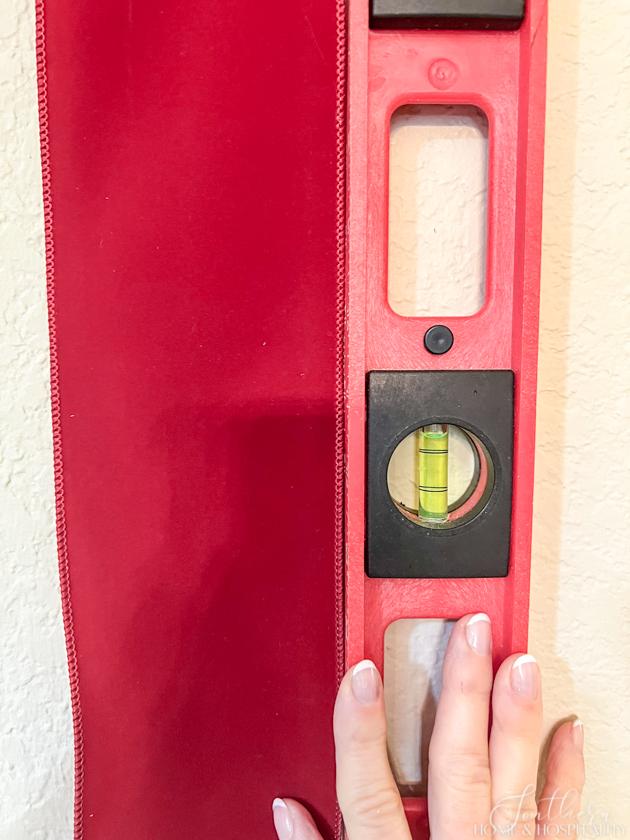
I hung my ribbon up and made sure it was level. When it was, I kept it in place and smooth with a couple of pieces of Command poster tape. Then I made tiny pencil marks on the wall to measure out the placement of the chargers.
Step 4: Apply the Command Picture Hanging Strips to the chargers and the wall.
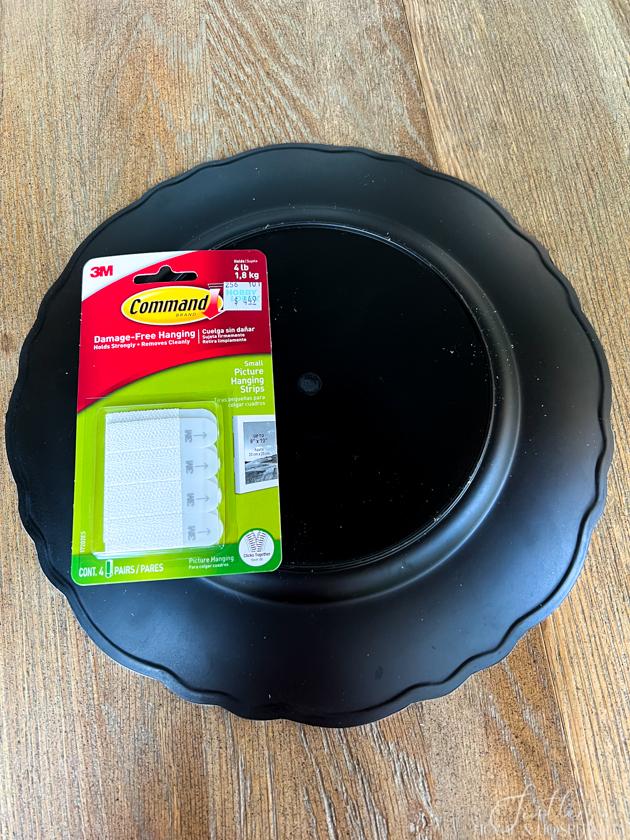
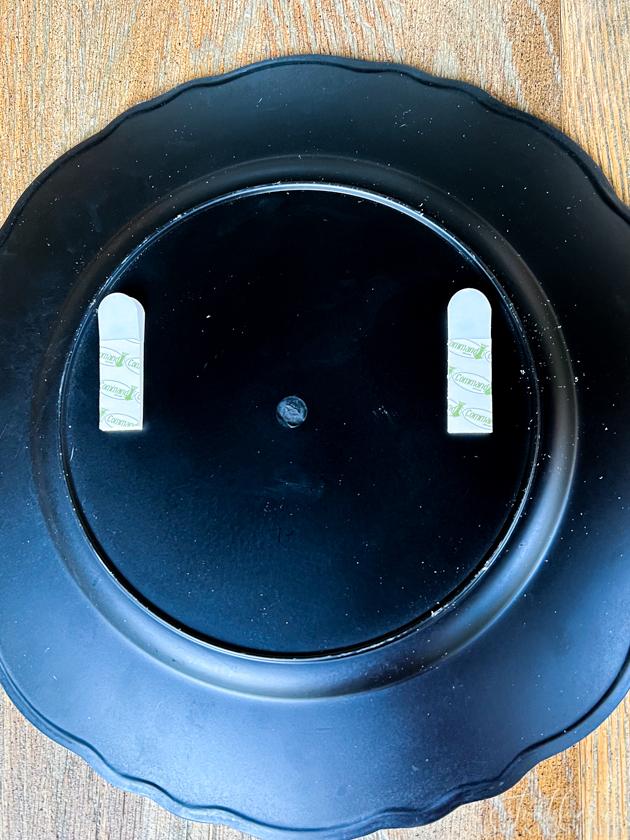
Since these “plates” are plastic and so lightweight, these velcro picture hanging strips make them so easy to hang! First I pressed two strips together to join them. I peeled the paper off one side of the strip and adhered it to the left side of the plate. Then I repeated on the right side of the plate. I made sure to place them far enough apart on the charger so the ribbon would easily fit between.
Then I peeled off the other side of the adhesive and pressed the plate to the wall really well over the ribbon in the position I premarked. I slowly and carefully pulled the charger back off, separating the velcro pieces and leaving the back side of the strips on the wall and the front sides on the plate.
I pressed on the wall strips for about 30 seconds to make sure they were well adhered. Next, I repeated with the other two chargers.
I waited an hour before hanging the plates back up as the directions instructed. In the meantime, I readied the wreaths.
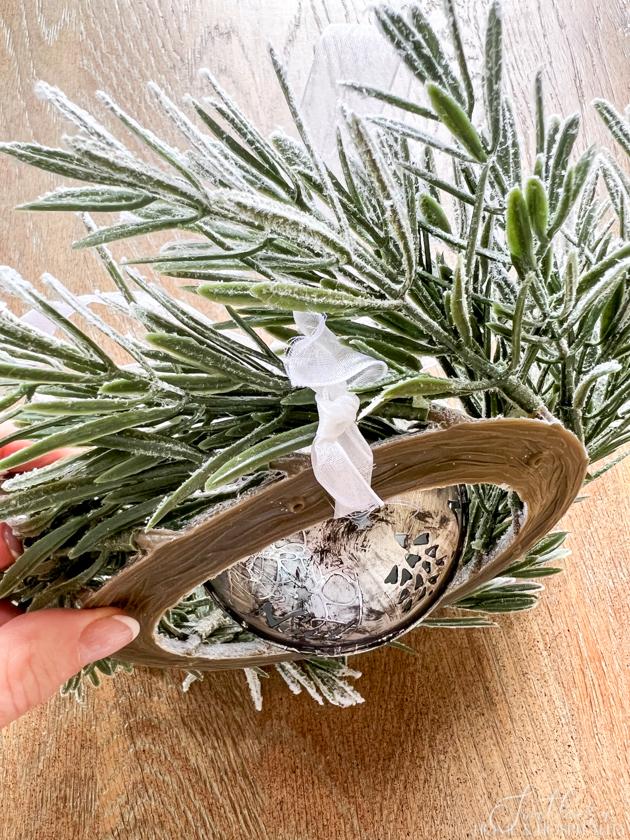
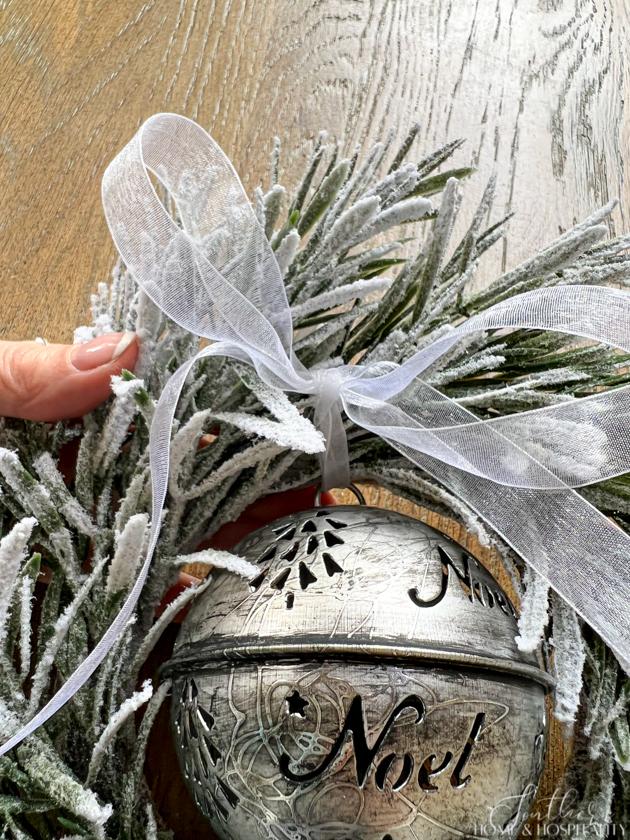
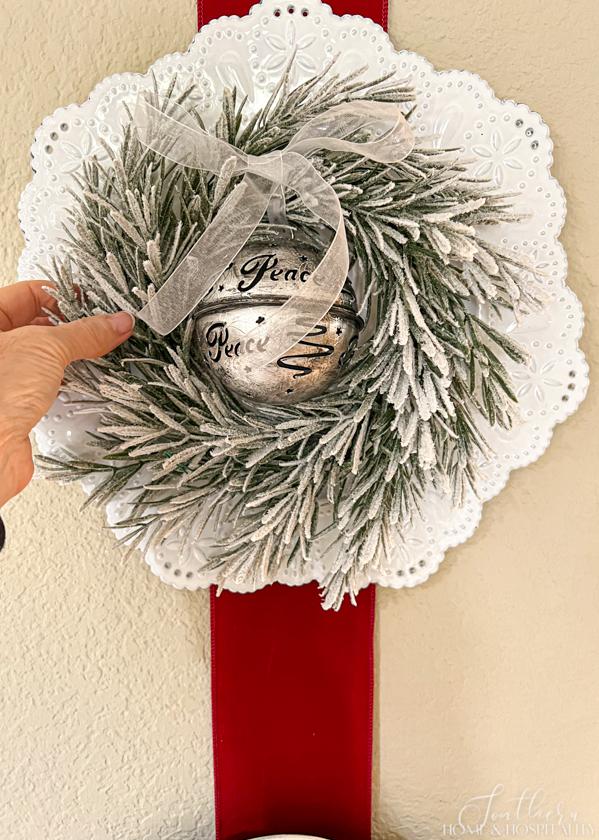
Step 5: Attach the ornaments to the wreaths.

I chose these silver bells that came in a set of three also at Hobby Lobby. (I wiped a bit of black craft paint on them to give them a more “aged” look.) They came with a white chiffon hanger that I thought was pretty with the wreaths, so to attach the ornaments I cut apart the hanger and tied it around the wreath as close to the frame as I could. I used some similar ribbon I had and made a new bow. (I had planned to attach them with green floral wire ornament hangers, so that is another option if you can’t use the ornament’s hanger.)
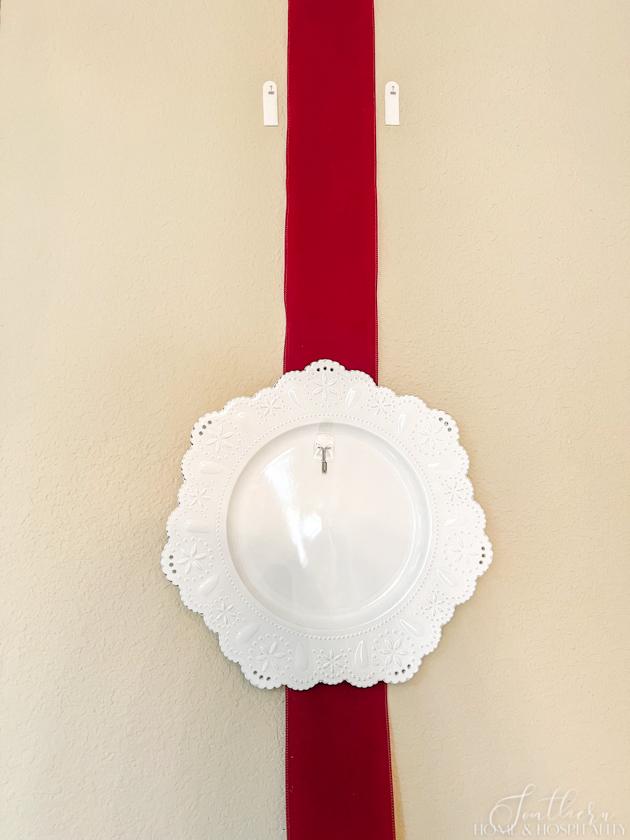
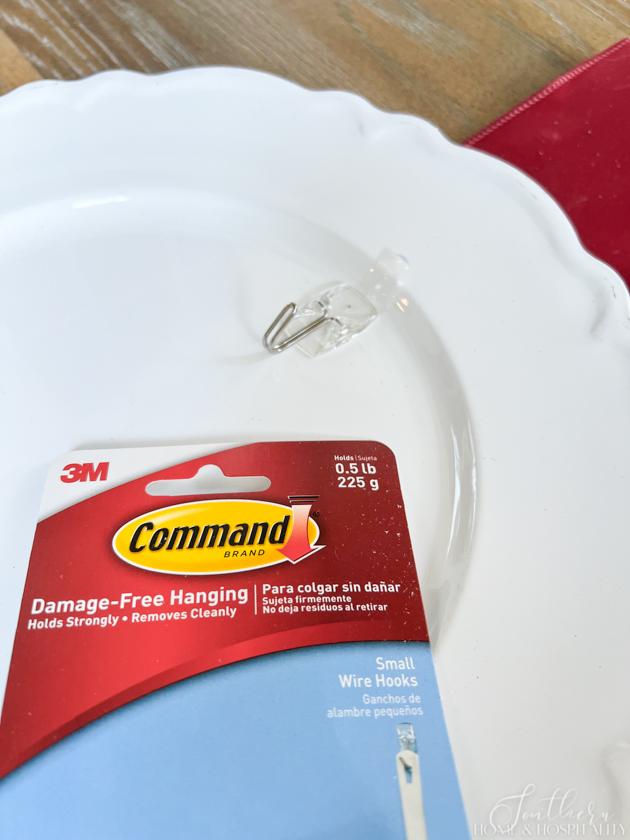
Step 6: Apply hooks for wreaths.
To hang the wreaths on the chargers, I stuck these Command small wire hooks at the top of each charger like this:
Step 7: Hang the plates and wreaths.
After letting the wall strips sit for an hour, it was time to put the plates back. Making sure I had the correct plate, I lined up the strips and pressed each plate back into place. You can feel the velcro of the strips hooking back together as you press.
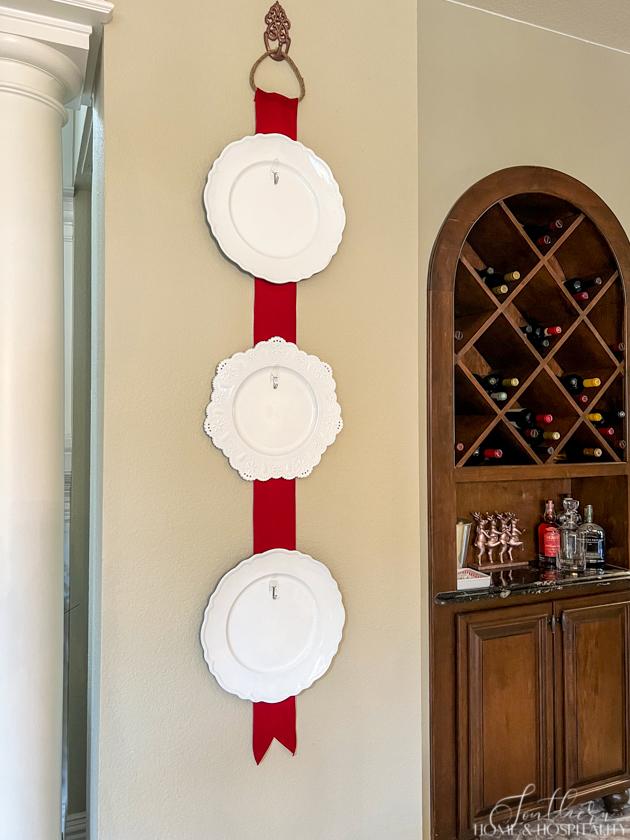
I finished by hanging each wreath on a plate. I made adjustments to the ornament placing and did some final fluffing to the wreaths. And it was done – easy as that!

It makes a nice wall filler for my dining room area and hanging the plates this way created the illusion that they were all hanging from a single ribbon, tying it together nicely!
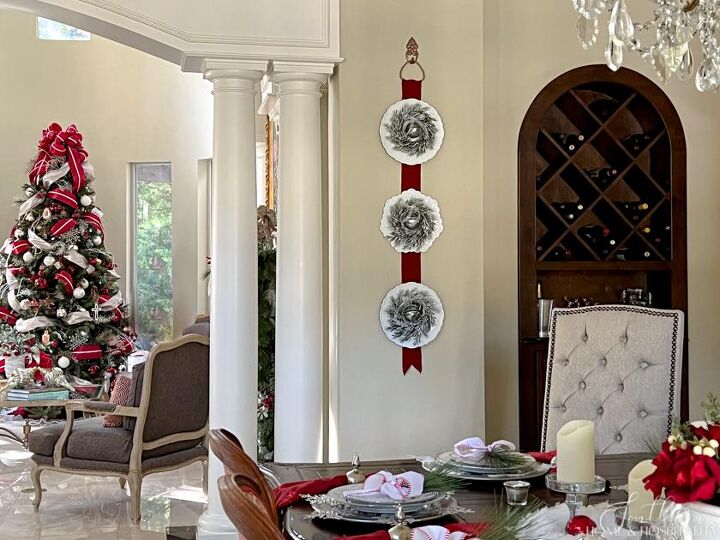
Of course, I chose the materials that would fit into my French and vintage inspired classic Christmas decor. But you could create so many looks with this craft, depending on your ornaments, ribbon, and wreaths. I would love to see your take on this in the comments if you try it!!
Happy Holiday Crafting,

My Christmas wreath project is part of a collaboration with all of these creative bloggers, so check them all out and enjoy! And thank you to our host Marianne at Songbirdblog.com for organizing this hop!!

6 STUNNING DIY CHRISTMAS WREATH IDEAS
As always, I appreciate your visit, comments, and shares here! And don’t forget to subscribe for updates to keep in touch and to follow along with me on Pinterest, Instagram, and Facebook!!
Remember to pin this to your Pinterest Christmas, Holiday, and Craft boards to refer to later. You can FOLLOW ME ON PINTEREST and see all of my pins plus lots of other inspiring ones that I’ve found and pinned!


Frequently asked questions
Have a question about this project?