


Corn Husk Summer Wreath

by
Zest it Up
4 Materials
$5
1 Hour
Easy
I love the projects that we do for Thrifty Thursday because they speak deep to my inner homesteader. I would not classify myself as a cheapskate, but I have to admit that there is a certain rush when we make something out of nothing. It may actually be an addiction for me. It is just so much fun finding things that are primitive, tossed aside or overlooked and figuring out a second life for them. It is a bit like solving a puzzle for me.
This project is a great example. Sam and I had found this old lamp shade frame a while back, and we figured that it could easily transform itself into some sort of project. So, we held onto it. A new lampshade would be an obvious solution, but what about a wreath? Why not? I was looking for ways to spruce up the house before summer time. You could even use it around Thanksgiving also! I personally do not like wreaths made of fake foliage or flowers…I always opt for the natural elements in design. I had once seen the corn husks used for tamales turned into a wreath. In my book, that was genius!
Photo Cred: Anya McInroy

You honestly cannot find a cheaper or simpler little project to give your home some curb appeal this season.
I really love how this one turned out, and for under $5!
Supplies:
- 1 package of corn husks (from grocery store)
- wreath frame (store bought or found)
- water
- hot glue gun
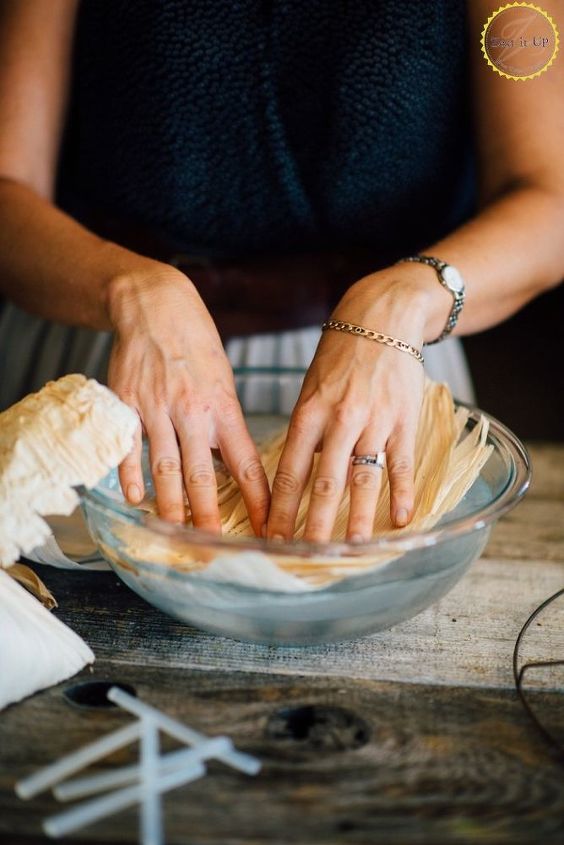
Soak the corn husks in warm water so that they will be more pliable and easier to work with.
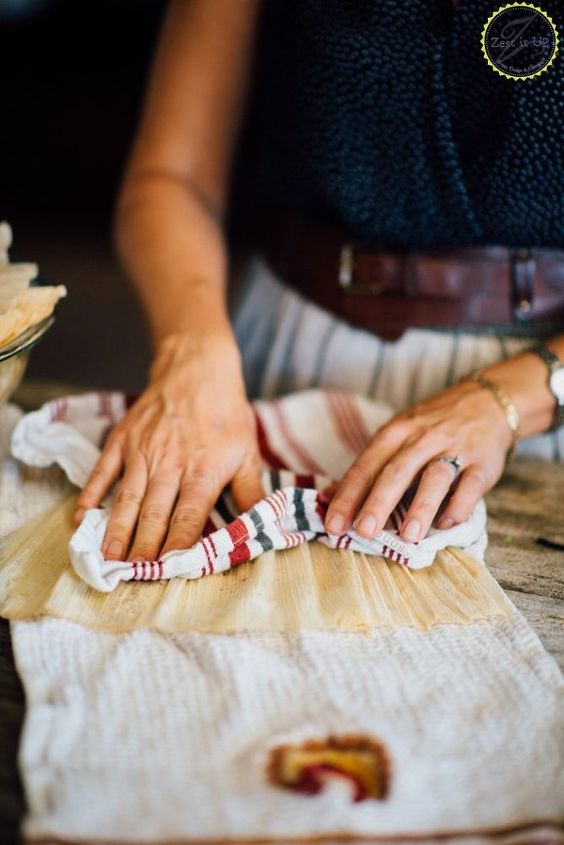
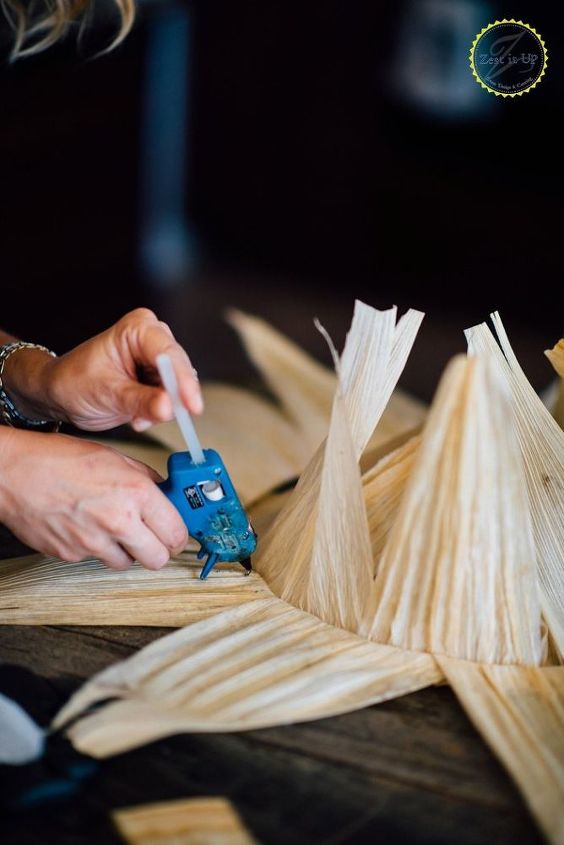
Give them a good pat to dry them while you wait for your hot glue gun to heat up.

Since I was not using a wreath frame, I had the added step of removing the extra bits of the lamp shade frame, so that it would not detract from the visual of the wreath when all was said and done.
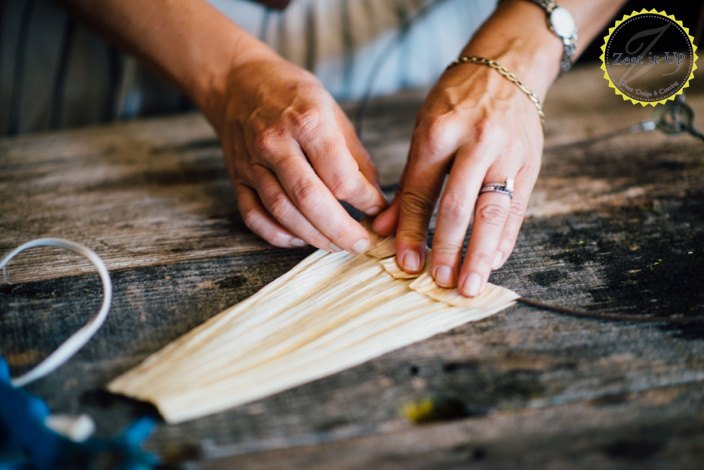
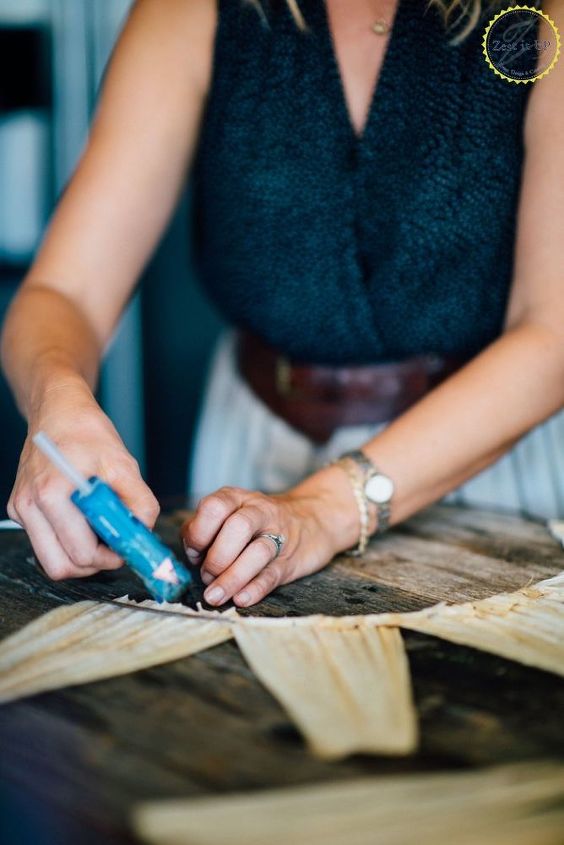
With the husks patted dry, wrap them around the frame and use the hot glue to secure them in place.

One row complete!
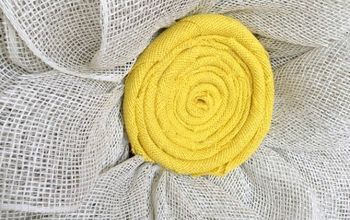
“You are my sunshine!”

Now working the second row, I layered this second layer in between the husks of the first layer.
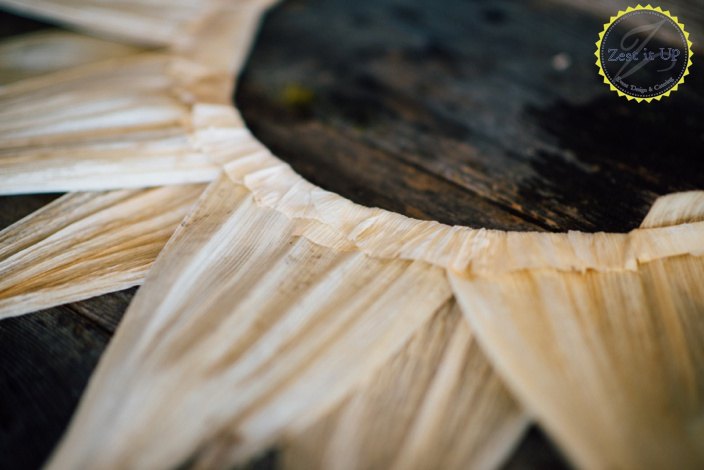
Wrap around and fold down to keep it neat. Repeat the process with a third layer.
Once the back is all secure, flip the wreath over and glue the fronts down so they do not flop.
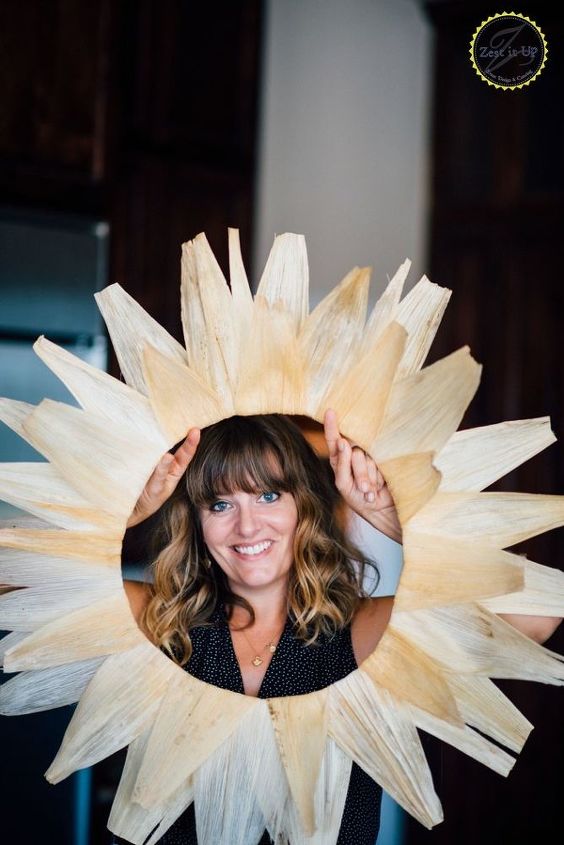
Three rows complete, my husk wreath looks less like a sun and more like a sunflower. Love my summer decor!
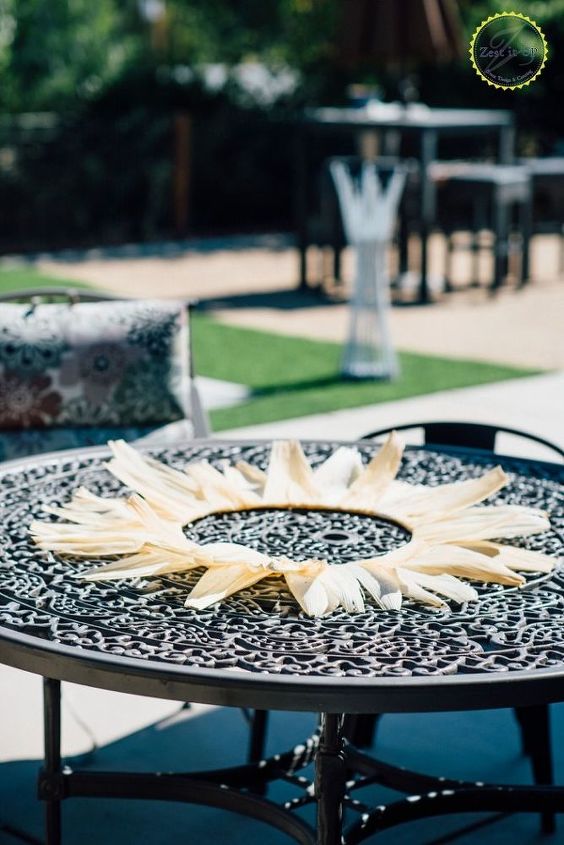
The last step is to lay it down in the sun while the husks continue to completely dry. They will naturally curl up a bit, giving the wreath a beautiful texture.
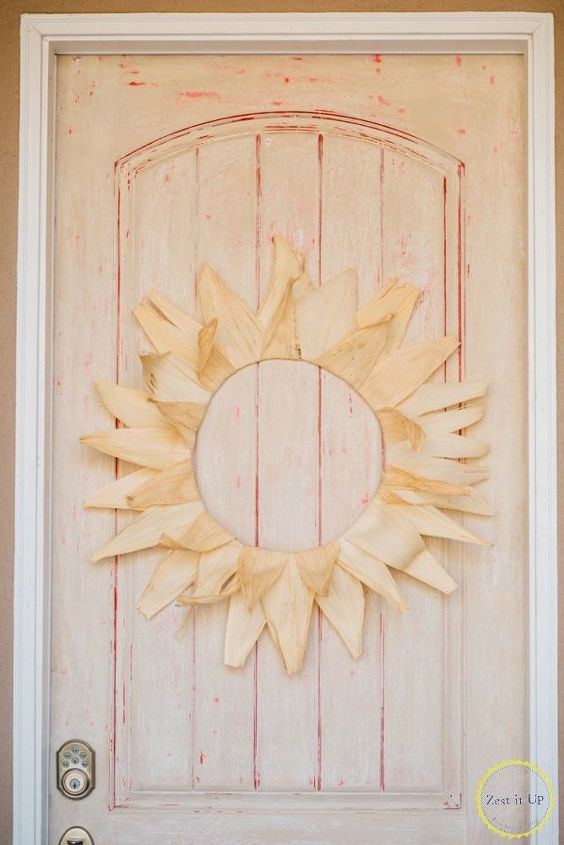
All dressed up and ready for Fall! I stinkin’ adore the subdued color and texture of this little thrifty creation! You cannot beat a front door wreath that is high on charm for just a few bucks and a little bit of hot glue. Love!
Happy crafting this summer wreath!!
xoxo,
Chanda
Want more details about this and other DIY projects? Check out my blog post!
Comments
Join the conversation
3 comments
-
Very chic, great job! 💖 And if someone wants more . . . Easy to embellish.
-
One of the prettiest wreaths ever. WOW!


Frequently asked questions
Have a question about this project?
Wouldn't it be cute to take pictures of the kids being the center of the sunflower?