


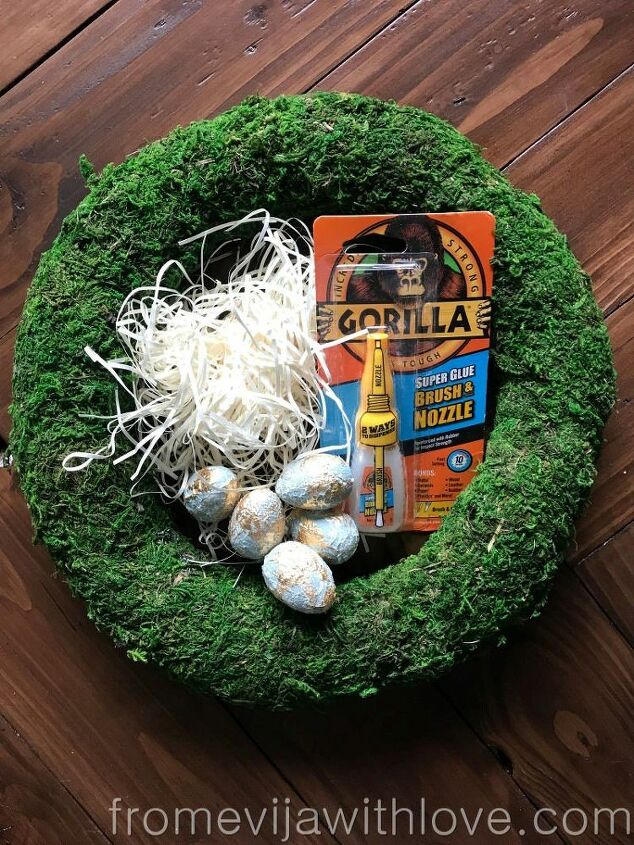
Create a Beautiful Textured Easter Egg Wreath
I wanted to create a beautiful wreath and add a little texture to simple polystyrene eggs (you can skip the texture bit and simply paint them if you wish), but here is what I did.
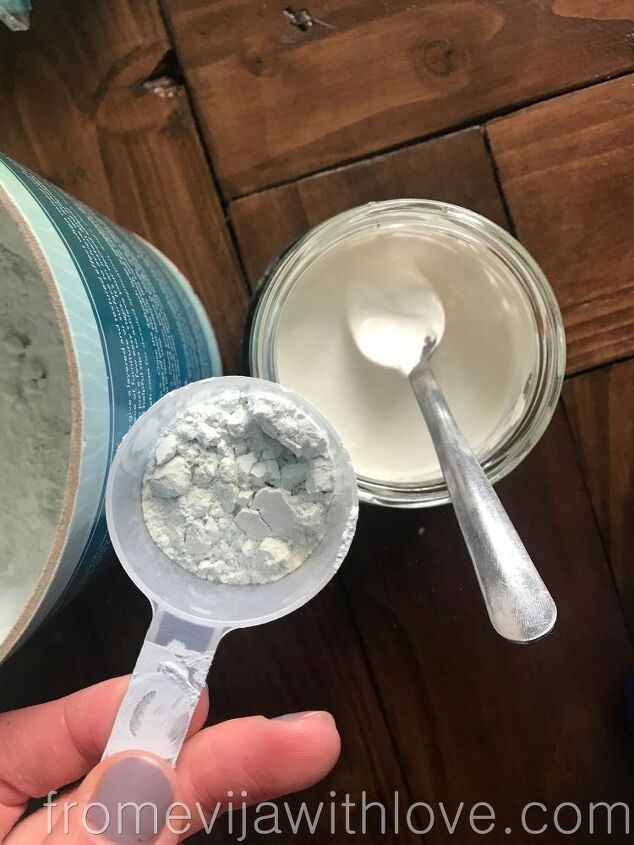
I started by creating the texture on the eggs. Mix saltwash with the paint and colour of your choice. I used Annie Sloan's original for the base colour and mixed it with Saltwash (ration 1:1) , stir the powder until you have thick paste.
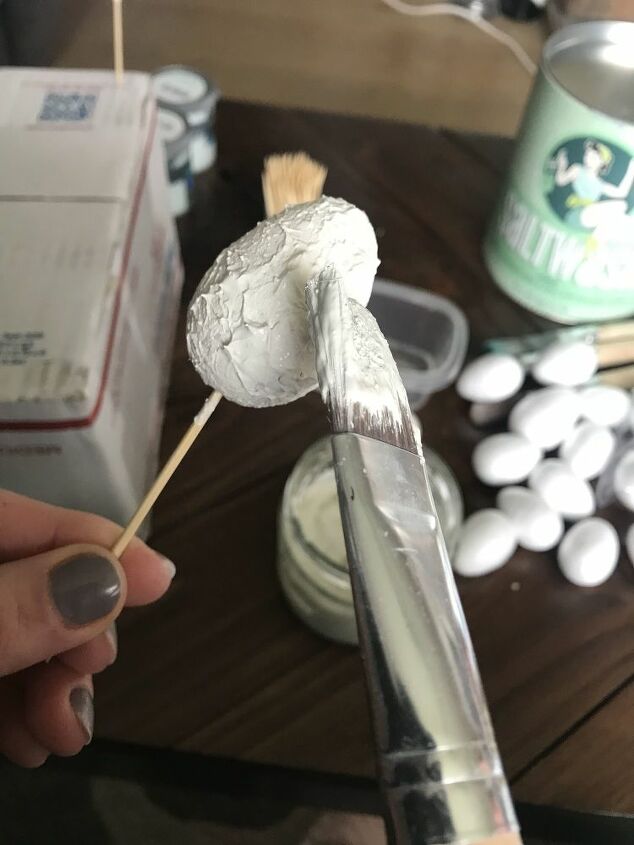
put your polystyrene egg on a tooth pick and dab the paint and saltwash mixture until the whole egg is covered, then repeat the step for all your eggs and let it dry.
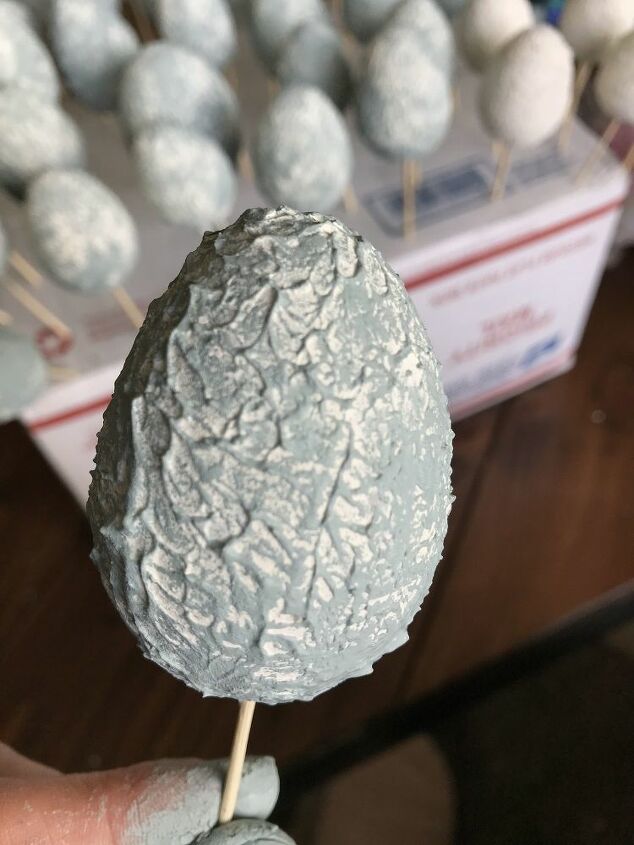
when dry, paint over using a second colour (I chose this beautiful duck egg blue shade from Frenchic), allow it to dry
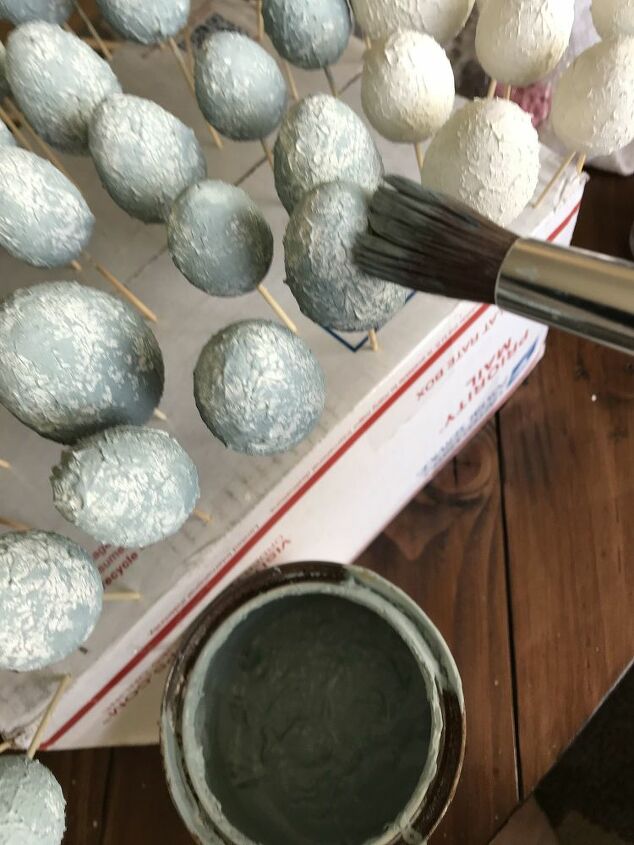
Also, with the second coat you don't need to be particularly neat! Just dab the paint on as you will be sanding it back to reveal more texture.
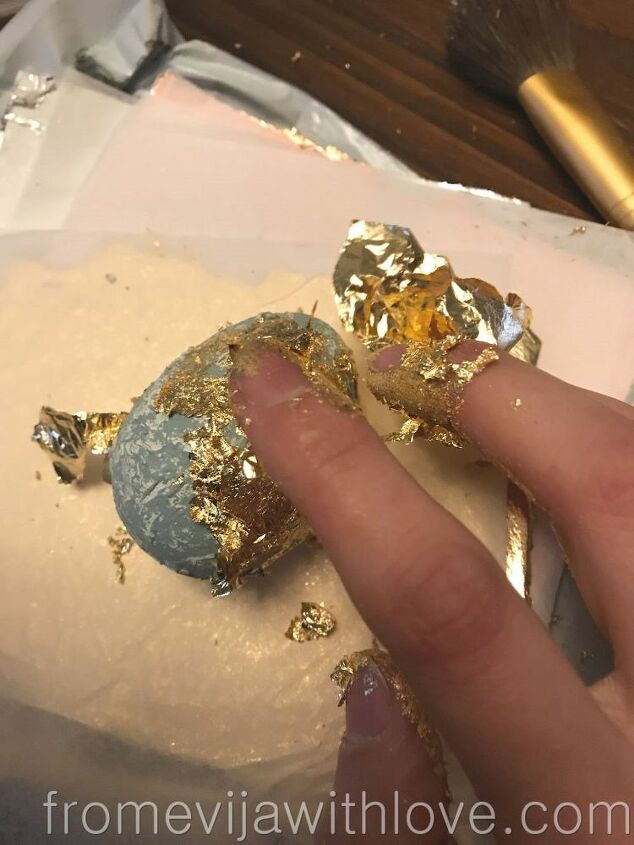
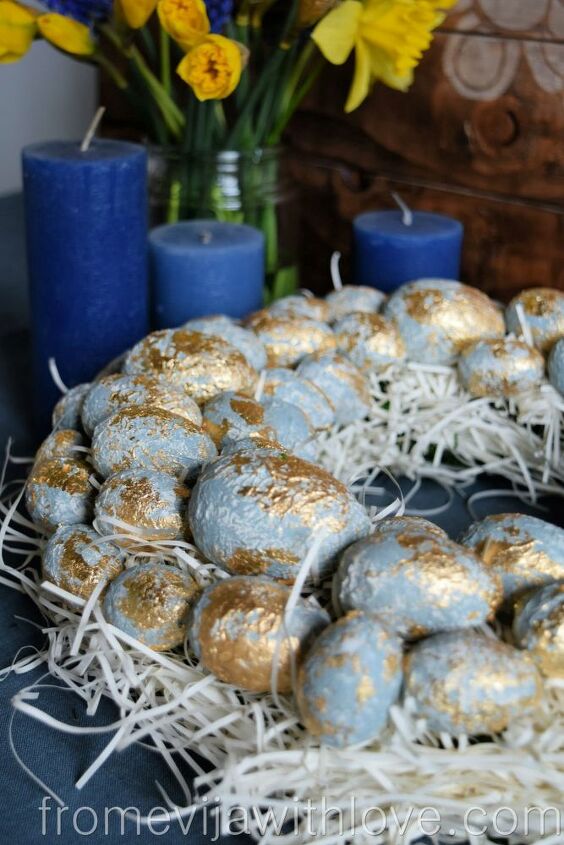
I decided to add some gold leaf (totally optional)
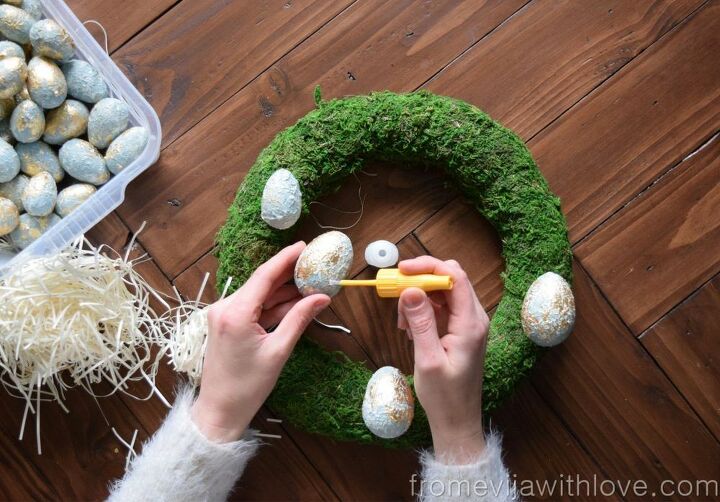
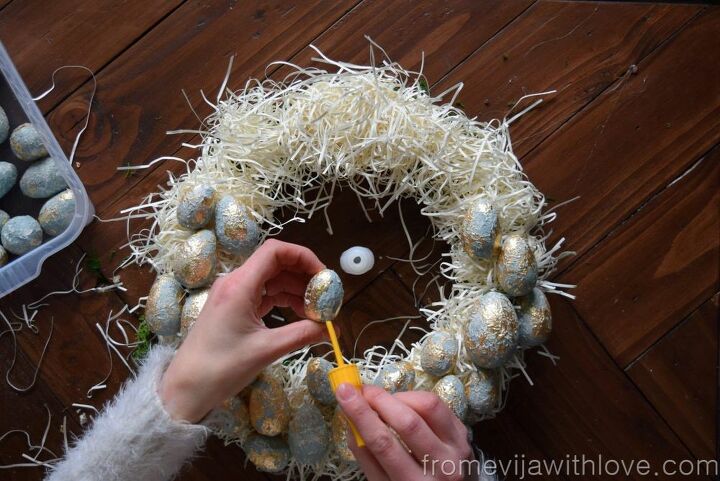
then comes the fun part to assemble it all. I used some gift packaging (the thin paper strips) and created little nests and glued them on the wreath base.
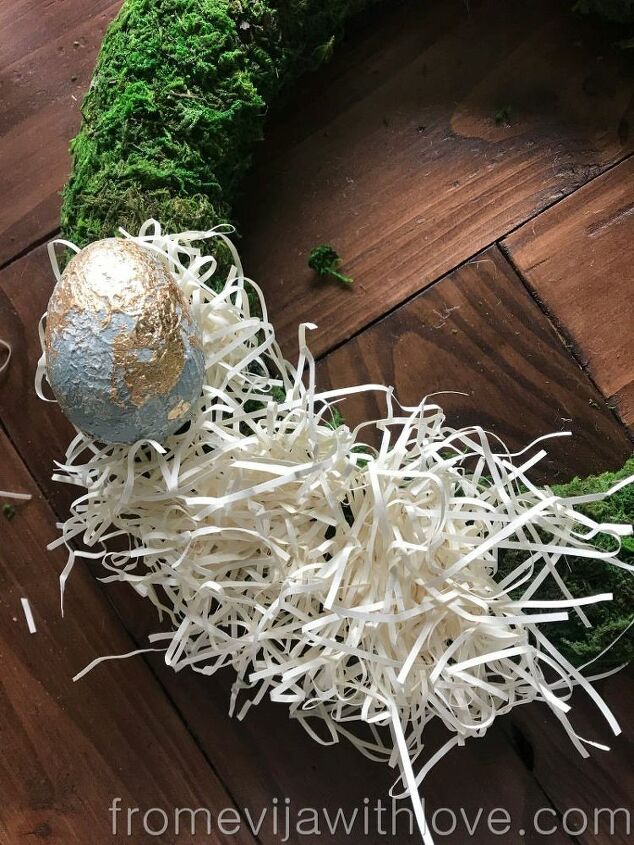
I then glued on the eggs and glued them on until the whole wreath was covered.

Beautiful and elegant centerpiece for th table or can be used on the door!

Resources for this project:
See all materials


Comments
Join the conversation
-
This is beautiful Evija!
-
Very cute !


Frequently asked questions
Have a question about this project?