


DIY Coffee Filter Wreath
4 Materials
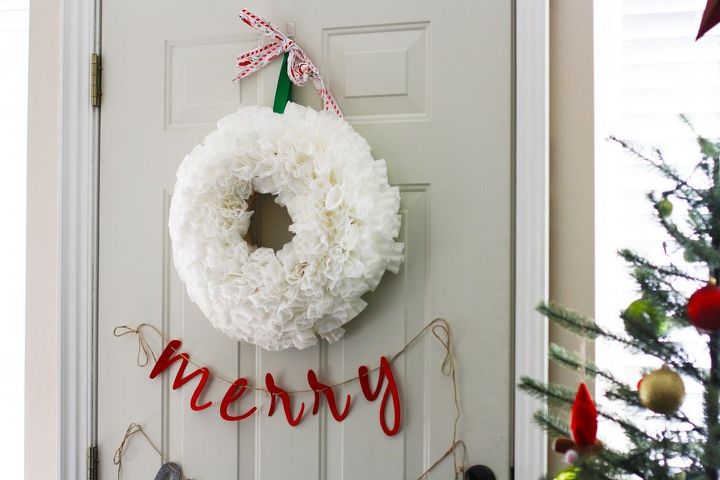
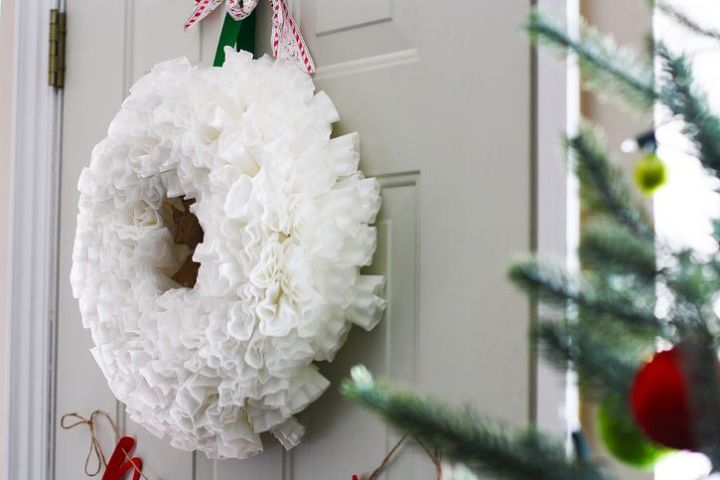
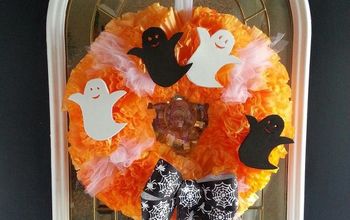
You’d never know this holiday wreath is made entirely out of coffee filters.
Bring a wintery wonderland vibe to your front door or above your mantle by making your own coffee filter wreath. This DIY coffee filter wreath has big style, but is low budget.
Bring a wintery wonderland vibe to your front door or above your mantle by making your own coffee filter wreath. This DIY coffee filter wreath has big style, but is low budget.
Grab a stack of coffee filters, make a pot of coffee (you’ll need some caffeine to power through this DIY) and get crafting.

A while back I bought a pack of 700 coffee filters from Costco. At $2.59 total, I thought it was a deal that was real, and I figured they would get used up over time. Well, even with my coffee-guzzling habit, at least 500 of those coffee filters were still around after about a year.
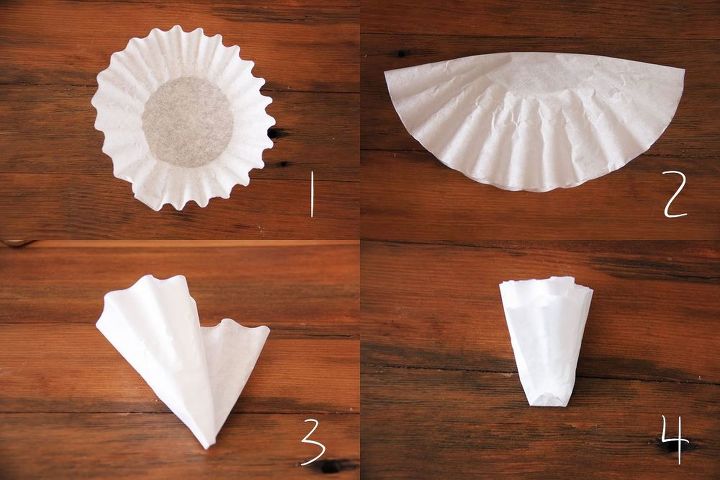
Here’s how to make your DIY coffee filter wreath.
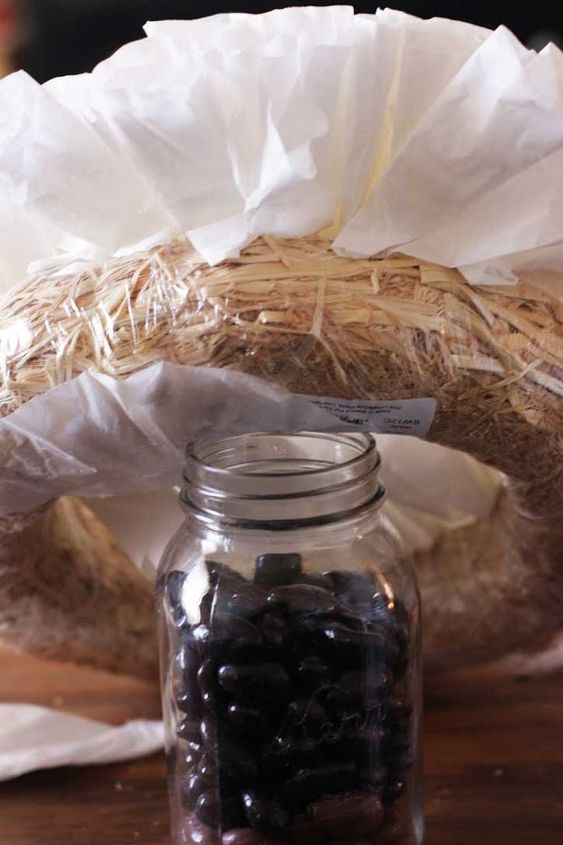
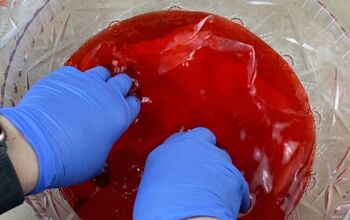
Now, use a dab of hot glue to secure the end of the coffee filter to the wreath form.
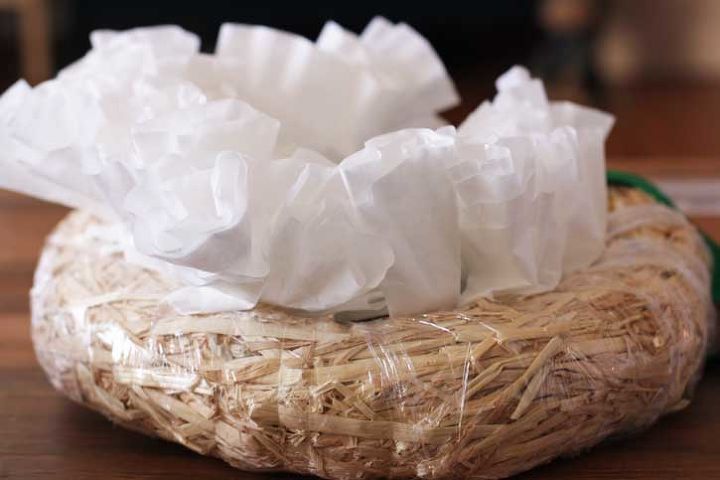
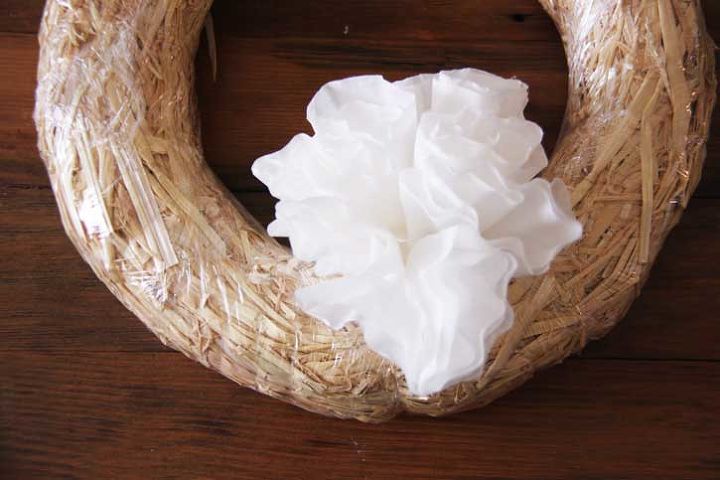
You’ll repeat those steps over and over. Start gluing coffee filters down near the inside rim of the wreath form and work your way out and around. Don’t glue your coffee filters too close to the inside of the rim, or your coffee filters will fill out too much and will cover up the hole in the middle of the wreath.
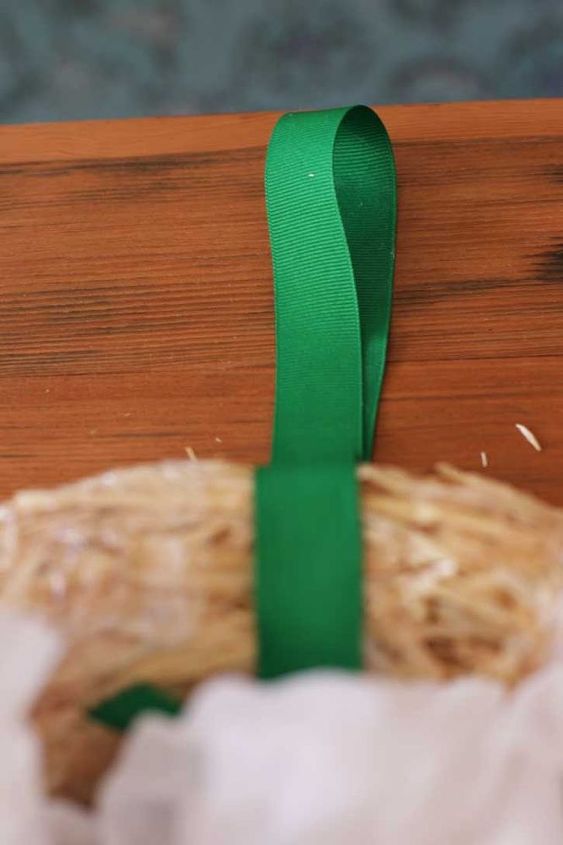
When you’re about halfway through, be sure to loop a ribbon through the wreath form and tie it. This way, you’ll easily have a spot to hang your wreath. You want to do this step before you completely fill in the wreath with coffee filters.
Also, as you fill in your wreath with coffee filters, it gets more and more difficult to hot glue the filters along the edge of the wreath because you can’t see it.
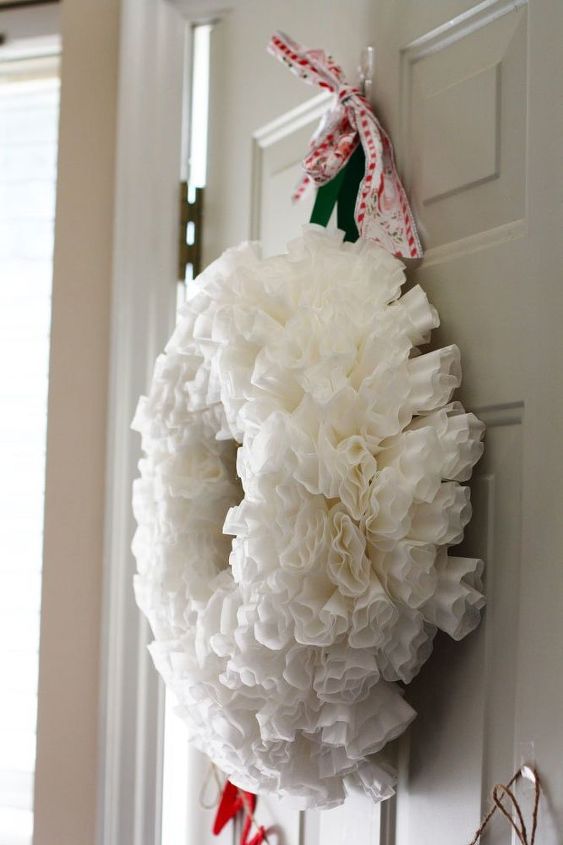
It may take some time, but it’s so rewarding to see your DIY coffee filter wreath come together.
White coffee filters give the wreath a snowflake-like quality, but I think brown coffee filters would add a nice vintage touch to the wreath. Maybe next year, I’ll make one out of brown coffee filters!

Want more details about this and other DIY projects? Check out my blog post!
Comments
Join the conversation
2 of 7 comments
-
Love it, will make one of these. TY
-
Cool! I am going to make one of these.


Frequently asked questions
Have a question about this project?