


DIY Front Door Basket
I love changing up my front door decor, rather than having the same old wreath hanging there all the time. I’ve been seeing so many front door baskets on Pinterest lately, so when I saw this flat-back basket at a thrift store recently, I knew I could use it to make my own DIY Front Door Basket.
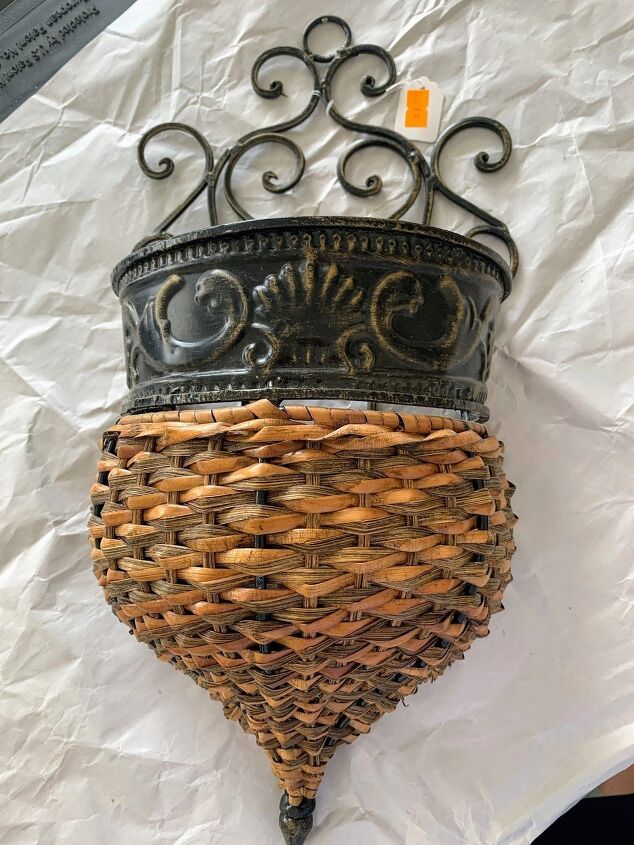
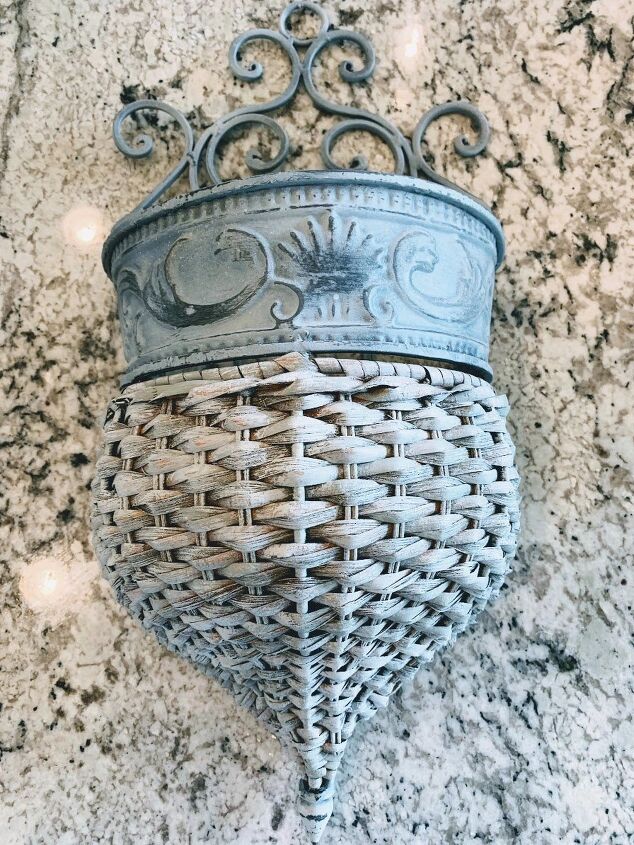
How to Make a DIY Front Door Hanging Basket Before
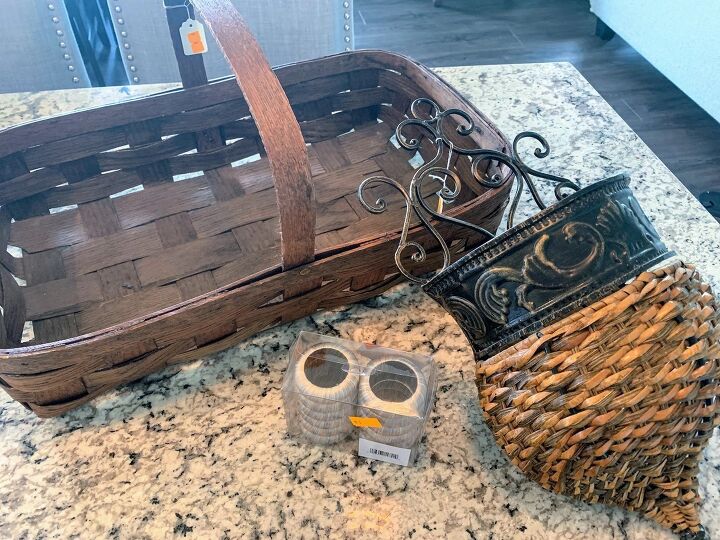
I visited a new local thrift store recently and came home with some great finds: A beautiful basket for gathering clipped flowers from my yard and garden, some brand new napkin rings perfect for setting a spring table, and this interesting hanging basket with pretty scroll details.
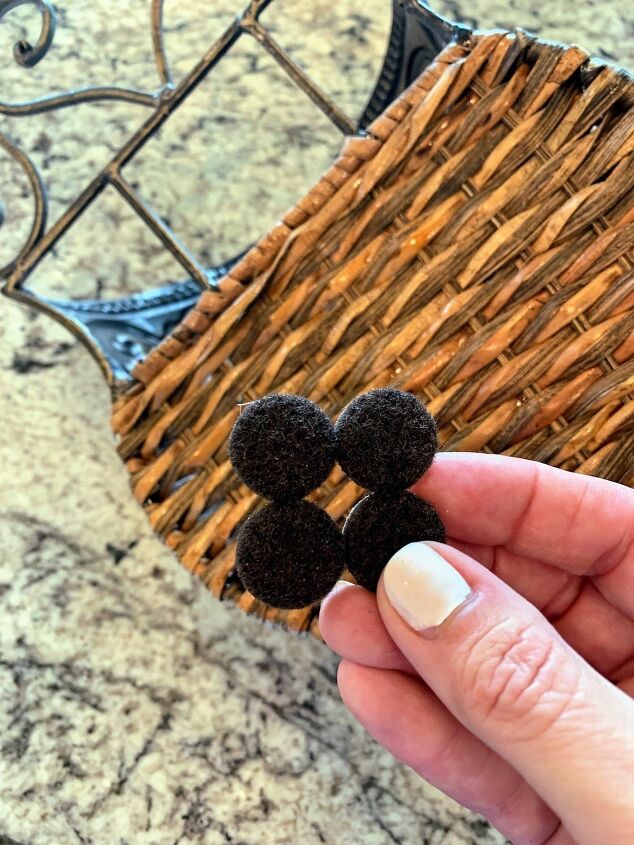
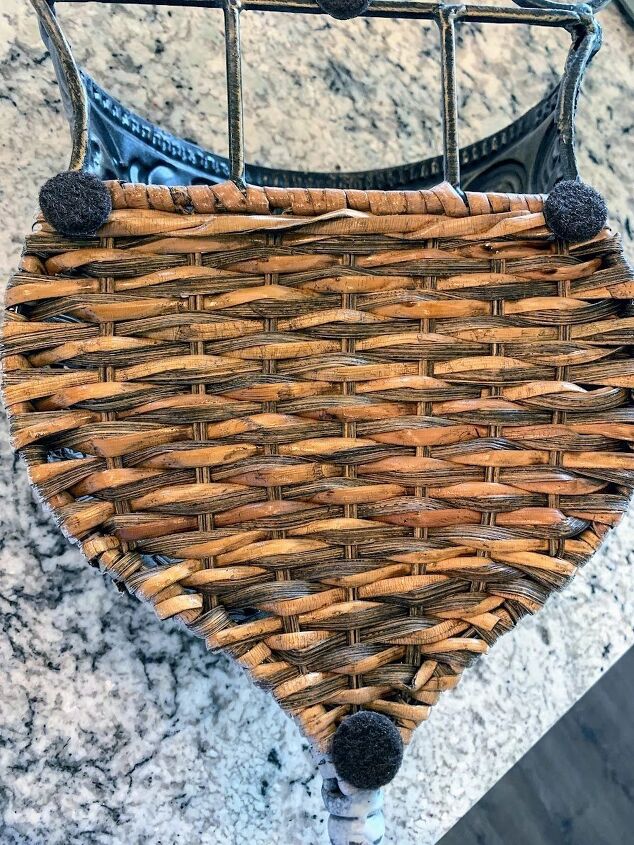
The first thing I did was add some felt furniture pads to the back, to make sure it wouldn’t scratch up my front door.
But after hanging it up on the door to try it out, I decided it was just too dark against my dark-colored door. Paint to the rescue!
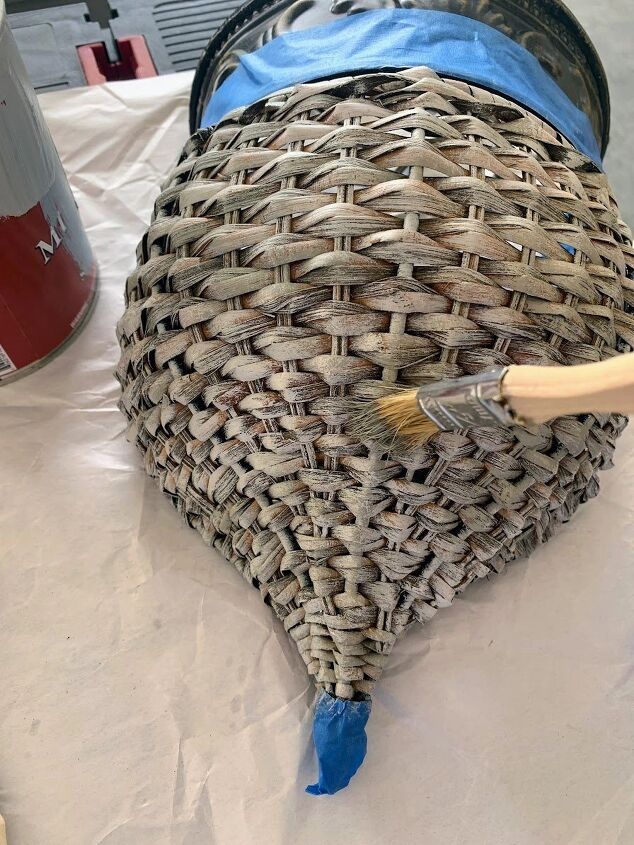
I got out my General Finishes paint and set to work dry brushing it on lightly, first with a little bit of Seagull Gray, and then some Empire Gray. I was careful to let some of the natural wicker color show through to give it more depth.
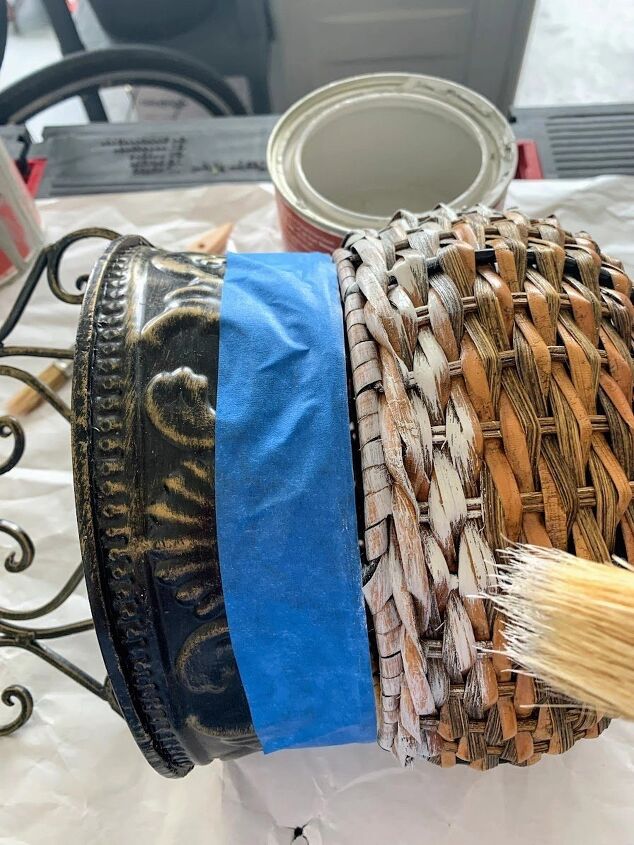
Next, I taped off the basket portion and covered it with paper to protect the work I had already done.

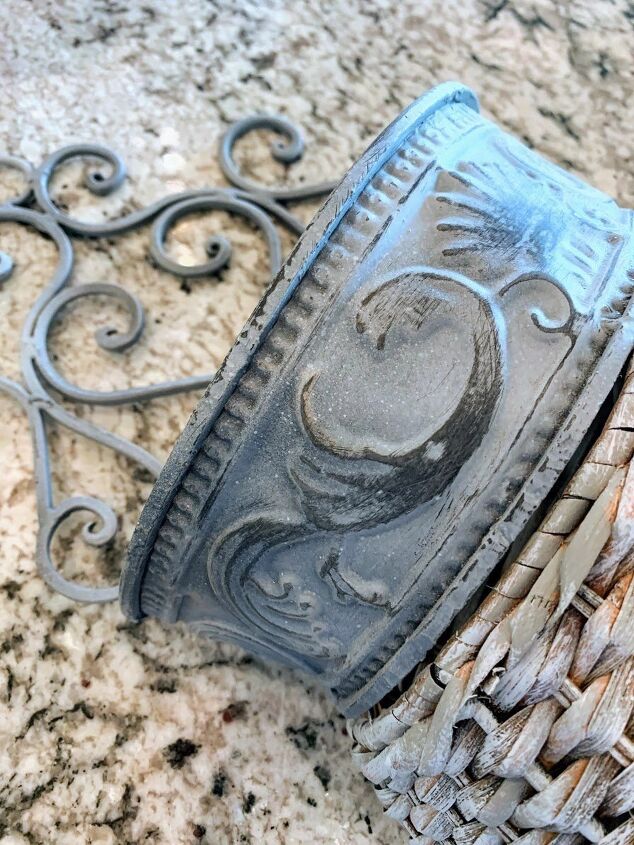
I sprayed the metal portion of my basket very lightly with Rust-oleum’s Chalked spray paint in Country Gray.
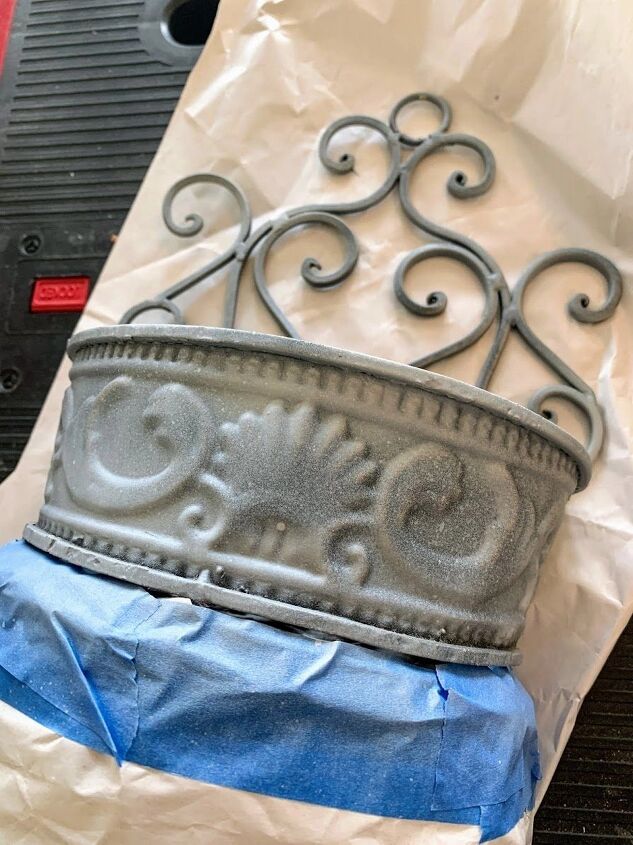
I let it dry for about 30 minutes, then used fine-grit sandpaper to rub some of it off. This gave it almost an aged, galvanized metal look, which I liked!

After
Finished DIY Front Door Basket
I placed a small piece of floral foam in the bottom of the basket and then arranged some pretty fall faux florals inside my door basket. A pretty fall ribbon is the finishing touch.

Here’s my basket “wreath” hanging on my front door. It’s a nice change from a traditional door wreath.
Plus, it can easily be switched up seasonally by changing out the flowers and the ribbon with spring or summer florals. Or even for winter, by adding some greenery, pine cones, and red winter berries.
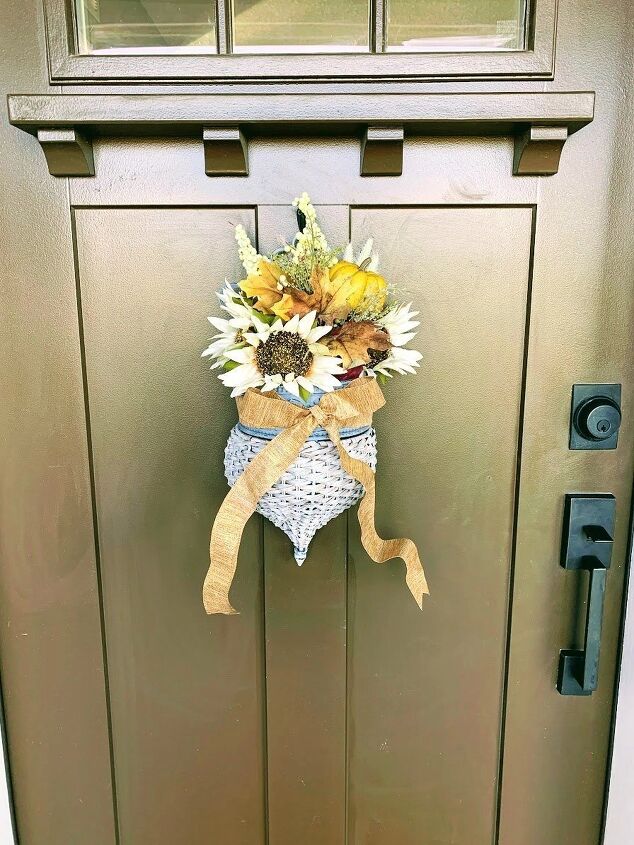
The new, lighter painted color of the door basket shows up better against my brown door and will work better as I reuse it for different seasons and holidays.
I love home decorating ideas that are versatile, don’t you?
For more “Before & After” DIYs, be sure to visit The House on Silverado.
Let’s stay in touch! You can subscribe to The House on Silverado by using the box on this page, and follow on social media, so you won’t miss a thing!
Facebook —– Instagram —– Pinterest
This post contains affiliate links. Thank you for reading and supporting my blog.


Frequently asked questions
Have a question about this project?