


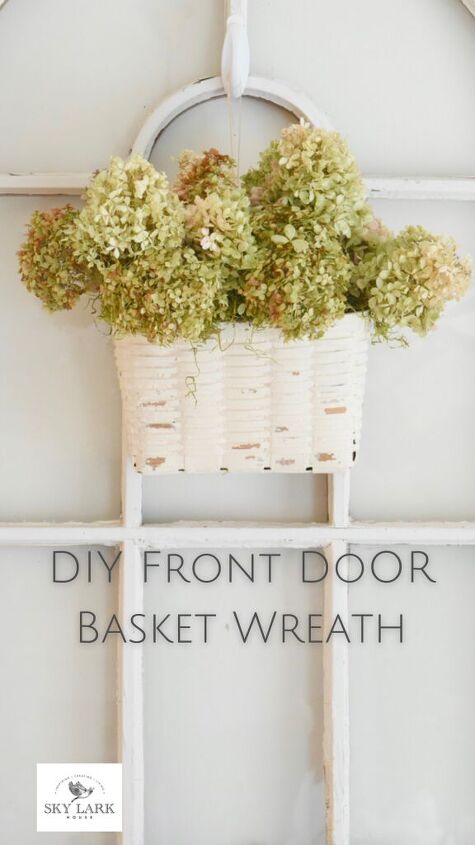
DIY Front Door Basket Wreath

by | Apr 7, 2022 | Decorating, DIY, Handmade |
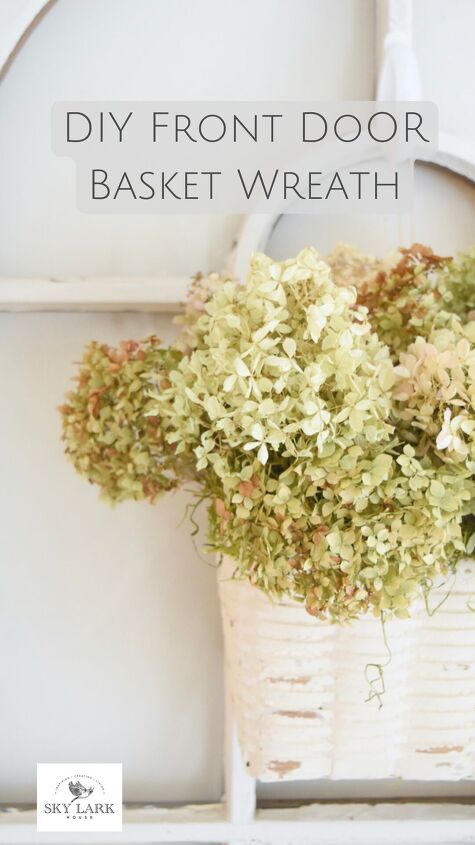
This post walks you through the process for creating a DIY Front Door Basket Wreath. This is an easy project and requires only basic supplies.
A quick note that this post includes affiliate links and I will receive a commission but at no additional cost to you. I am presenting you with my own opinion and honest review of the information provided. If you want to read the entire disclosure statement, please click HERE.
I have to give you the back story for this project. My friend Rachel at The Antiqued Journey was kind enough to reach out to me and suggest we both write a post on decorating our front doors for spring. If you haven’t seen Rachel’s website, you might want to spend some time checking it out. She also loves vintage items, hence the name of her website. She has some fabulous ideas and we both (obviously) have a fondness for old things.

Photo: The Antiqued Journey
Here is a preview of Rachel’s Floral Vintage Decor Basket that she shares on her blog. I love the little birds in her basket.
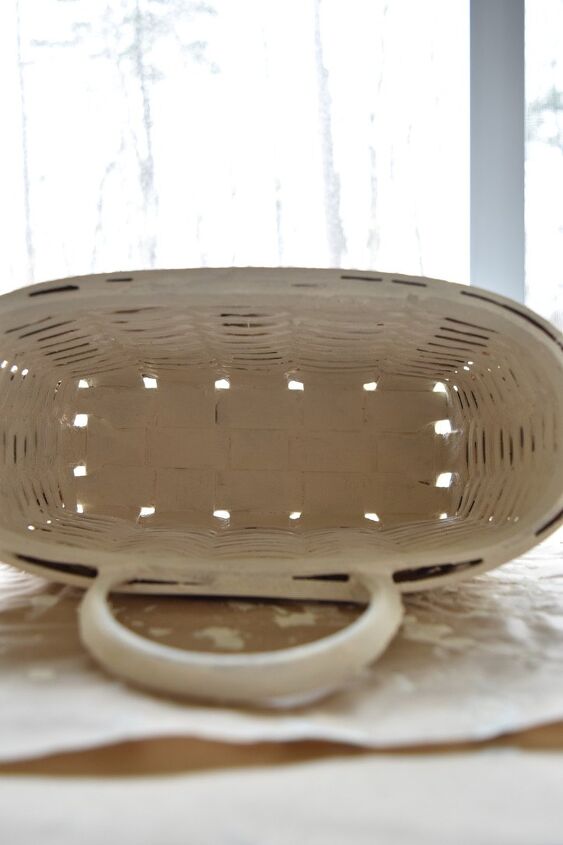
Anyway, after agreeing to create some sort of spring decor for my front door (wait that rhymes) – I was stumped. Really. I hit a serious lack of creativity wall. So, to chase my troubles away and to distract myself, I decided to go thrifting. When out and about I stumbled upon a very “plain Jane” but well made basket that could be used to hang on a front door. I almost passed it up and then I was struck by a thunder bolt! Oh! Wait! This could be used for the spring front door decor project.
Of course . . . the basket needed to be painted . . . with milk paint. So let me walk you through the steps to create this DIY front door basket wreath.


Admittedly, this basket is not exciting. The wood has that slightly orange undertone that was popular in the 1990s. However, the basket is in exceptionally good condition and it was priced at less than $10. I figured, heck, I can make something out of this for the spring decor front door project. I took it home and it sat in my office for another week while I waited for some inspiration.
For your convenience, I have linked some similar baskets that I found on Etsy at the end of this post. Having said that, I definitely encourage you to get out there and go thrifting. There are good deals to be found.
If you have been reading this blog for more than a week, you know I love milk paint and that I love painting all sorts of items, especially antique furniture, with milk paint. You also know that my go-to brand for milk paint is MMS Milk Paint. I find this brand consistently performs better than other milk paints AND it creates a texture, patina and effect that other paints do not. I also like this paint because it is nontoxic and all natural.
So OF COURSE I decided to paint the basket with MMS Milk Paint in the color Linen. The basket definitely needed some character and those orange undertones had to go!
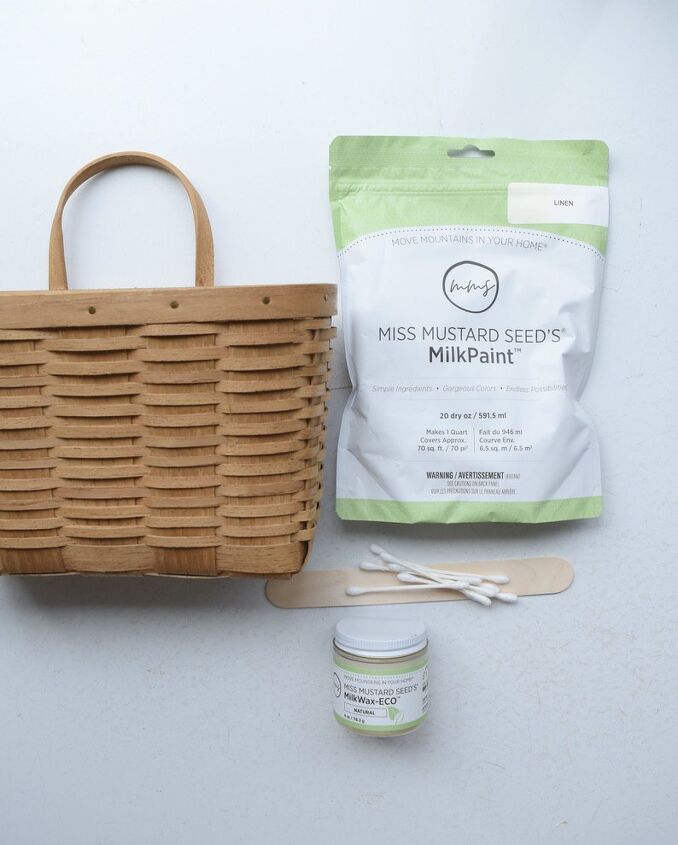
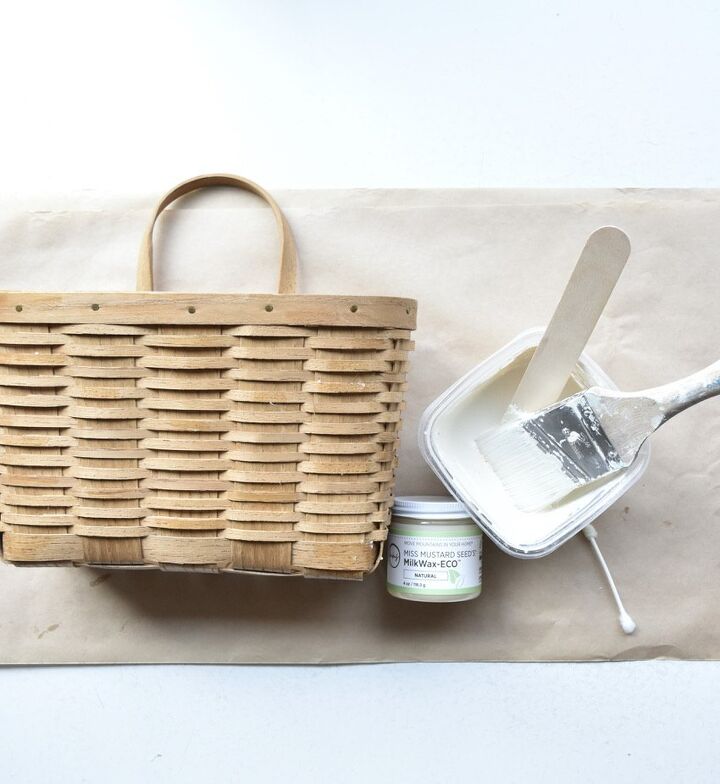
The photo above shows the supplies used to paint the basket.
- 1 flat back basket to hang on your door
- MMS milk paint in any color you choose
- MMS clear Eco milk wax
- 3-4 Q-tips
- A small container and stir stick to mix the milk paint.
- 6-8 dried hydrangeas
- A package of green Spanish moss
- Hair spray
I knew that I wanted the basket to look old and worn. So, I used a Q – Tip to gently and sparsely apply milk wax to select areas of the basket.
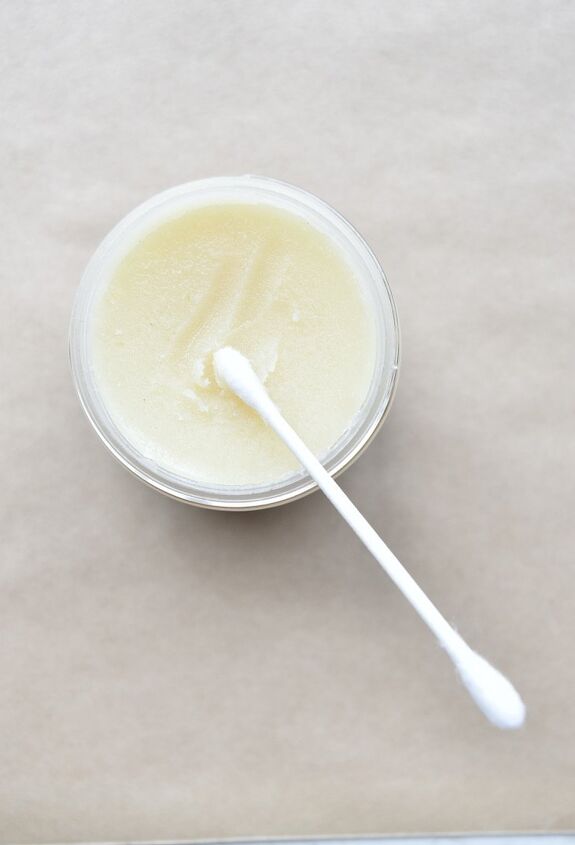
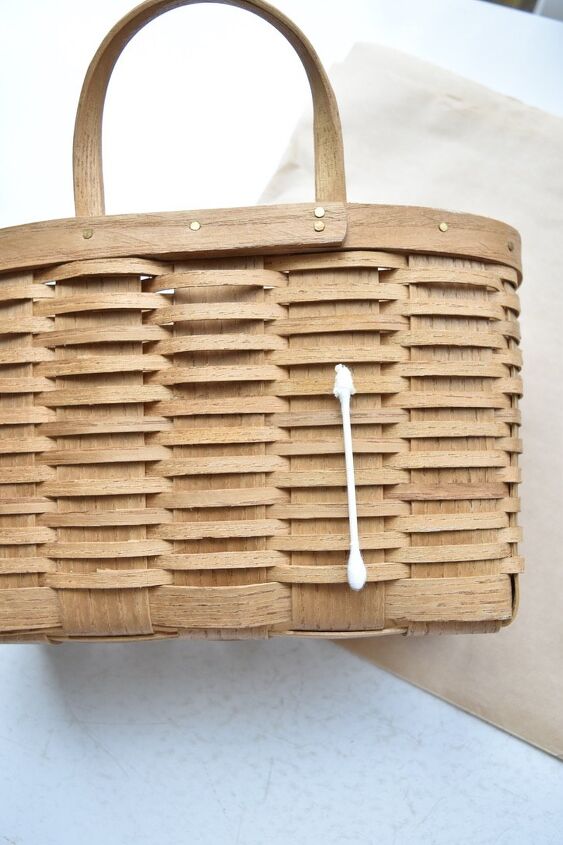
I covered the end of the Q-tip with milk wax and carefully applied it to areas of the basket where paint would naturally flake away or be worn away. Applying the wax creates a “resist” – which is a fancy way of saying it prevents the paint from adhering to the wood. I focused on applying the wax near the bottom and on the corners of the basket – which are the areas that get the most use.
After I had applied the wax to create a resist, I mixed up 1/2 cup of milk paint in the color linen.
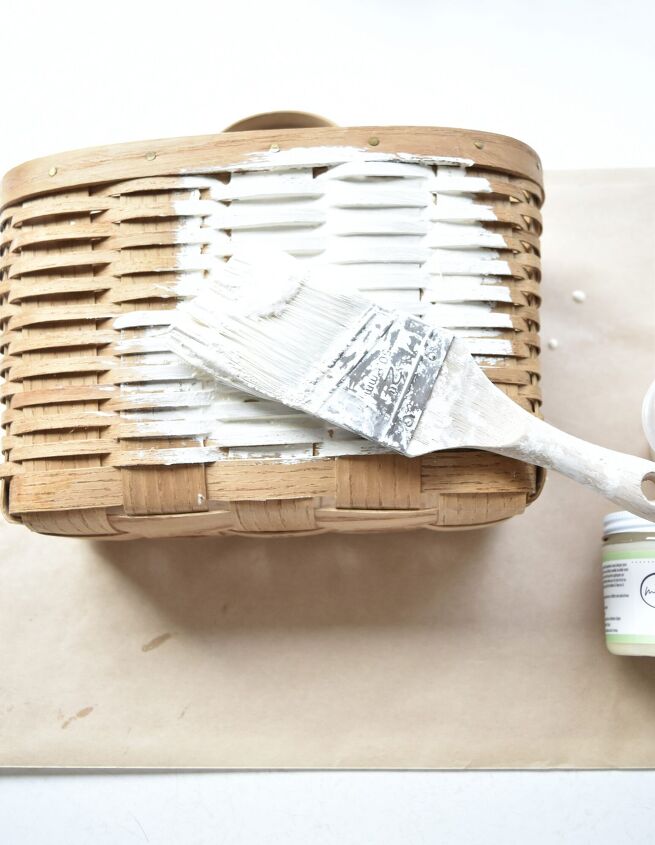
In a total of about 40 minutes, I painted the basket inside and out.
When the first coat of paint was dry, I applied another coat to ensure there was good coverage. Then I waited for the second coat of paint to completely dry. This took about 30 minutes.
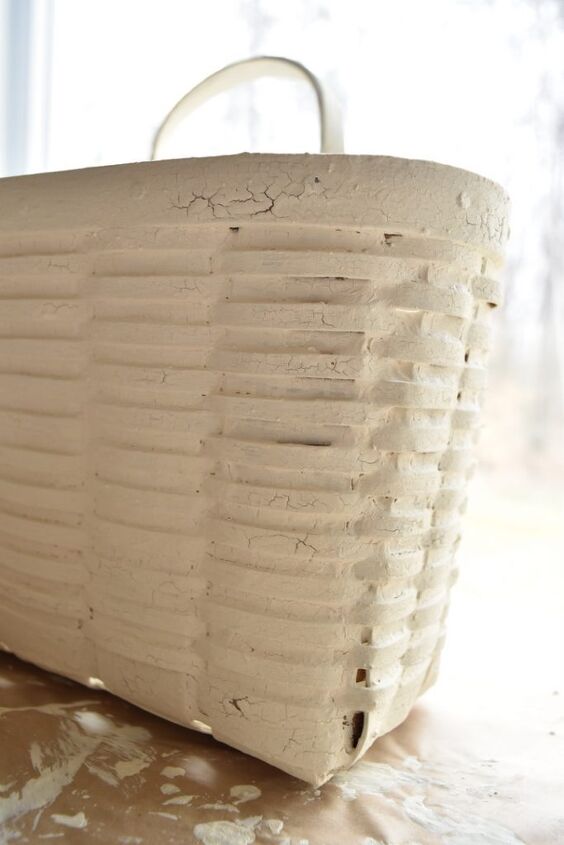
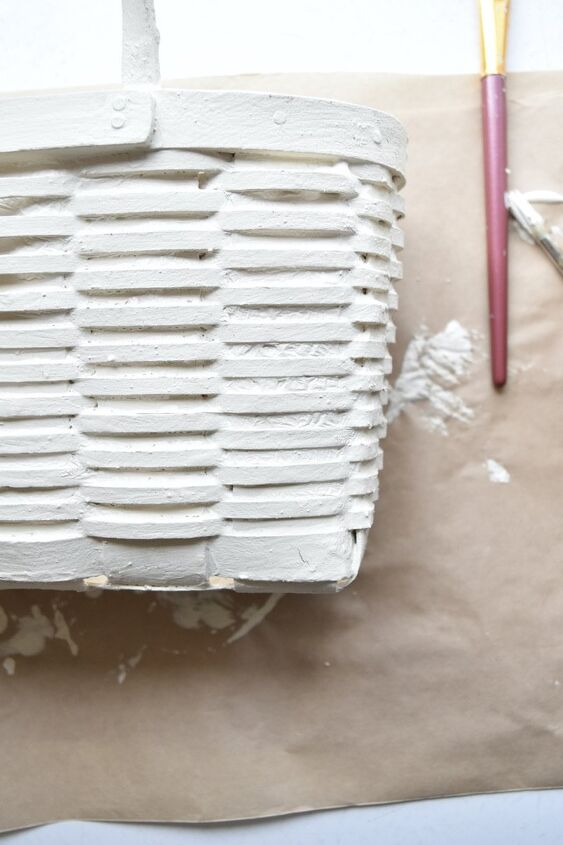
Then, something magical started to happen. Can you see the crazing and cracks in the paint in the photo above? This is what milk paint looks like, after it dries but just before it starts to flake off. Using a butter knife, I gently scraped all the areas with the cracking and removed any loose paint.
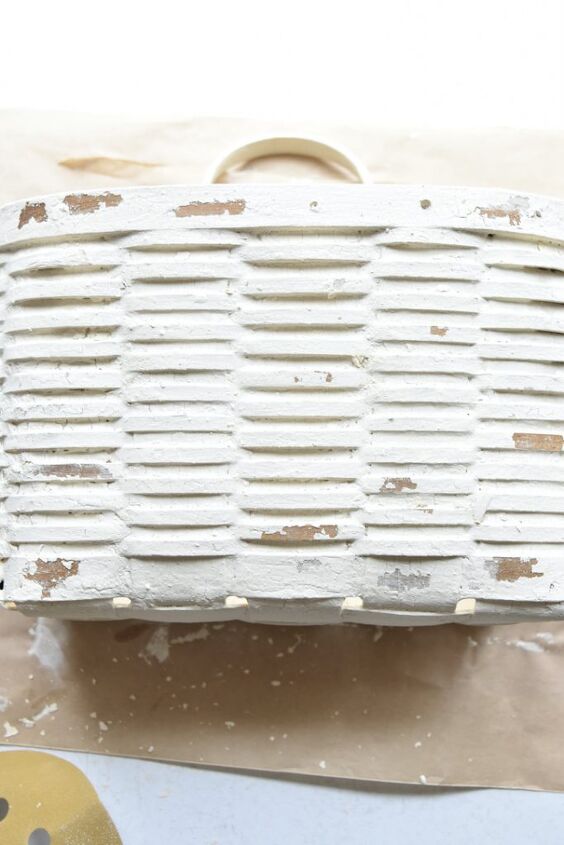
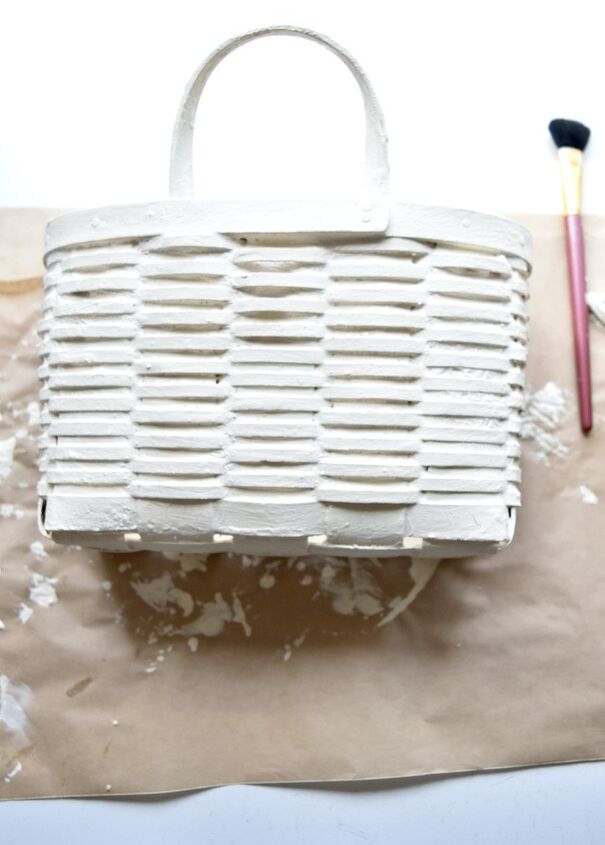
The photo above shows what the basket looked like after I scraped off the loose paint. Now the basket had an appearance and texture that I loved. To protect the painted basket and to retain the textured appearance, I sealed the outside of the basket using clear Eco Milk Wax. Yes, this is the same product I used to create the “resist”.
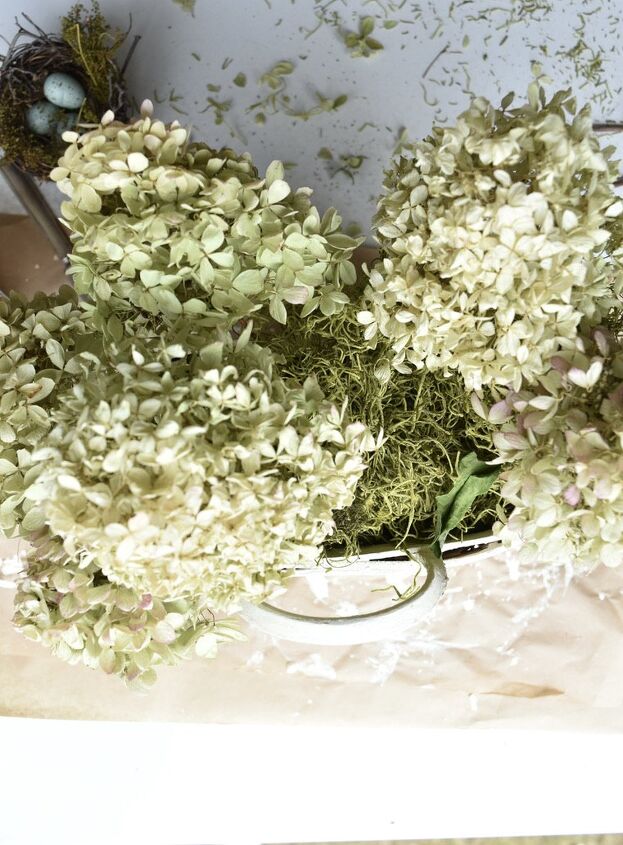
Truth be told, I have a basement full of hydrangeas that I dried late last summer. Here is a post I wrote on how to dry hydrangeas. In New York, we won’t have any flowers until the end of May. So, I decided to use the dried hydrangeas to create a floral arrangement in the basket.
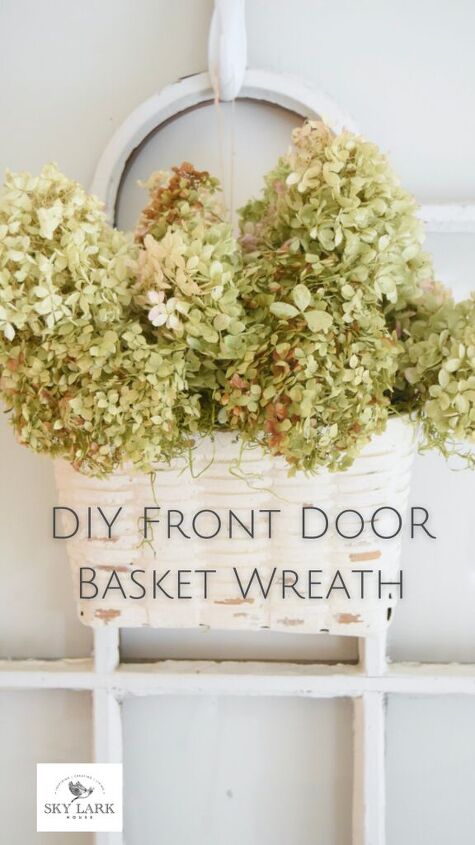
The first thing I did was stuff green Spanish Moss inside of the basket. I filled the entire basket with the moss and even had a little extra that flowed over the edges of the basket. The moss acts as an anchor for all the dried flowers and prevents them from falling out of the basket.

Here is a TIP if you are creating a floral arrangement in any container. Your goal is to “break the line” which means you want the flowers or greenery to spill over the edge of the container. If you want the arrangement to look full and inviting, you don’t want to see the rim of your container.
Finally, here is one more TIP. People often say they don’t like to use dried hydrangeas because the flowers shed. Meaning every time someone would close the front door – there would be a pile of dried greenery fluttering down.
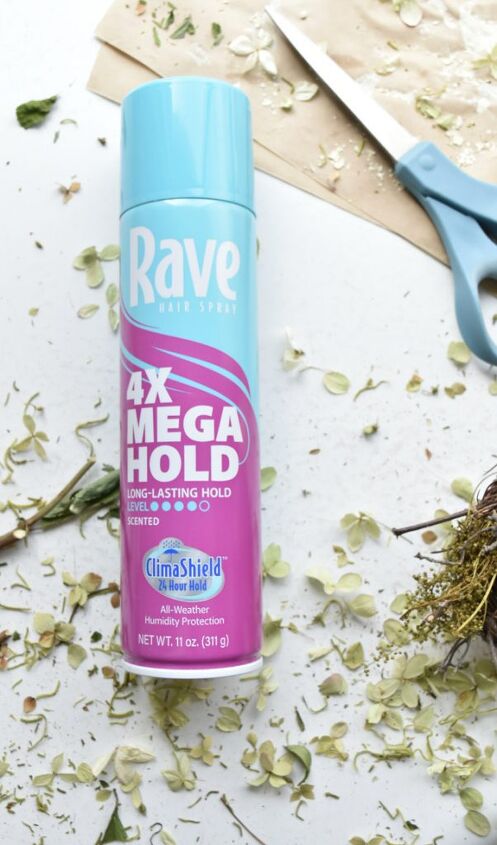
My solution to this problem – cover your dried hydrangeas with mega hold hair spray. In fact, you might want to spray them with a couple of coats of hair spray. It works like a charm.
As you may know, I have partnered with MMS milk paint and I am so happy to be able to share a product with you that I have been using for years and love. I recently started doing some Instagram Live videos to demonstrate how you can use milk paint and I also am a guest blogger for their website. As such, I can offer you 10% off of their products with the code 10OFFSH.
You can access their line of milk paint and see the variety of colors offered. For this particular project, I used the color Linen which is part of their Coastal Collection. However, I think the basket would also be pretty painted in the colors GrainSack or Ironstone.
Also, our next Instagram Live Video is scheduled for April 16th at 11:00 AM EST!
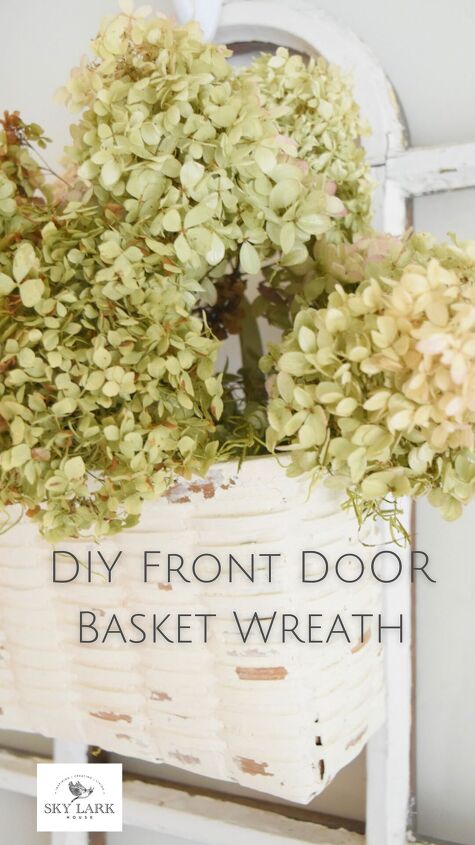
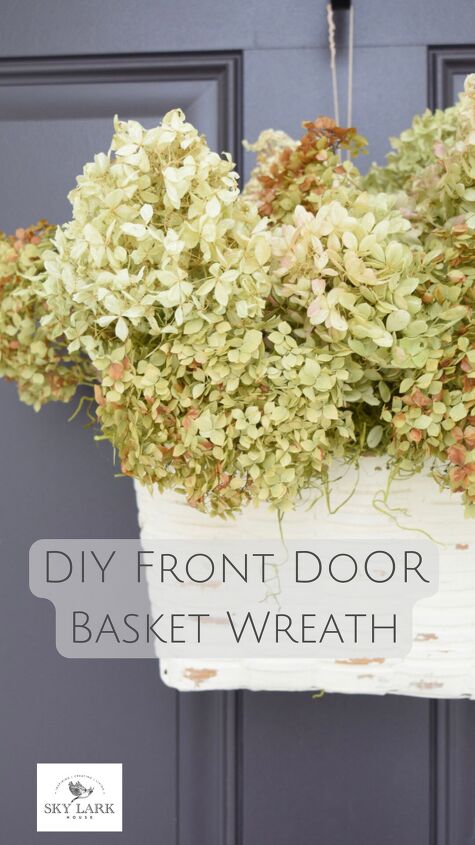
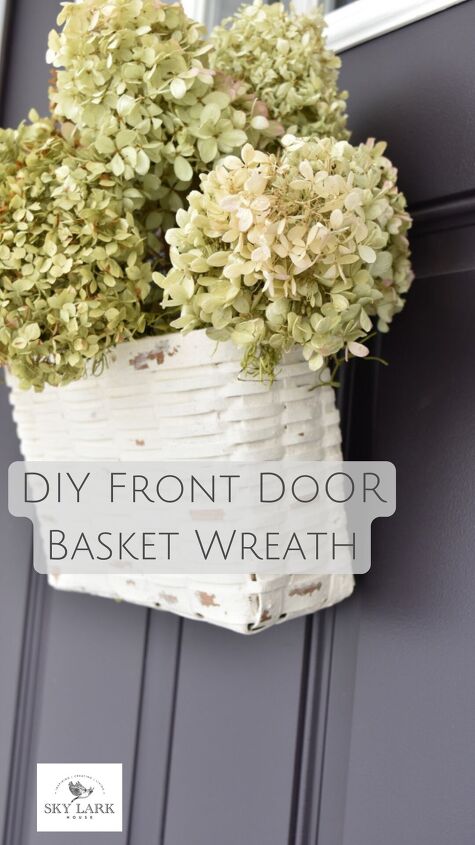
All in all it took me about an hour to make this DIY front door basket-wreath. Here are some photos of the final result. Feel free to pin them for future reference. If you pin a photo to one of your Pinterest boards, you can visit it at a future date. Then in the future, simply click on the photo and it should bring you back to this post.
If you hover over the photo in the upper left corner, a little red Pinterest icon will appear. Simply click on that to pin the image.
It was raining outside when I completed the project so I took some photos inside.
When it finally stopped raining, I dashed outside and took a few quick photos.
Thank you for stopping by the blog today. I hope you are able to hop on over to see Rachel’s vintage floral basket! This time of year is always so inspiring since its full of renewal, hope and anticipation of things to come.
Join our mailing list to receive the latest news and updates from our team.
- Vintage Easter Candy Containers
- DIY Front Door Basket Wreath
- Easy Marbleized Eggs
- 5 Bucket List Items for Spring
- Antique Paper Leaf Wreath
Comments
Join the conversation
-
This is the one I made for my front door.


Frequently asked questions
Have a question about this project?
Where did you get all the stuff to make this basket?