


DIY Vintage Valentine's Card Wreath
5 Materials
$10
1 Hour
Easy
Valentine’s Day is around the corner, and there is nothing more sentimental than a hand-written note from the heart. This project features a step-by-step tutorial to bring those handwritten notes to life with this DIY Vintage Valentine’s Card Wreath.

There is something so precious about Valentine’s Day. I am a very sentimental person, and so Valentine’s Day has always been a fun one for me. As a child I loved making Valentine’s for my friends, and last year I created some fun Valentine Cards (can be found on the blog) for my children to present to their friends.
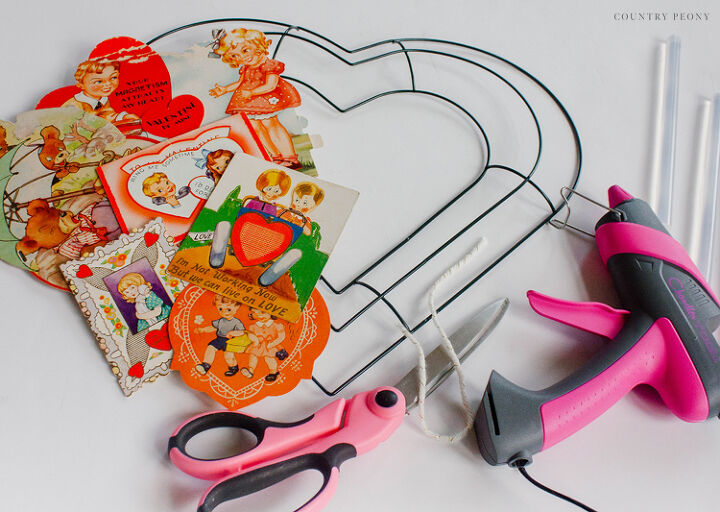
To make your own DIY Vintage Valentine’s Card Wreath you will need:
- $1 Heart-Shaped Wreath (affiliate link)
- Vintage Valentine's Cards (affiliate link)
- Hot Glue Gun with Glue Sticks
- Scissors
- Ribbon or Yarn for the Hanger
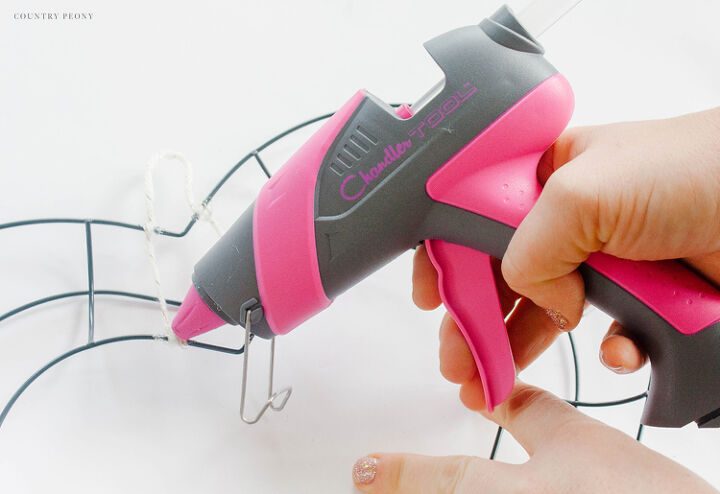
Step 1: Create the hanger. You can use yarn or a ribbon. Measure the size of the yarn loop to ensure it fits over the wreath hanger or knob that you plan to put the wreath on. Tie the ribbon or yarn to the top and back part of the heart-shaped wreath. Then hot glue the yarn in place to ensure it is secure.
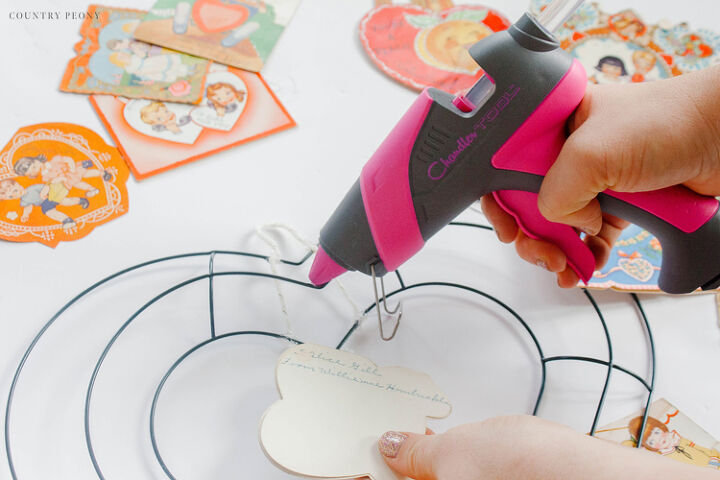
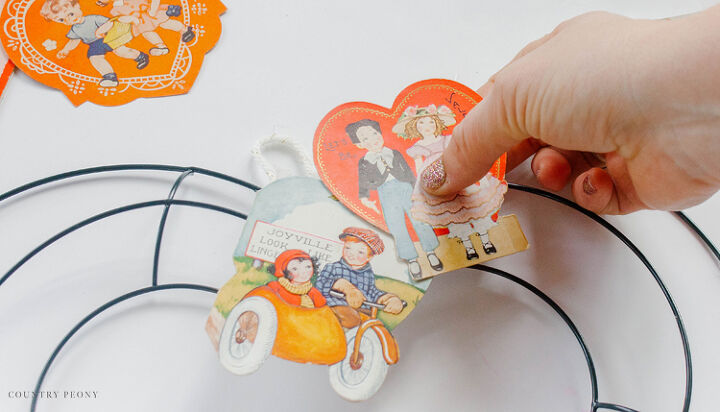
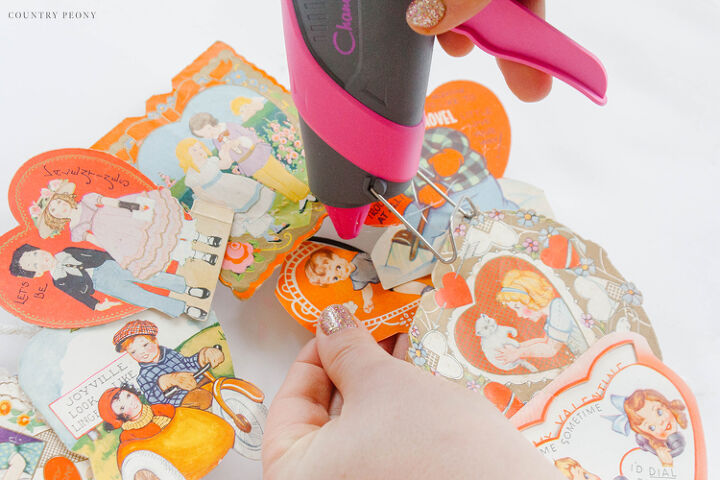
Step 2: Add your cards to the wreath. Lay out your Valentine’s cards to see what colors, sizes, and shapes you have. Then start to lay out a rough pattern for your wreath varying the sizes, shapes, and colors. Once you are happy with your layout you can start to secure the cards to the heart-shaped wreath form with hot glue.
Once you add your card to the wreath with hot glue, hold it in place until the glue dries so the card adheres properly.
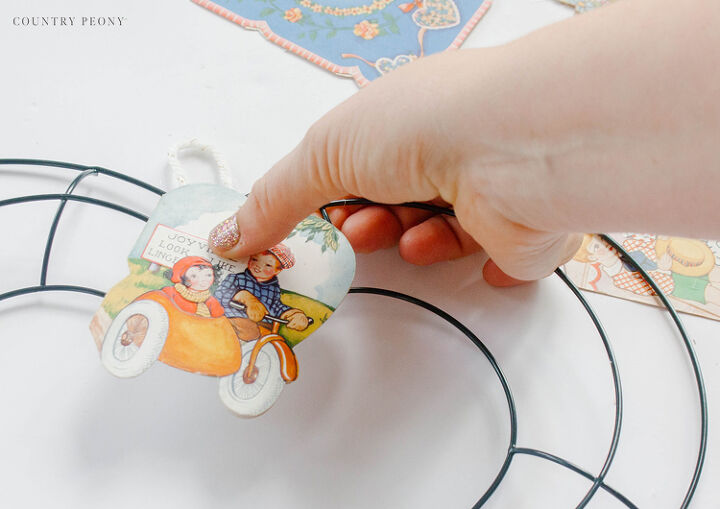
Step 3: Continue to add cards to the heart-shaped wreath with hot glue. Overlap and underlap the cards to create a nice dimension. Keep the movement and integrity of the heart shape in mind as you add the cards.*Don’t worry about the gaps in between the cards, we will take care of that in a moment.
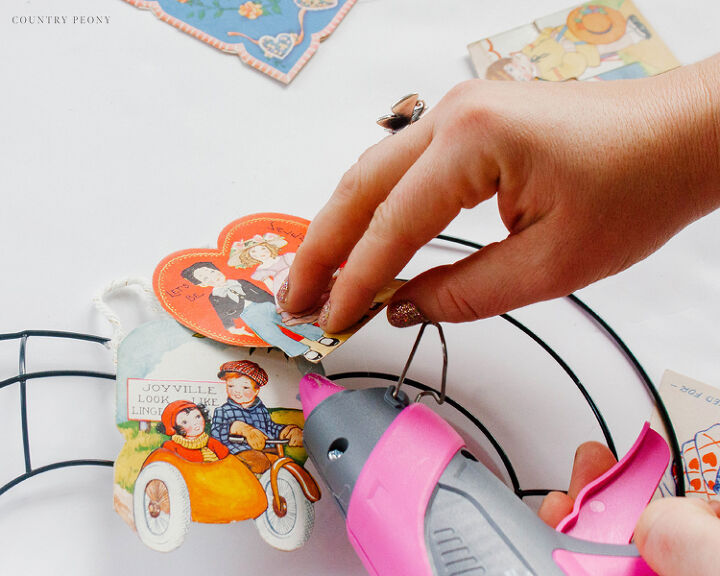
To ensure stability, hot glue the cards together when appropriate.
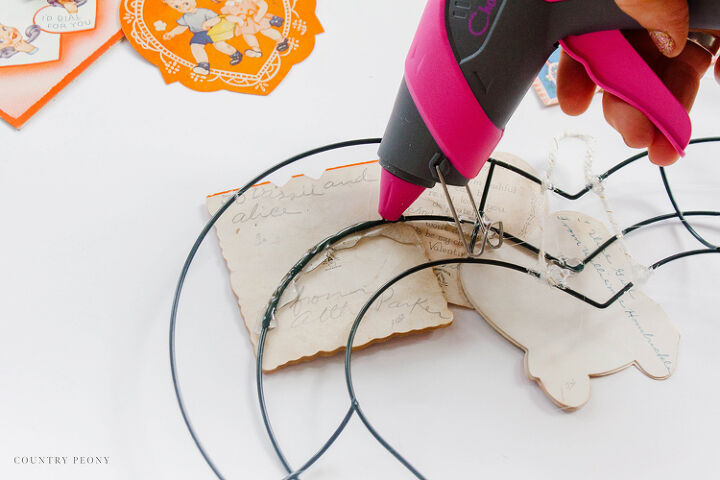
*Since the wreath form wire is thin I found it helpful to add glue to the back as well to ensure the cards stayed in place.
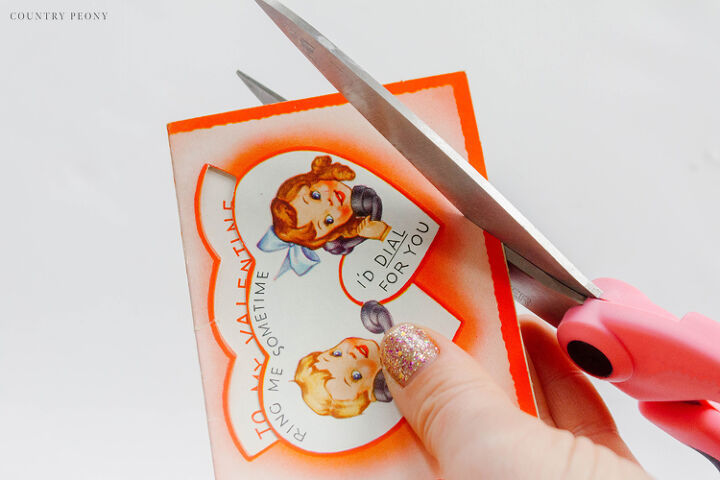
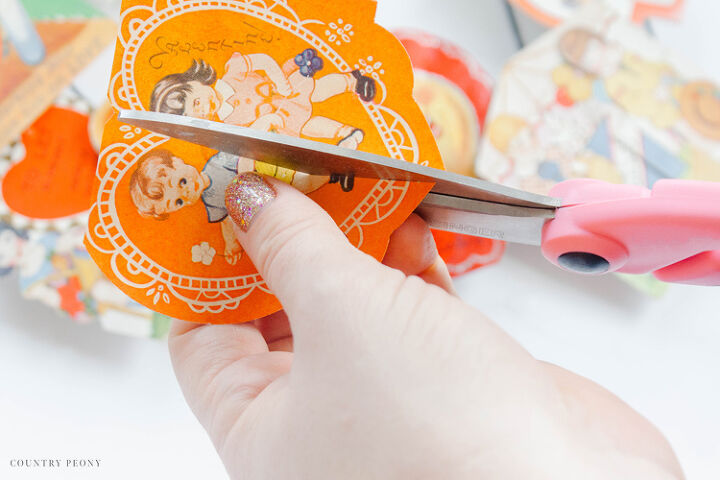
*It may be helpful to cut some of the cards so they fit better on the wreath.
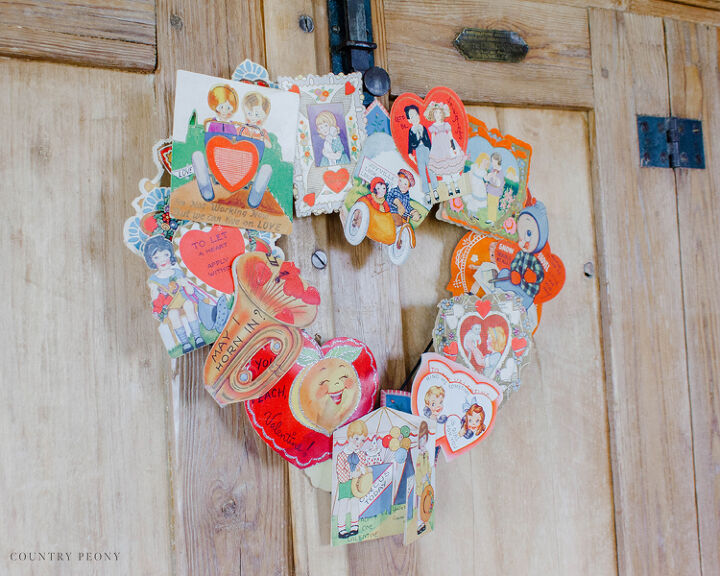
Step 4: Once you add all of your cards and fill up the majority of your heart-shaped wreath, it is time to fill in the gaps.Choose leftover cards that have beautiful edges (or scrap paper) and trim them to fit in the gaps.
Hot glue the trimmed cards behind the main cards. Continue to add cards where there are gaps.Then, enjoy your beautiful, custom creation!
Mine currently sits on my vintage baker’s cabinet in our farmhouse kitchen (full tour on the blog). I think it is such a sweet compliment to our kitchen.
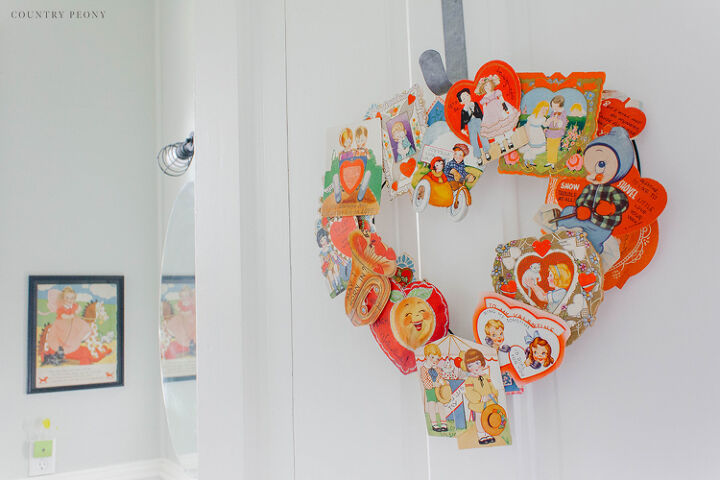
I hope this inspires you to make your own vintage card wreath. I would love to see them!

Resources for this project:
See all materials


Any price and availability information displayed on [relevant Amazon Site(s), as applicable] at the time of purchase will apply to the purchase of this product.
Hometalk may collect a small share of sales from the links on this page.More info

Want more details about this and other DIY projects? Check out my blog post!
Comments
Join the conversation
2 of 4 comments
-
Great minds think alike! I made one sort of similar to this earlier this year and posted it on HomeTalk. But mine just used a handful of Valentines and sprayed the frame red. -- Stephie
-
Yours is so cute! I love the use of the frame in the wreath. Aren't those vintage Valentine cards just the sweetest?


Frequently asked questions
Have a question about this project?