


DIY Wreath on a Budget for Fall

by
Emily Counts
8 Materials
$10
40 Minutes
Easy
If you love this project, be sure to download my Home Project Planner for help planning your next DIY or organizing project!
You can replicate this wreath in a matter of minutes and the colors can easily be changed for different seasons. Let me show you how this easily this DIY fall wreath can be put together!
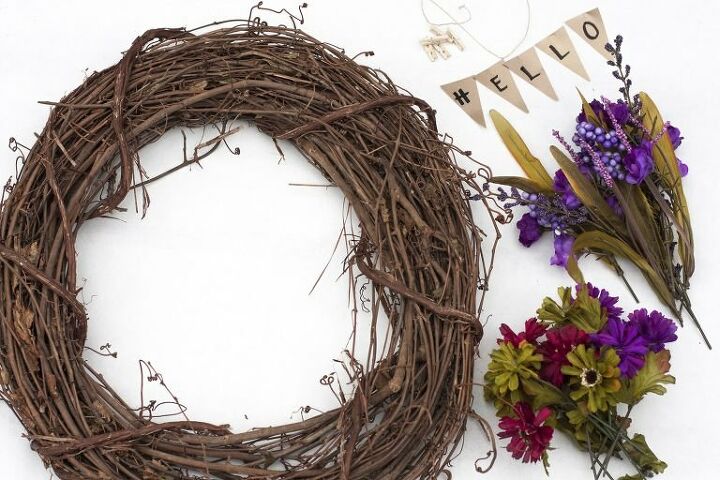
To get started, gather your supplies and use your wire cutter to cut the flower bouquets apart. Cut the stems long enough so the little leaves stay attached to each bloom.
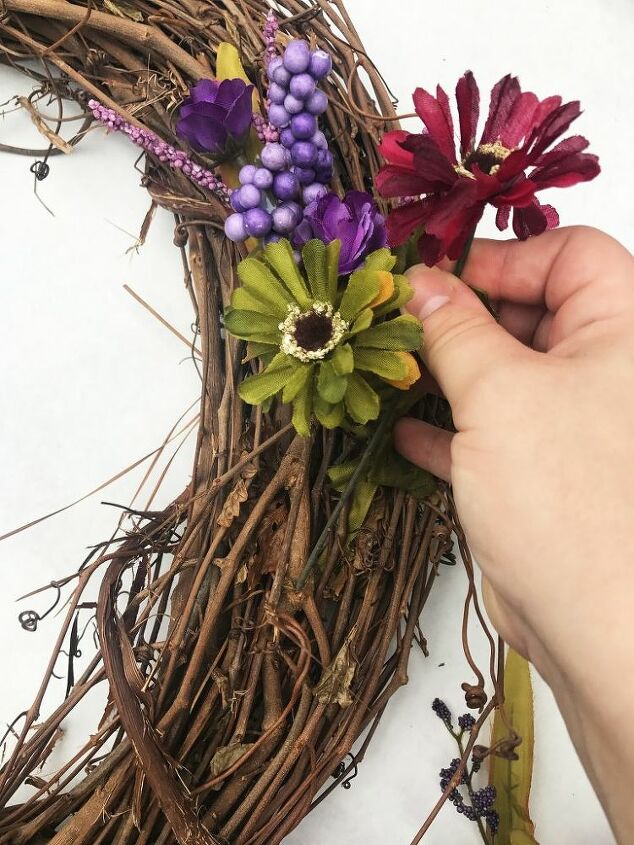
Stick the stems of your flowers into the grapevine branches. You don’t need any wire or glue!
Not only does this process go fast, but you can easily move around the flowers until it looks just the way you like it.
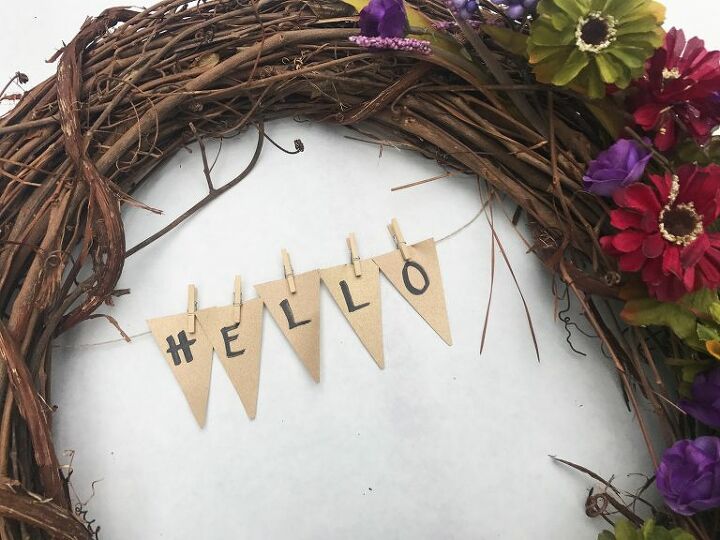
ext up is the pennant banner! You’ll first need to cut mini triangles out of your card stock. No need to measure, just eyeball it! Once I had one triangle cut out, I used it as a stencil to make the rest.
Then use your Sharpie for the lettering. I decided to spell “HELLO” on mine, but you could do something different.
Tie your string to branches on the backside of the wreath so it stretches across the center of the wreath horizontally. Then use the mini clothespins to clip on your letters!
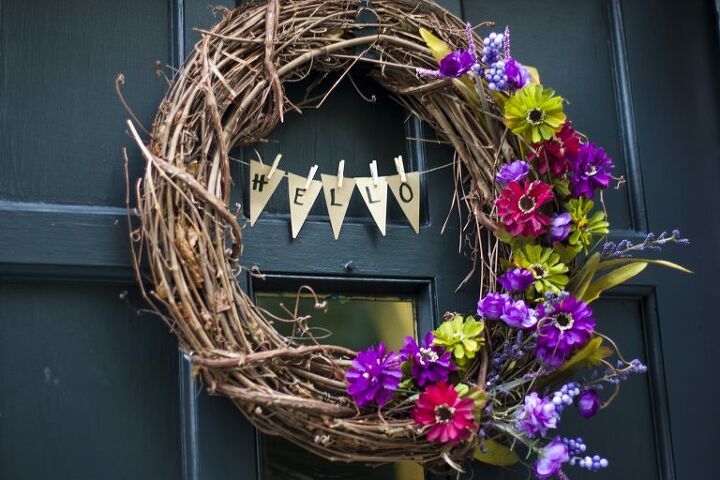
And that’s really all there is to it! I love how the colors can easily transition from these late summer days into the early days of fall.
To learn more about this project and see more pictures and details, visit the full blog post here.
Want more details about this and other DIY projects? Check out my blog post!


Frequently asked questions
Have a question about this project?