


Easy and Inexpensive Fall Wreath Tutorial
I wanted to make a fall wreath using items I had at home. I was tired of spending money on fall decor and I knew I could probably create something using things from around the house. For this wreath, I used a drop cloth, some faux yellow baby's breath, and a coat hanger.
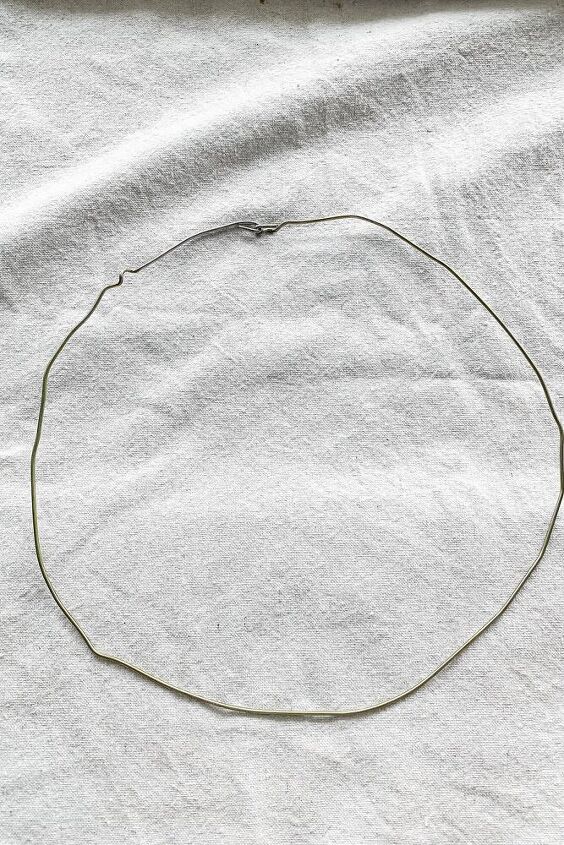
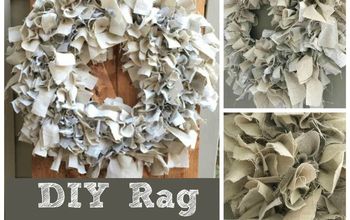
The first thing you want to do is bend a coat hanger into a circle. For this, I used needle-nose pliers and bent each end into a little hook and hooked both ends together. Once they are hooked together, you'll want to squeeze the hooks closed so it doesn't come undone.

Next, I cut my drop cloth into 6 inch long strips that were about an inch wide and then I tied them on to the coat hanger. I chose to use drop cloth because that is what I had on hand, but any fabric would work! Most likely you have an old tablecloth, curtains, or even sheets that could work for this!
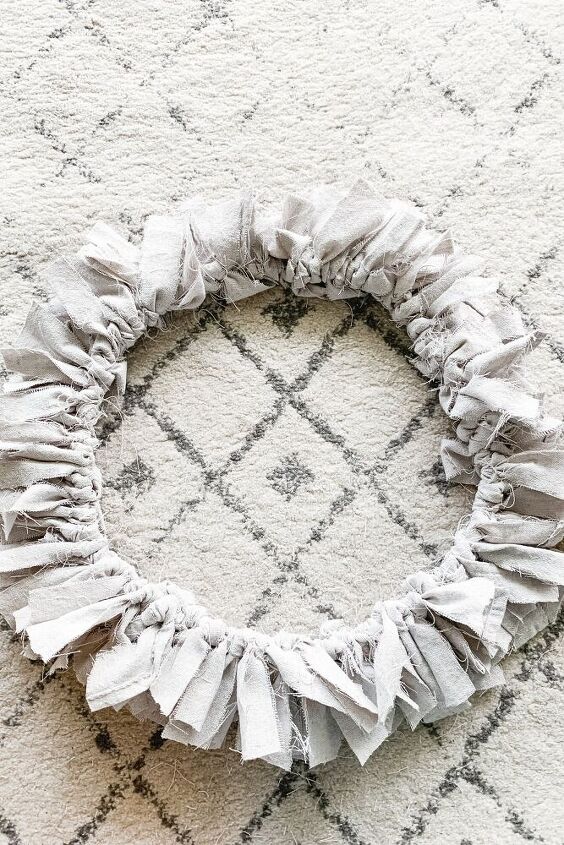
You'll want to continue tying strips onto the coat hanger until there is absolutely no way you can squeeze another in.
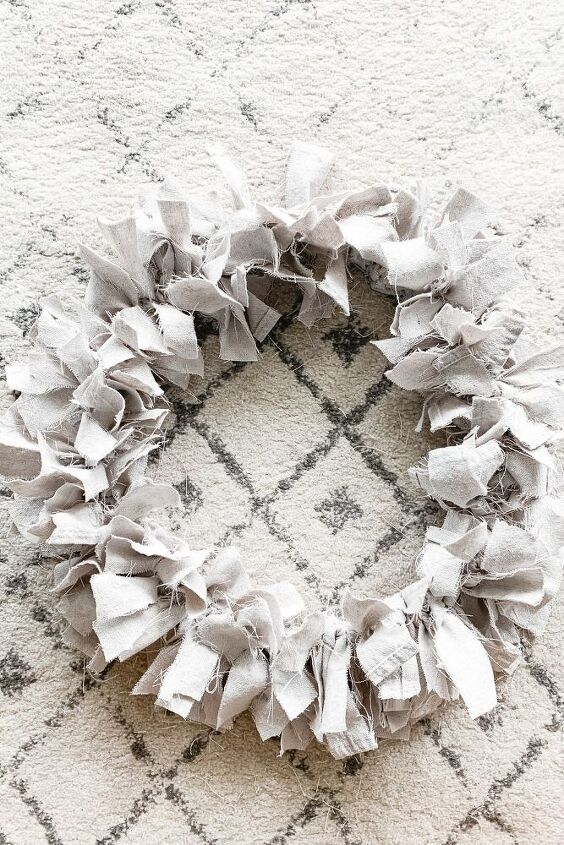
Once you're done tying on the fabric, you'll want to fluff it up. Just go around the hanger and spread out all your fabric ties. Now it looks more like a wreath!

I added some faux baby's breath that I had to give my wreath a little fall color. The great thing about using fabric that is more neutral is that I can add ribbon or faux flowers to it to change it up throughout the year!

I hung my wreath above our stove top. (Yessss... I know... I promise it comes down before using the stove!) This is such a quick and inexpensive way to add some fall decor to your home with items you most likely already have laying around!


Frequently asked questions
Have a question about this project?