


Easy Hanger Wreath
5 Materials
$2
15 Minutes
Easy
This easy hanger wreath can be made in any color, any size, and is highly customizable!

Remember when you were a kid and you used to make wreath hangers in scouts or school? Well, this is it all jazzed up!Sparkly garland was used on this coat hanger wreath. You can use matte finishes too. Check out the dollar store for their seasonal offerings to make this wreath very inexpensively!!
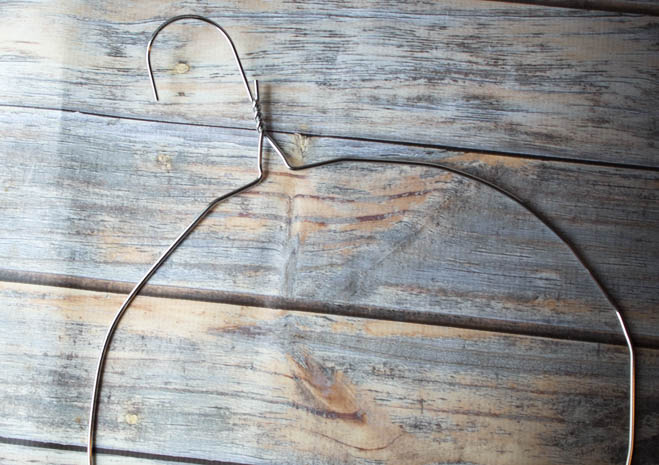
Form the base of the wreath by carefully bending the hanger until the desired circle shape is reached. If you wish to make a wreath larger than the circle one hanger can make, open up two hangers, and then twist them together. If your hands are not strong enough to do this (mine can get them apart, not back together), you may need some blunt nosed wire cutters. You can then twist the wire hanges together to form a larger circle.Whether using one hanger or two, make sure the hanger hook is there to hang your finished wreath.(shown is one hanger)
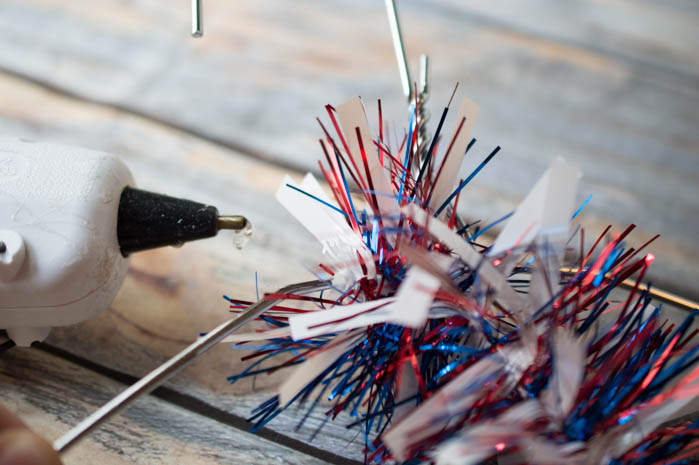
Carefully wrap the garland around the wire hanger circle by applying hot glue to the hanger then pressing the garland onto the hot glue on the wire.
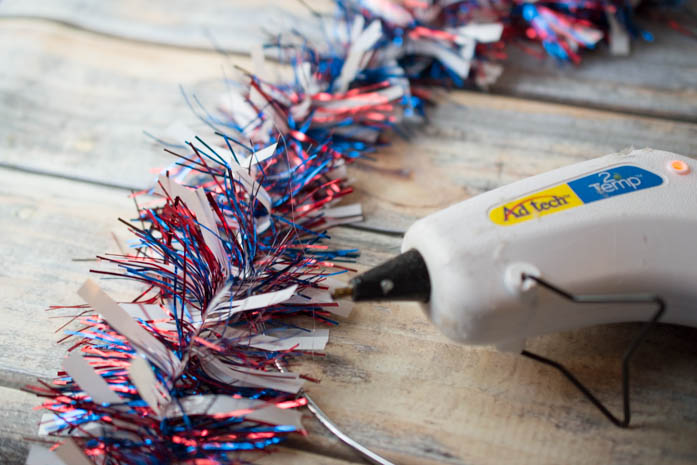
Continue to add glue every 2 inches or so. It is easier and faster to wrap around the base if you gather your garland into a ball or bunch it up and keep it close together. If your garland is long enough, you can wrap it around twice to make the wreath look fuller.

If you like, you can add a second, thinner layer of garland in a complementing or contrasting color to thicken your wreath. Simply repeat the hot gluing and wrapping steps.
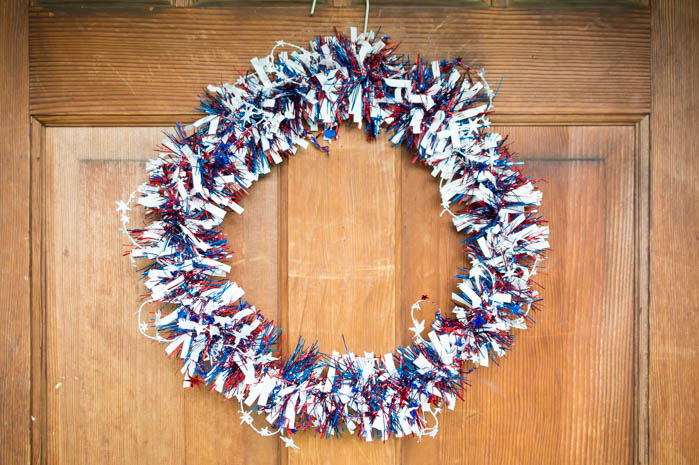
Continue to wrap and glue until you have completely surrounded the wire wreath frame. Use the hook of the hanger to hang your wreath!Optional: you can add a bow to the top of the wreath to cover the wire hanging hook if you like. This is a simple craft that works very well when you have a storm door and an outdoor door. Since there isn't much room between the two, this skinny wreath works very well. It is also very easy to make, very inexpensive, and therefore easily replaced!

Want more details about this and other DIY projects? Check out my blog post!
Comments
Join the conversation
2 of 4 comments
-
Maybe
-
Cute!


Frequently asked questions
Have a question about this project?