


Easy Vintage Inspired Ornament Wreath
I love Shiny Brites but I don't actually own any! To make this ornament wreath I used shiny and bright ornaments in various sizes that I found from thrift stores, dollar stores and on clearance!
I'm Cindy and I blog at DIY Beautify, where I love sharing easy, thrifty tutorials and home decor projects! If you visit my blog, you'll find hundreds of ideas and projects to create for your home!
See how I rescued this wreath! I first tried making an ornament wreath about 10 years ago and this was the messy result! The ornaments were strung on a wire coat hanger, but they didn't stay in place, and half of them fell to the back.
It ended up a jumbled mess that just sat in the attic for YEARS!!!
I decided to rescue the ornament wreath and remake it and it turned out SO cute! Keep reading for all the instructions.
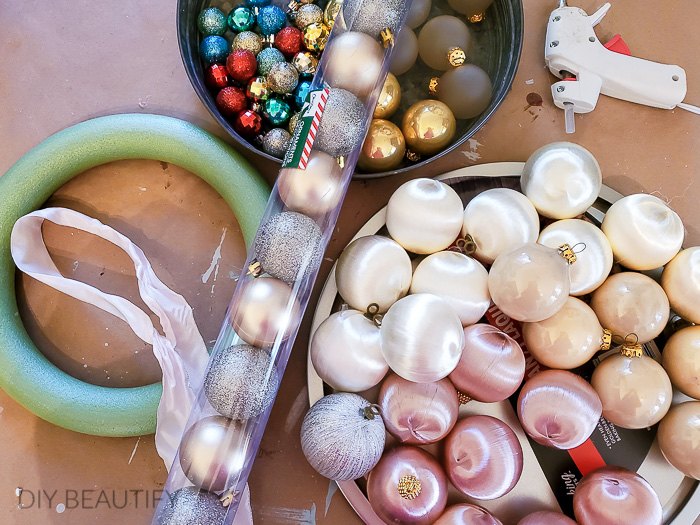
These are the supplies I used for my remade wreath. Can you believe that all the ornaments in this picture (with the exception of the tube) were already on the wreath??
I took all the ornaments off of that coat hanger and was amazed at how many there were!
I separated the ornaments by size, my (affiliate) smallest ornaments were colorful, shiny, glittered.
Note: Make sure you're using lightweight, ornaments (cheap plastic ones are best!) so the wreath doesn't get too heavy!
Note: if you're buying all the supplies, you should be able to make this wreath for around $20! Buy more ornaments than you think you'll use and check the thrift store for mixed lots.
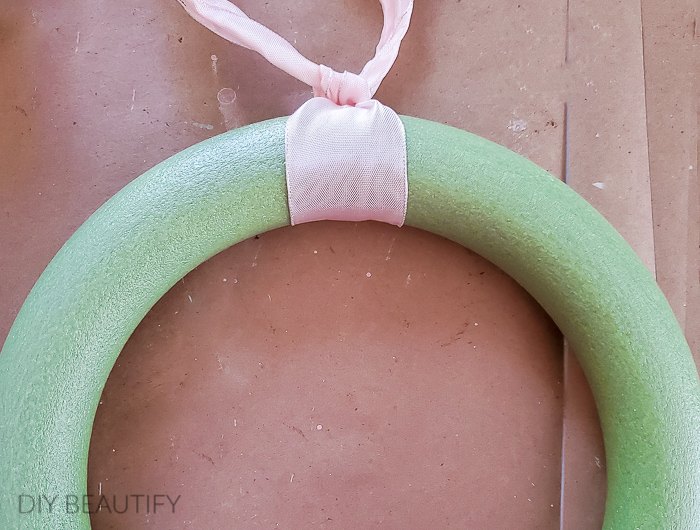
I used a foam wreath base from the dollar store and an inexpensive pink ribbon I had in my stash. The first step is to create a hanger for your wreath. You can use wire or ribbon, and tie it securely around the top of the wreath base with a loop for hanging.
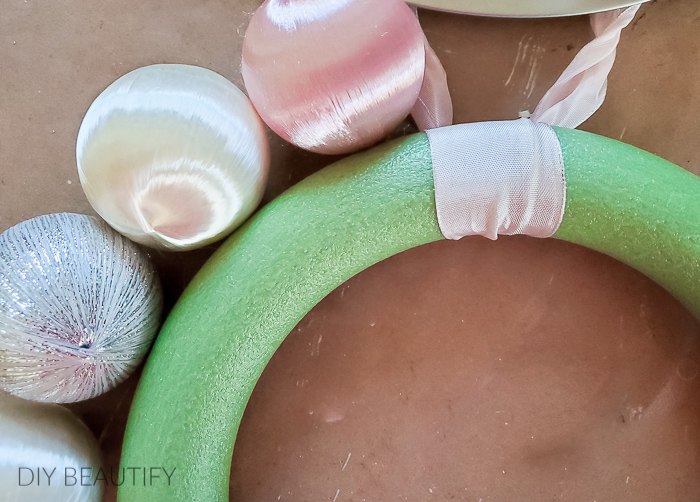
Next, start with the largest ornaments and hot glue them around the outside of the foam wreath. The glue takes several seconds to set up, so hold the ornament firmly in place until it's secure before moving on to the next one.
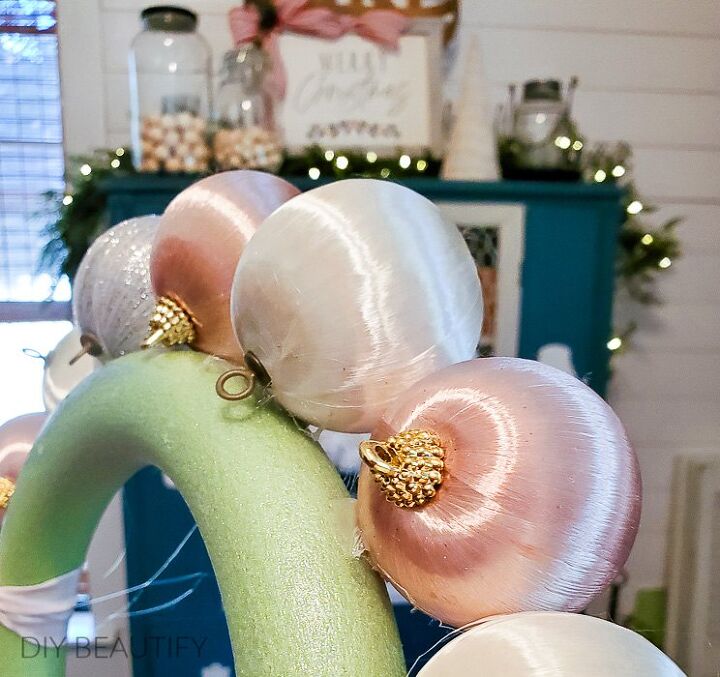
I hot glued them with the hangers to the back so they're not seen.
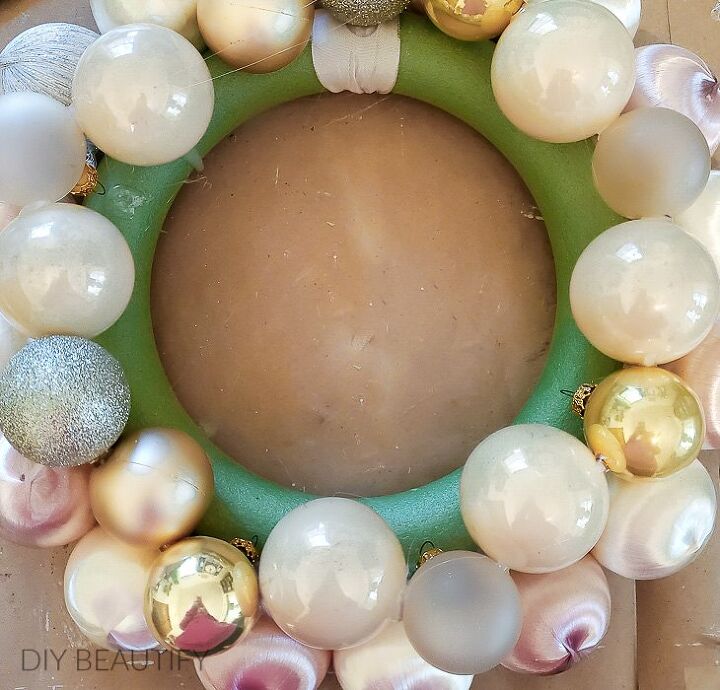
Next, start filling in another row of ornaments, trying to glue them so they're offset between ornaments in the first row. This would ideally be a row of smaller ornaments but I didn't have enough of that size so I just used what I had and made it work!
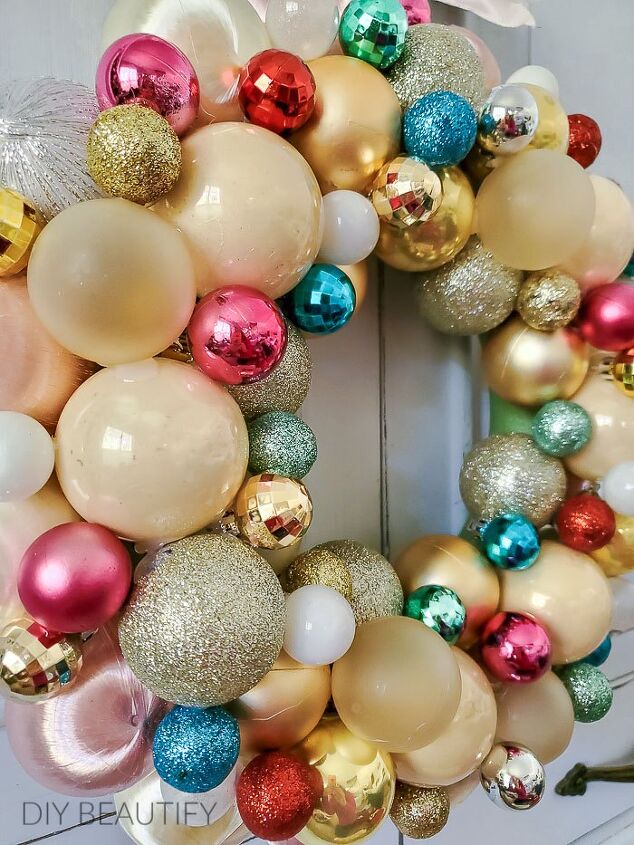
Finally, fill all the gaps with the tiny ornaments! In my case, these were the bright colored ones so they really set the tone for this wreath!
If you look closely, you can see a gap where I need to add one more ornament because the foam base is showing.
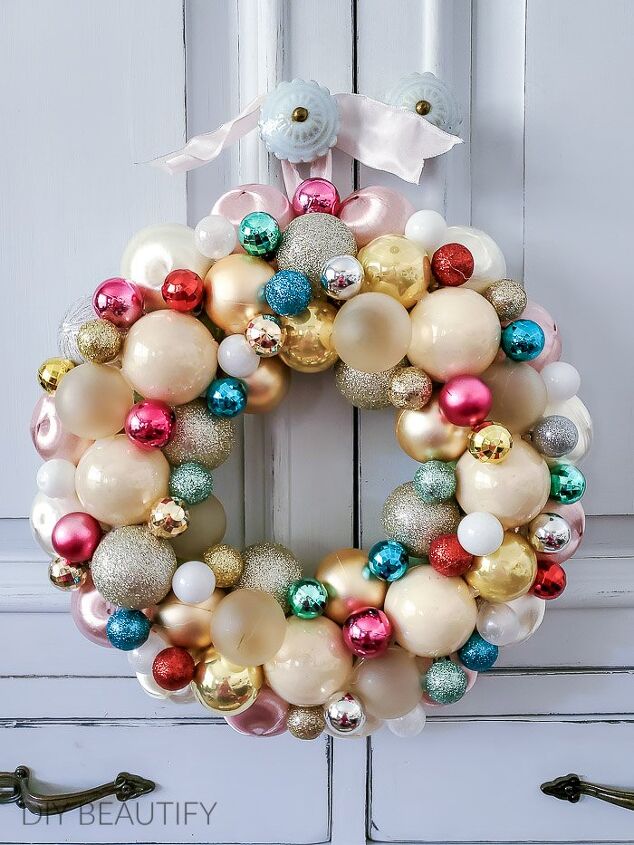
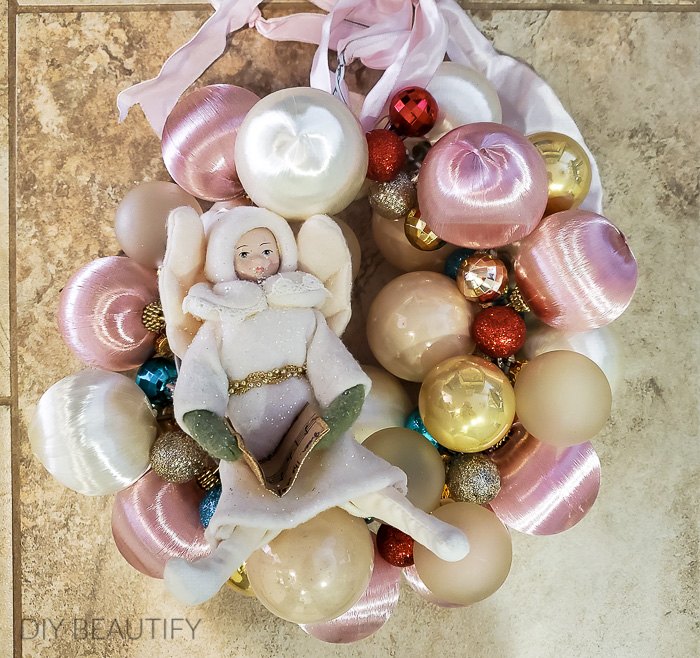
The finished wreath is full and sturdy and so cute! This one is definitely not going to fade away in the attic for the next decade!
Designer tip: to get rid of all the glue strings, aim a hot blow dryer at them. Keep it moving and it will melt all the glue strands!
Resources for this project:


Comments
Join the conversation
-
Very classy, a good tip with the blow dryer, never would have thought.
-
Boy, OH BOY! Your first wreath (10 years ago) brought such a warm feeling inside me! Those nostalgic ornaments (with the string/thread) wrapped around....just took me back in time! LOVE IT! THANK YOU FOR THE MY HEART SMILE THIS MORNING...now all I need is some HOT CHOCOLATE!


Frequently asked questions
Have a question about this project?
just a quick question.......I live in SWFL and it has still been in the upper 80's....do you think the hot glue will melt???