


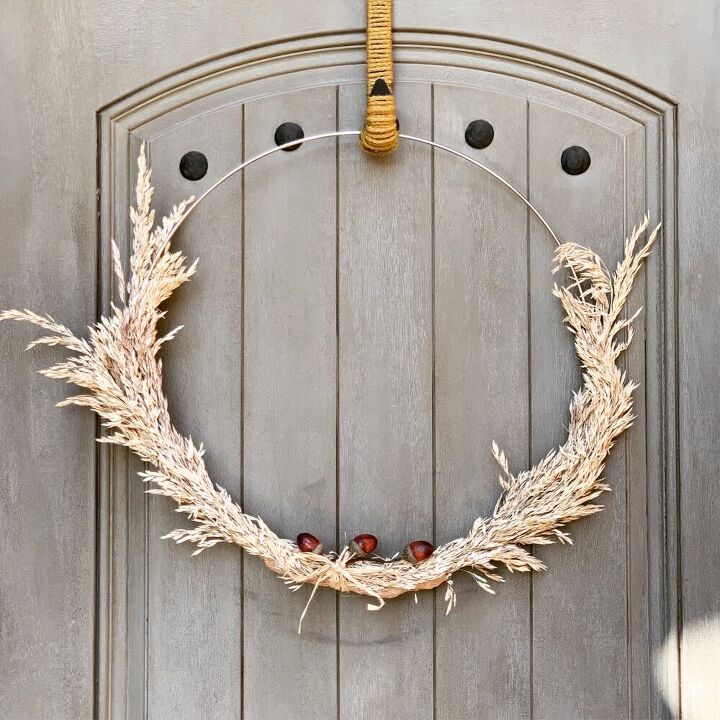
Fall Wreath - Wheat Grain Stems

I love everything fall and this DIY wheat grain wreath made a simple yet perfect fall statement. I’ve made many wreaths over the years and this one has to be the simplest one but I think it’s very lovely. I was inspired by Karen from The Art of Doing Something on IG but I had to modify it a little because I didn’t have fresh wheat stems. I used dried ones from Hobby Lobby, the stems were not very flexible so their stiffness made it a little challenging to position around the wired ring. Regardless, it was very quick, simple and a perfect fall DIY project. You will need very few items and you can use anything from flowers, raffia, burlap or other decorative items to complete your wreath. Use your own imagination and creativity to make one to fit your own style 💕 I hope you like it!
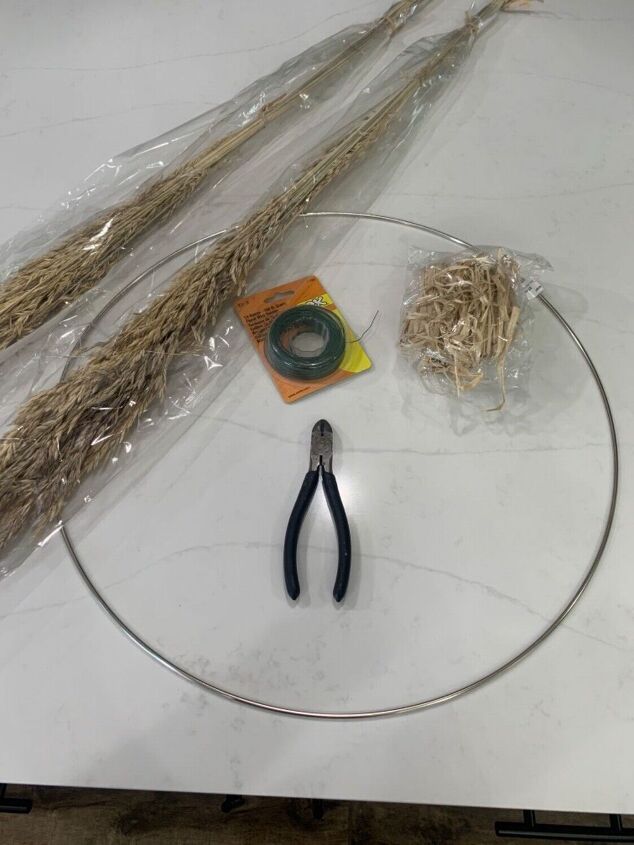
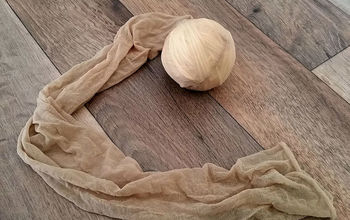
Step 1 Gather Supplies
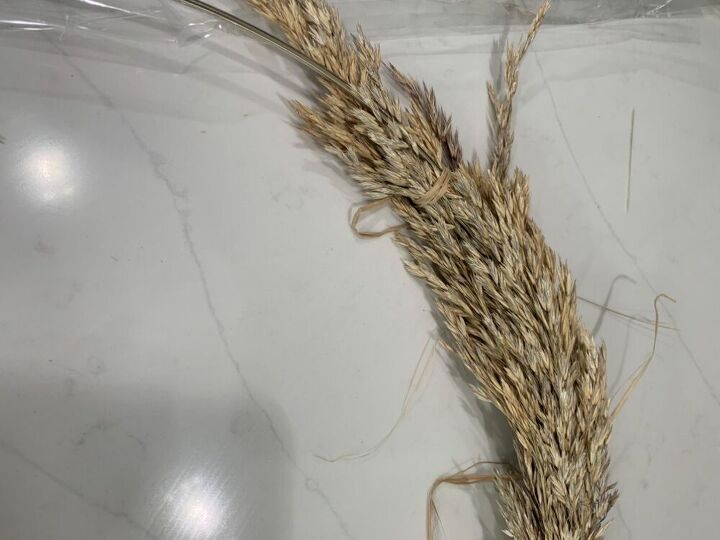
All you will need is a wired ring, wheat grain stems, floral wire, raffia, wire cutters and I also ended up using burlap, twine, a hot glue gun and a few dried acorns for a decorative touch.
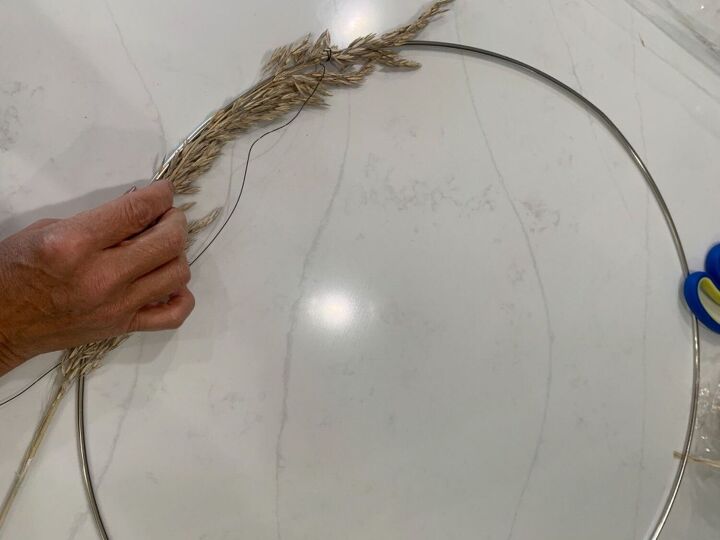
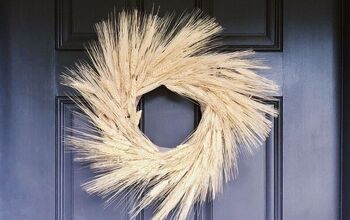
Step 2 Attach the left section of the wheat grain wreath to the wire ring
This wheat grain was a little challenging to work with but not very difficult as long as you cut away some of the stiffer stems. Layer the stems beginning from the center left of the wire ring. Alternate the placement of the stems so they aren’t in perfect alignment and they’re staggered over one another, you can use hot glue to layer them over each other.
Once you have them in place, secure the bottoms of the stems using floral wire or twine. Continue doing this until you reach the bottom of the wire ring and ensure your stems are secured tightly in place at the bottom of the stems. The top portion of grains will be loose but it was easier to ensure the bottom was secure first. After you’ve done that, you can attach the top of the wheat grain to the ring using floral wire, twine, raffia and also hot glue if you wish.
Continue this step until you’ve reached the desired thickness you like. Meaning, you can choose to lightly cover the ring with the wheat grain or continue layering them until you get a fuller wreath. You can also use hot glue to layer it so you don’t see so much of the floral wire or raffia. I chose to make mine fuller and I used raffia as well to secure the wheat grain so it blended in more nicely.
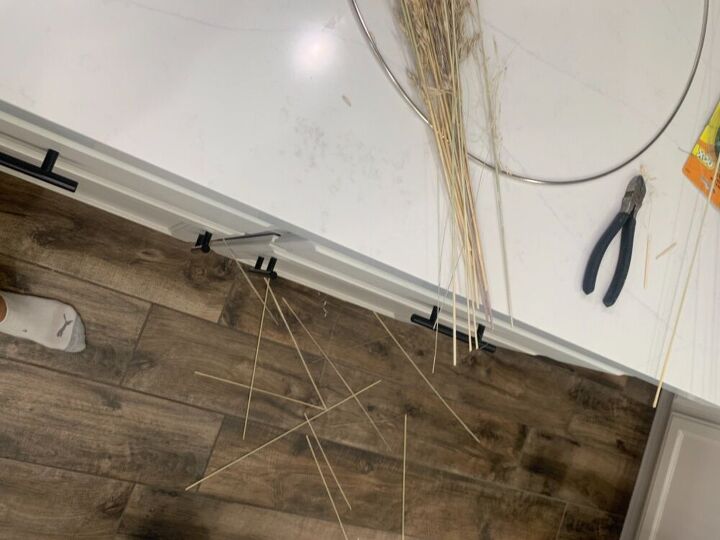
This is only a picture of the stems I cut of the thicker portions of the stems. I think you may be able to see how stiff the stems were. I cut away as needed, as I positioned the stems and prior to securing them in place at the bottom.
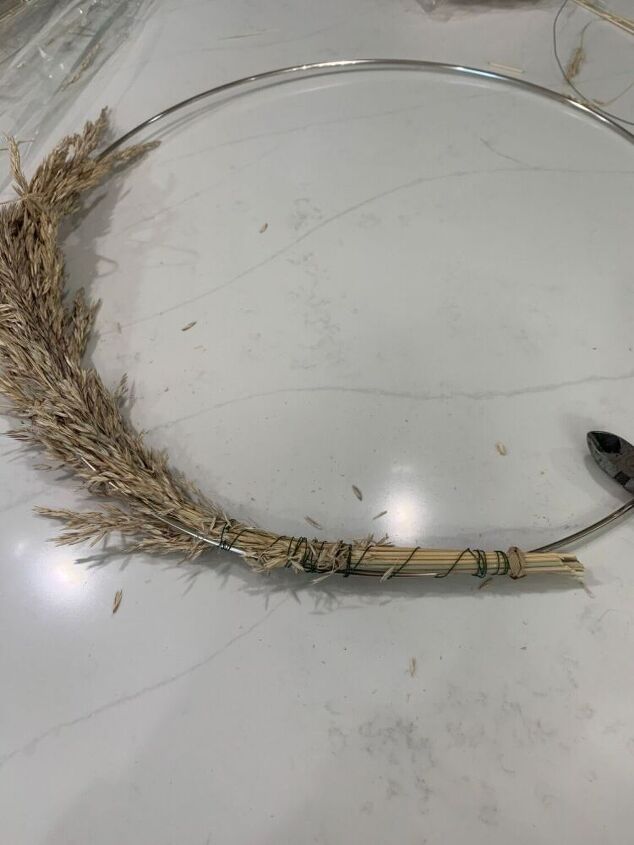
Step 3 Securing the bottom
Once you’ve reached the bottom center of the wire ring, secure the stems in place with floral wire or raffia. It’s ok if it’s not the prettiest job because you can cover it with more wheat grains, ribbons, raffia or burlap.
Step 5 Attaching the right side section of the wheat grain to the wire ring
To attach the right side of the wreath you do exactly what you did on the left side. The bottoms of the stems should meet in the bottom center of the ring.
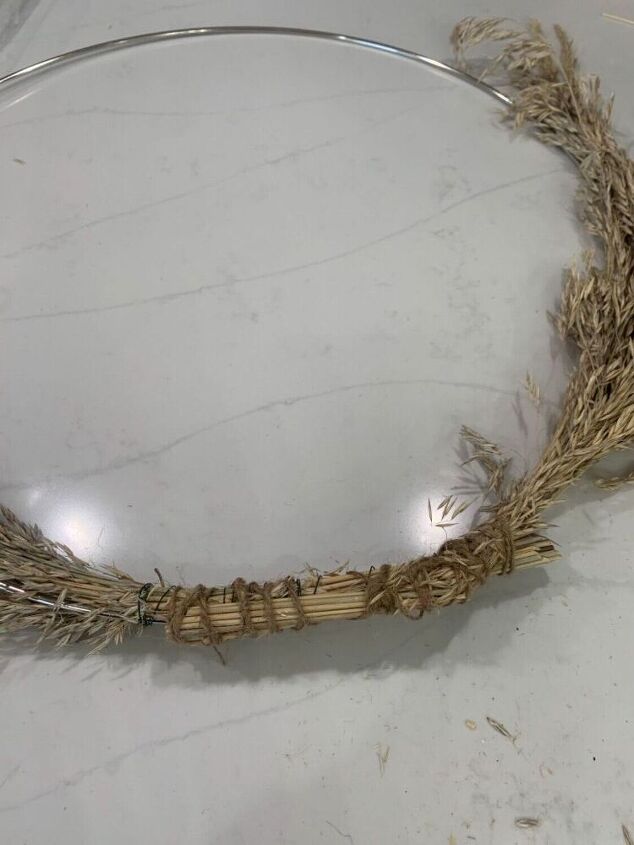
Step 6 Securing the bottom center
At the center bottom where the stems of the left and right side met, secure tightly using floral wire or twine. I used both and liked using the twine because it blended in with the stems.

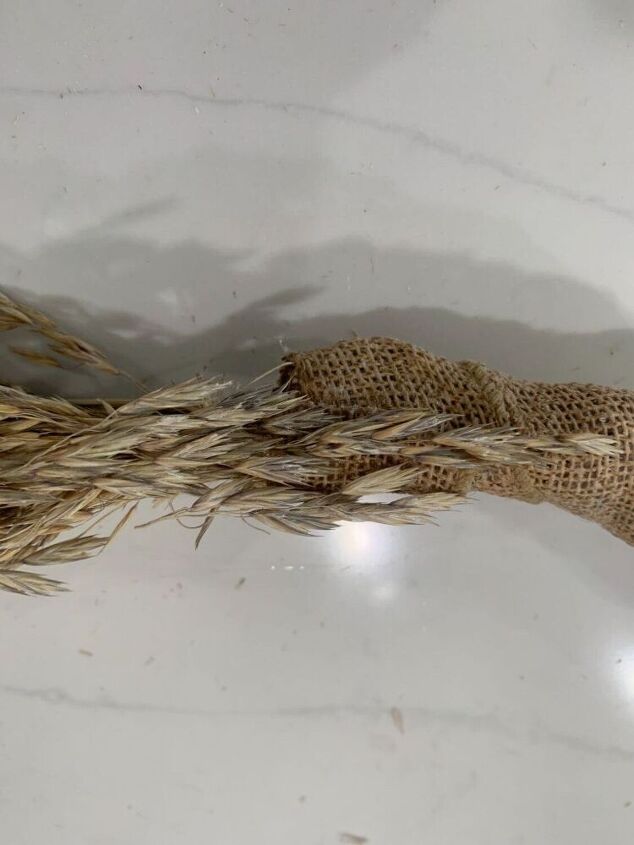
Step 7 Adding the burlap
Use burlap, ribbon or raffia to hide any exposed wire or twine at the center bottom of the wire ring, using hot glue. I wrapped the burlap around the twine and hot glued it as I wrapped it. I think the burlap worked great because it also blended in and I was able to use it as a base to hot glue wheat grain so I could hide the burlap.

This is what the burlap looked like after I finished wrapping it around the exposed wire and twine.
Step 8 Hot gluing wheat grain to the burlap
Use hot glue to sporadically secure individual wheat grain around the burlap until the burlap is no longer viable. You may leave the burlap exposed if you prefer it shows and attach a bow or another decorative touch if you like. I chose to make the wreath look as if it were all made from the wheat grain.
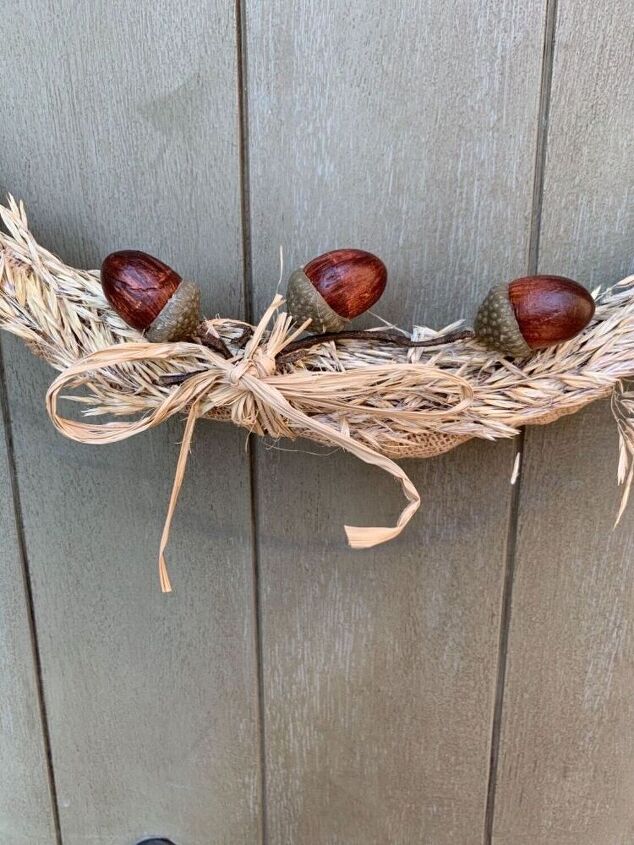
Step 9 Attaching the acorns
You can see from this photo that you no longer see the burlap. In this step, you can either leave the wreath as is and not apply any decorative items or used raffia, a ribbon or flowers to decorate your wreath at the center bottom of the ring. I chose to wrap a little raffia and got glue acorns. It was very simple but I think it looked great next to the wheat grain.
Step 10 Hanging the wreath
After you add your final decorations, it’s time to hang your wreath. This is the completed wreath. I love it’s simplicity, I hope you like it as well and that you get inspired to make one of your own.
If you’d like to see more of what I do, please come visit me at https://www.instagram.com/mycreativekneads/
Happy DIYing 🌾 💕 🌾
Resources for this project:
See all materials


Comments
Join the conversation
-
Beautiful!
-
Very pretty. The three little acorns might like a little company. Maybe a couple more glued on like a cluster.


Frequently asked questions
Have a question about this project?