


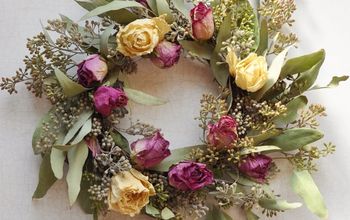
How to Create A Dried Floral Wreath Reflecting Creation
Lately, I've been enamored with creation. Fall is just so beautiful, calm, and cozy and I wanted to bring that into our home for my Fall decor. So I decided to DIY a dried floral wreath.
In the recent Fall Home Tour, I shared a super simple wreath I made from a leaf garland. I like it, but it wasn't created from leaves I found outside. You know me, I love bringing the outdoors in for my decor.
I kept seeing all these beautiful and neutral grasses blowing in the wind EVERYWHERE I went. But every time I asked my husband if he thought the strangers who owned them would mind if I just walked over to their garden and cut them he said "Yes!" What a party pooper huh?! haha!
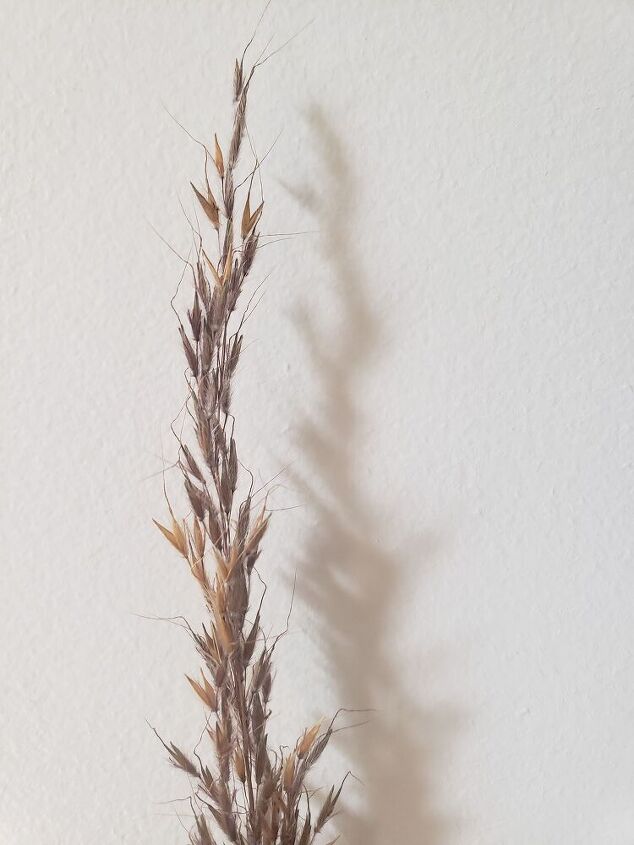
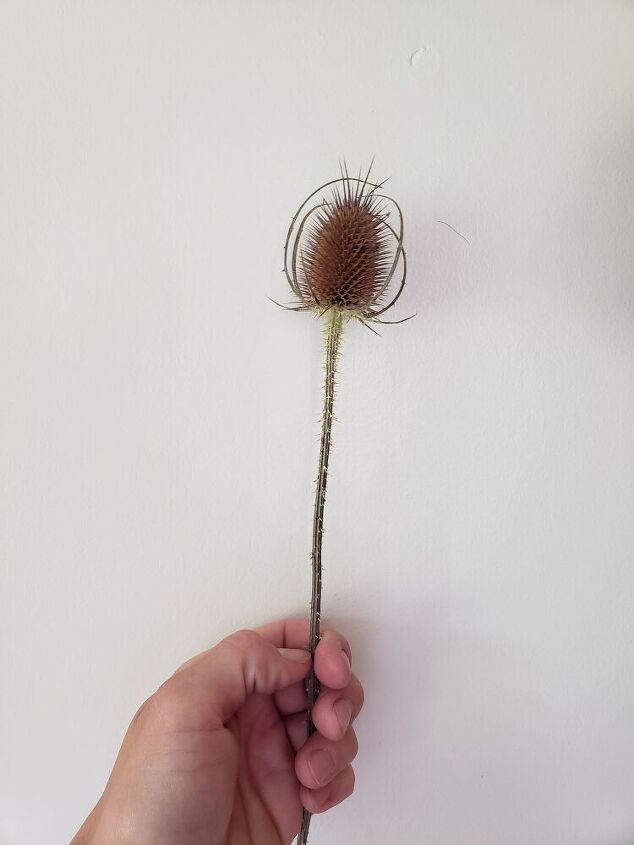
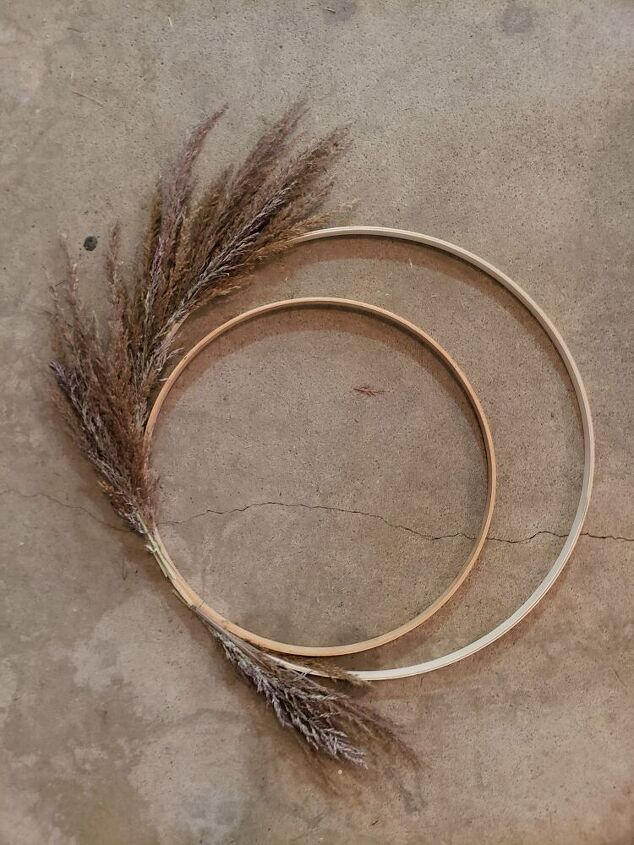
Since I knew it would be considered rude to cute these from a stranger's house, and I decided my dreams of a dried floral wreath were for another year. You know, some year after I planted these grasses in my own garden haha! But when we went up to visit the family farm, I saw them! Some beautiful prairie grasses were available for me to cut and take home!! Bonus, near these grasses I found some beautiful dried thistle. So I cut some of that too!
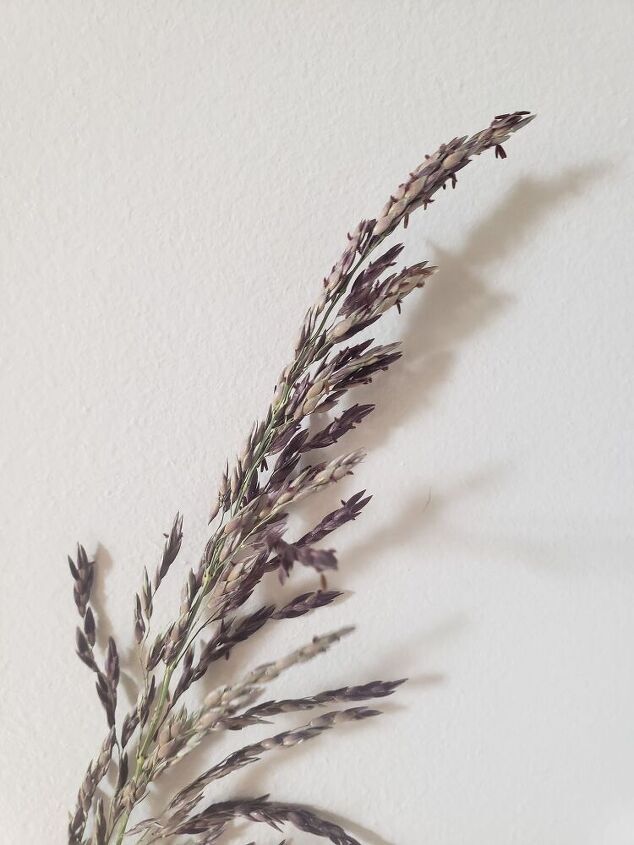
Shortly after our visit to the family farm, we visited with Great Grammy. She had some grasses of a different variety in her gardens. We talked about them, and she was more than happy for me to cut a few stems and take home for my dried floral wreath.
Isn't Jesus so good! It's the little things. The things that you decide are too little to care about, then BOOM! He says, "Nah, I care about the little things too girl!"
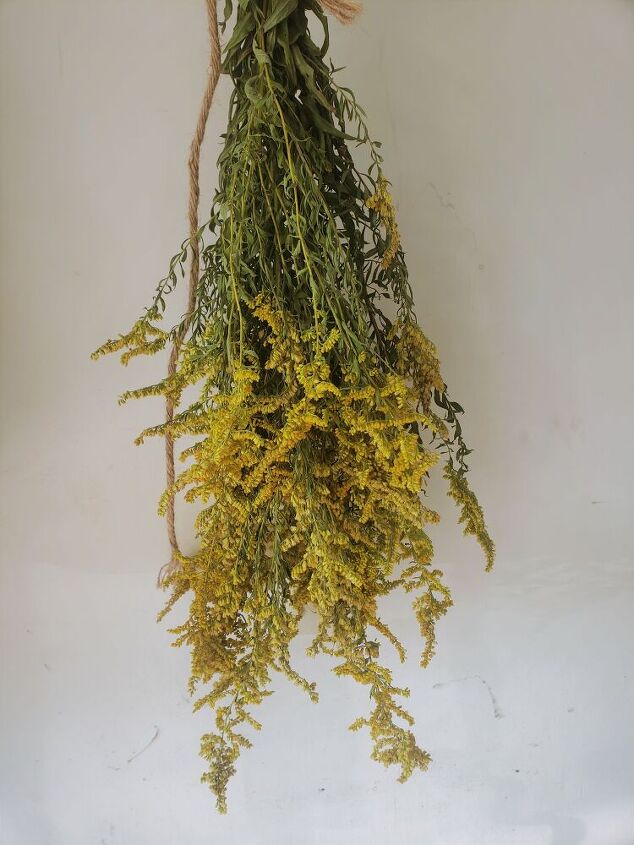
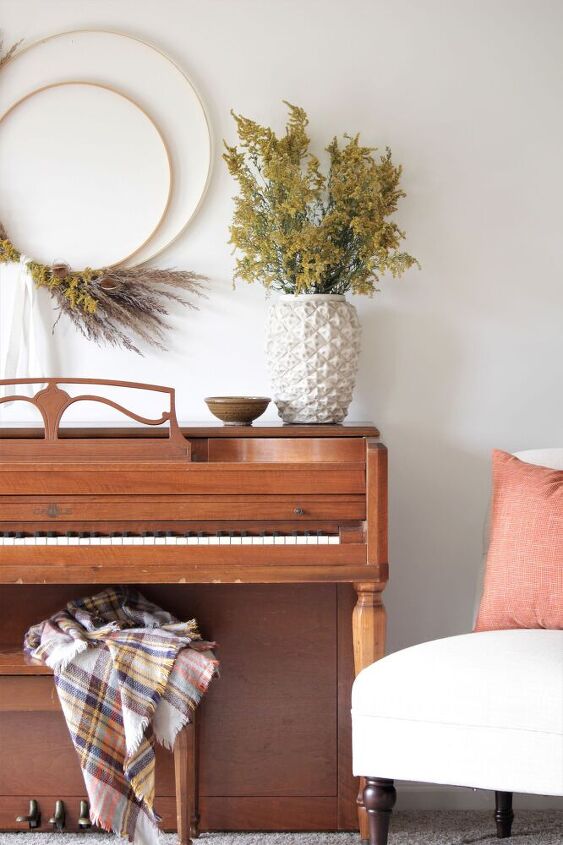
I found the pop of yellow for the wreath in the tall grasses beside us. There is Golden Rod EVERYWHERE! Which worked out great for me and my desire to have our home filled with yellow and neutral colors for this year's Fall decor.
Dried Florals
2 Embroidery Hoops
Floral Wire
Pliers
Scissors
Fishing Line
Ribbon
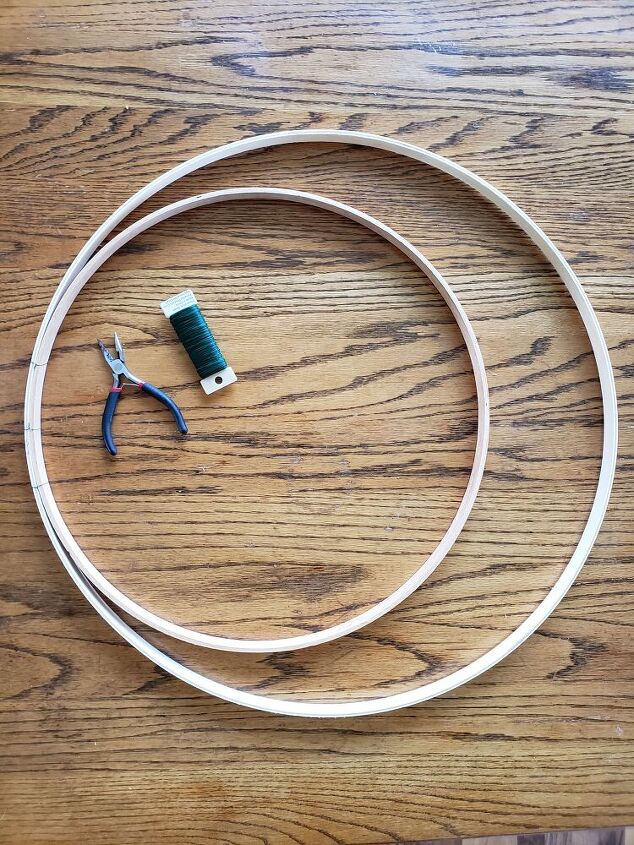
I had these 2 embroidery hoops in the basement from a fun embroidery hoop backdrop I did for my youngest’s 1st birthday party a couple years ago. I removed the inner ring of the embroidery hoops and put the outer rings back in the back storage room.

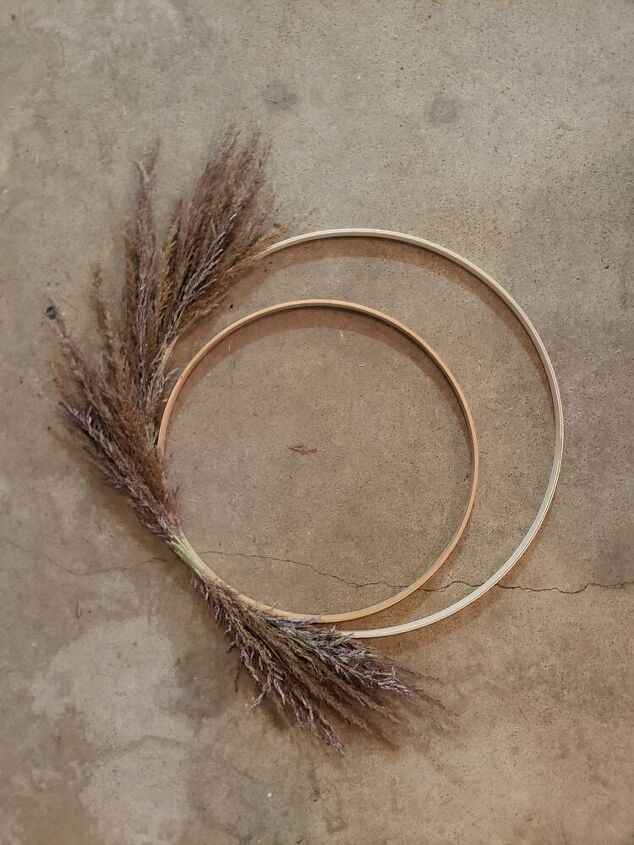
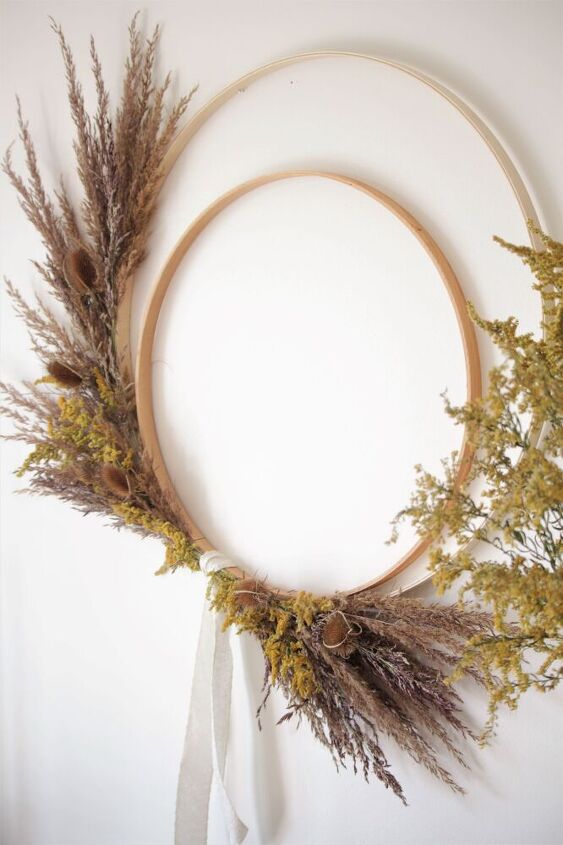
Next, I took the smaller hop and put it inside the larger hop. Then I connected them with floral wire. After the wire was wrapped around both hops, I used pliers to twist the wire and create a tight connection between the two.
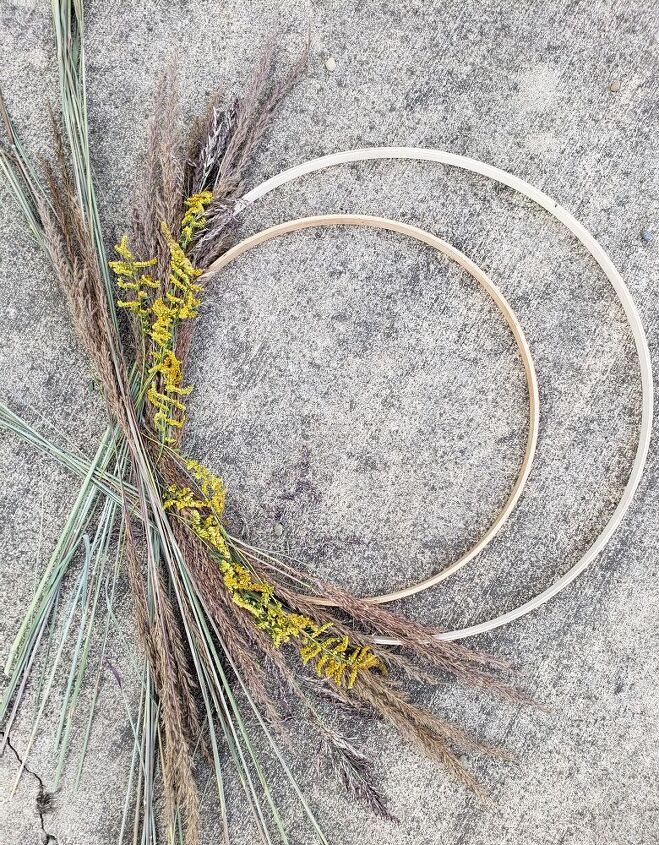
After the hoops were together, I laid them down and started placing the floral pieces on them. I did this because I wanted to give myself a visual of the vision in my mind.
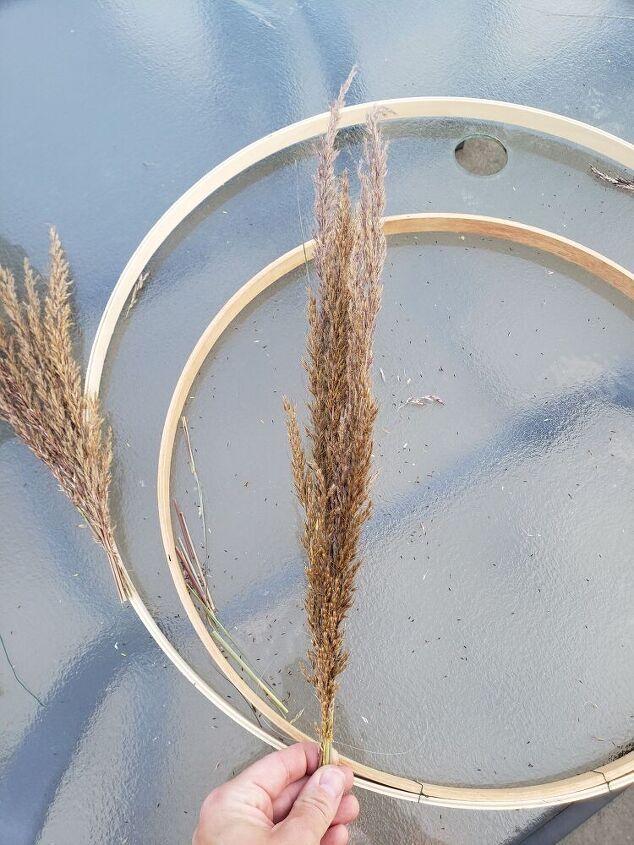
Once I had my visual and knew the direction I was going to go I began creating clusters of my foundation grasses. Each cluster had 4-6 stems. I bundled them together with the stems at varying heights to give each bundle more length.
I began attaching these bundles of grasses to the larger hoop with fishing line. Originally I used floral wire, but I had to take the wreath apart and do it again because I couldn't hide the dark green wire with these grasses.
Step 6.
I placed the first bundle of grasses on the larger hop at the spot I wanted the dried floral to end. Then I worked my way to the middle. By doing this I was able to easily hide the stems of the bundles behind the group of dried grasses.
Once I finished the left side I did the same thing on the right side, but I flipped the bundles so that they were going the opposite direction. Again, starting with my first bundle of grasses at the spot I wanted to dried floral bundles to end.
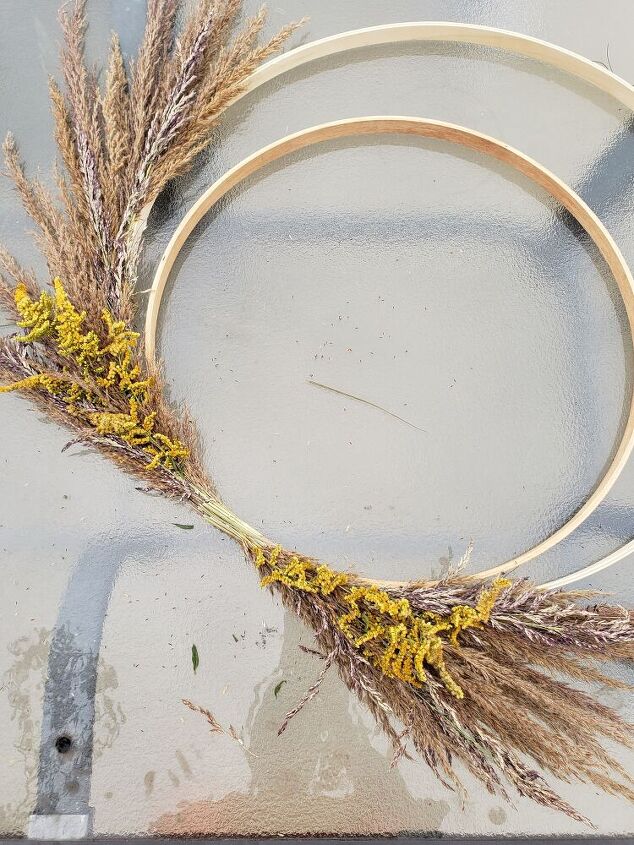
Once I attached all the bundles and they met in the middle, I began taking small stems of the Golden Rod and sliding them into the wreath. While I was placing them, some of the stems were able to slide under the fishing line, while others were just squeezed between the other stems.
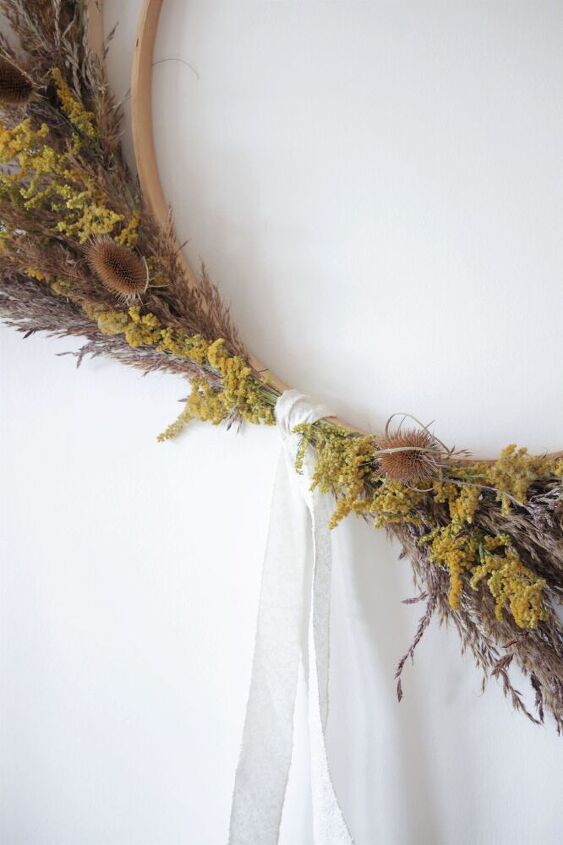
Now that the Golden Rod was on the wreath, I put a ribbon around it in the middle where the stems were still visible. I did this to hide the stems, but I also did this because it added a soft touch.
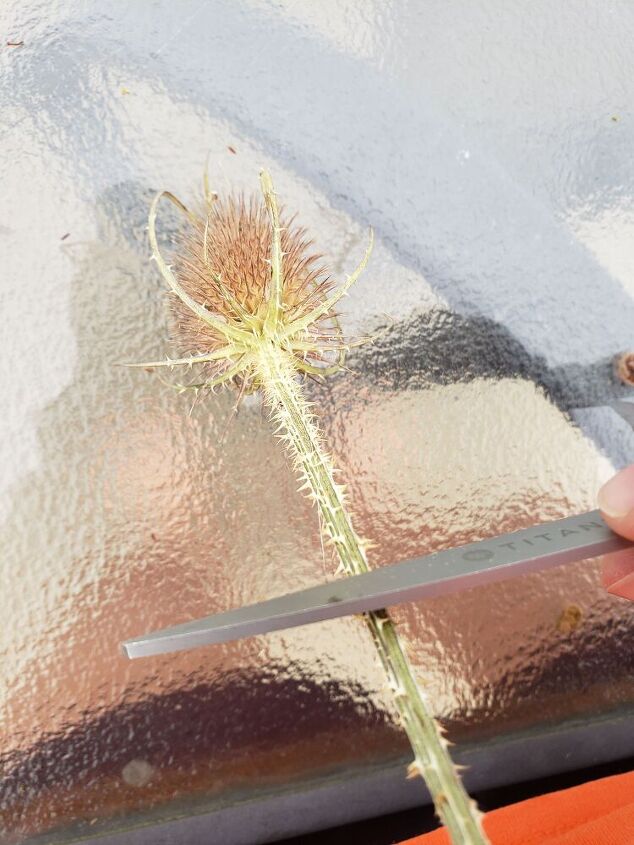
Now that I had the wreath nearly assembled I began adding the dried thistle I cut from the family farm. (Helpful Hint: Thistle is not a very kind plant to touch. To help make handling it easier, I took scissors and scrapped the thorns off of the stems.)
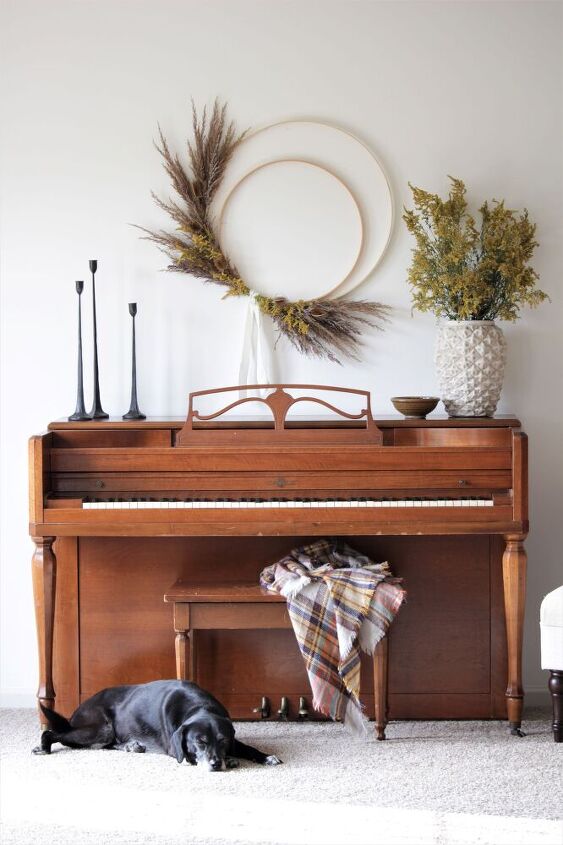
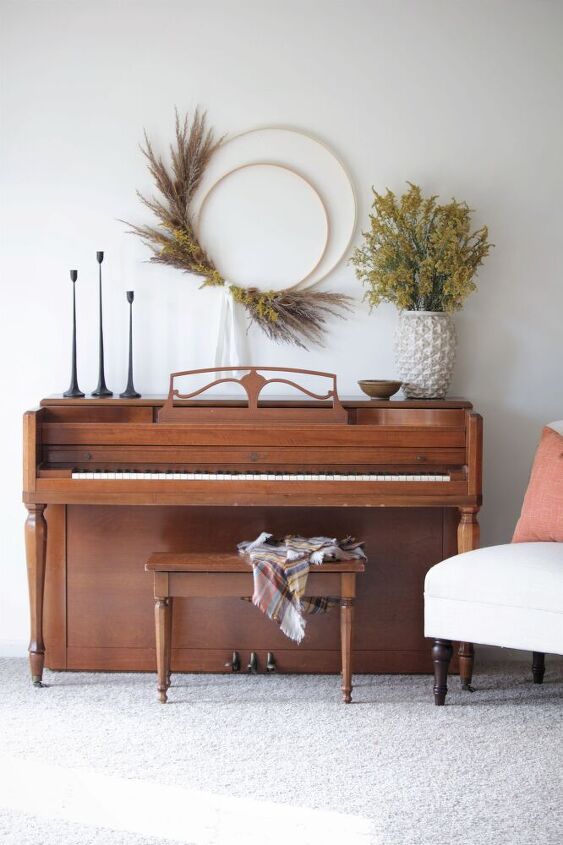
I absolutely love the way this dried floral wreath turned out! I think it hangs perfectly over the piano. During the Brilliant Colors of Fall Home Tour, I shared the upstairs Fall décor. So now I'm moving on to the basement. This dried floral wreath is the perfect start to the basement transforming for Fall!
Resources for this project:
See all materials


Comments
Join the conversation
-
Love the natural materials and double hoop, well done!


Frequently asked questions
Have a question about this project?