


How To Dry Your Own Pampas Grass For A DIY Wreath
In this article I show how to dry your pampas grass two ways and a step-by-step tutorial to make a wreath. Are you ready to make a fluffy, fall wreath? Let’s do it!
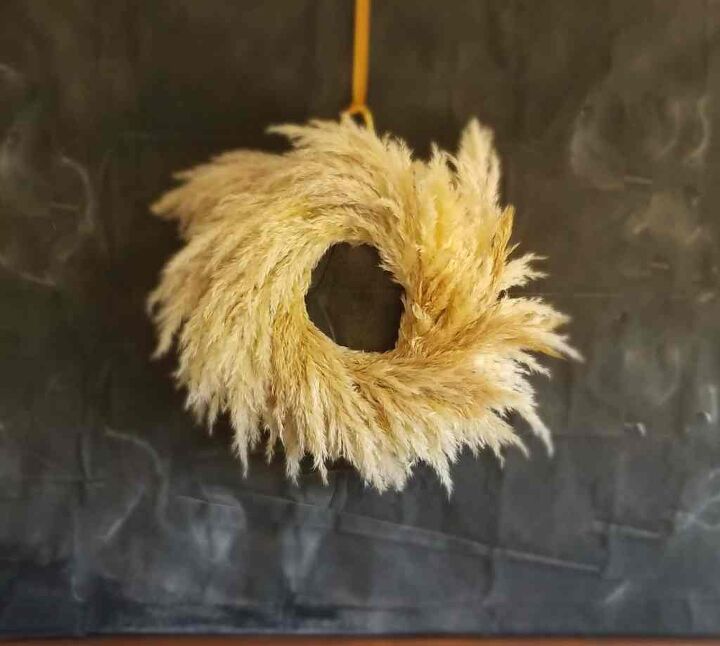
Here is my pampas wreath! I love the texture and the way the colors turned after the plumes dried.
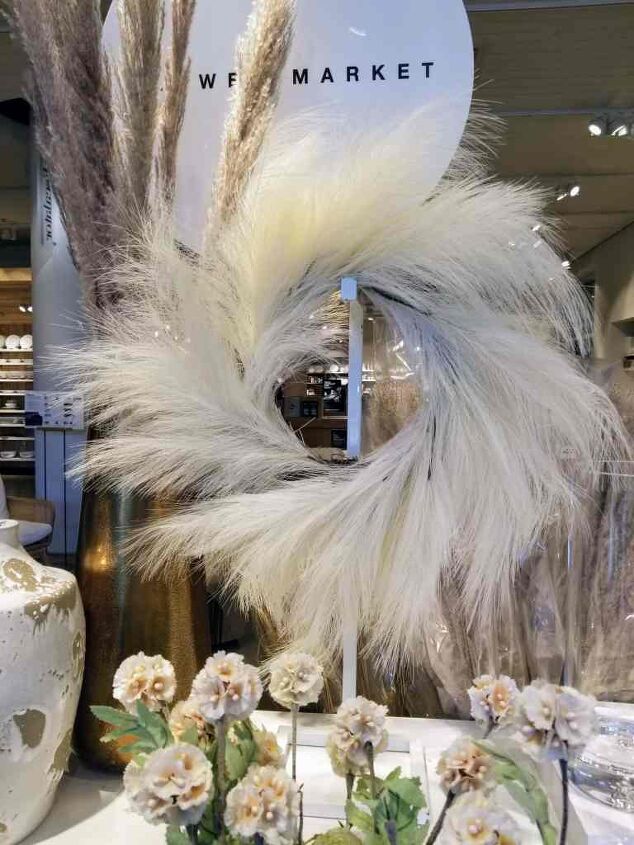
While shopping at Crate & Barrel I saw this faux pampas grass wreath and it really caught my attention. I love the simplicity and texture, and how it is a bit ethereal. It got me thinking about how to make my own!
This lead me on a wild goose chase. I checked Amazon, but the delivery times were long and I really wanted t see the pampas plumes in person. I checked online and my local Michael’s had plenty faux pampas plumes in stock.
However, when I headed over, the actual inventory was different than their website. I made a bee line for the faux florals and found nothing! Then I asked a very sweet employee for help; she searched the aisles with me, and even went to the back to check unopened boxes that were recently delivered.
No luck!
Then, I went over to Home Goods – no luck!
I left the shopping center and considered ideas of where else I might search. I remembered that a friend had a pampas grass plant! Rejoice!
My goofy excited face & the freshly cut pampas grass!

Just a warning- these grasses can be very sharp! Therefore, I suggest you use gloves. My arms and hands were so scratched and itchy after cutting. I must have been overly excited and pawing at the strands lol. Next time I will make sure to wear gloves and use more caution.
Gather materials to dry your pampas grass and make your wreath.
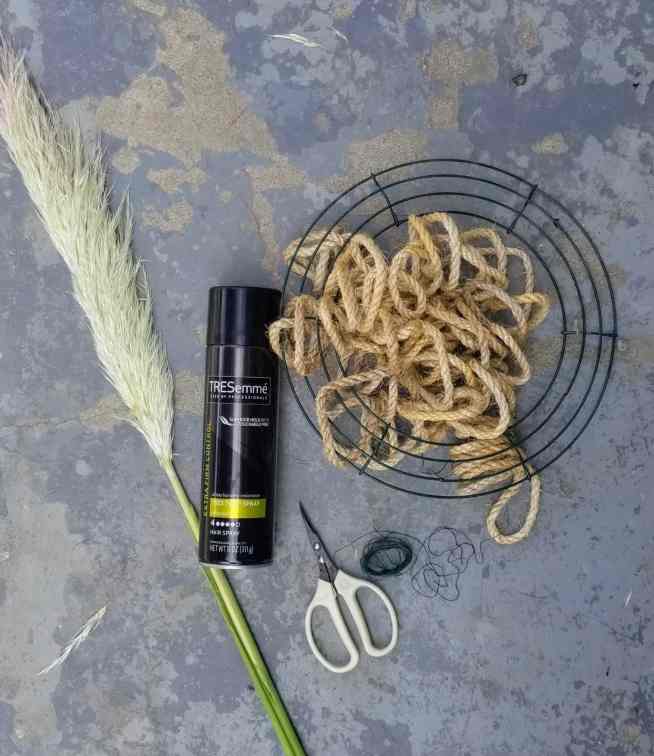
Firstly, you will want to gather items to dry your pampas grass and to make your wreath. I waited just two days of dry time and then made the wreath.
Peel the leaves of the pampas grass.
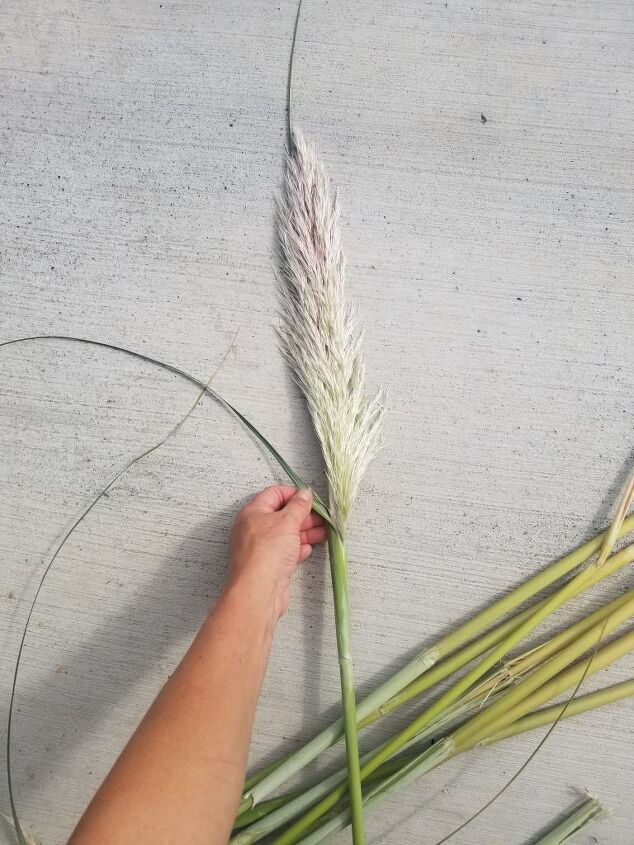
Secondly, you will peel the leaves, the green outer part of the grass. This step is really simple. You may want to wear gloves.
Apply hairspray to the plumes of pampas grass.
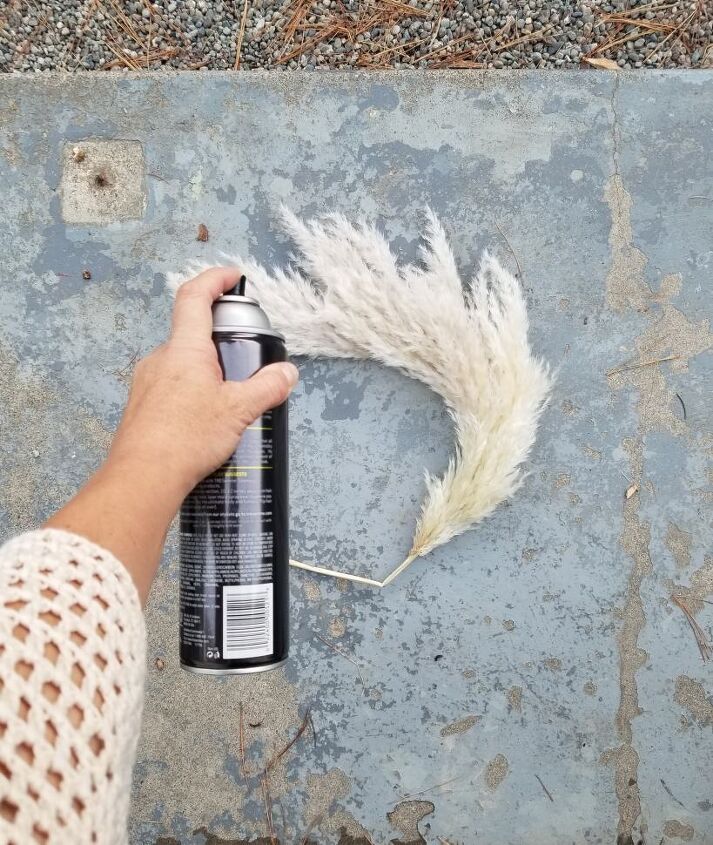
While doing some research on pampas grass, I stumbled upon this tip to use hairspray to quicken the drying process and help prevent shedding.
Leave pampas grass plumes to dry overnight.
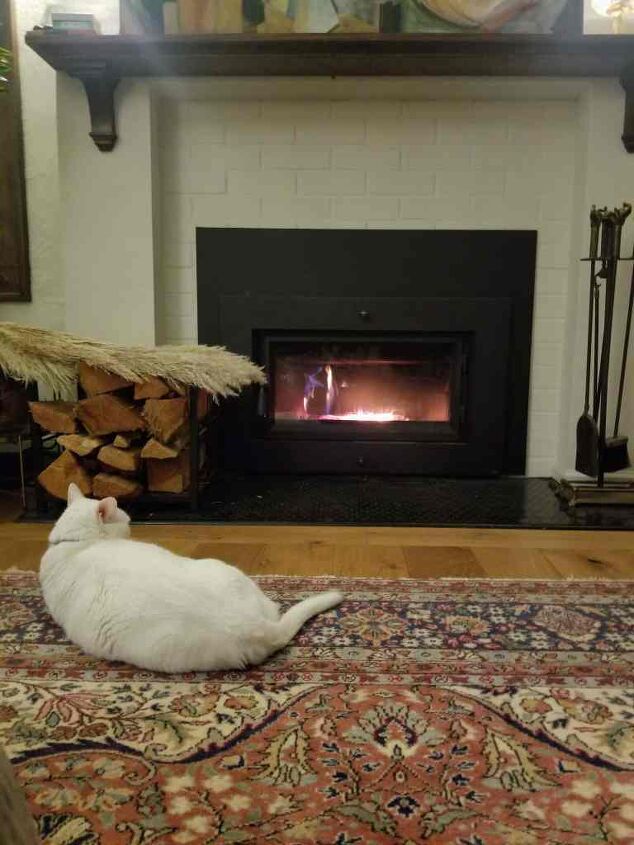
That night we lit a fire and I set the plumes nearby to further dry out.
Wrap sisal rope around a wreath form.
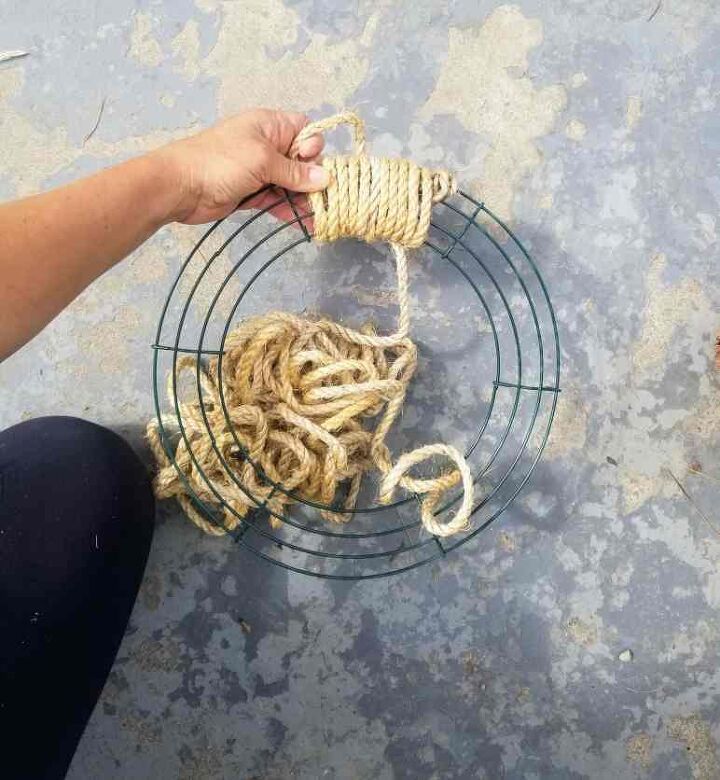
The grass felt pretty dry by the next day and definitely dry by day two. The stems still retained some flexibility, which made it easy to wrap them around the wreath form. Which leads us to the next step…
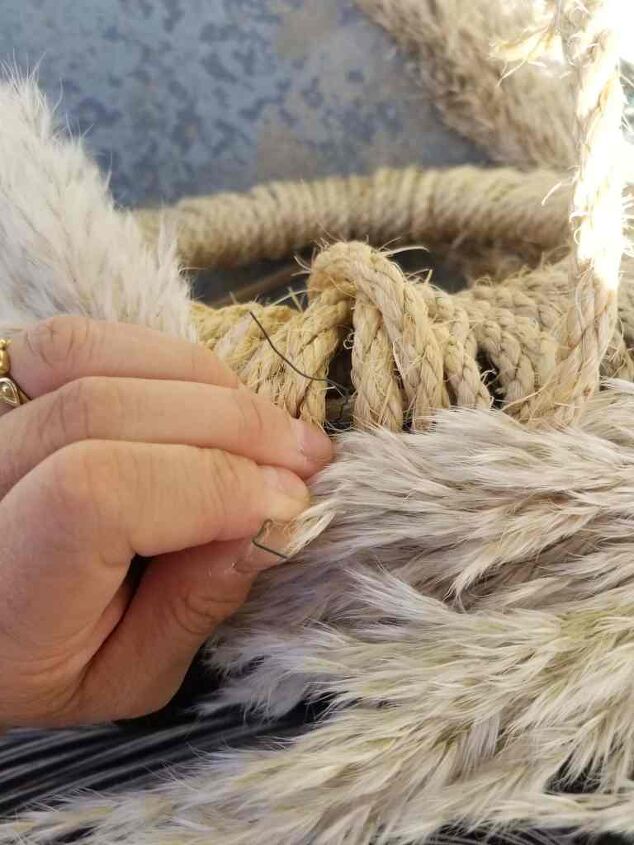
Tuck pampas plumes into the sisal rope and wreath form.
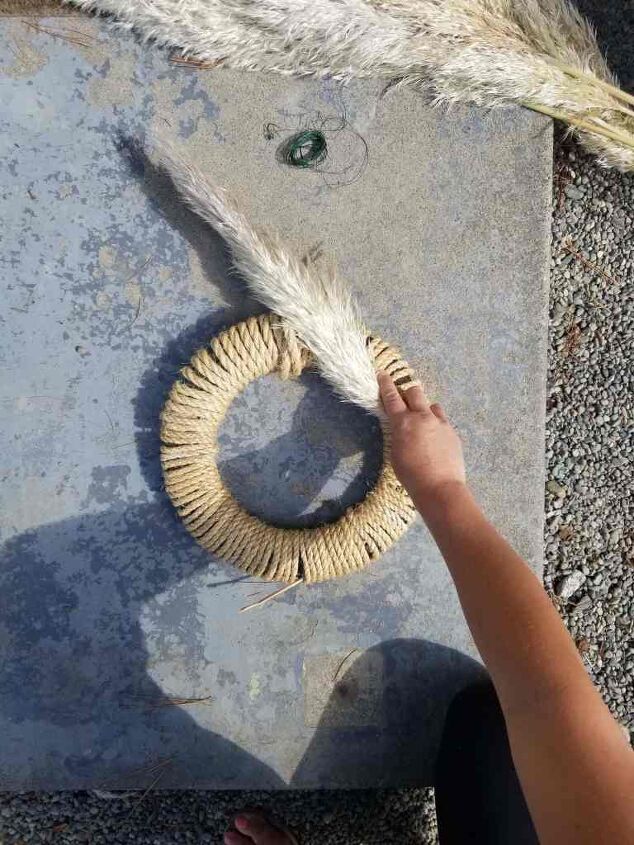
Tuck the stems into the wreath form so that they are all going in the same direction.
Use floral wire to secure plumes to wreath form.
Step back and make adjustments.

After hanging the wreath, I made a few tweaks. Some areas looked too bushy or floppy, creating a messy look.
Why not hang your wreath in front of a window?
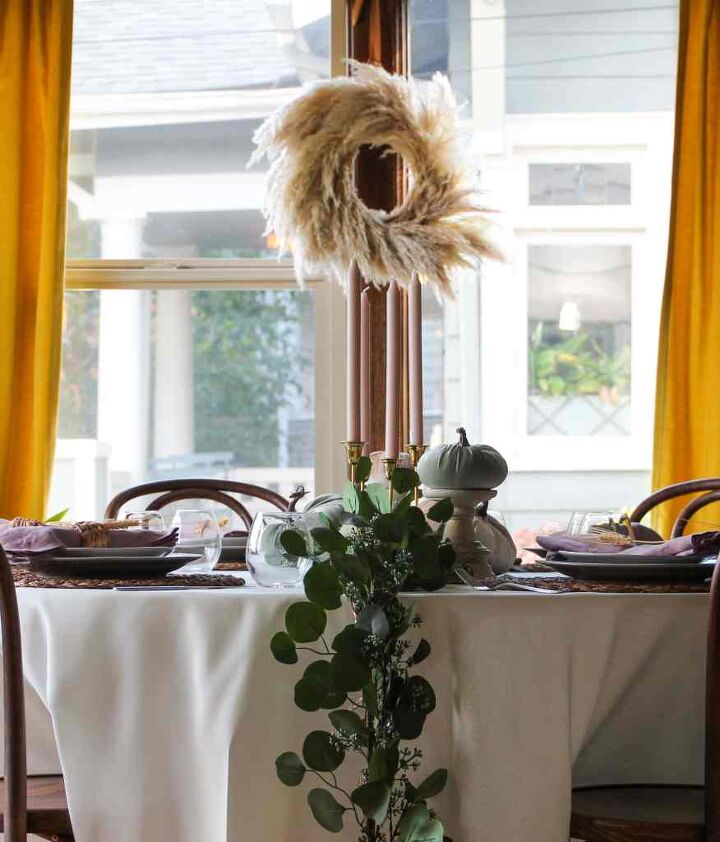
These wreaths will do best indoors or at least in a covered spot indoors. There are so many places to display your wreath! For instance, over the mantle, in front of a window, on a mirror, on a shelf, or even as a centerpiece.
Thanks for reading!
Some more ideas for you:
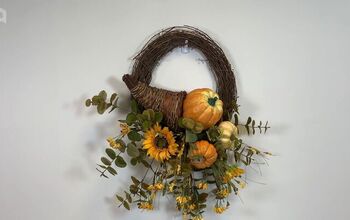
Here is another Fall Wreath you might like.
A Chic Christmas Wreath that is a stunner.
Resources for this project:
See all materials


Comments
Join the conversation
-
Very nice and beautiful Kitty.
-
Lovely. Simple and elegant.


Frequently asked questions
Have a question about this project?
What kind of hair spray did you use?
How many plumes did you use?