


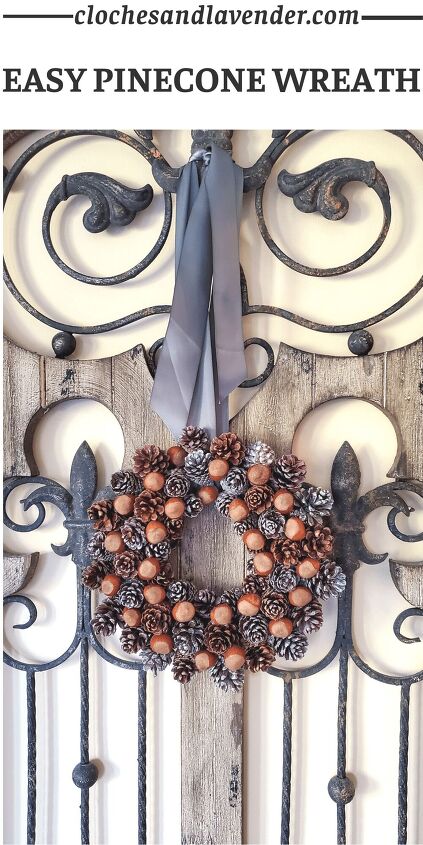
How To Make A Pinecone Wreath Easily
Welcome to Cloches & Lavender today I am sharing how to make a pinecone wreath easily. I did add a bit of a twist because I enjoy using natural elements so much. I especially enjoy using these for the holidays.
Because Christmas is on a Bloggers mind right now, I made this pinecone wreath. By the way, this is so easy it took me 20 minutes to complete.
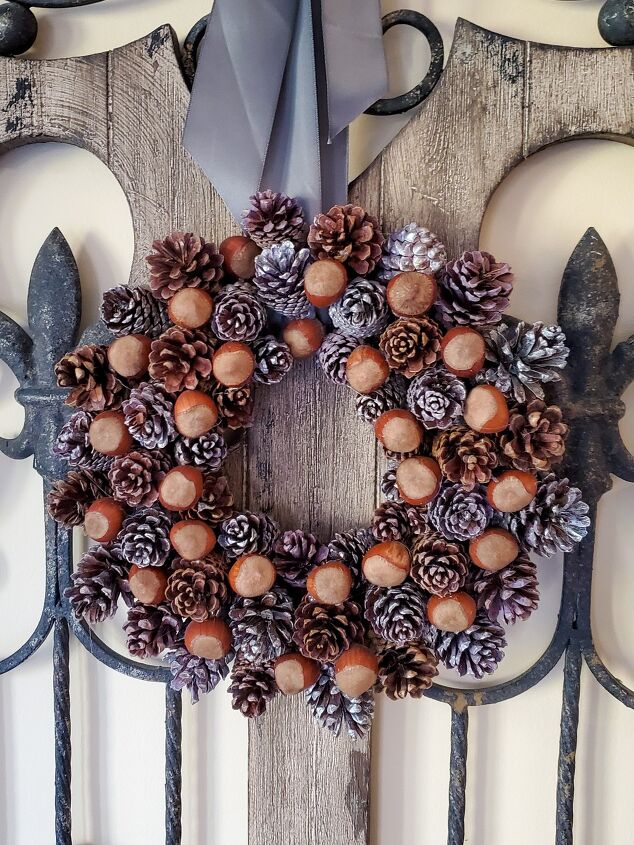
Here’s my twist, because I enjoy adding natural elements to my decor I did add some Hazelnuts in the shell.
Let’s take a look at how to make a pinecone wreath easily.
Wreath Making Supplies:
For the most part, when I am making a wreath I begin with my form.
This post contains affiliate links. That means that if you purchase from one of these links, I will make a small commission, but rest assured, you will not pay more for any products.
WREATH FORMS: wire, foam or grapevine
RIBBON TO WRAP THE FORM: brown or natural
GLUE: hot, or tacky
PINECONES FOR THE WREATH: natural medium and natural mini
HAZELNUTS: HERE
RIBBON FOR HANGING: HERE
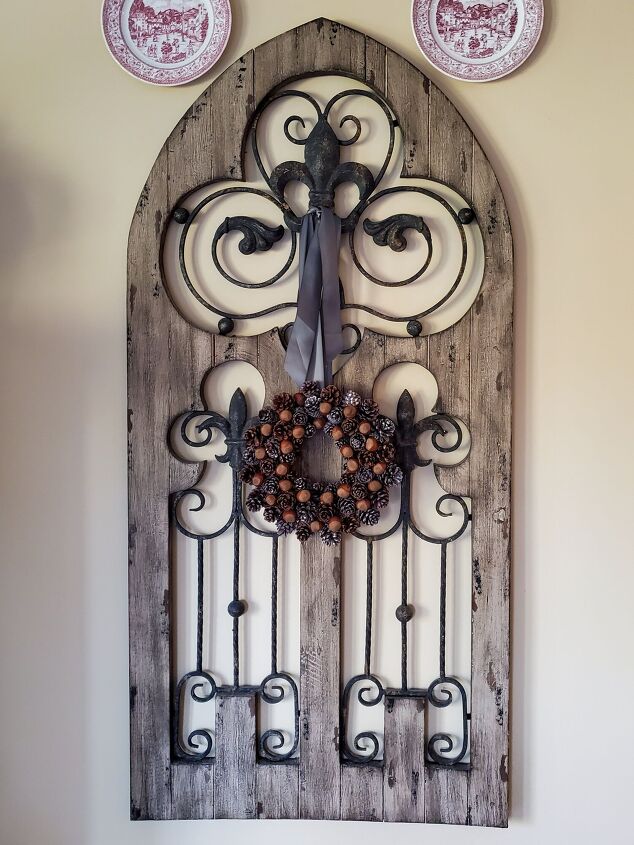
I will be hanging this wreath on an antique cathedral rustic shutter in my kitchen for this upcoming Christmas.
How To Make This Pinecone Wreath Easily
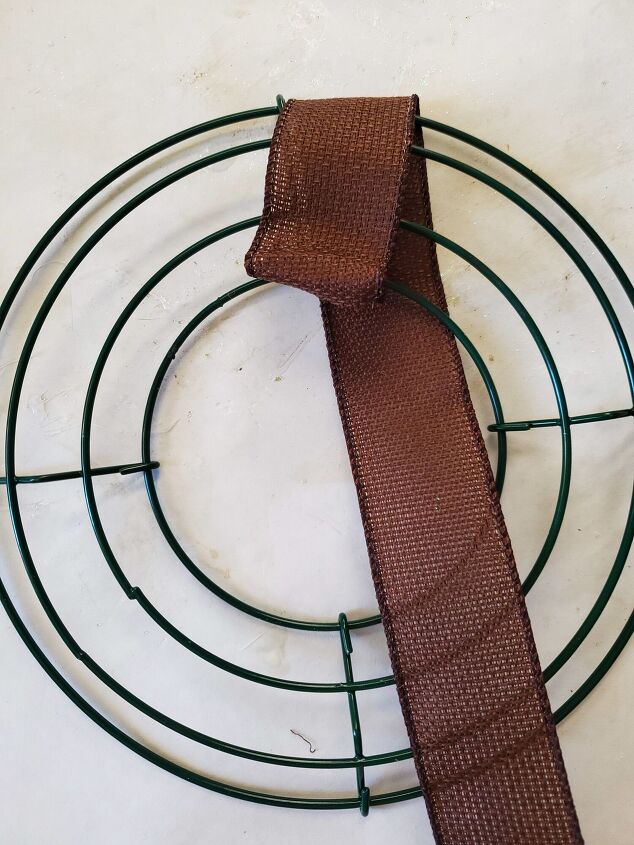
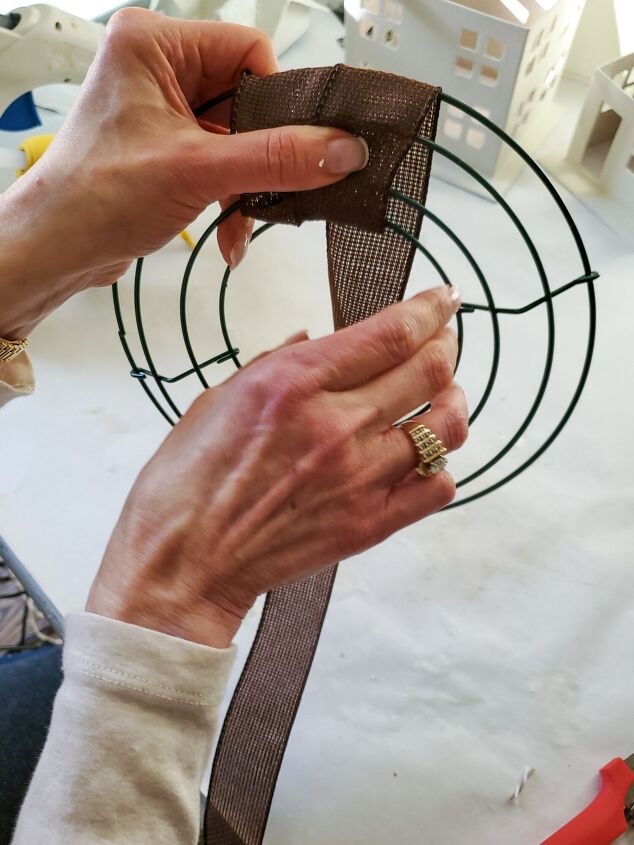
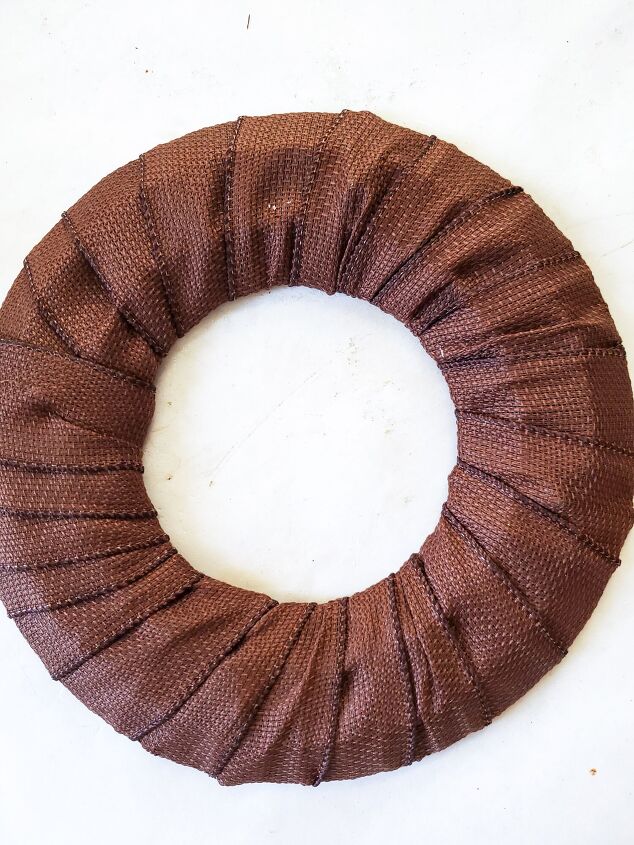
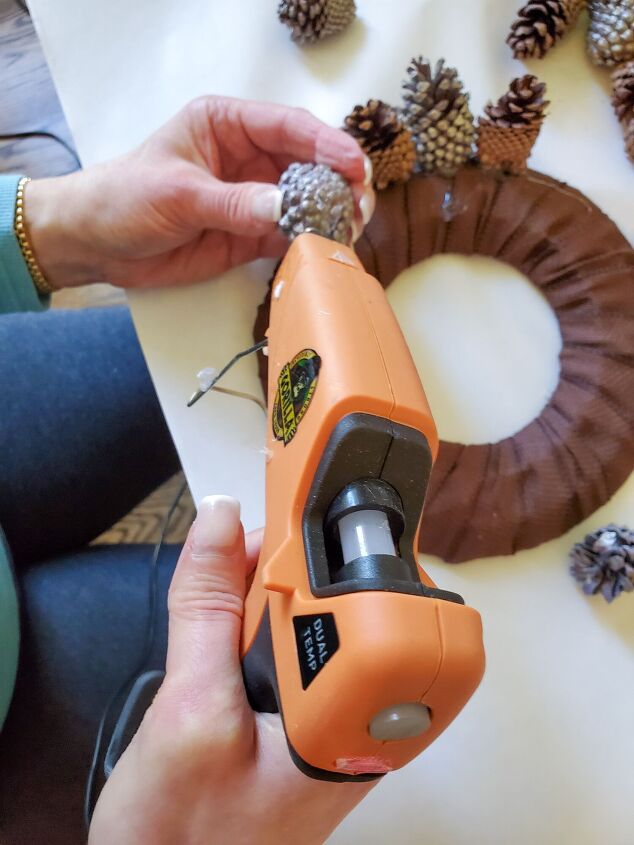
I’m using an 8″ wire wreath form for this project. I wrap it with brown burlap and add hot glue so it’s secure. Next, I continue wrapping the wire piece. After it’s covered I add a bit of hot glue again to secure.

Now, using your hot glue gun begin to add your pinecones. After adding a decent amount of glue, place the pinecone on the wreath form. Hold for a few seconds to set the pinecone. This process took me 15 minutes.
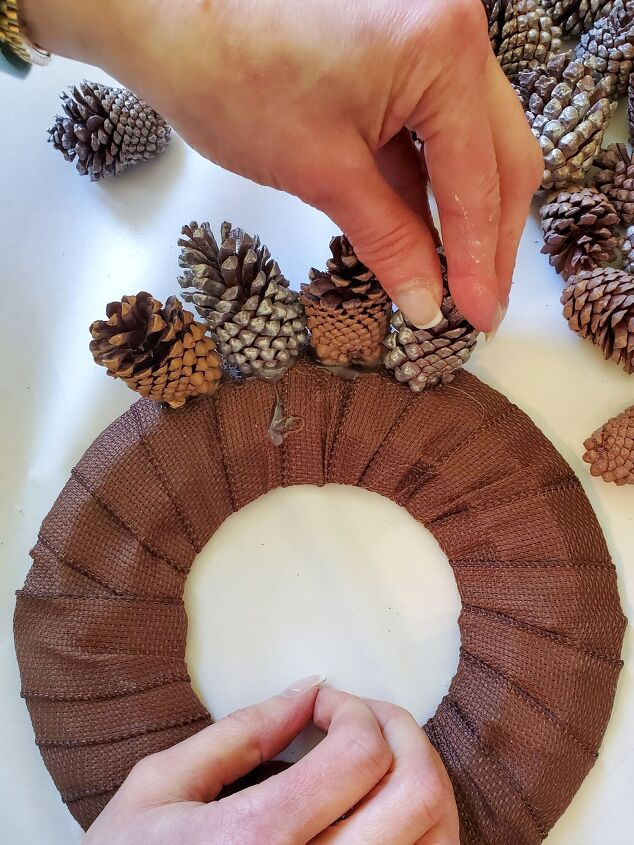
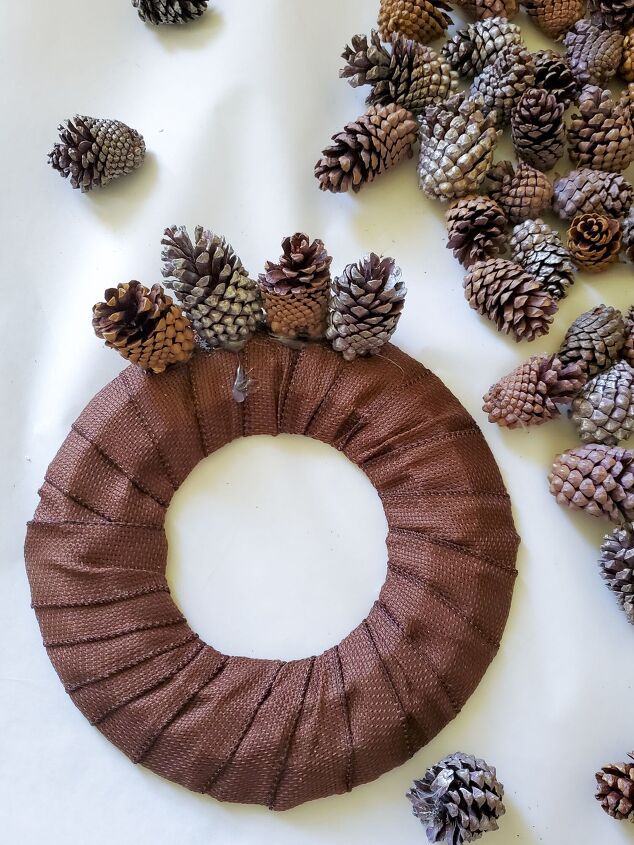
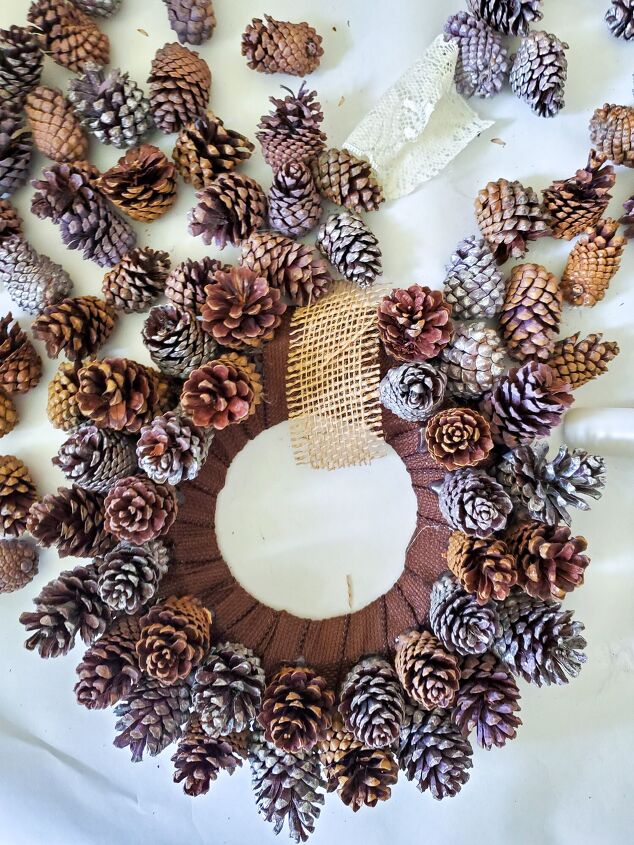
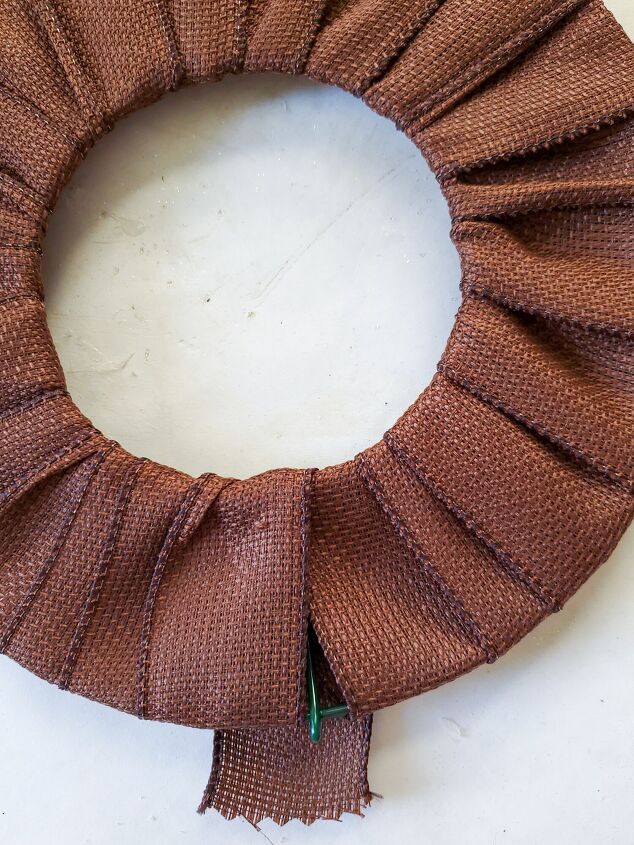
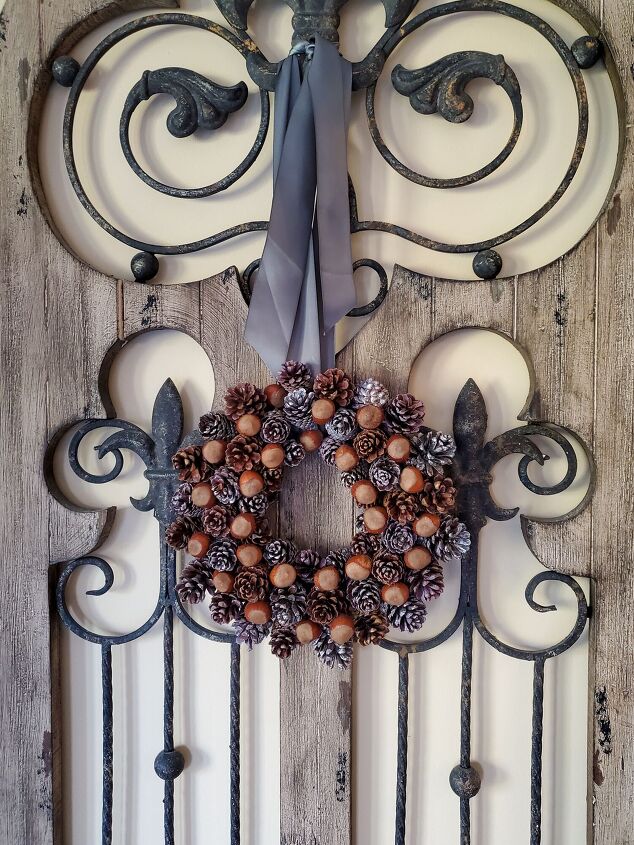
Incidentally, you will notice I have a piece of ribbon on the top of my wreath. I did this because I want the pinecone piece to lay flat.
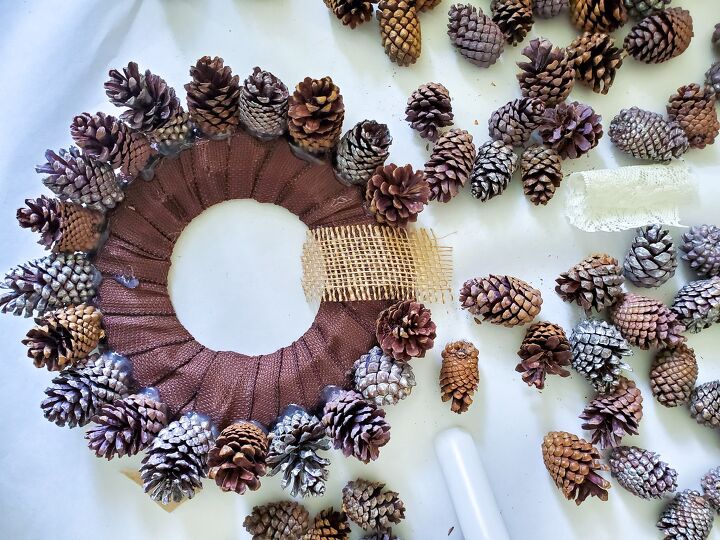
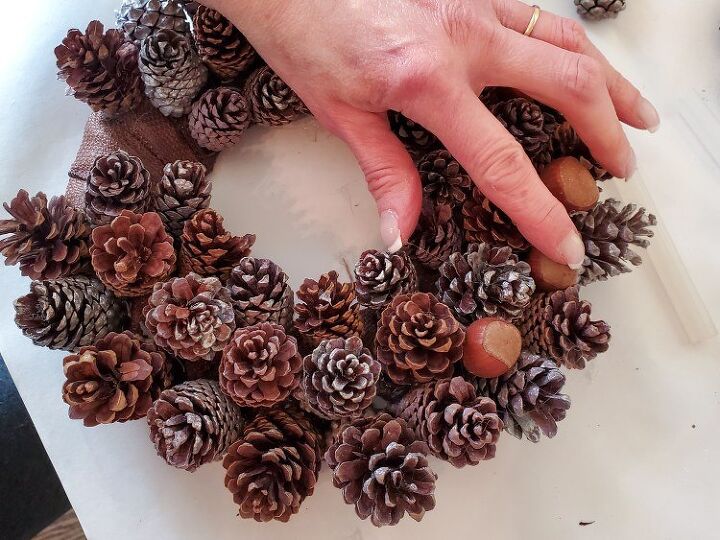
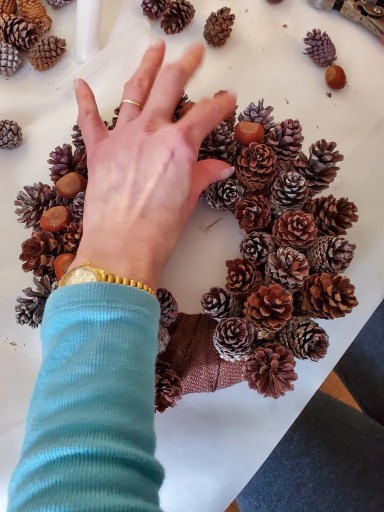
Next, begin adding your nuts to fill the gaps of the pinecones. Adding the nuts is also easy and takes no time. As a rule, I add hot glue to the tips of the nuts and they nestle in between the pinecones easily. After applying the hot glue simply hold the nut for a moment to set.
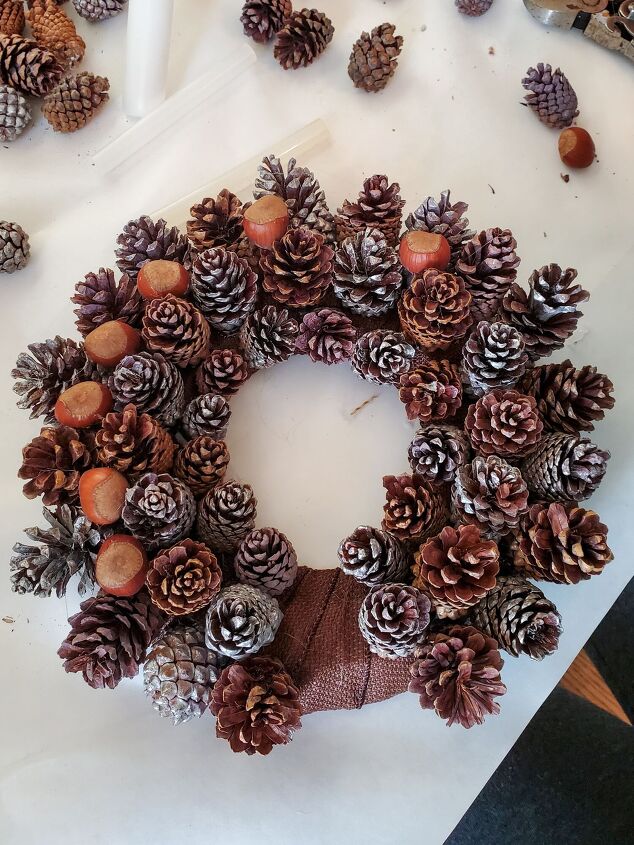
After I finished this project and it was ready to hang, I added two more pinecones easily and one hazelnut.
This makes a wonderful gift, there’s nothing like giving a homemade gift as a Christmas present. Often times they are loved and appreciated the most!
Please visit Cloches & Lavender for crafts, some fall reipes I have shared and decorating ideas!

How To Make A Pinecone Wreath Easily
This is an easy wreath adding pinecones and hazlenuts in the shell to hang for Christmas
Prep Time1 minActive Time0 mins0 minsTotal Time20 mins
Yield: 1 wreath
Cost: 20
Equipment
- hot glue, glue gun, scissors, wreath form
Instructions
- wrap metal wreath form with burlap ribbonheat glue gunhot glue pinecones to wreath formadd hazelnuts with hot glue to fill in the gaps in the pinecones
NotesHow To Make A Pinecone Wreath Easily
By an 8″ wreath form
Gather pinecones and burlap ribbon. Begin wrapping and adding hot glue to the end of the ribbon and hold to stick.
When you get to the end of the ribbon add hot glue and hold to set.
Cut a piece of ribbon to give you room to hang before gluing the pieces on the wreath form. Lay it on top until you get the first two rows of pinecones glued.
This will allow the wreath to hang flat
Now hot glue each pinecone and hold until set. Contine around the wreath until covered with the pinecones.
Now add your hazelnus in the shell adding hot glue to the point on the end of each nut. Hold to set
Add a satin ribbon to hang.
Last fill in the gap with two mdeium pinecones and hot glue. Hot glue one nut to finish, your wreath
NOTE: I used 47 pinecones in medium and small sizes all together and 25 hazlenuts in the shell for this project
Enjoy!

Resources for this project:
See all materials


Comments
Join the conversation
-
Thank you
-
It’s definitely allot work , i made these in grade school. I remember it took
us a allotime but was a beautiful project . I wont do it again


Frequently asked questions
Have a question about this project?
Did you bake the chestnuts first to eliminate the crawlies inside?
Very pretty! And love the arched piece of wood..Is it real wood or faux? Did you make or buy? I have the pinecones all over my yard so don't have a problem and will probably use an piece of old comforter that is plaid with red roses, for Christmas instead of the burlap..MERRY CHRISTMAS TO ALL !! 🌲🌲
For those of us in the north or eastern part of the country - or where it gets cold - Hot glue will break if used on something outside - It will not hold things when it gets really cold. What should we use instead?