


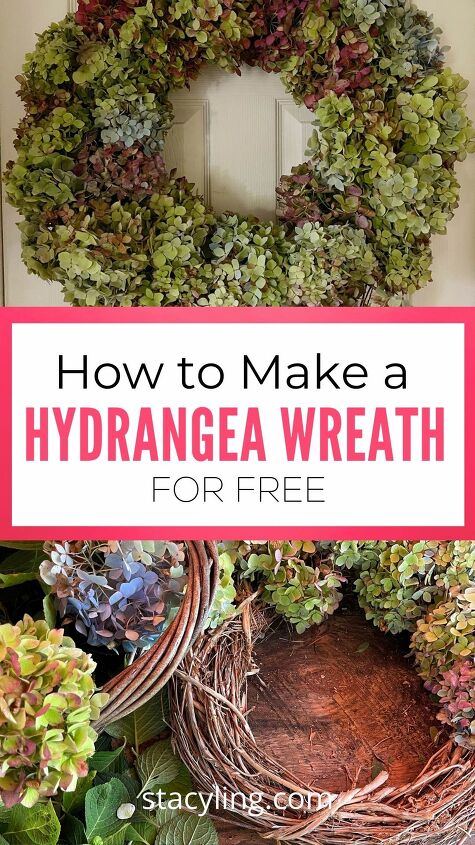
How to Make a Simple Hydrangea Wreath for FREE
If you love fall wreaths as much as I do, they can get pretty expensive if you aren’t the DIY type. But WAIT! You can totally make a hydrangea wreath for FREE using things you have on hand.
Seriously this may be the easiest DIY you’ll ever do and it looks AMAZING when it’s finished.
Wait until you see how beautiful and EASY this hydrangea wreath is to make!
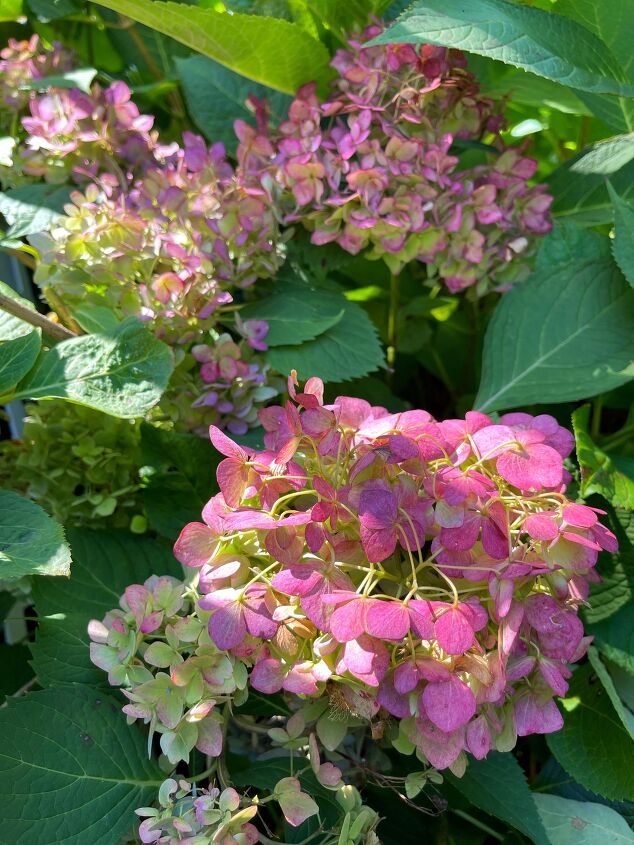
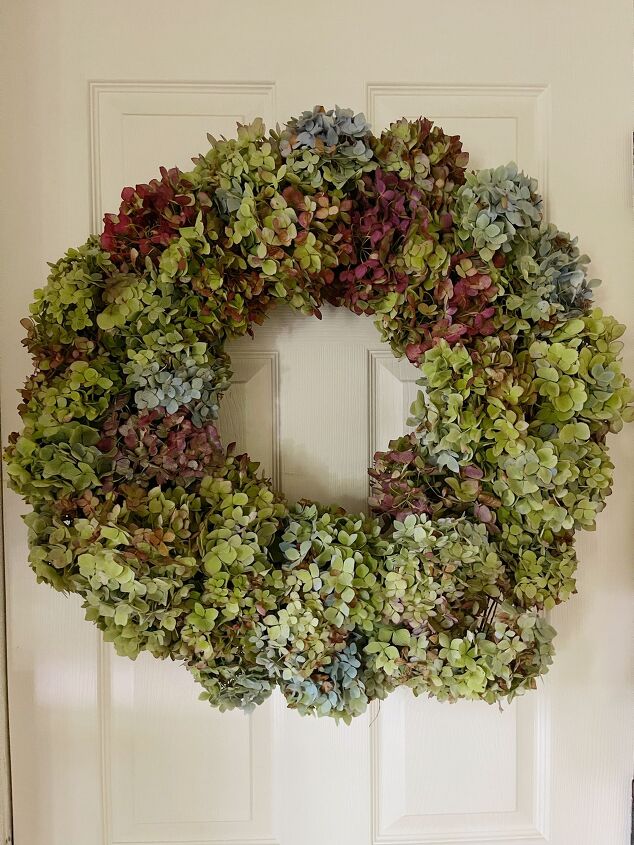
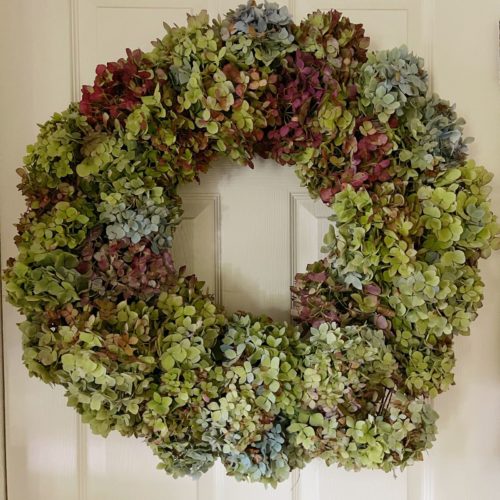
As I was walking the gardens this week, I noticed my endless summer hydrangeas flowers have that gorgeous fall vintage color.
And you know what that means right?
It means they are perfect for drying!
Now you can dry them ahead of time using THIS easy method.
But it’s even easier to dry them directly on the wreath.
Here’s how to do it!
Supplies Needed to Make a Hydrangea Wreath
- pruners
- container to collect the blooms
- grapevine wreath or another wreath form
- hydrangea flowers
How to Make a Hydrangea Wreath for FREE
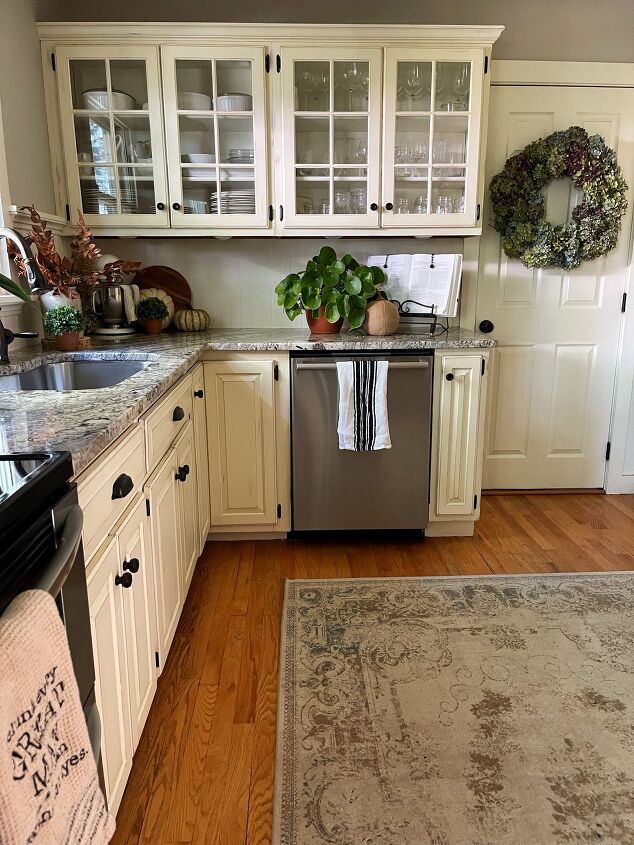
If you are anything like me, I have quite a few wreaths hanging around that have seen better days.
Instead of tossing them, repurpose them!
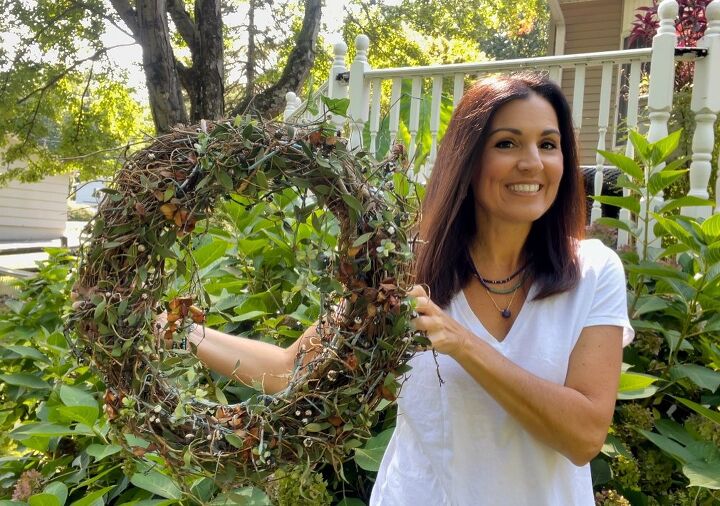
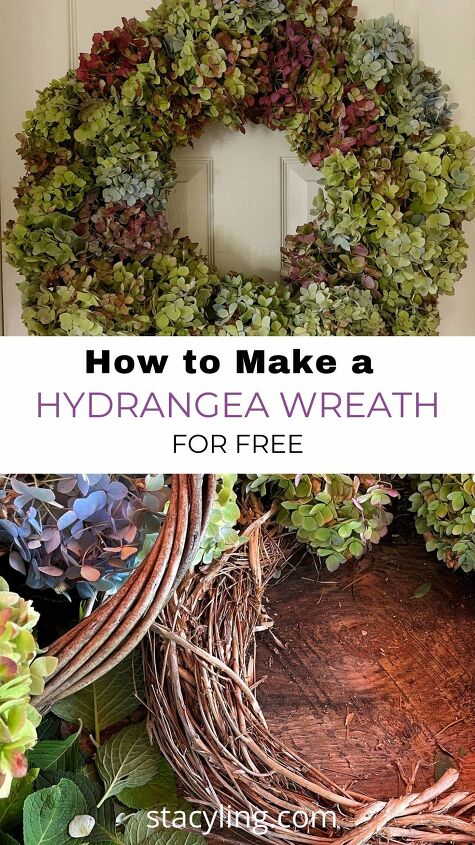
This grapevine wreath has been on my hit list for a while.
The fall berries are totally faded, so it doesn’t look good in my decor anymore.
But the grapevine wreath is in PERFECT condition!
And what I love about using a grapevine wreath for this DIY is you can tuck the stems directly into the grapevine without using floral wire.
So it’s totally worth taking off all the old stuff and tucking in flowers from the garden.
Since this wreath is made with hydrangeas, I’m cutting flowers from my endless summer hydrangea.
If you don’t have hydrangeas in your yard, ask a friend or a neighbor if you can cut some from theirs and make wreaths together.
This is such a fun project to do and looks so gorgeous when it’s done.
And the best part?
The hydrangea flowers dry right on the wreath.
I mean how easy is that???
How to Make a Hydrangea Wreath for FREE
Grab some pruners and let's cut some flowers to make this hydrangea wreath using items you have at home.
Prep Time20 minsActive Time25 minsTotal Time45 mins
Yield: 1 wreath
Equipment
- Pruners
- Container to Hold Fresh Cut Flowers
Materials
- 1 Set Pruners
- 10-20 Fresh Cut Hydrangea Flowers
- 1 Bucket, Basket, or Other Container
- 1 Grapevine Wreath or Other Wreath Form
- 1 Floral Wire and Cutters (optional) (You only need floral wire and cutters if you use a wreath form that will not hold the blooms on its own)
Instructions
- Find an old grapevine wreath.
- Clean up the wreath by removing the old decor.
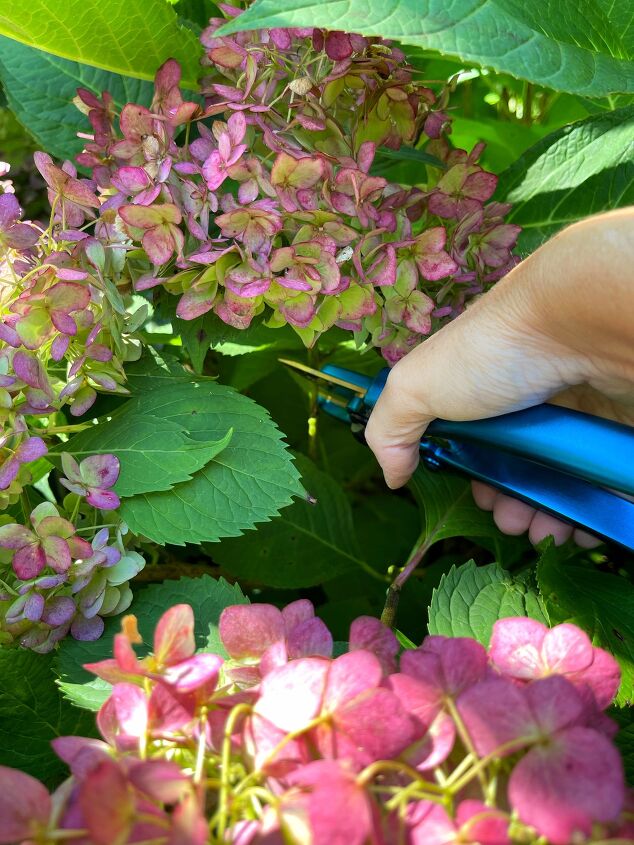
- Using sharp pruners, cut vintage-looking hydrangea flowers about 8-10" long. Make sure the blooms have a papery feel to them as these will dry better on the wreath.
- Collect blooms in a basket or other container. If you are not making the wreath right away, drop the cut hydrangea flowers immediately in water and keep them there until you are ready to make the wreath.
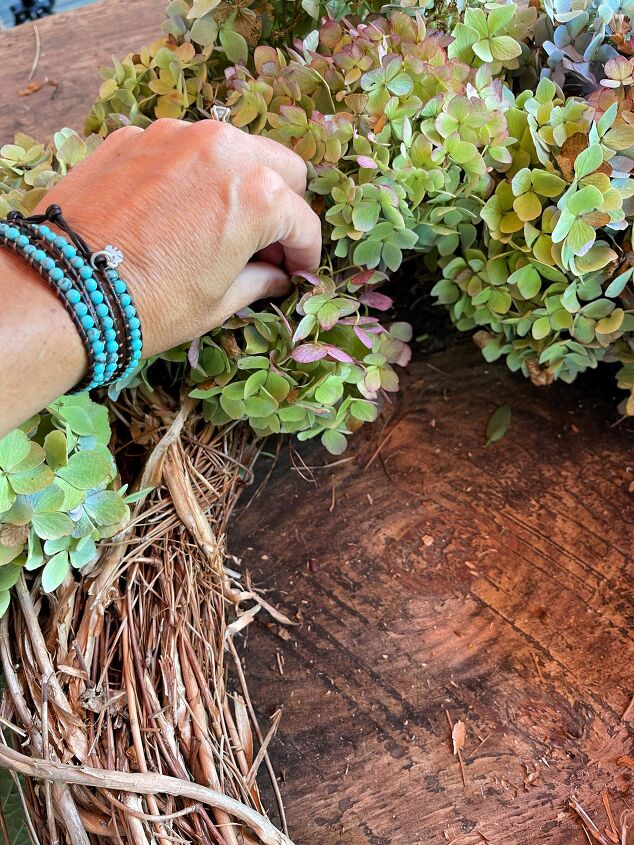
- Remove all of the leaves from the stem.
- Cut the stems down to about 4-6" so it's short enough to stick into the grapevine wreath but long enough to be secure and not stick out.
- Add hydrangea flowers working left to right, until you fill the entire wreath.
- Hang when finished.
Notes - Feel free to fill only half the wreath if you like that look.
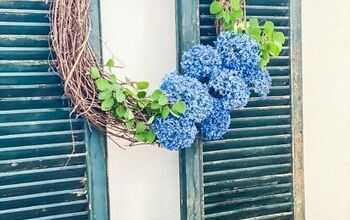
Could I Make a Hydrangea Wreath Using Faux Flowers?
Absolutely!
Choose your faux hydrangea blooms and simply tuck them in the grapevine wreath.
Easy peasy.
CLICK HERE for where to buy the best faux and foliage flowers for fall.
Watch This Video to See How To Make This Hydrangea Wreath
For more easy DIYs, CLICK HERE.
Pin and Save It For Later
If you like this post, please share and pin it on Pinterest. (If you hover over the image, the Pinterest button will be in the upper left corner.)
I’ve created the below-custom pins for this post.
Subscribe to the blog and gain access not readily available to the public.
Thanks so much for following along.
Enjoy a beautiful day! xo

If you like this post, please follow me @bricksnblooms on Pinterest, Facebook, Instagram, and Tik Tok. Subscribe to my YouTube Channel. Or join my Facebook Group.


Comments
Join the conversation
-
I love hydrangea. The wreath is beautiful.
-
Yes, I will; my hydrangeas are just at the appropriate stage now, and ready to go.


Frequently asked questions
Have a question about this project?