


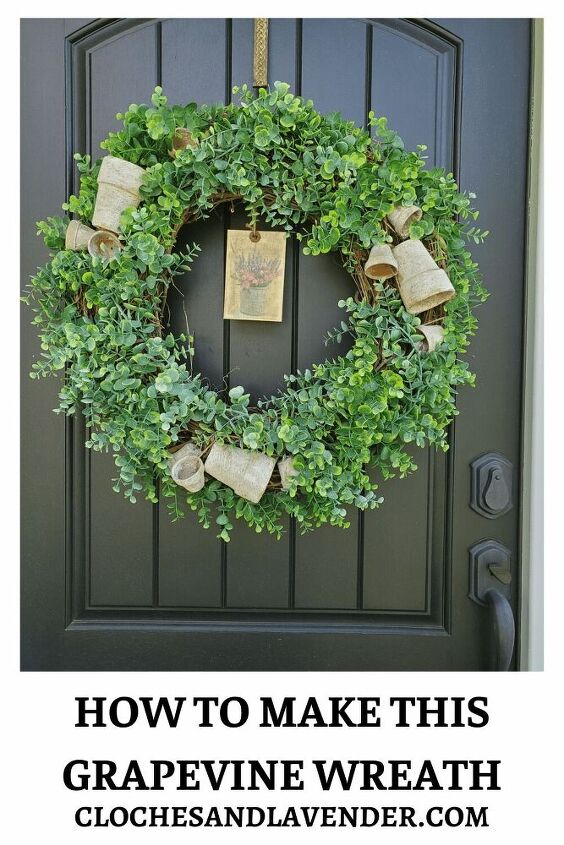
How To Make This Grapevine Wreath
Let’s see what I am sharing today, I think you’ll especially enjoy how to make this grapevine wreath.
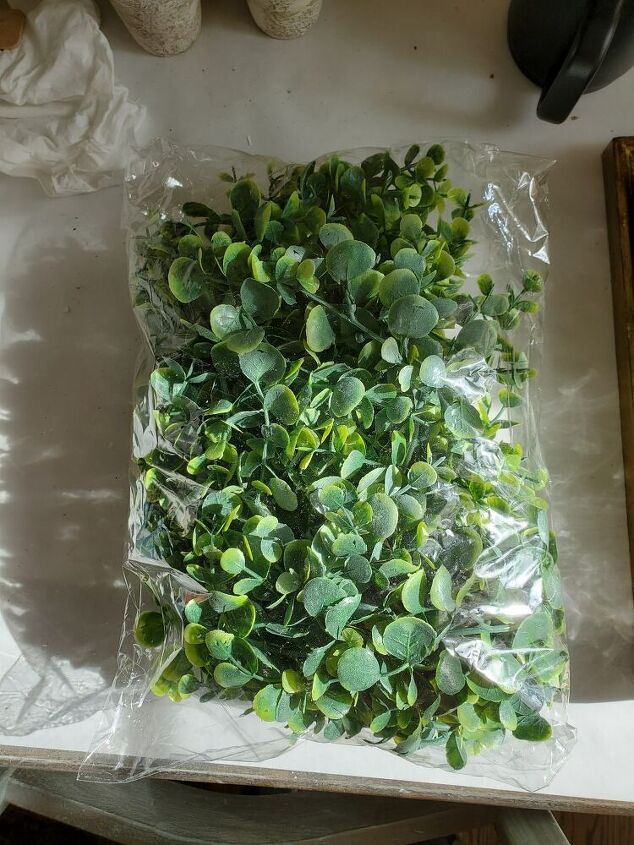
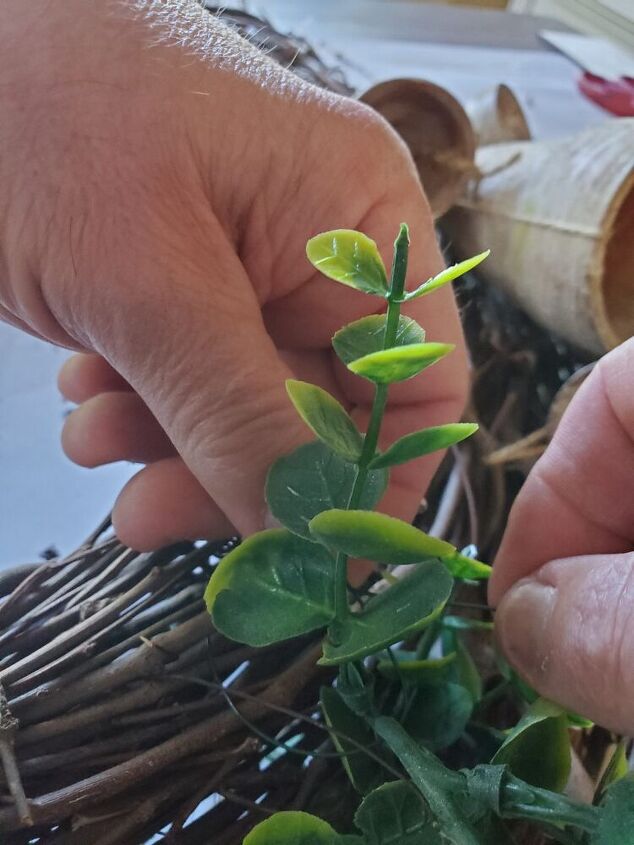
First off, I did find this two-pack eucalyptus for $14.99 on Amazon. Additionally, if you have prime, it ships free. Now you may be wondering how good of a product can this be for the price. I highly recommend this garland. Before ordering this, I was a bit skeptical. However, needing fake weather-safe eucalyptus because this will be exposed to the elements, I gave this a shot. And let me tell you I love it! I am a fake flower snob. I’m not a big fan, therefore, when I find a fake that I like I’ll shout it from the rooftop. If you need such a product get it!!
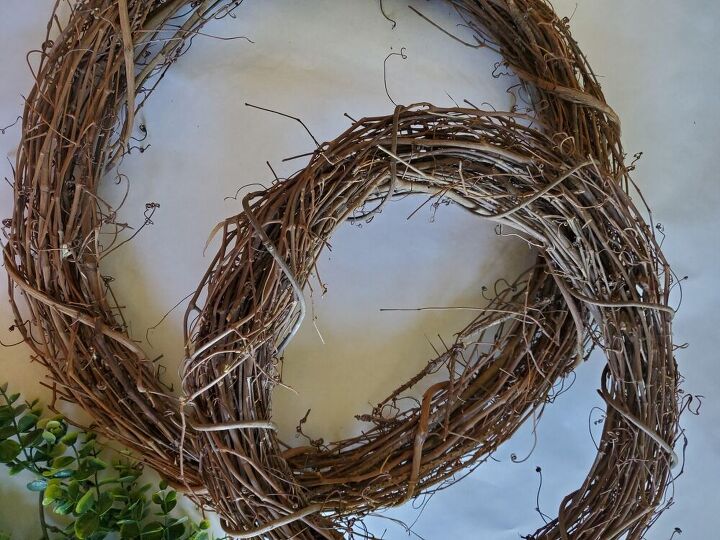
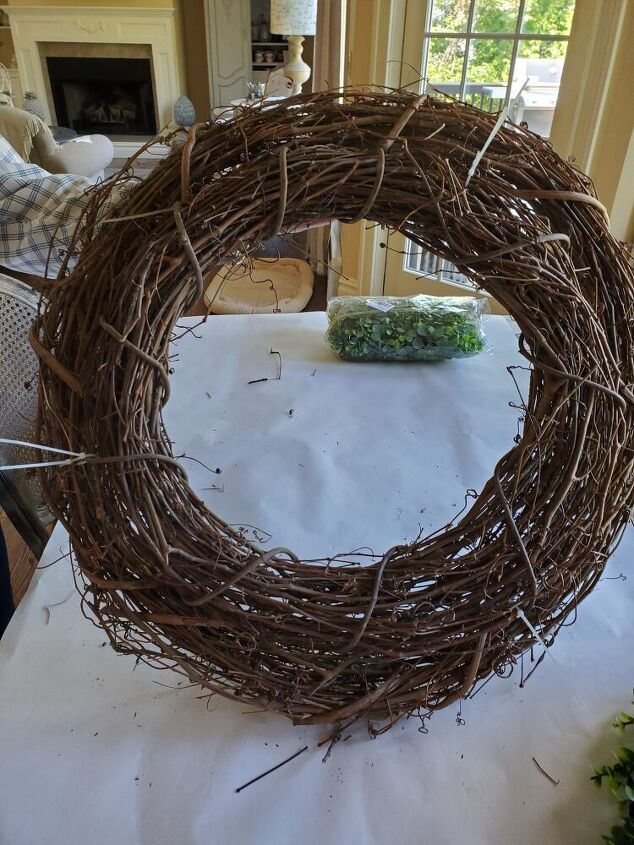
After receiving the garland I put a plan for how to make this grapevine wreath. Before I begin a new project, I always check my craft closet. I was especially happy to find a 30″ and 18″ grapevine wreath blanks. You can buy the 30″ and 18″ from these links inexpensively.
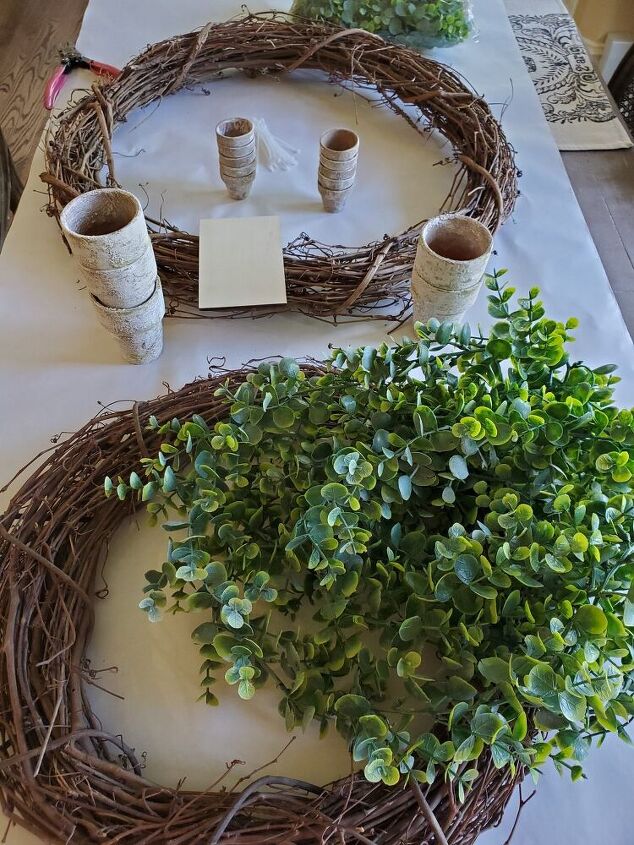
Items Needed:
- 30″ grapevine wreath
- 18″ grapevine wreath
- 2 packs of double packs of fake eucalyptus garland
- clear zip ties
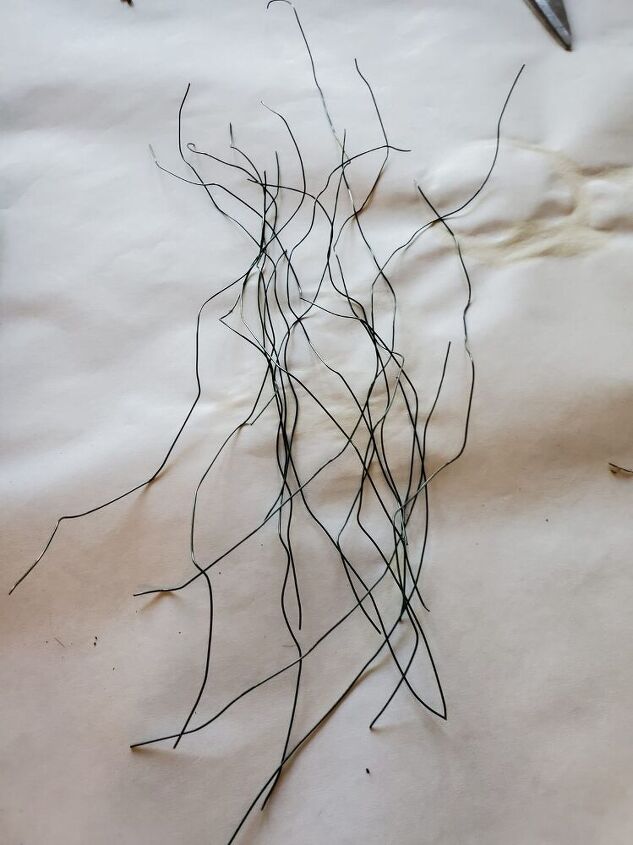
- florist wire 22 gauge
- flower pots 3 the larger size and 6 smaller size
- jute or twine
Let’s Begin How To Make This Grapevine Wreath
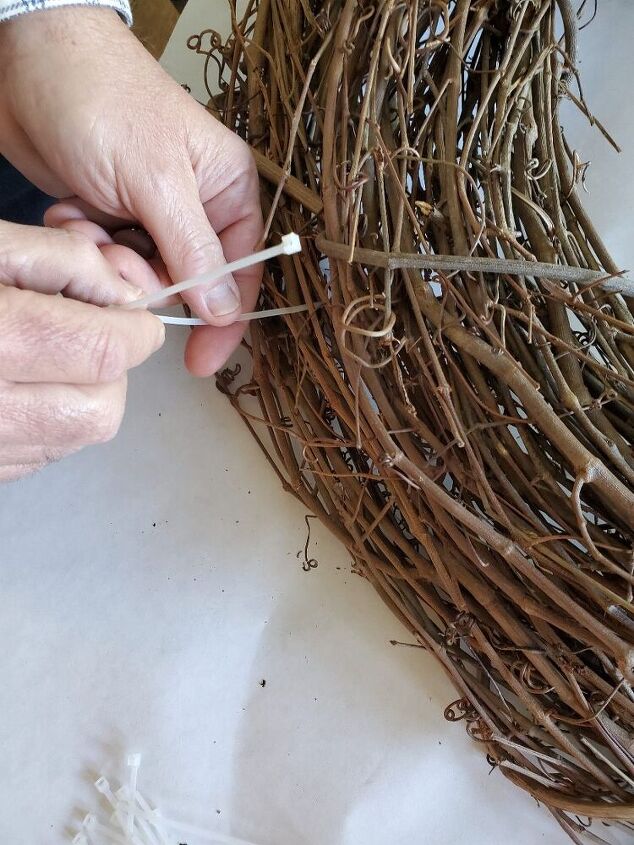
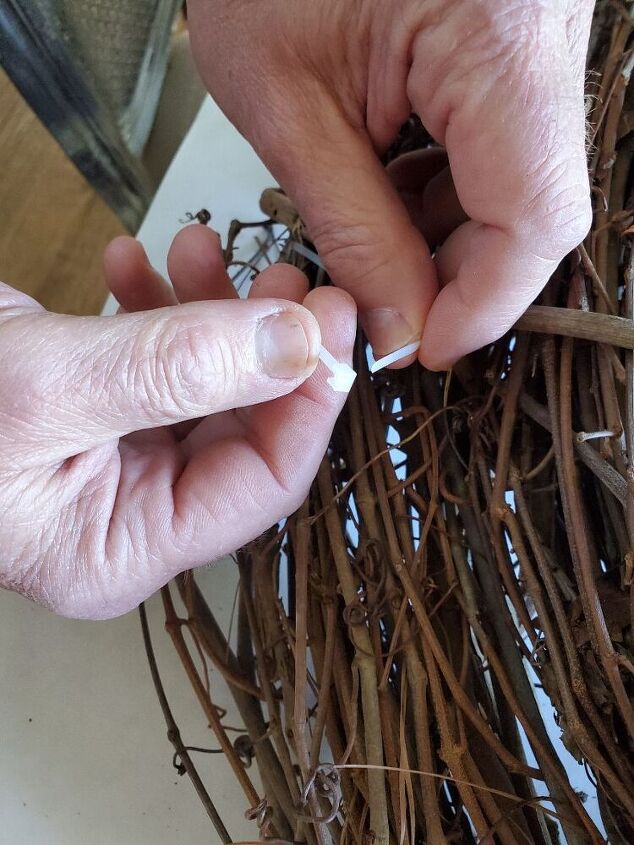
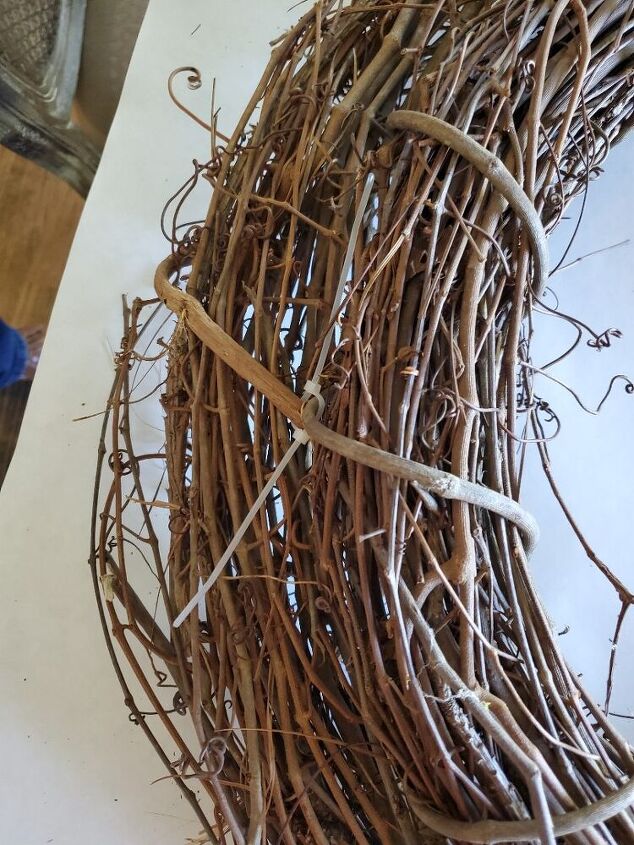
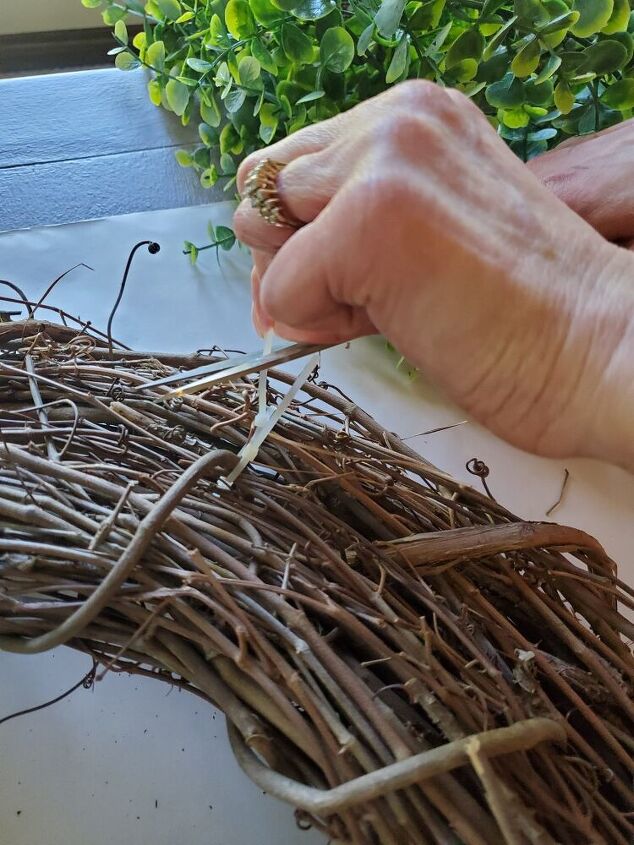
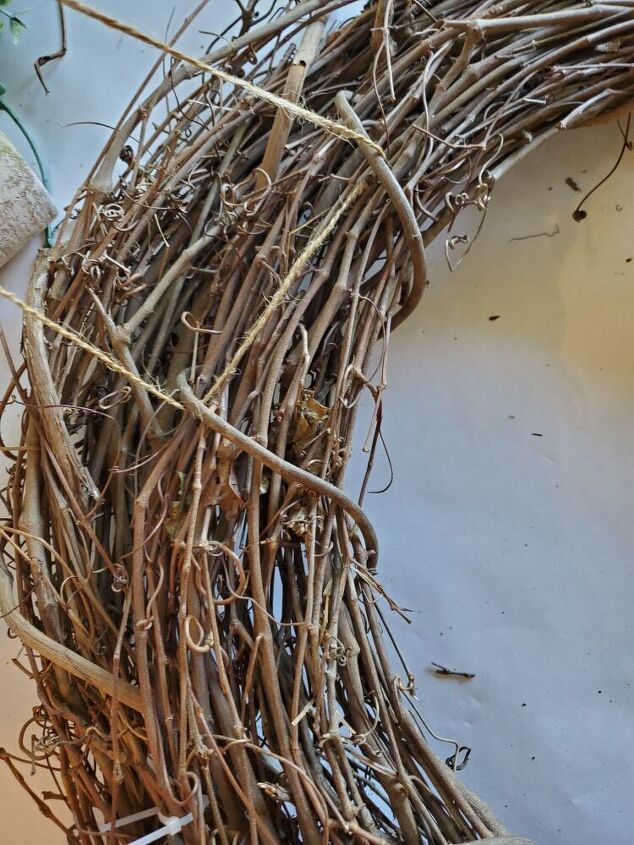
The first thing, connecting the wreaths together. For this project, I am using zip ties. You can find these here on Amazon. I am using these for how to make this grapevine wreath because I want the wreaths stable. Also, I think the zip ties allowed for a snugger fit.
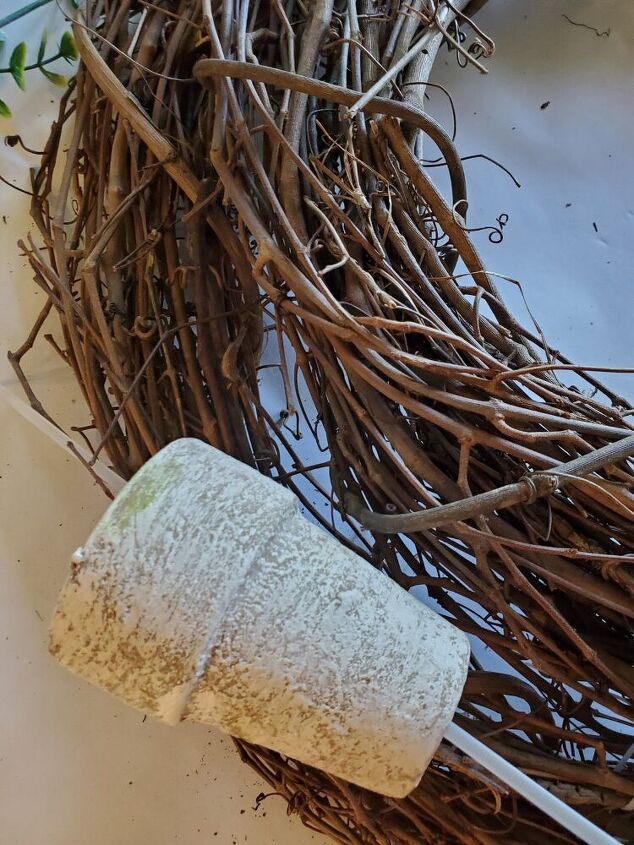
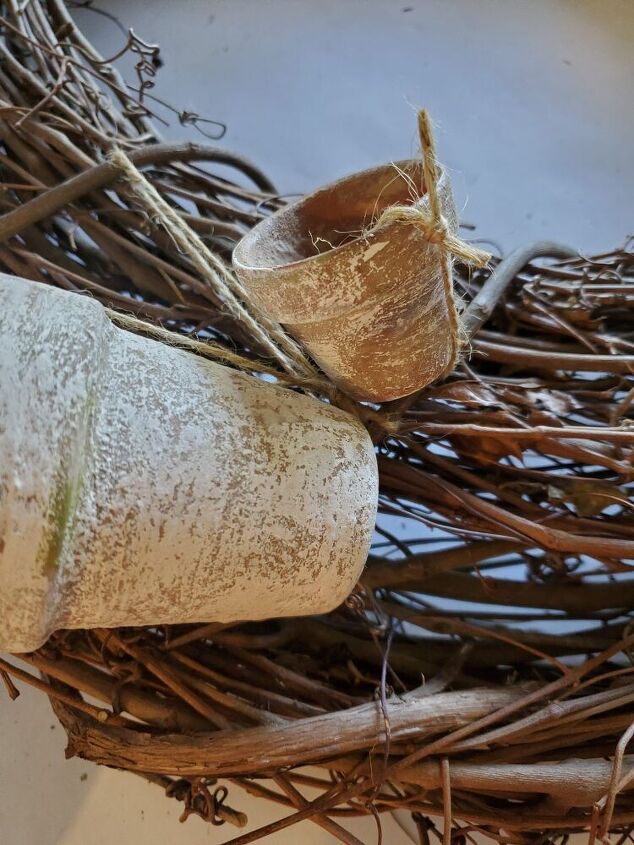
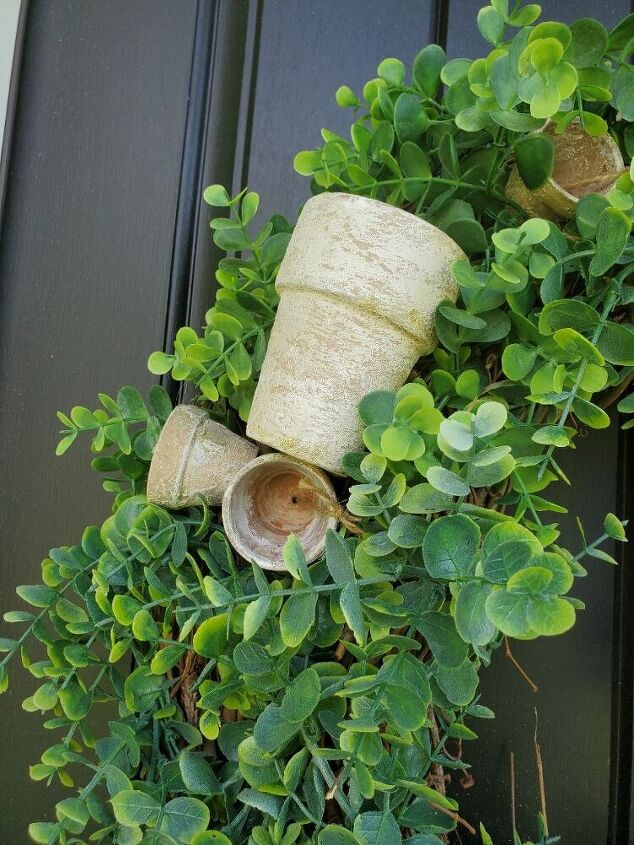
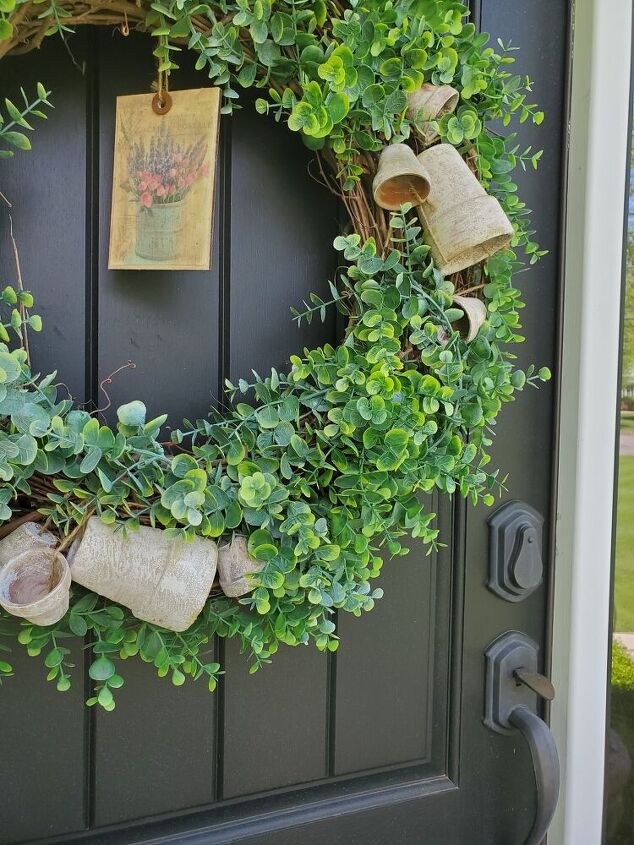
Next, I begin adding the flower pots. Incidentally, I made the flower pots similarly in this post.
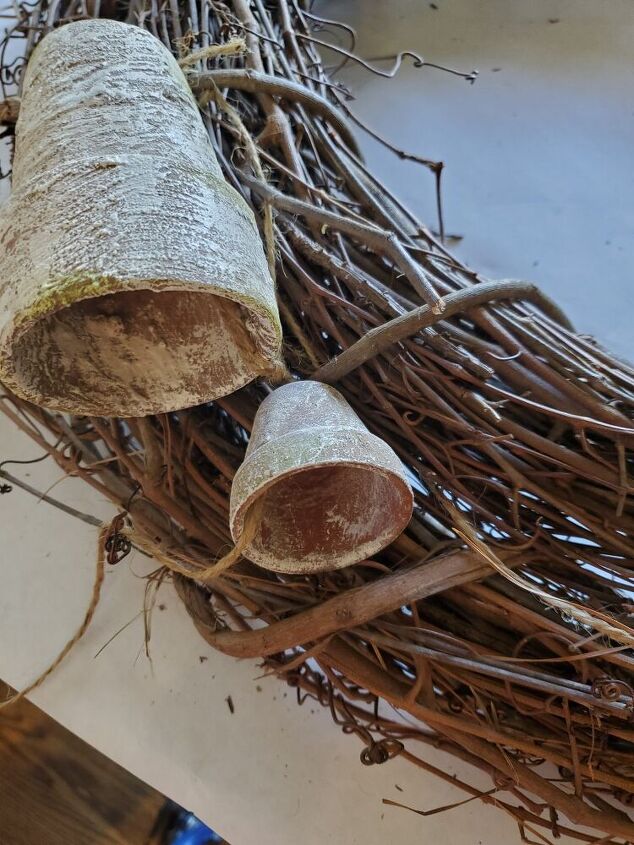
For this wreath, I add white craft paint by brushing and rubbing the paint with a rag into the flower pots. This is especially done to allow the texture to be seen.
After rubbing the paint I add a bit of green to how to make a grapevine wreath for a moss look. This adds another layer of texture to the flower pots.
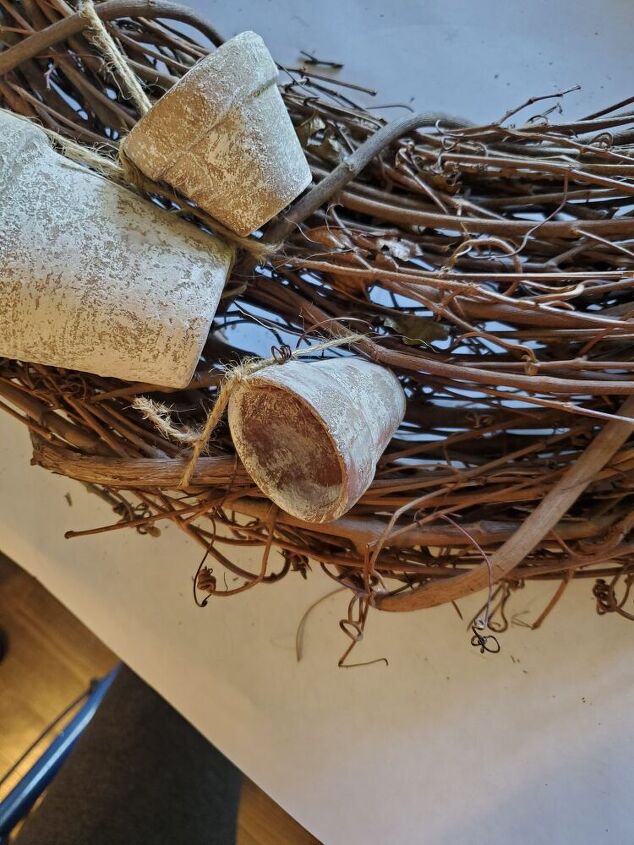
Let’s Begin Adding Our Flower Pots to the Wreath
Next came the time to add the flower pots to the wreath. Incidentally, you will see I also add small flower pots to how to make this grapevine wreath. Layering the smaller pots adds another element of texture and depth.
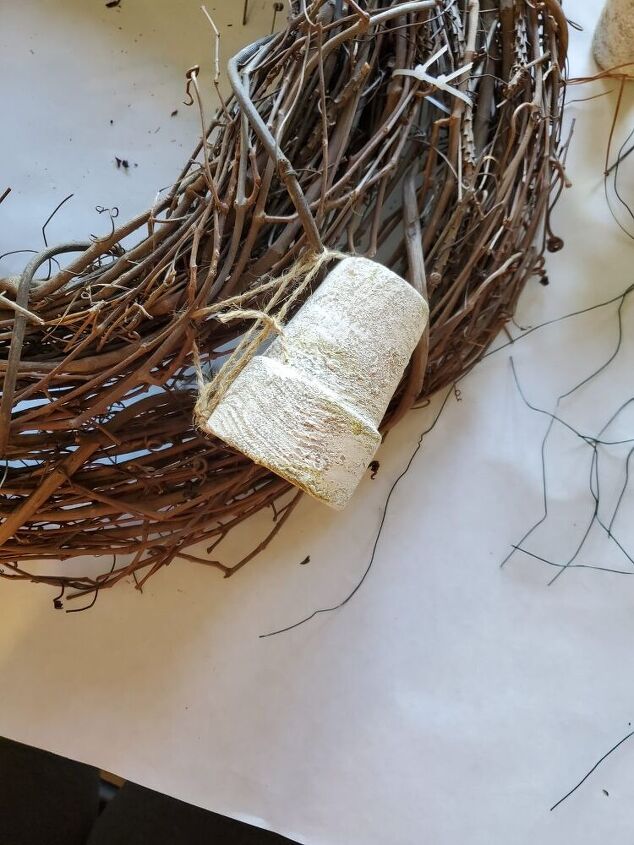
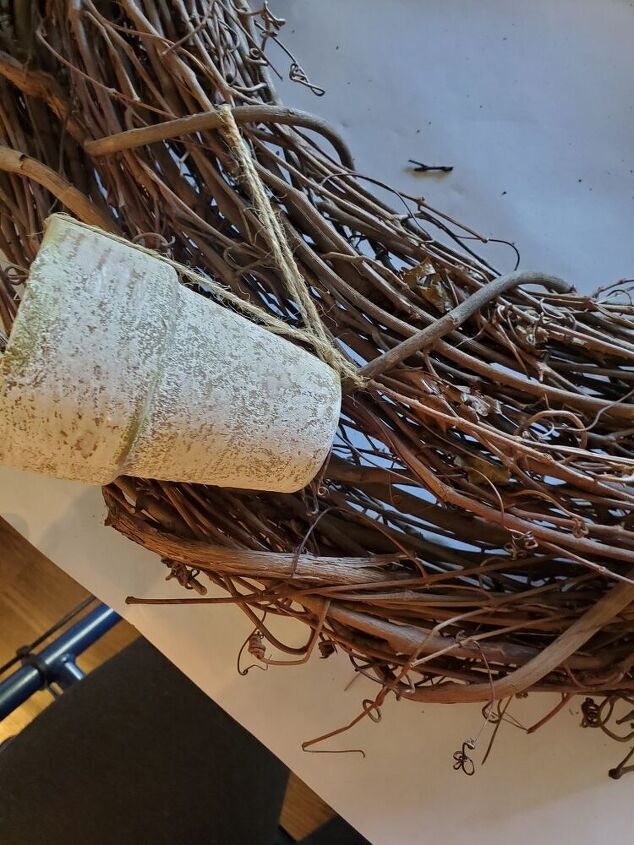
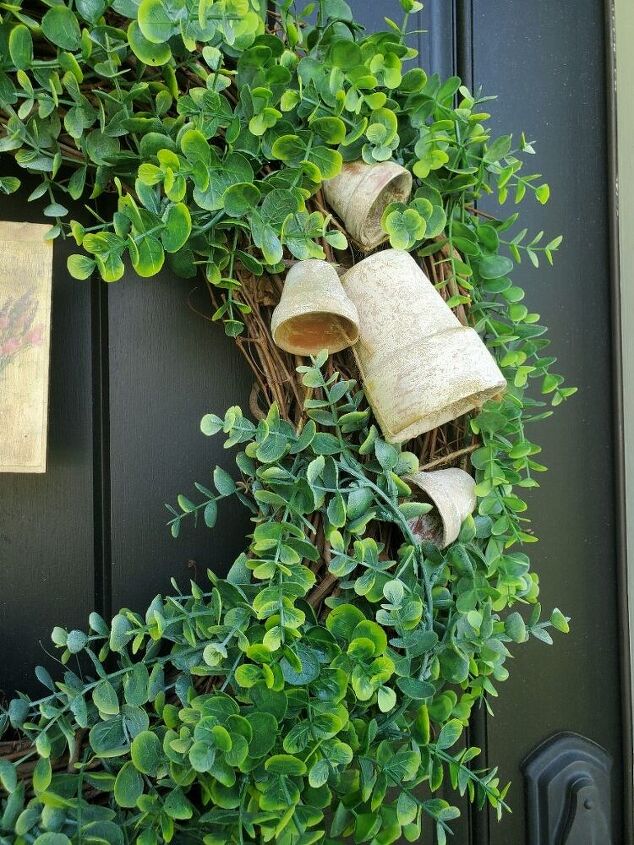
First, we begin adding the larger flower pots using jute. Here you will want to angle the pot and tie it tightly. By the way, three pots work great for how to make this grapevine wreath. Forming a triangle is best.
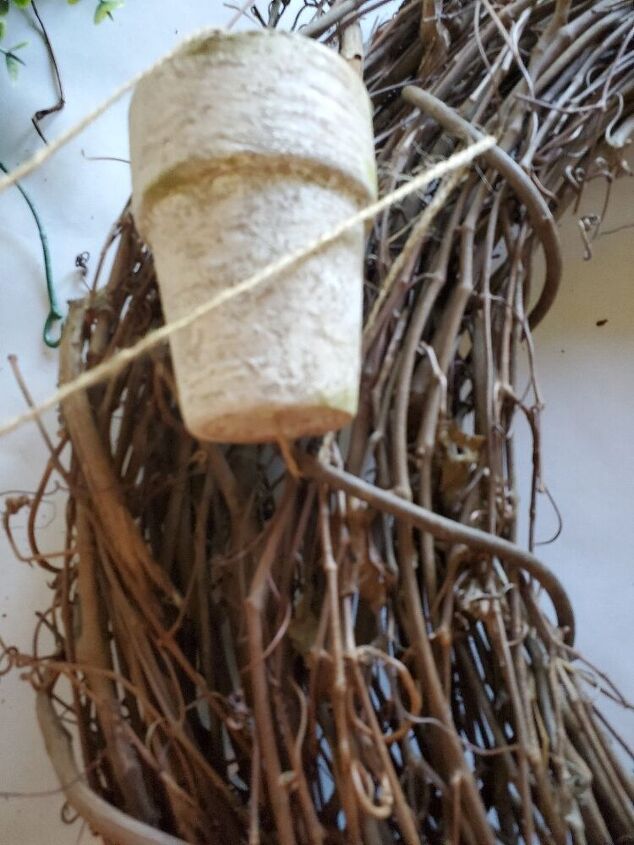
Next step, we begin adding small flower pots using the same method. Here, we use two small flower pots. As a result, this works well for the odd number in decorating.
Also, how to make a grapevine wreath allows the option of no glue. This also gives me the option to reuse these pieces for another project. A grapevine is great to work with because using zip ties, jute, and florist wire gives me the option to take this apart easily.
Now, Let’s Begin Cutting And Adding Garland For How To Make A Grapevine Wreath
Next, I cut my first garland into four pieces. We then begin adding a section at a time. During this process, we use the florist wire to hold the garland in place. Simply, find an opening on the wreath and slide your wire through how to make this grapevine wreath. Continue this process with the additional garland until you cover the wreath. This step is up to how you want the wreath to look.
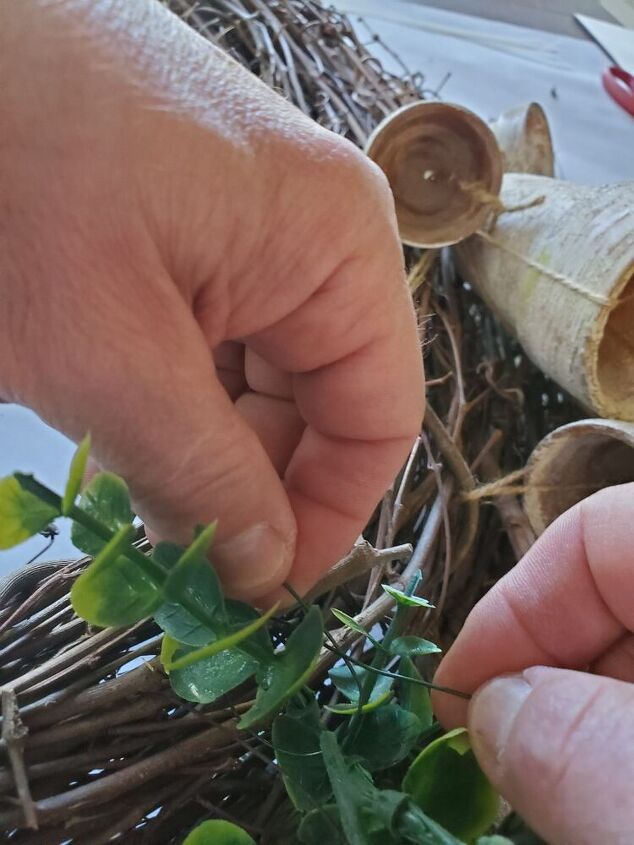
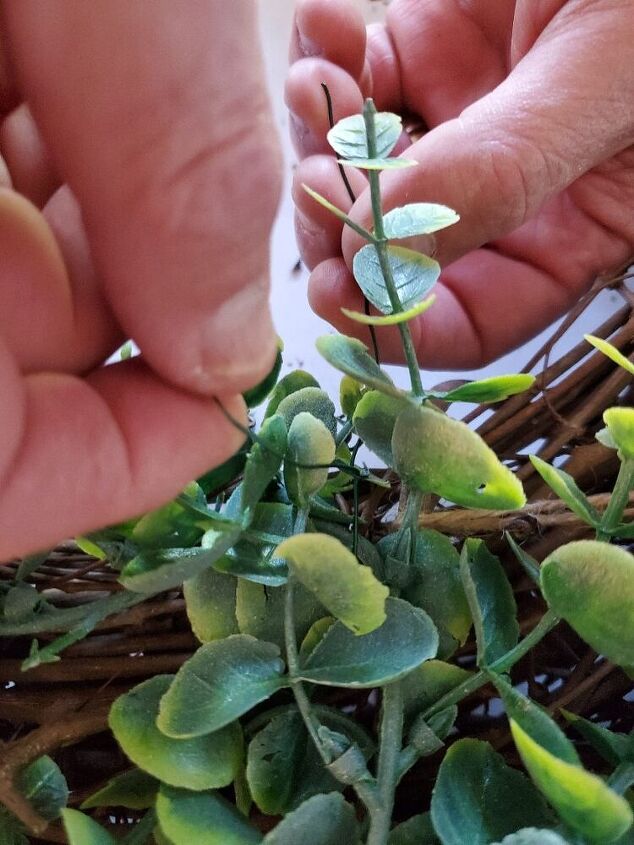
Also, take a step back to look at the wreath after the first garland. This is particularly important to make sure the wreath is symmetrical. Continue until how to make a grapevine wreath is full enough. By the way, I did keep the grapevine bare here and there. I like the texture of the grapevine.
Lastly, slip a larger piece of florist wire through the back for hanging. Because this is 22 gauge it is strong enough.
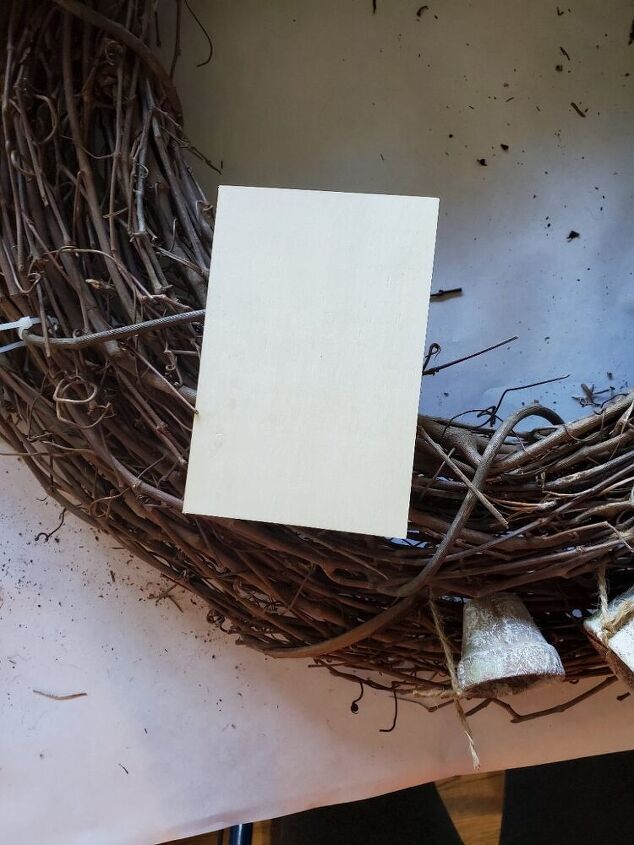
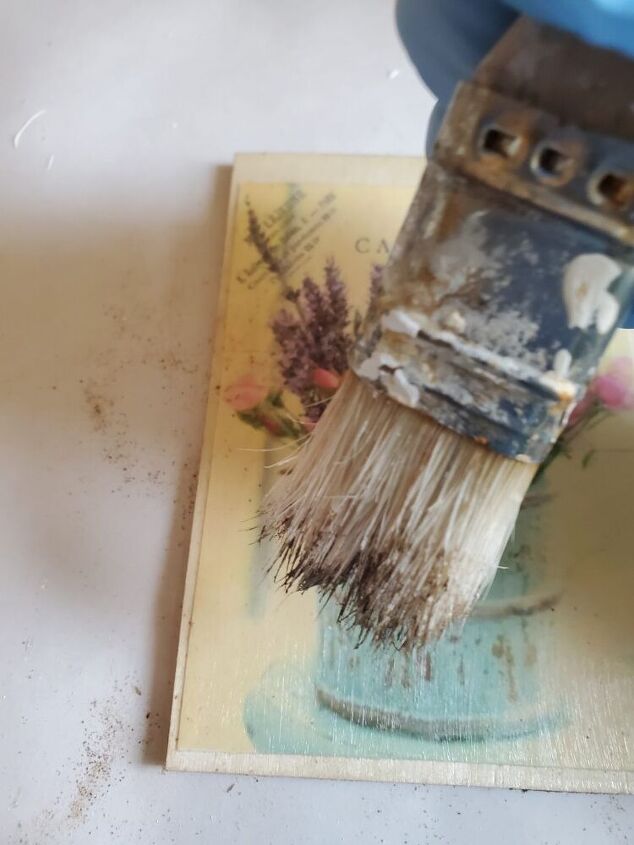
In the last step, using a wooden plaque, I paint it two coats of off-white paint. Then I add a graphic found on Pinterest printing it on card stock.
Next, I glue using Mode Podge and dry brush with raw umber paint. Adding an aged look to the tag.


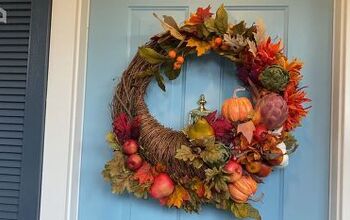
By the way, this wreath can easily work for the fall. Add fake pumpkins to the greens or fall foliage to the pots. You can add flowers to the wreath seasonally as well.
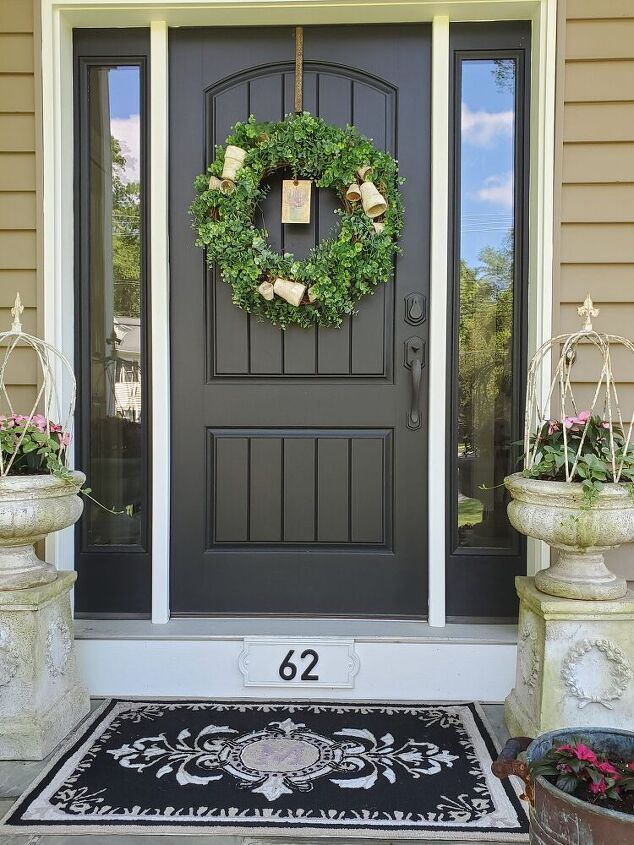
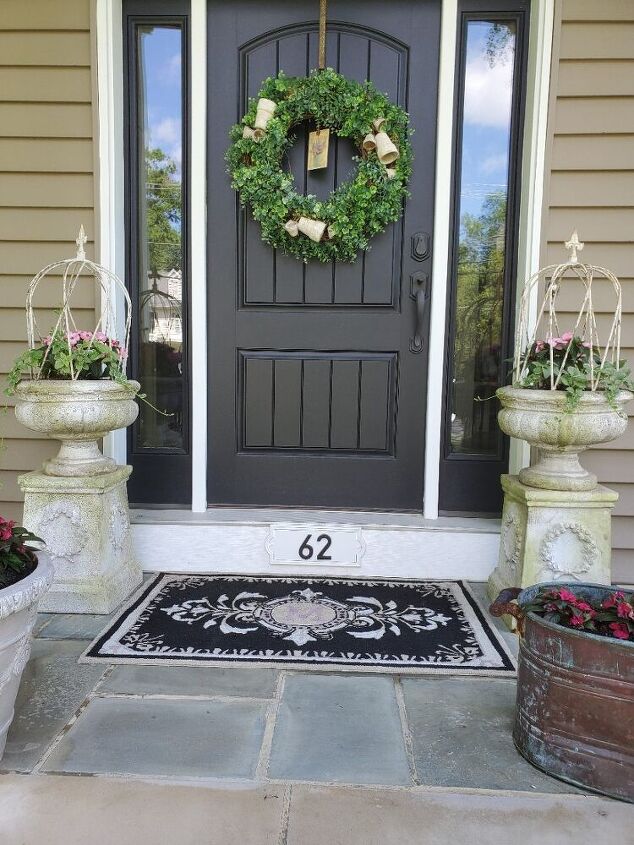
I hope you enjoy how to make this grapevine wreath and make one for your home.
Also, sign up for my newsletter at the top of my blog and sign up to follow Cloches & Lavender. My posts will pop up in your inbox.
Resources for this project:
See all materials


Comments
Join the conversation
-
So pretty!
-
Chic!! minus The plastic greens. Some preserved eucalyptus and box wood would make Martha Stuart swoon


Frequently asked questions
Have a question about this project?
I’m too impatient for this, its gorgeous and I love your front door