


Large DIY Fall Farmhouse Wreath
Looking to make a large Fall wreath on a budget? This simple yet stunning wreath is the perfect DIY.
Visit my blog, The Tattered Pew, for even more DIY projects.

I am so excited to share with you today how you can make this large DIY Fall farmhouse wreath for under $20! The inspiration for this wreath came from my friend Toni @toni_marianna over on Instagram. She is constantly using natural elements and things she already has to create stunning statement piece wreaths. So I thought I would try it and I have to say… I am hooked!
Large DIY Fall Farmhouse Wreath
Friends this DIY wreath could not be any simpler. I promise you can have this made in under 20 minutes and for under $2O with just a few simple supplies.
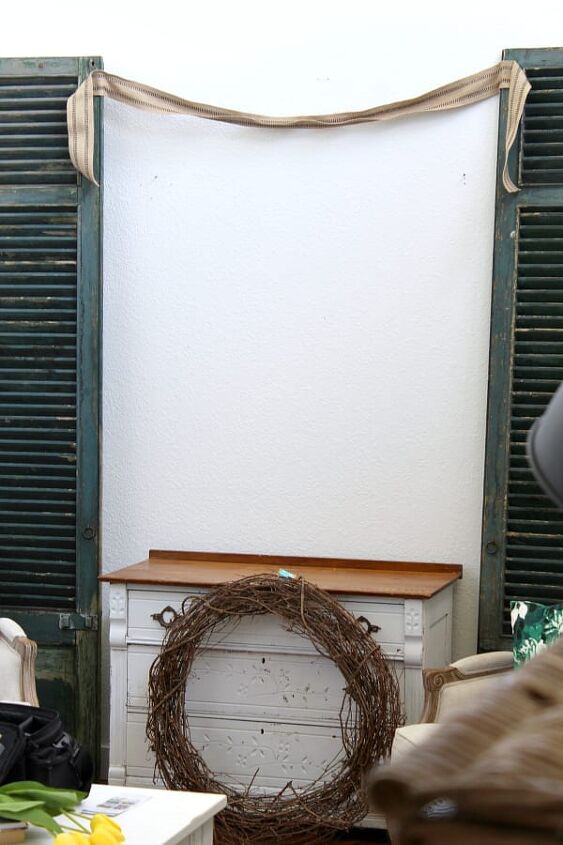
This wall in our family room is huge and needs a big statement piece. I found this extra large grapevine wreath at Hobby Lobby. It was originally $17.99 but I got it for for just under $15 using their 40% off coupon that is always on their site. I love a good deal!
Natural Elements
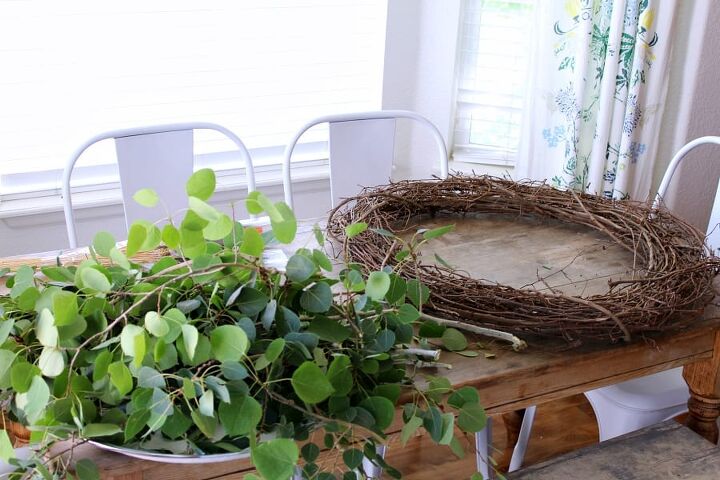
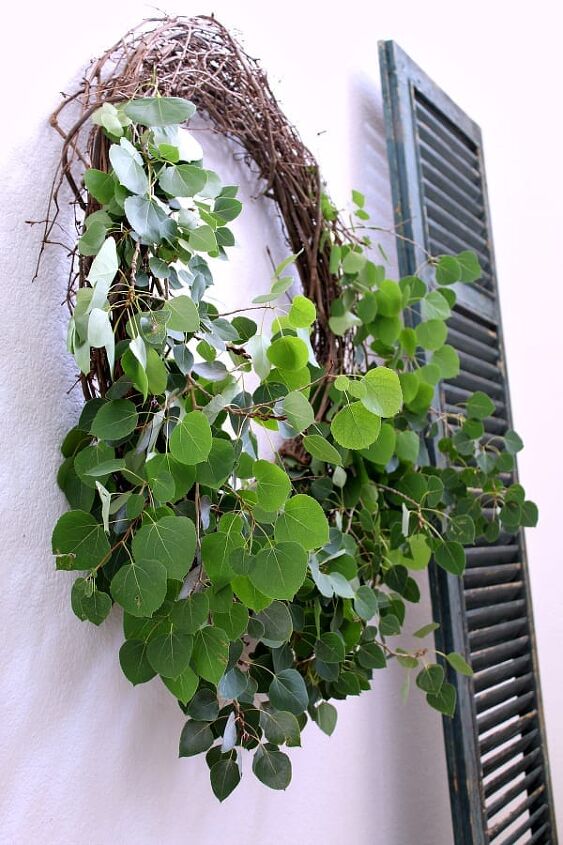
Next, I went to our backyard and cut several aspen leaf branches from the trees in our yard. If you don’t have aspen trees you can always try boxwood clippings, eucalyptus branches or whatever you might have. If you don’t have anything in your yard to use you can always head to Trader Joe’s for their awesome and cheap greenery!
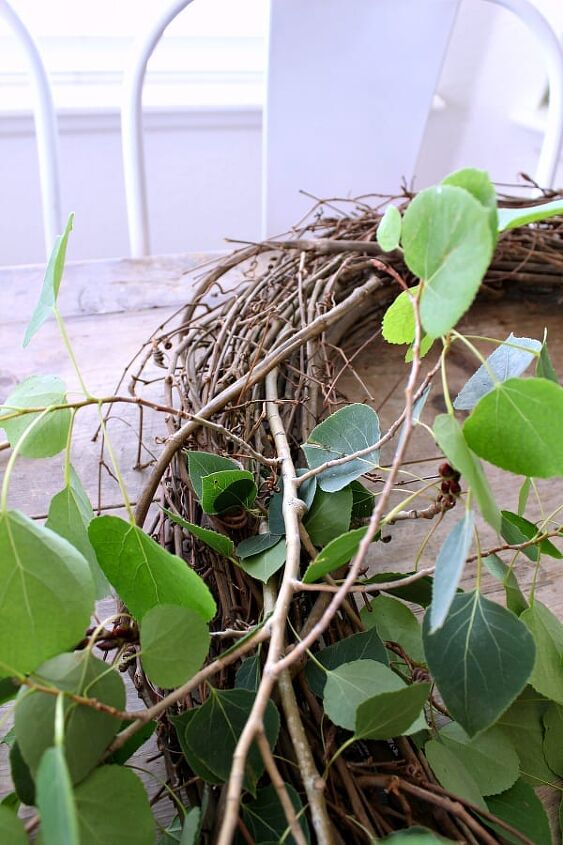
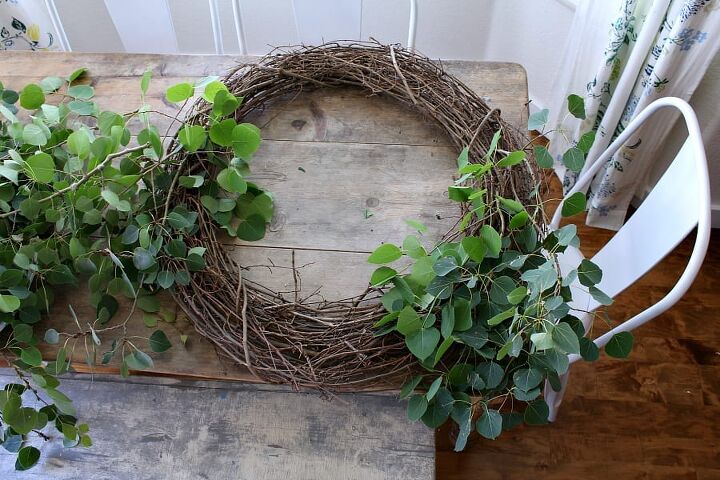
Once I had the aspen leaf branches piled up on my table I started to stick them in 3/4 of the way from the top of the wreath. From here I worked my way down and around until I liked the fullness. The grapevine is perfect for DIY wreaths because the branches stick in it and stay securely lodged so there is no need to attach your greenery with additional items. The wreath itself holds it all in and keeps it looking natural!
DIY Wreath Tip
Keeping the leaves hanging and inserted in the same general direction gives the wreath a cohesive look. I put my branches in with my leaves hanging down.
Hang It Up
Since this is a rather large DIY wreath my advice is to hang it up in the space you plan to display it. From here I was able to see that there were a few bare spaces that needed additional greenery. You can add and play with the greenery while it’s on the wall!
I always find that taking a step back to look at it half way through is a good idea. So far so good!
Adding Touches of Fall
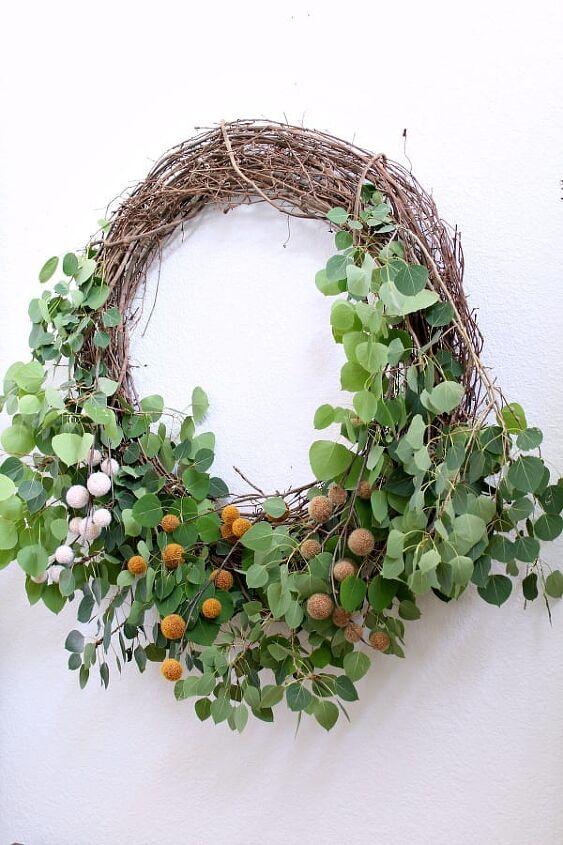
This wouldn’t be a large DIY Fall farmhouse wreath if I left it with just this greenery. So I grabbed these billy button balls that I already had from last Fall and added them in. I had originally planned to add bits of wheat in as well but once I stepped back I just liked the billy button balls.The colors are some of my favorite Fall colors.

Don’t these just change the whole look of the wreath?!
Decorating with a Large Wreath
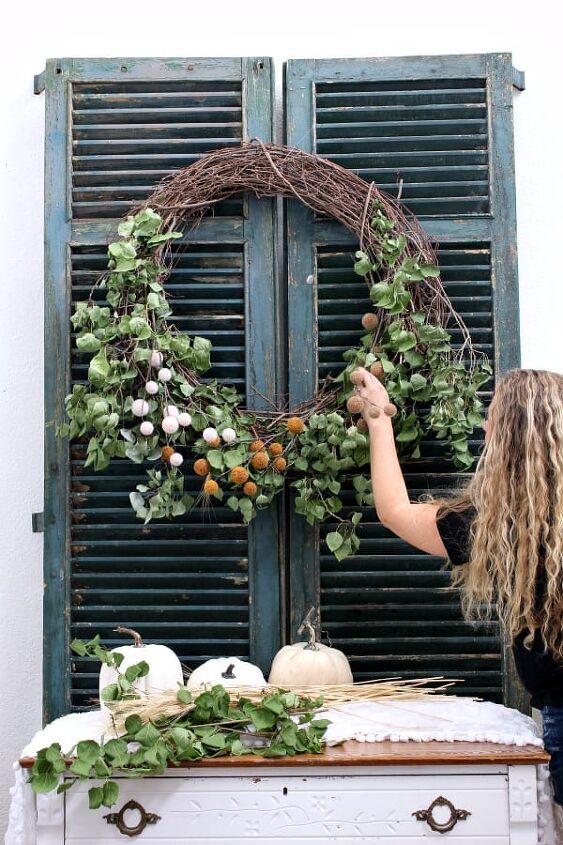
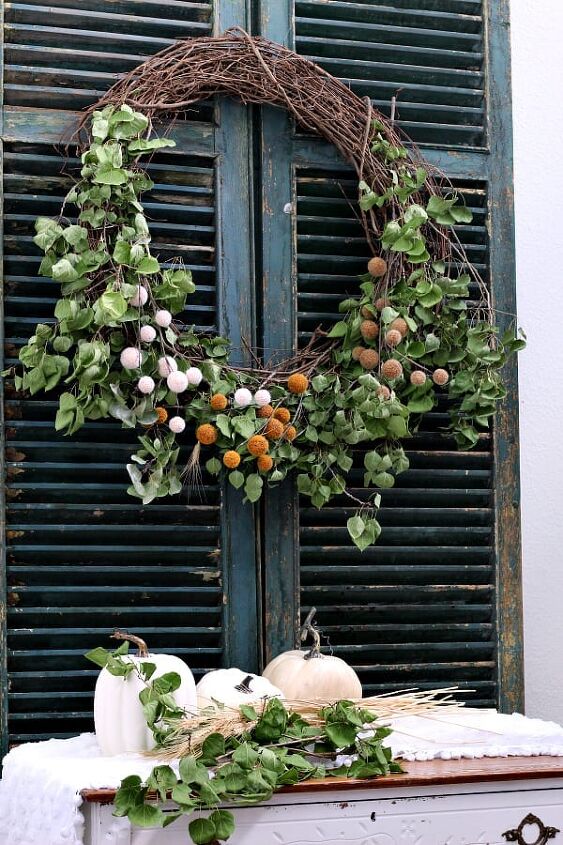
For me less is more. My DIY Fall farmhouse wreath is done with just these simple touches! However, I just didn’t love how it looked hanging between my old green shutters. Something was missing and it felt like there was too much white space. My huge wreath was getting lost on our large white wall. I lived with it for a bit until I had a great idea.
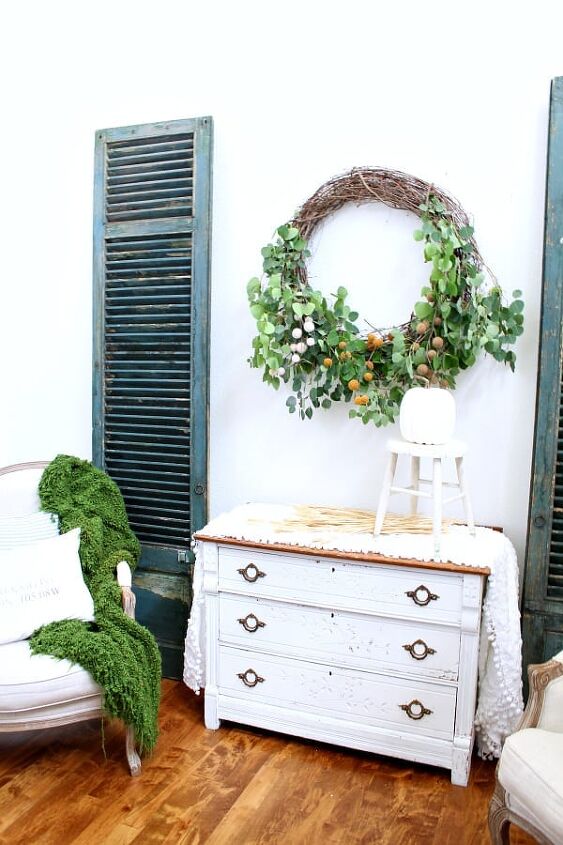
That great idea was to push the shutters together and place the wreath on top of them. So much better, right!? Now I love this huge Fall wreath! I also love how the leaves have dried beautifully and still have held their green color.
So much fun , right?! Now I can’t wait to try my hand at one for Christmas. So many ideas are brewing! Visit me over on my blog, The Tattered Pew, for more fun and simple DIY projects.
xoxo,Kelly


Comments
Join the conversation
-
Really pretty!
-
I just absolutely love this! Naturally imperfect, just lovely!


Frequently asked questions
Have a question about this project?
did you hang it outside, if so about how long will it last with all natural vines, I do love it so much. I will give this a try, thank you.