


Making a Wheat Wreath (perfect Fall Craft Project)
Decorate for fall with a DIY wheat wreath. This step-by-step tutorial shows you from start to finish how easy it is to make this wreath for your home for the fall.

How to make a wheat and dried flowers wreath
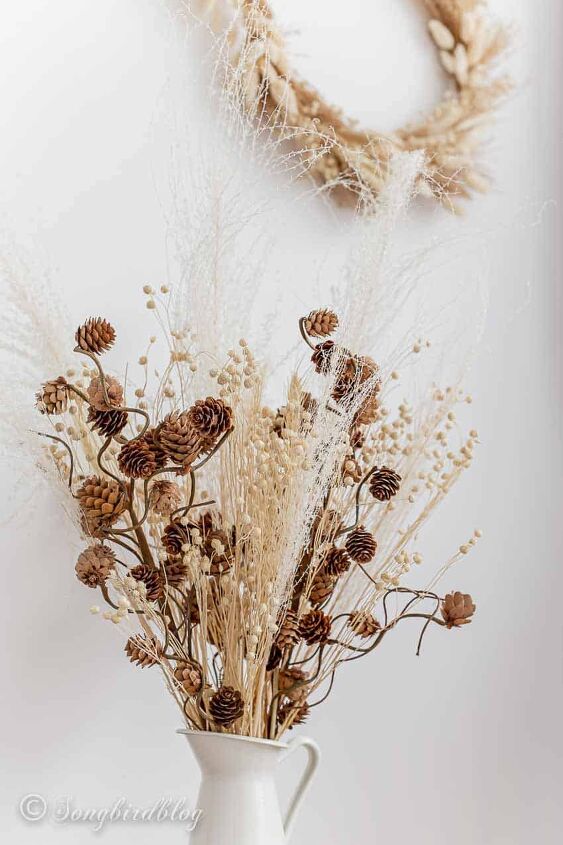
I love this DIY wheat wreath project. It was the perfect craft project to move me into fall crafting and decorating. Making a fall wreath from dried wheat, grasses and flowers is super easy and it lasts forever. I think a dried wheat wreath fits in perfectly with my easy-going fall decor. It is so easy to make and it will last a long time. And what better way to celebrate the autumn harvest season.
Making a wheat wreath only requires a few simple tools and materials that you can often get free in nature. It only takes about an hour to turn a stash of dried grasses, grains, and flowers into a lovely wreath that will look good inside on your wall or outside on your front door.
If you like the idea of using free materials to make a wreath. Then please check out my tutorial for making a twig wreath from garden clippings.

To make a DIY wheat wreath you only need to know a few basic wreath-making techniques that are so easy to do and learn. Let me show you how I made mine. But before I do that, let’s take a moment and talk about the magic of wreaths, shall we?
This wheat wreath is just perfect to transition our summer decor into fall. At the end of summer, the grasses and grains are dry on the fields, and seeing those yellow fields is a strong reminder that summer is nearing its end and fall is on its way.
Of course around this time of the year, it is also easy to find dried wild grasses everywhere. This homemade wreath can be totally free and is extremely budget-friendly.
I could have easily made my fall wreath with the materials I found for free. I wanted it to be a bit extra special though. So I supplemented my dried wheat and grasses with some store-bought flowers.

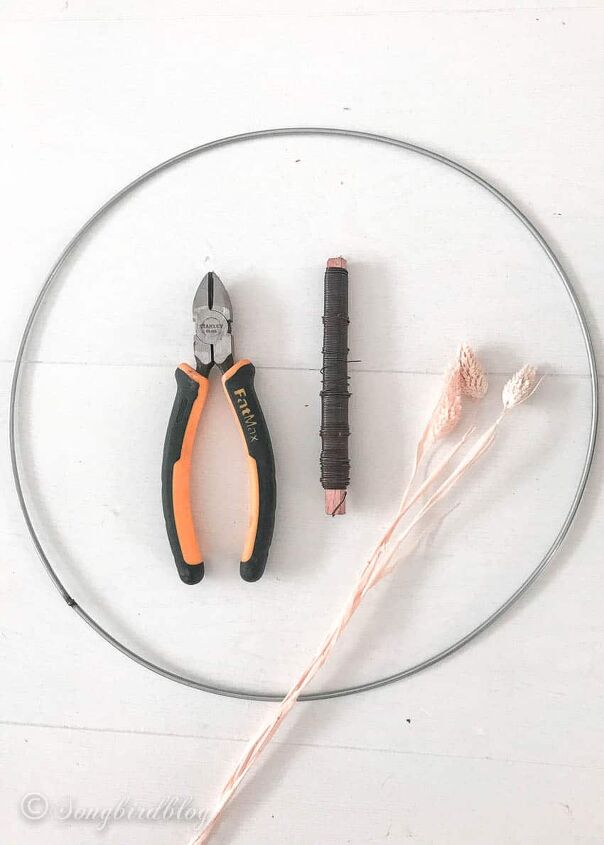
LIST OF SUPPLIES AND TOOLS to make a dried wheat and flowers wreath
- Dried wheat bundles or stems,
- Dried grasses
- Dried flowers
- Wreath form like a metal ring 14” (gold would be preferable, I only had a silver one, worked just fine)
- Floral wire, preferably bronze or gold-colored.
- and wire cutters
- Garden shears or strong scissors
Instructions for making a fall wheat wreath
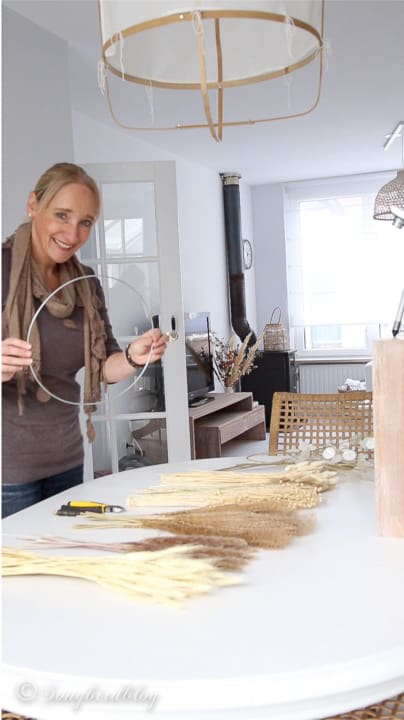
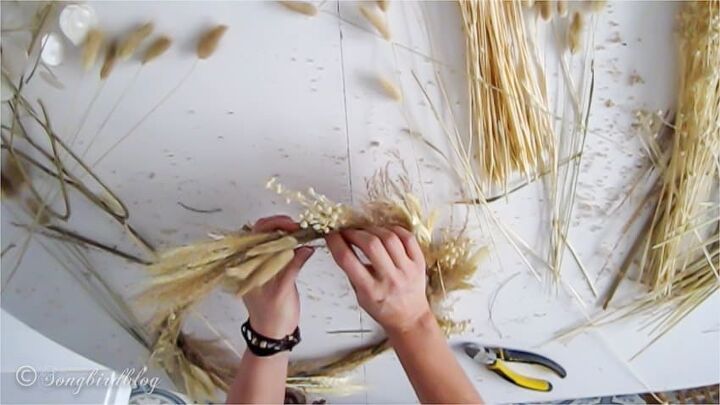
- Gather your materials. Lay out your bundles of the (different kinds of) wheat, grasses, and flowers. Separate the bundles into tiny groupings and tie them together with a bit of florists wire. Cut them a bit shorter.
2. Layer the bundles on your metal wring on by one and attach them with the wire. Do this carefully so you do not break the stems.
3. Alternatively, you can use a wreath form made from a straw wreath. You will need more bundles of wheat, grasses, and dried flowers then to cover your base completely, and of course that way your wreath will be much fuller and bigger. If you use a straw wreath form as your base you can either attach your bundles with wire (like I did here), or use floral pins or hot glue to attach the bundles to your form.
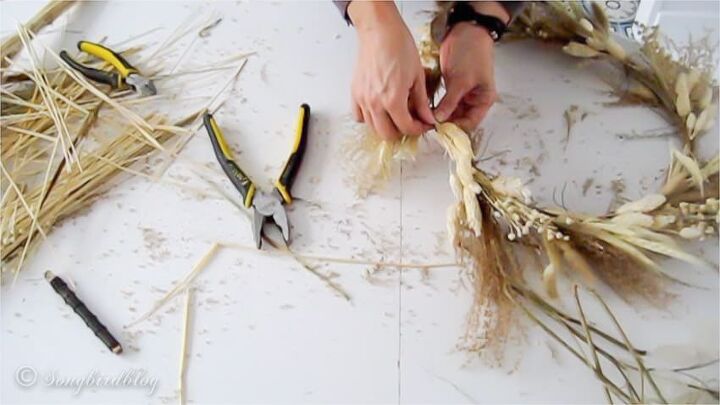
4. Make sure each new bundle covers the wire of the previous ones. If you have bronze or gold-colored wire that will make it much easier.
I didn’t and used what I had on hand (dark metal florists wire). I made it work by being extra careful to hide the wire underneath the thicker parts of the bundles on top.
5. If you are happy with how the bundles are flowing together, cut off any excess length of the stems. Wire cutters work best for this.
6. Keep going round and round and layering in more bundles of your dried materials. The heads all go in the same direction but alternate the direction a bit from inward to outward so the wreath becomes full on all sides.
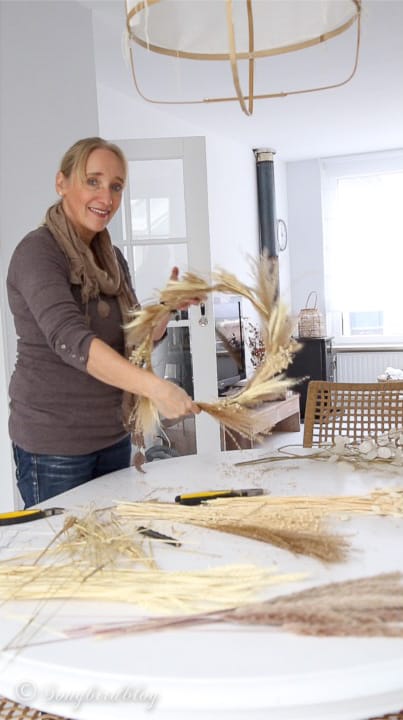
7. Hold up your wreath from time to time to see if you are following the round shape and if your materials are spread out evenly.
8. Make adjustments where needed. Take some extra time to wiggle in the final bundles so they cover the wire of the previous ones and their own wire is covered underneath the first bundles.
9. Decide what top and bottom are and attach a loop of wire for hanging if necessary.
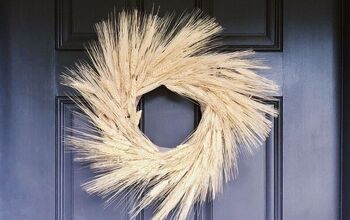
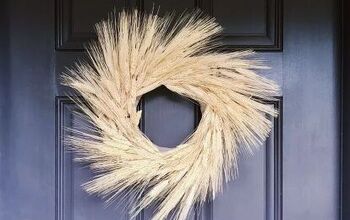
That’s it! You made yourself a pretty fall DIY wreath with wheat and dried flowers

How to decorate with a wheat wreath
A wheat wreath looks beautiful on your front door. Especially since it is such a strong symbol for the season. But in all honesty, because of the dried materials, they can also be a bit fragile. I would only hang a dried wreath outside if it was sheltered from rain and wind. A dried wheat wreath will also look beautiful in your fall decorating in your room. They would work wonderfully in the kitchen, living room, or even in your fall bedroom. And of course, they are a perfect focal point for any fall mantel.
To me, a wheat wreath is the perfect transitional decor to move my home from summer into fall, but as I said, it will fit in with any Thanksgiving decorations too.
So how about you! Did you make a fall wreath? Let me know in the comments, I’d love to know and admire your handy work.
Resources for this project:
See all materials


Comments
Join the conversation
-
Hi Marianne, this is VERY pretty thank you for sharing how you made yours. :)
-
So, so pretty!


Frequently asked questions
Have a question about this project?