


Minimal Fall Wreath: Easy to Make With Basic Materials
Here's a simple fall wreath that’s easy to DIY and affordable (re: cheap), using upcycled fabric and a foam wreath form from the dollar store.
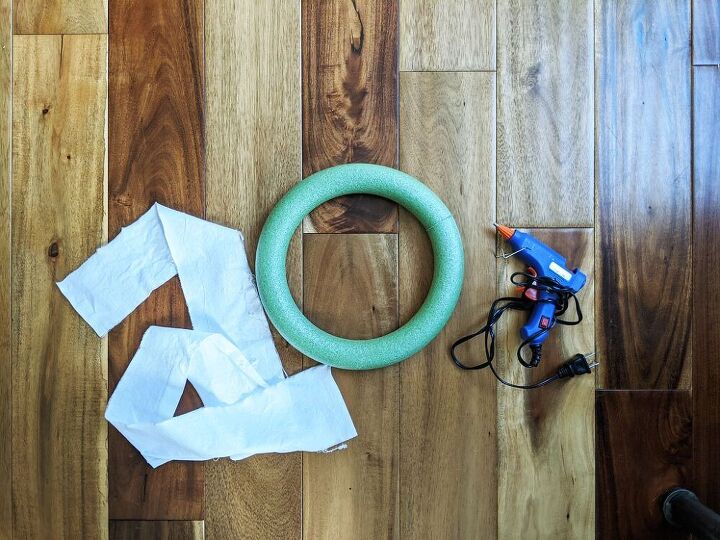
Cut an old sheet or other fabric of your choosing into 2" - 3" wide strips.
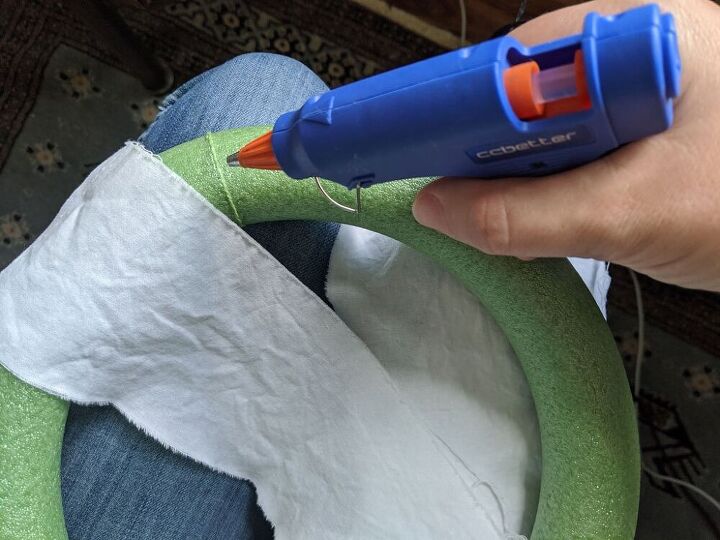
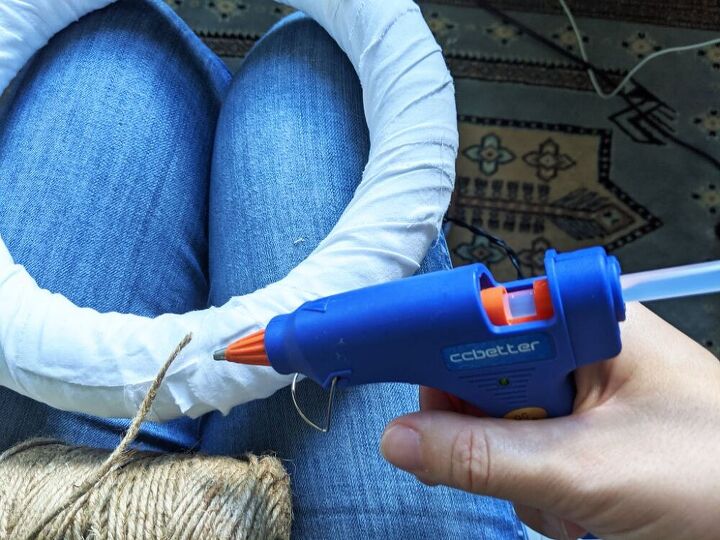
Starting with a dab of hot glue, secure the end of the first strip of fabric to the wreath form and wrap tightly.
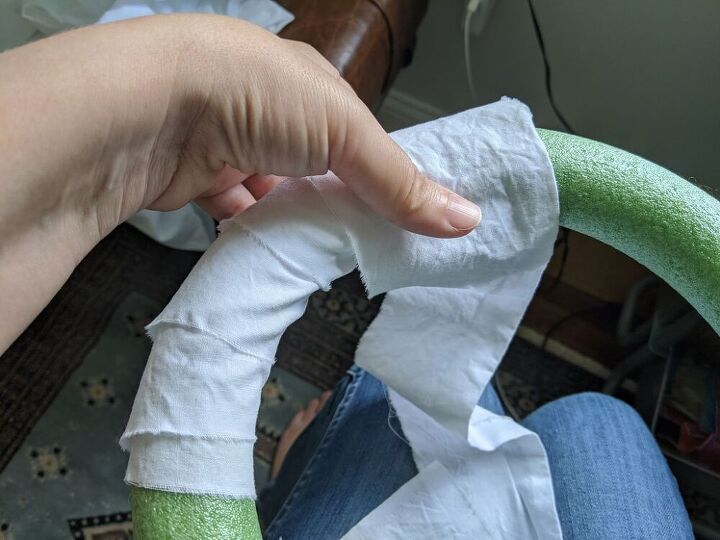
Continue wrapping until you reach the end of the fabric strip, then secure the end with another dab of glue and start with the next strip.
Tip: do all of your glueing on the back of the wreath for the neatest appearance.
Keep wrapping the strips of fabric until the entire wreath form is covered.
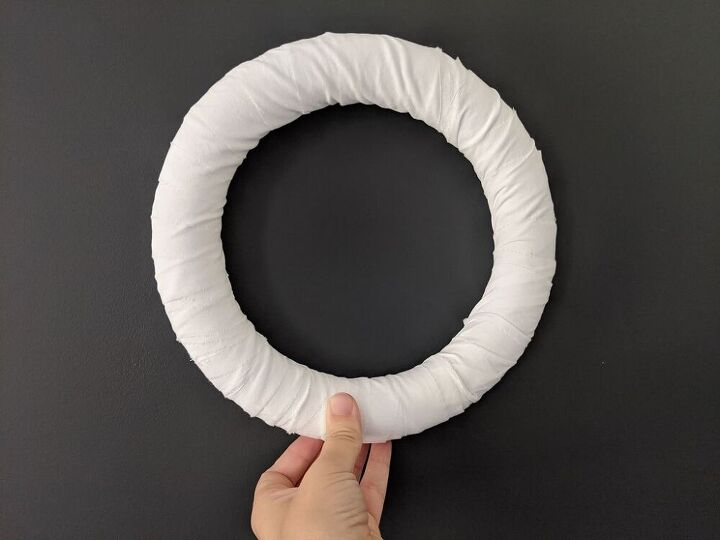
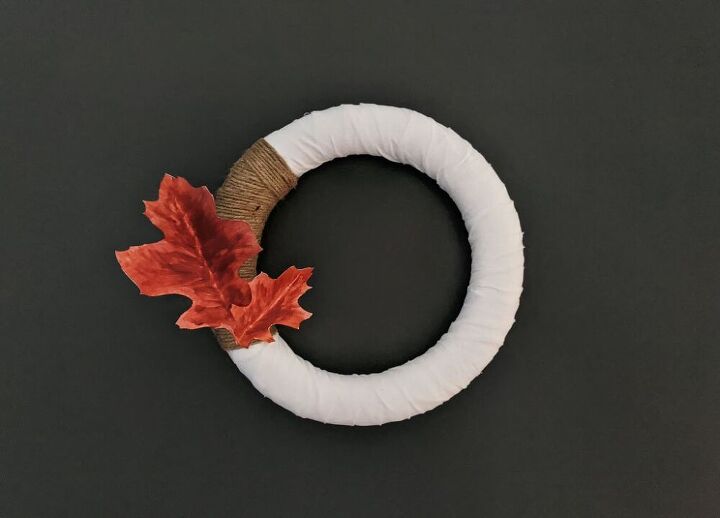
Your fully wrapped wreath will look like this. You could stop here if you want a super simple look, but let’s keep going…
Next, wrap between one-quarter to two-thirds of the wreath in jute twine depending on the look of the you’re going for.
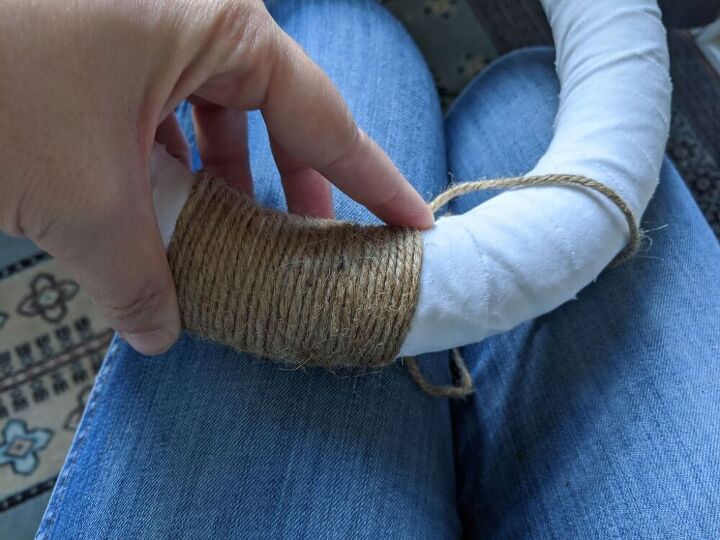
You’ll wrap the jute in the same way you wrapped the fabric, starting with a dab of glue and wrapping tightly, being careful not to let any fabric show through.
I decided to change the direction of my wrap slightly at the end of the section for some added texture, but that’s purely optional.
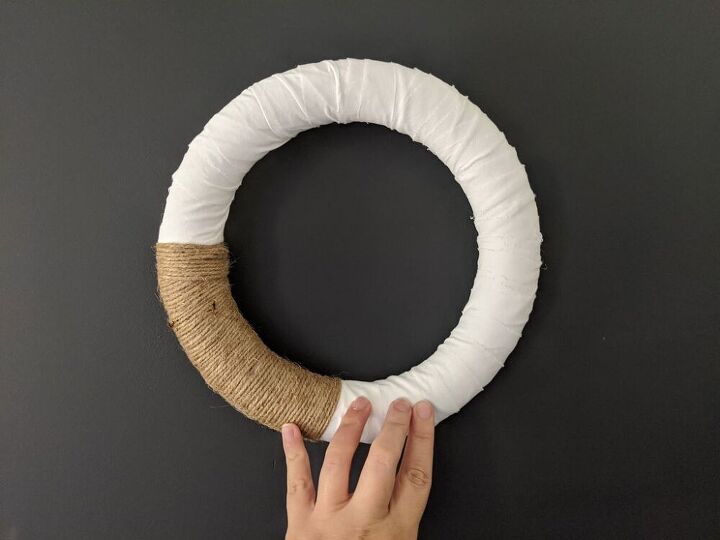
Your double wrapped wreath will look like this. Again, you could stop here if you like a modern farmhouse fall wreath, but let keep going…
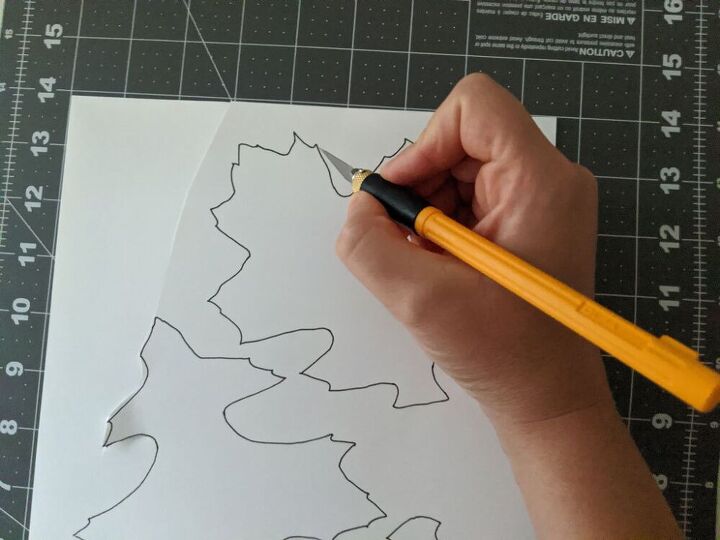
Cut leaf shapes out of cardstock. I like oak leaves the best! You can either freehand this step or download my free oak leaf printable.
You can use colored paper stock, printed paper stock, keep it white, or paint your leaves like I do in the next step.
.
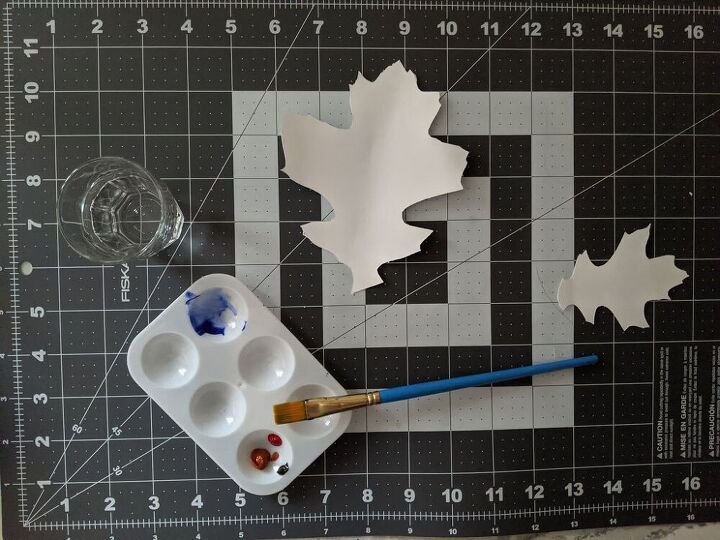
If you want, paint the leaves in your color of choice. I opted for realism and went with russet reds, but you could just as easily go bold, neutral, or unnatural to match your personal style!
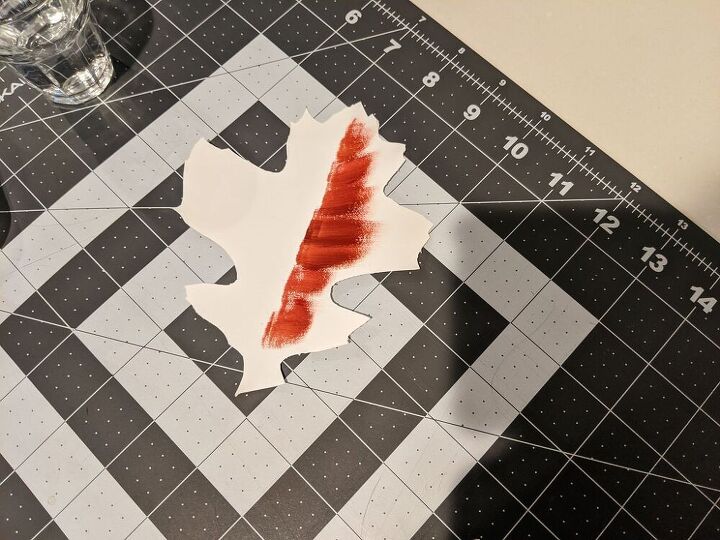
Starting from the center “vein” of the leaf, paint in quick, loose strokes out to the edges of the leaf.
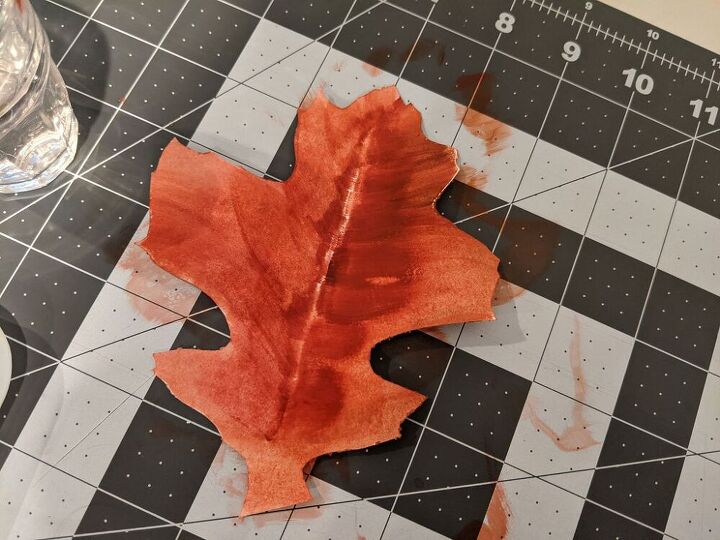
Go over these first, dark strokes with a paintbrush dipped in water, spreading the color in a light flood to the edges of the leaf shape.
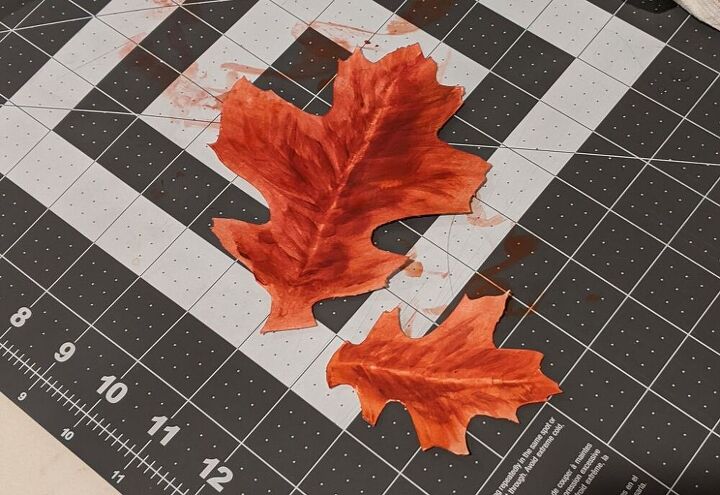
Take a smaller brush dipped in paint and add in some smaller detail strokes, again from the center leading out the to edges. This isn’t an exact science — just keep adding color until you like how it looks!
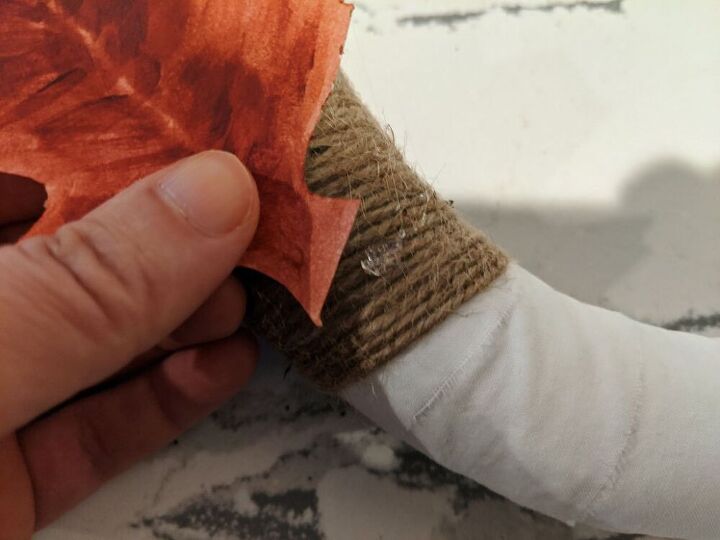
Finally, decide where you want the leaves and hot glue them to the wreath. Be sure to confirm how you want the wreath to be oriented before committing to the glue.
Another pretty embellishment to this wreath would be to add a seasonal word in a script font. Here's my tutorial on how to make a lightweight wire word.
This minimal fall wreath is so pretty and easy to make. You could DIY a whole wall of them with different leaf colors and shapes if you were feeling ambitious one afternoon! How cool would that be?
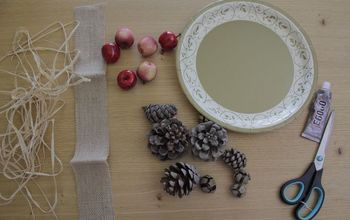
Resources for this project:
See all materials


Frequently asked questions
Have a question about this project?