


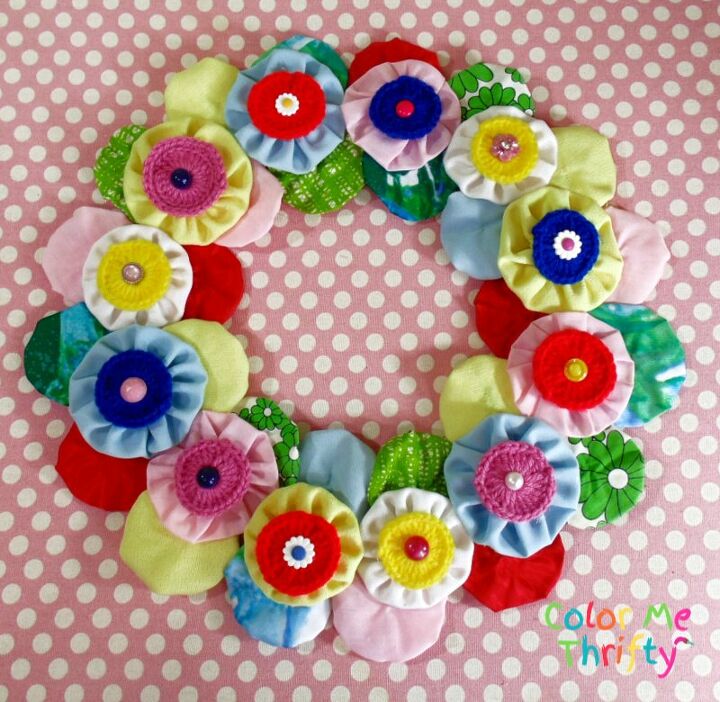
Quick & Easy Yoyo Wreath With Yoyo Flowers
These days the only thrifting I'm doing is from my own stashes, which is actually a lot of fun.
I've discovered that I have a lot of cool things that I've completely forgotten about.
I have to admit that it feels pretty awesome to be using some things that have been waiting for their day in the project sun for what seems like forever.
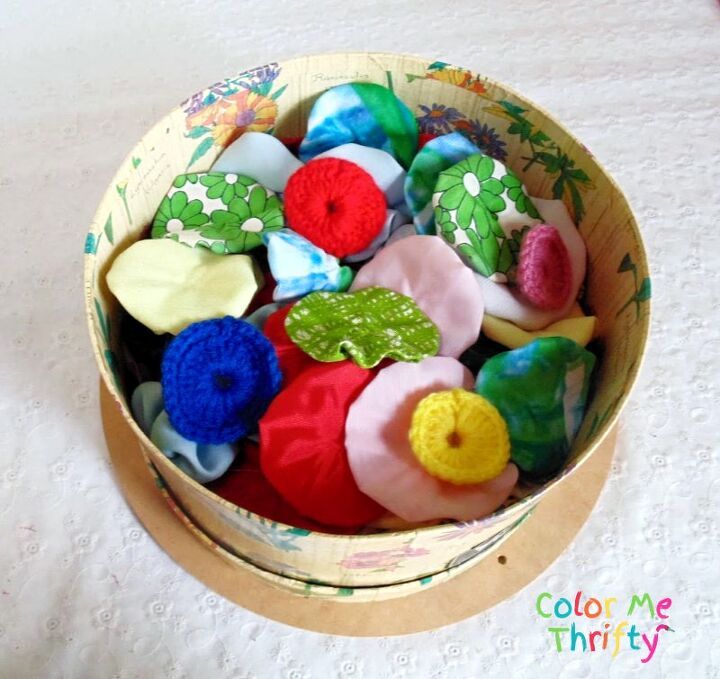
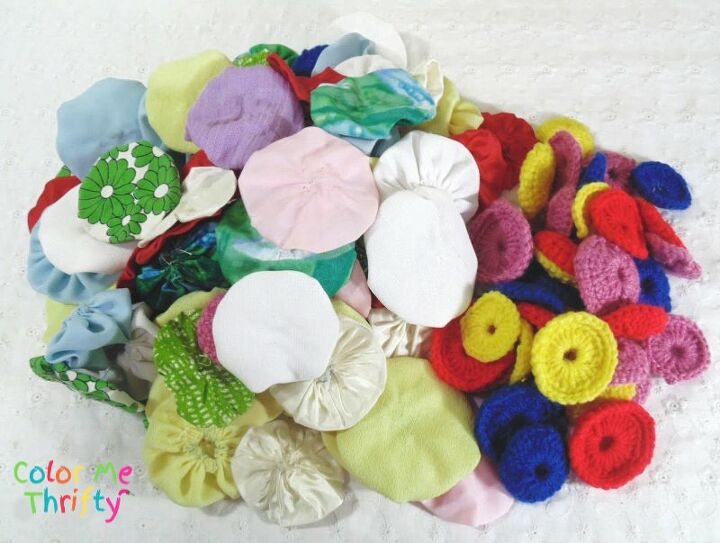
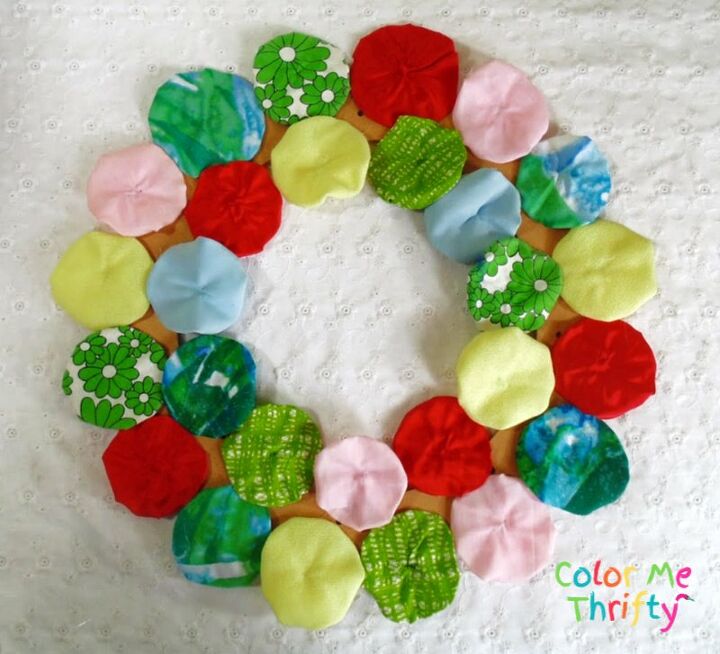
Like these fabric yoyos and knitted rounds.
Both are from damaged $1 homemade dolls that I found at thrift stores a few years ago.
I took the dolls apart and the yoyos and rounds were put away in my craft room never to be seen again.
These days are all about using what I have.
So I decided to create a quick and easy diy yoyo wreath by combining these yoyos and rounds.
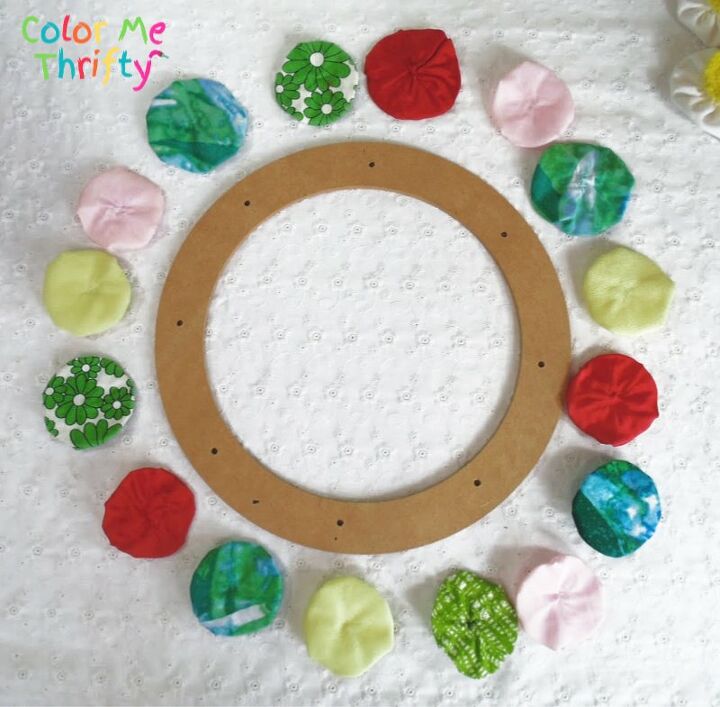
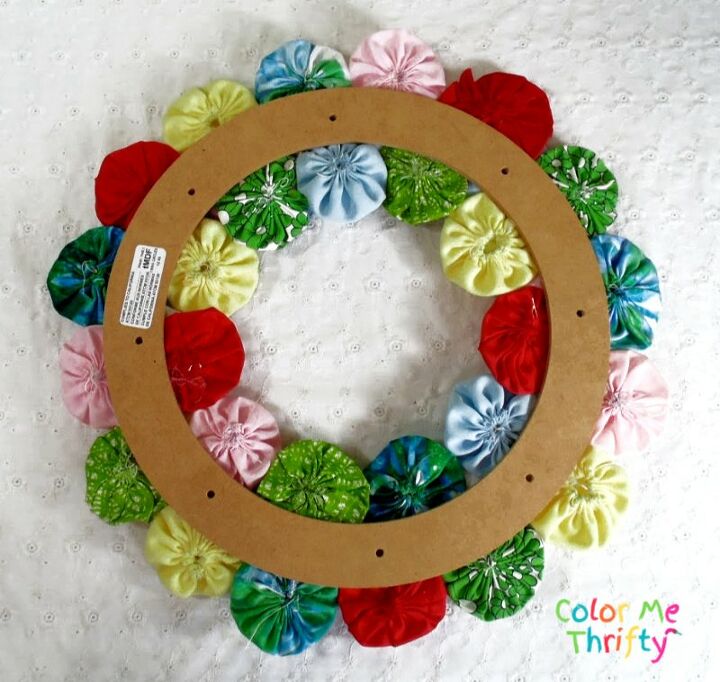
I found this thrifted mdf frame in my stash and because it's flat it's perfect for this project. If you don't have an mdf or wooden frame you could easily make one out of regular cardboard.
This project would also work with a round wreath frame, but I didn't have one.
The great thing about using a flat frame is that if you don't have a lot of space between your door and a screen door a flat framed wreath would fit.
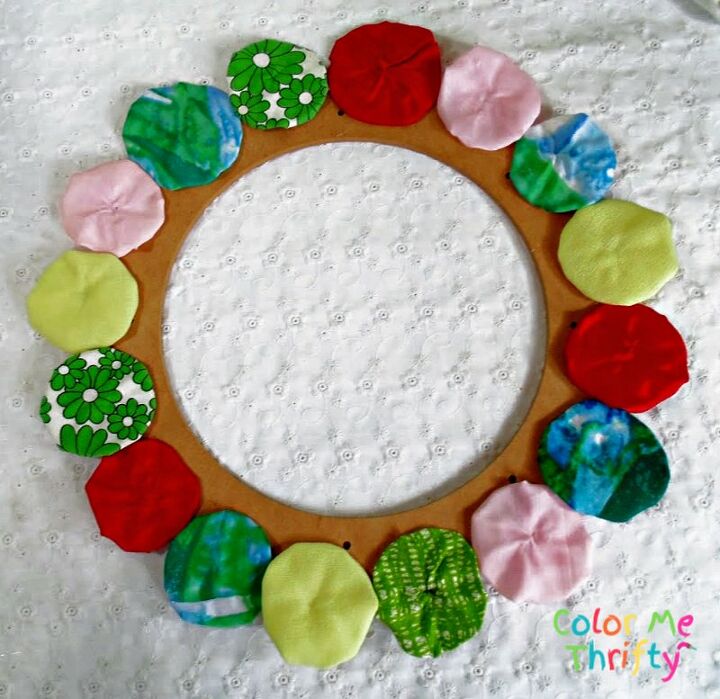
Using my hot glue gun, I attached some of the fabric yoyos to the outside of the frame with their smooth sides up.
Do a dry fit before you glue the yoyos in place, mixing the colors and patterns in a way that you like.
There are no rules here, you just go for it.
The I did the same with the inside of the wreath frame.
The reason I added the yoyos around the edges of the wreath was to make it more substantial, and to make sure the mdf frame was completely covered.
Here's what the back looks like.
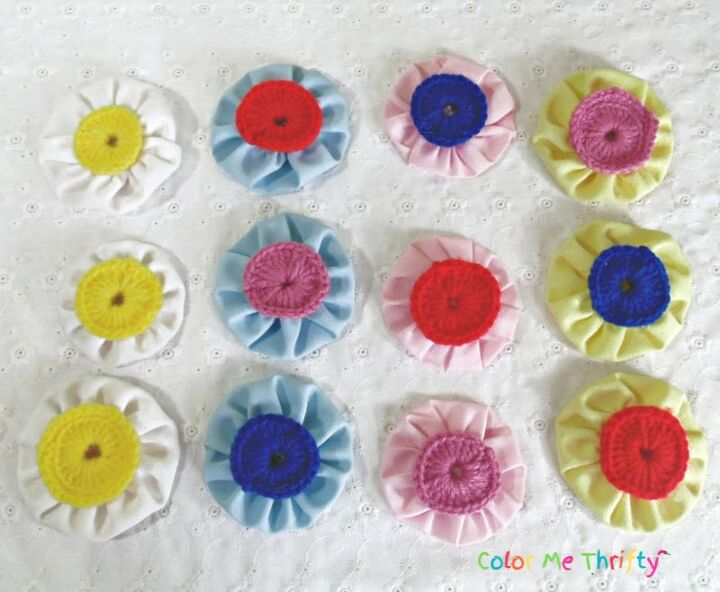
For the top layer of the yoyo wreath I made some flowers by hot gluing some knitted rounds onto some yoyos.
I mixed the colors for interest, and I think that makes the flowers more fun.
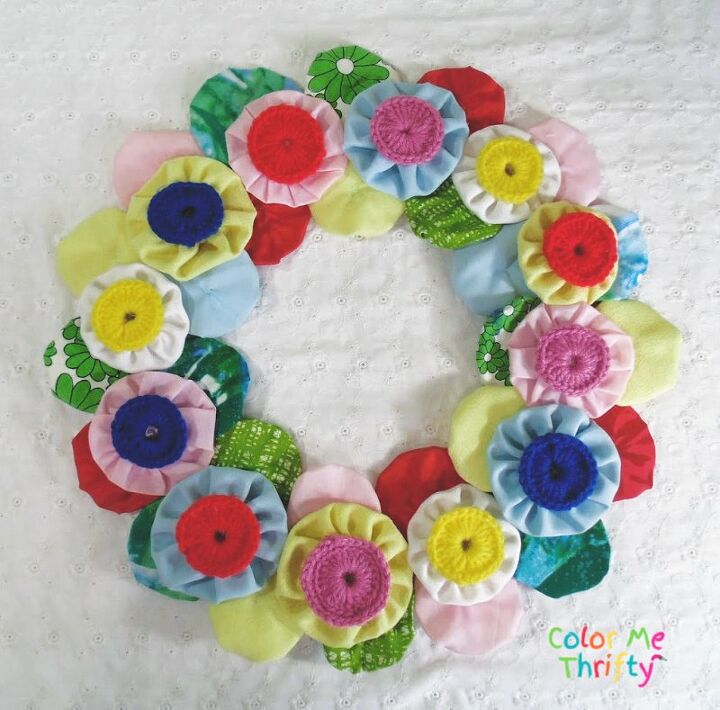
I hot glued the yoyo flowers on the top of the wreath frame, making sure to cover up any gaps between the yoyos below.
Using the gathered sides of the yoyos gives them a more floral kind of look, and it also makes them stand out a bit from the smooth yoyos.
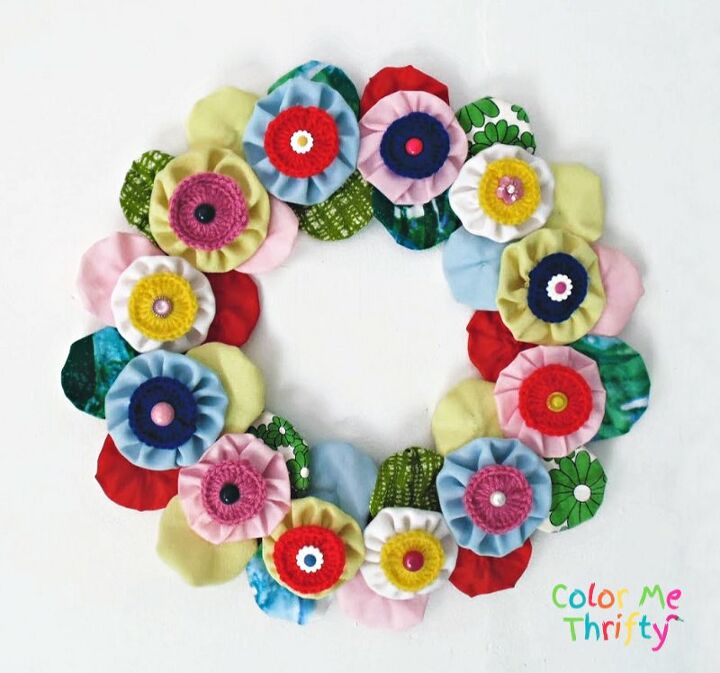
Every flower has to have a center, so I went into my button stash and hot glued what I found to dress the flowers up a bit.
This diy yoyo wreath was quick and easy, taking me about 45 minutes from start to finish.
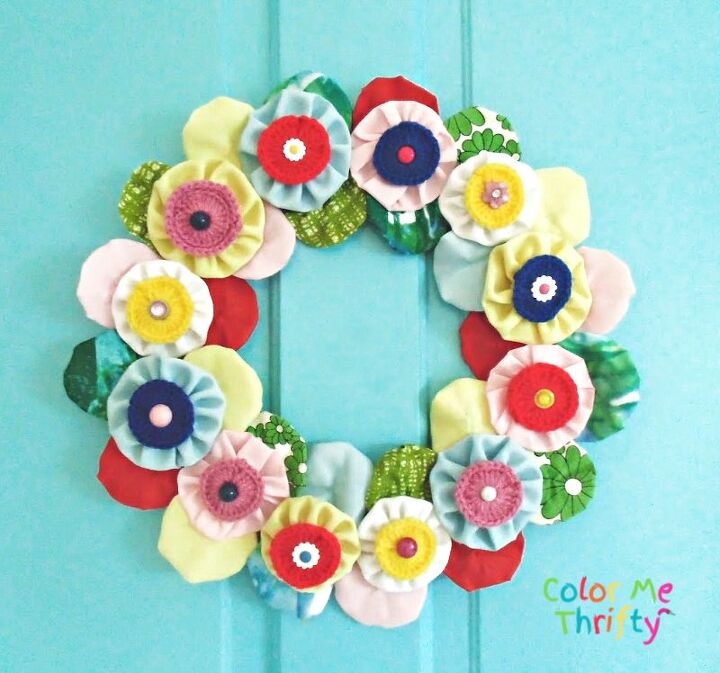
My yoyo wreath is hanging on the inside of my kitchen door for now, so I can see it and enjoy it all the time.
The kitchen door is our main door and it makes me happy to have fun and colorful things on both sides of the door.
If you enjoyed this project you can check out more wreath projects on my blog here.
Resources for this project:
See all materials


Comments
Join the conversation
-
This is so cute! And easy(my favorite kind)!!
-
Yes,I will do this project I made my first yo,yo quilt about 68 years ago. That is very cute 😍 and have a few yo yo's already made.Thank you


Frequently asked questions
Have a question about this project?
I am intrigued, what were the yoyos originally used for? Part of rag doll dress decorations because you say they are from dolls? Quilting? The crochet rounds are a bit more familiar to me. Obviously I have zero needlework knowledge.😳I love the colours and happy look.