


REVERSIBLE WREATH USING DECOUPAGED WOODEN CLOTHESPINS

We’re halfway through the year and crafters are busy doing Christmas in July projects. Gotta jump right in and join the club.
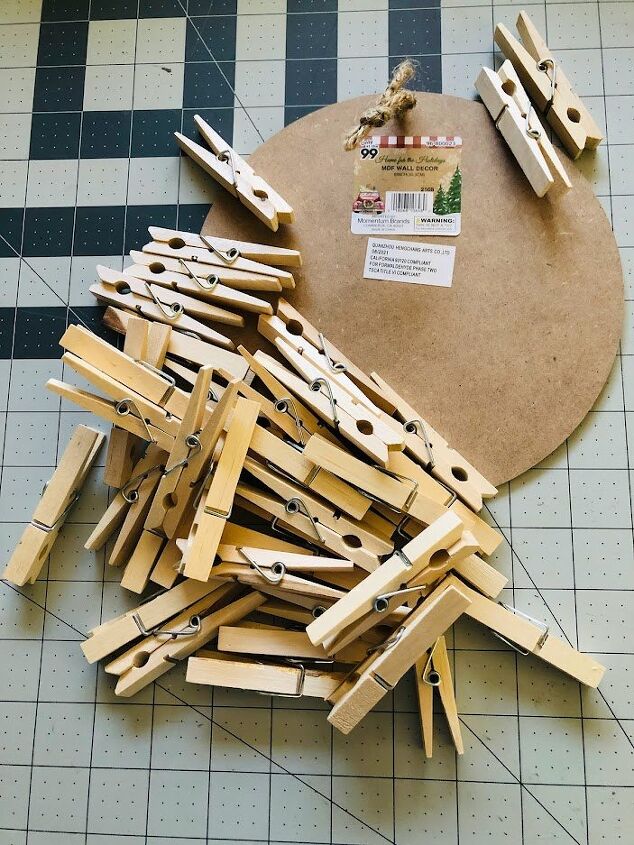
These are the two basic materials used for this project…48 wooden clothespins and an 8-inch wood disk.
Additional materials:
1. WASHI PAPER and one-ply NAPKIN
2. Modpodge
3. Red and Green paint
4. Sponge brush
5. X-acto knife
6. Small sharp scissors
7. Embellishments
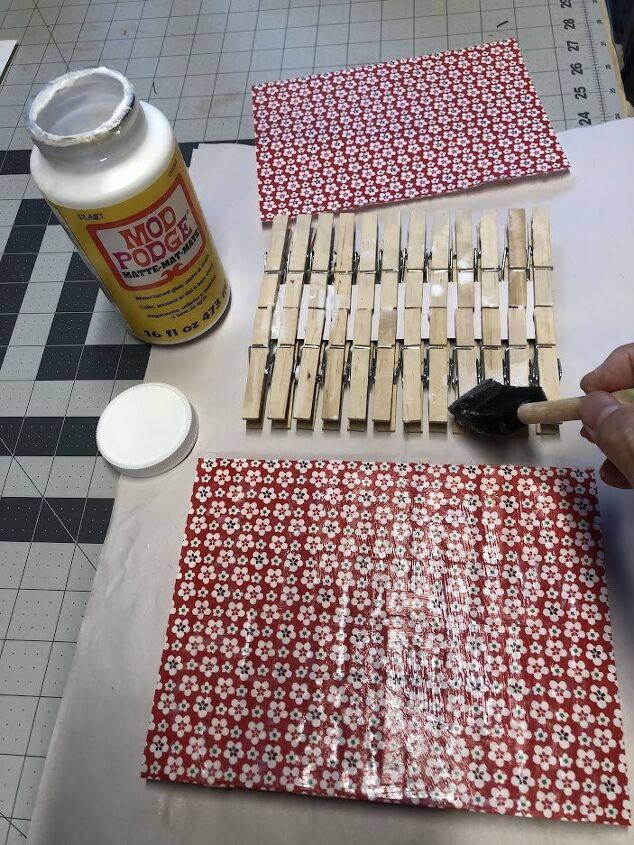
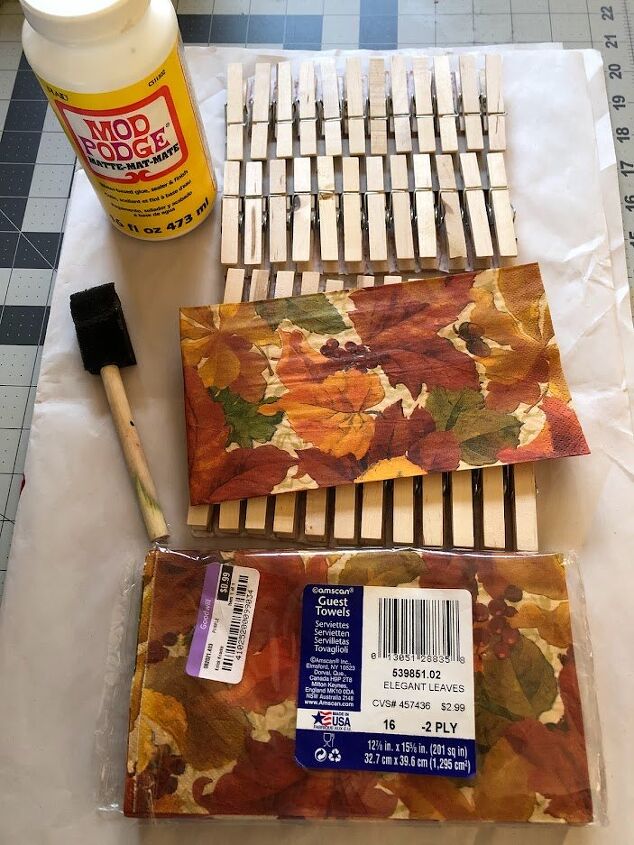
Step 1: One side at a time, apply modpodge to the clothespins, lay washi paper/napkin smoothly on top and then do a topcoat of modpodge. Let it dry. At this time, remove the jute twine handle and paint your wooden disk.
Tips:
- Do not remove clothespins from its packing cardboard sheet for ease with decoupaging.
- Use a brayer to help in smoothing the paper.
- Use a heat gun to speed up the drying time of paint.
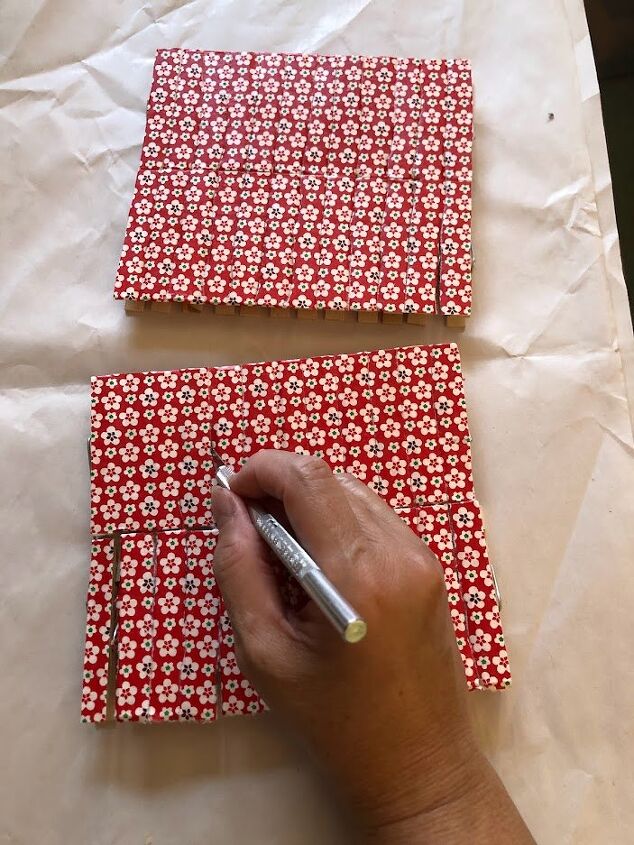
Step 2: Use an X-acto knife to separate each clothespin.
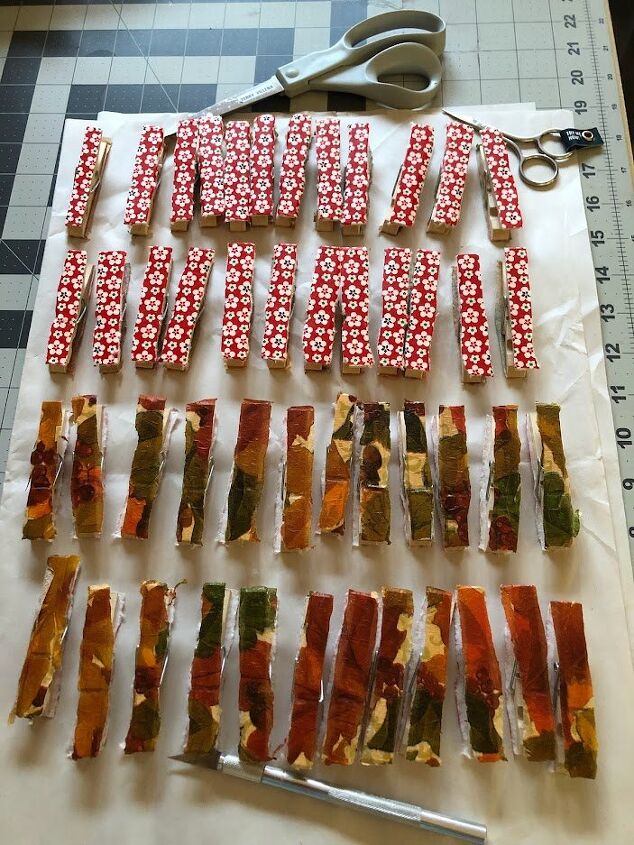
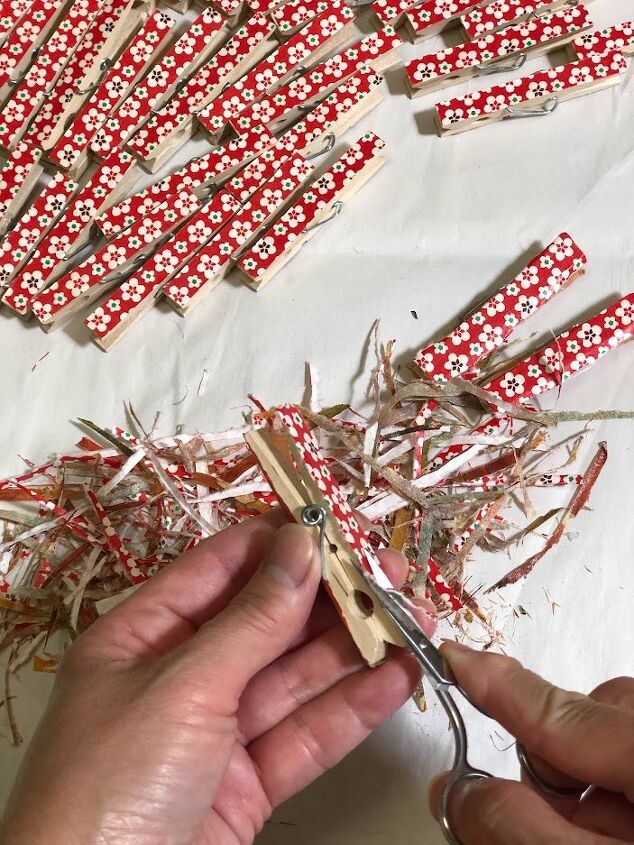
Step 3: Trim the excess with scissors. Mind you this is the most time-consuming part of this project.

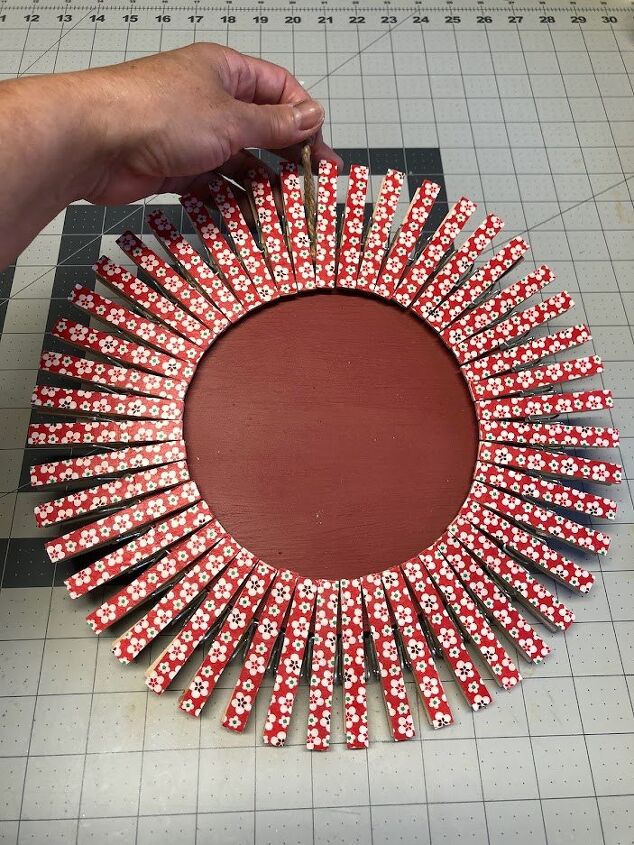
Step 4: Re-attach the jute twine handle and clip your clothespins around the disk. I did not use glue so I’m able to adjust each piece as needed. I prepared 48 but only used 47 clothespins.
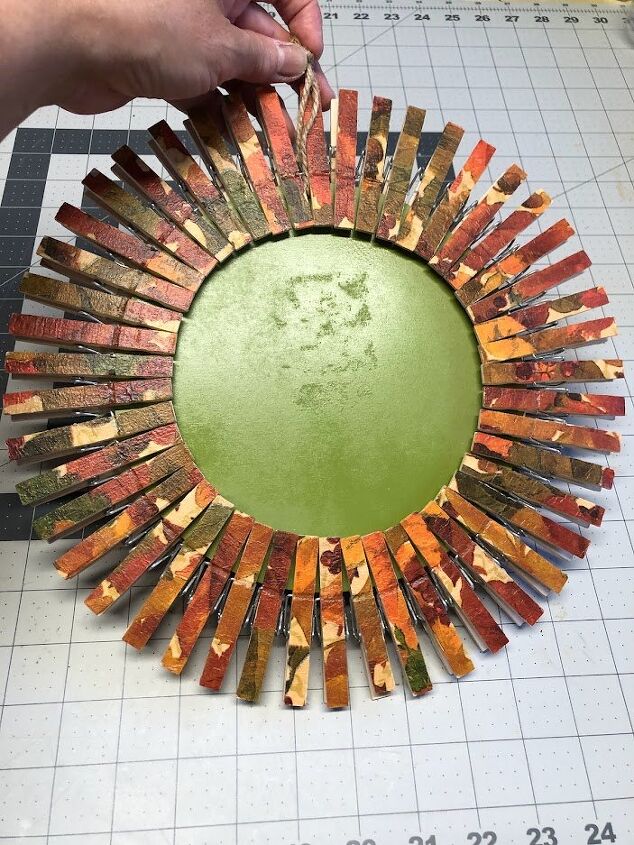
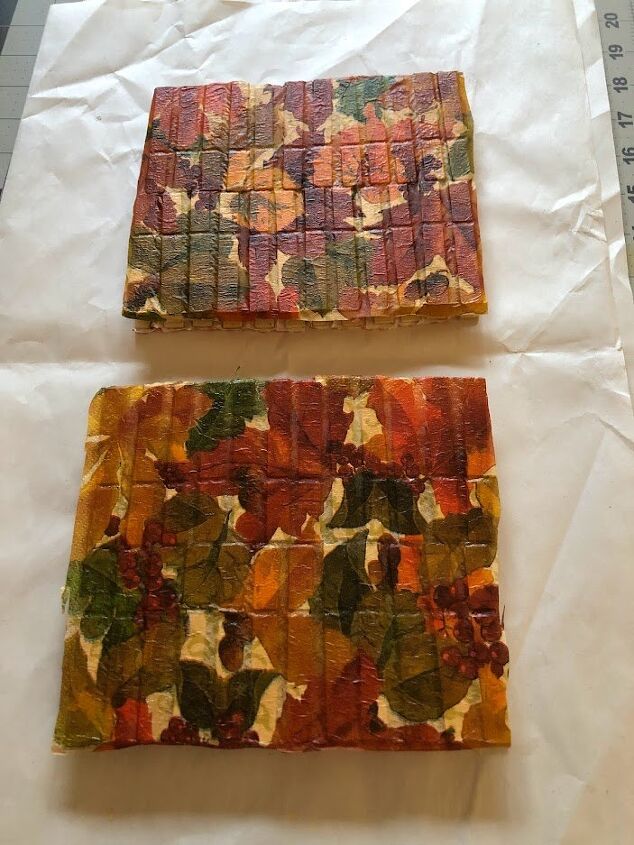
This is how it looked on either side.
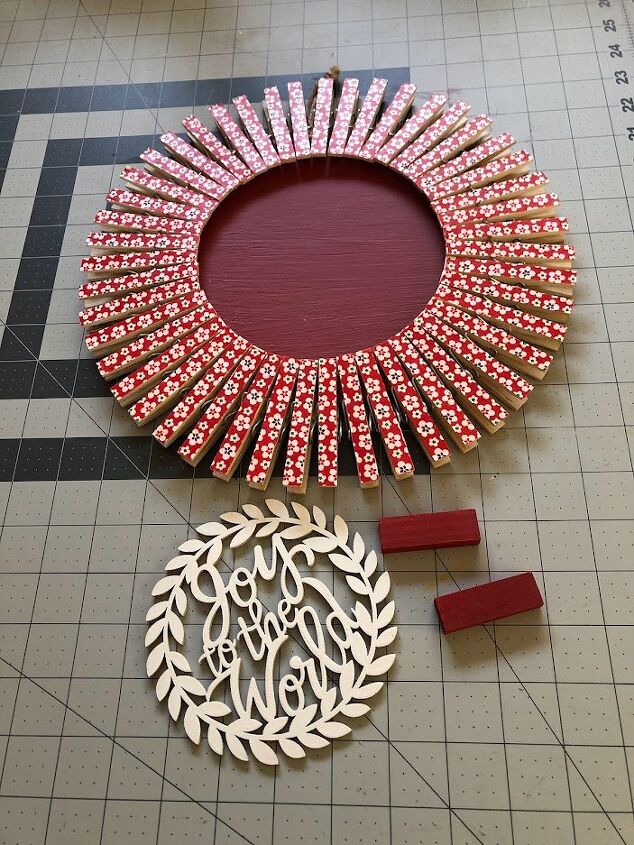
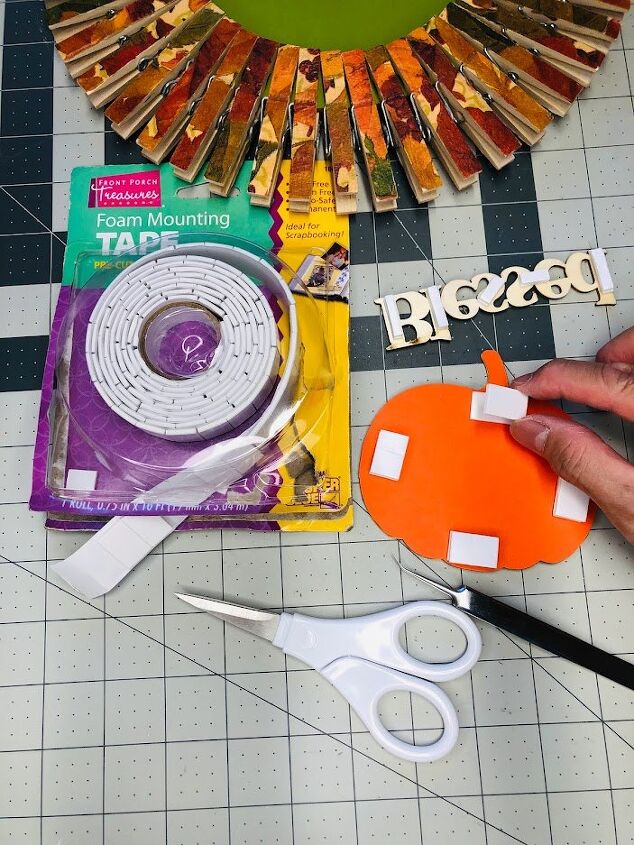
Step 5: Use any embellishments for the center…
- Ornament painted white and glued on 2 red painted tumbling blocks
- Pumpkin mandala with the ‘Blessed’ cutout

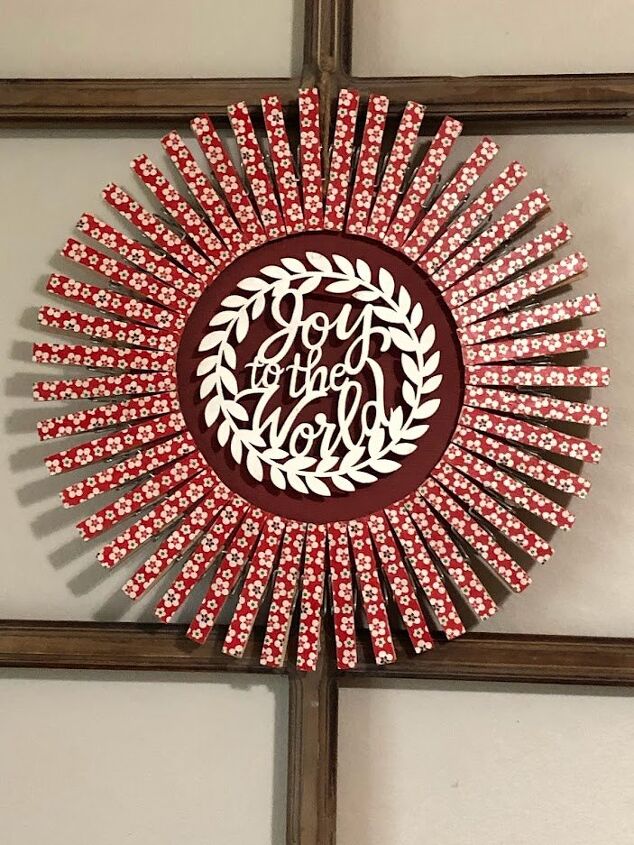

My reversible wreaths are now ready for the fall and Christmas holidays!
Resources for this project:
See all materials


Comments
Join the conversation
-
Love this...and to make it go for more than one season....genius!
1
-
Nice!
I will probably make one with washi tape and paint the inside of clothespins.


Frequently asked questions
Have a question about this project?