


Rolled Book Page Wreath

Wreaths are so fun to make and I've made many! This one is easy but a little time consuming so grab a yummy drink, turn on Netflix and let's get to rolling!
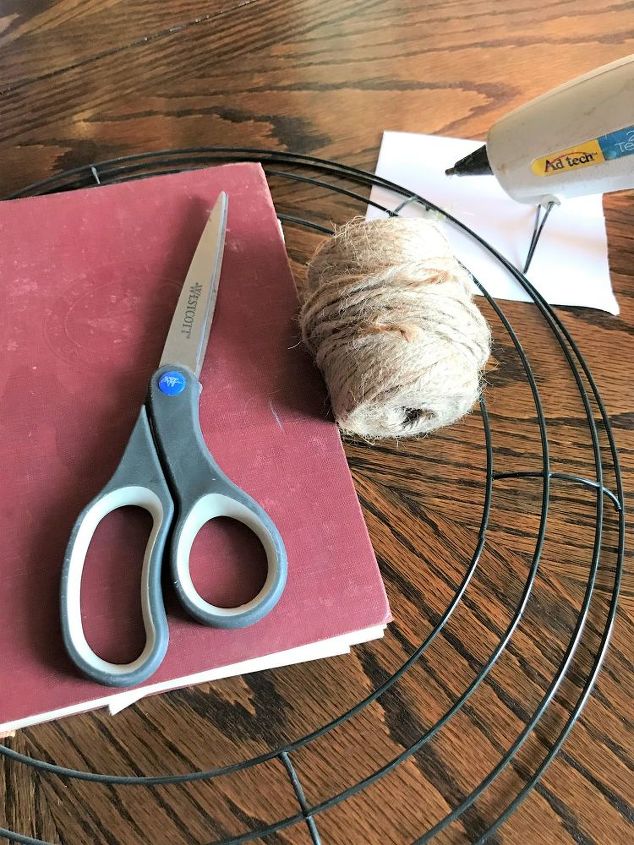
What you will need:
12" wire wreath form - I got mine at Dollar Tree for $1
Old Book that you don't mind harvesting pages from
Wooden Skewer or something small and round
Jute twine
Scissors
Hot glue gun and glue
Floral Moss - Optional - I decided it was not needed after the fact - I got it at Dollar Tree

I trimmed the blank edges off my pages, this is just a preference and not necessary.
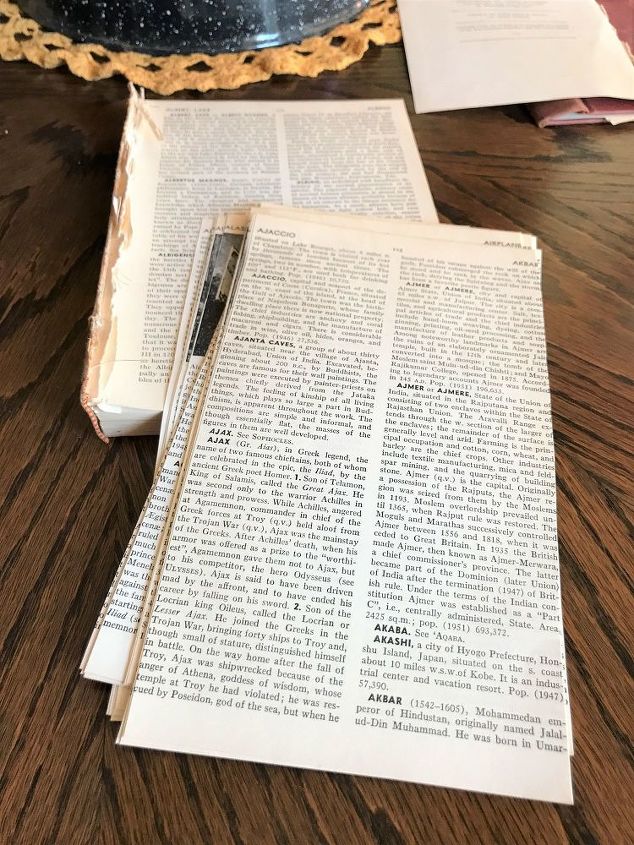
You will need LOTS of book pages. I'd already used this book for my book page wall, but I ended up using all the remaining pages in this book to finish my wreath. LOTS. OF. BOOK PAGES.
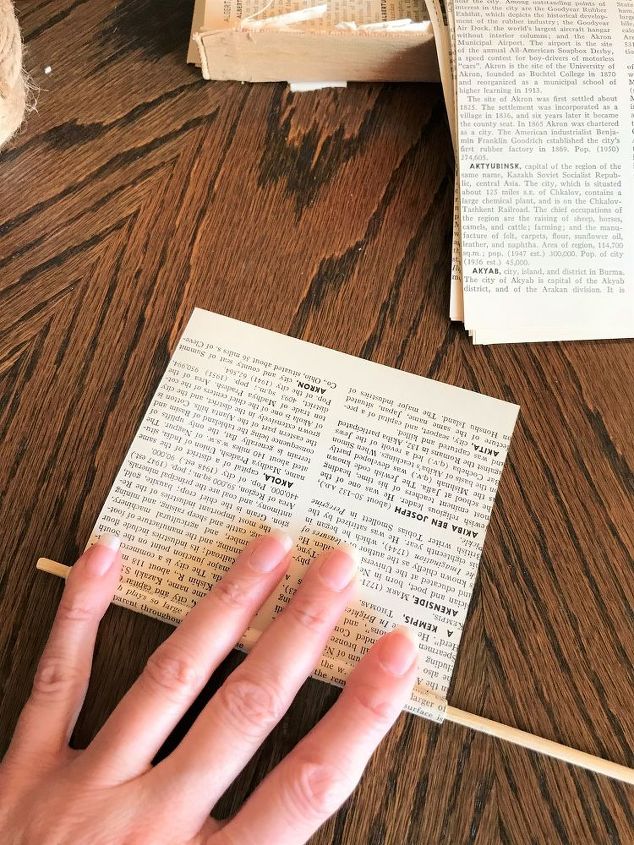
Roll each page on the wooden skewer as tight as you can get it. At first this was hard for me, but you WILL get the hang of it soon.

After you've tightly rolled the book page all the way to the end, release your grip, let the page relax and remove the skewer. Your roll should look like this.
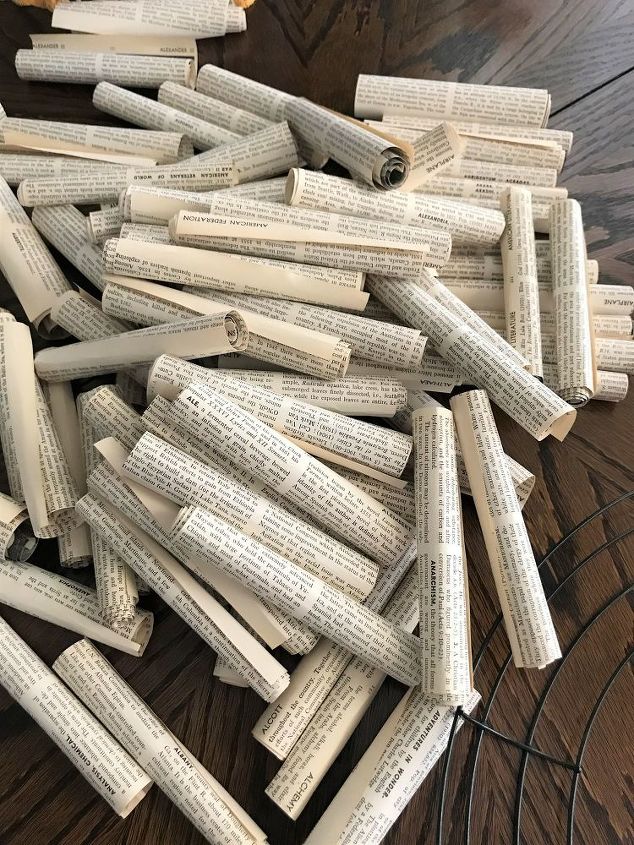
Keep rolling until you have a giant pile of 1 million book page rolls! Remember your drink and Netflix? Yep, keep on keeping on! :)
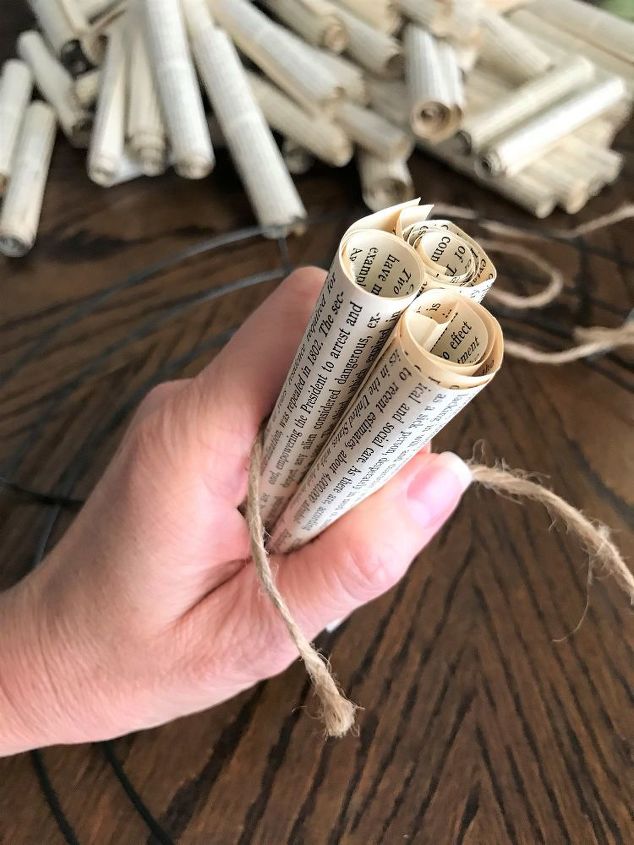
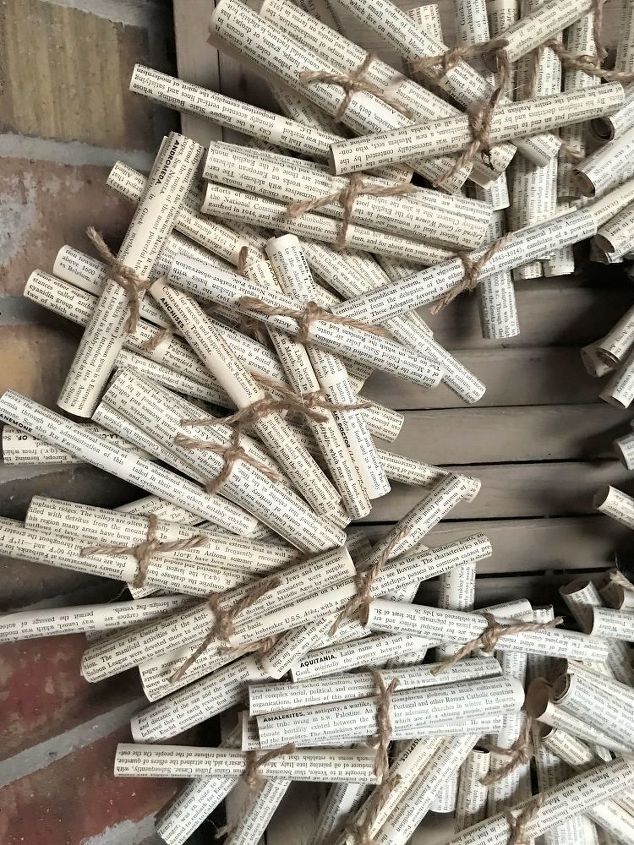
I created bundles of pages tied with twine like this. Some had three, some two and some just one. I had some singles that I used a dab of glue on to hold them together that I didn't put twine on.
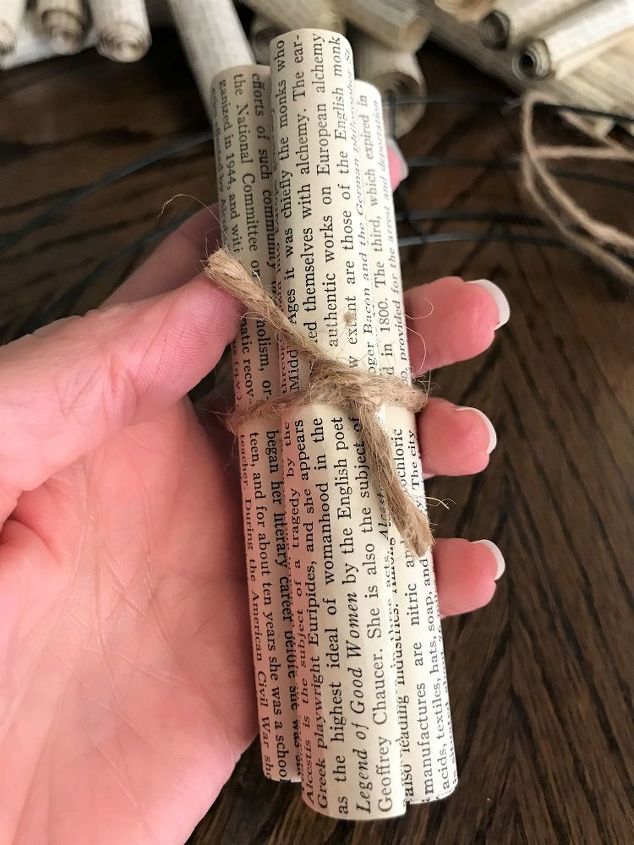
Make lots of bundles with twine and a some without.
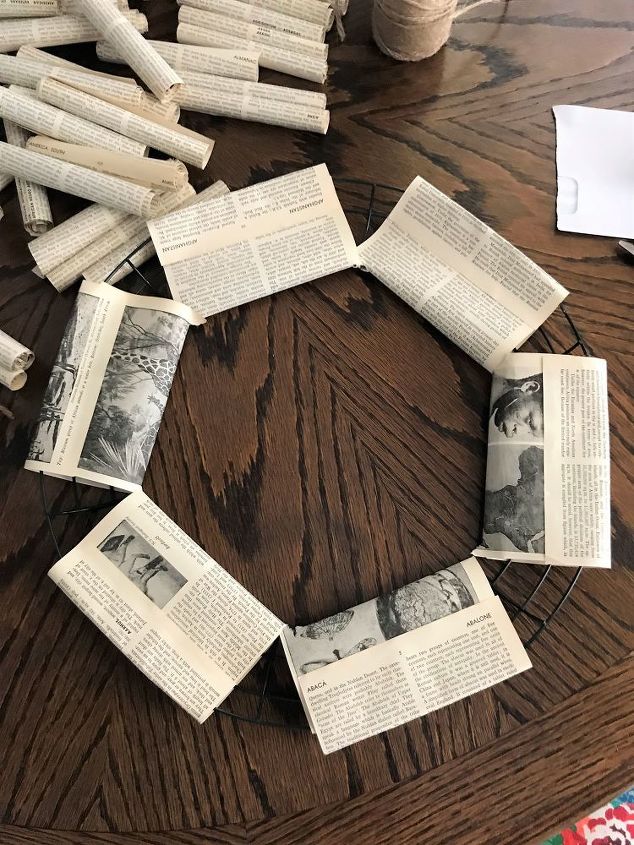
With the wreath form back side up (Groove toward you) I took several full pages and glued one to each section of the wreath form like so.
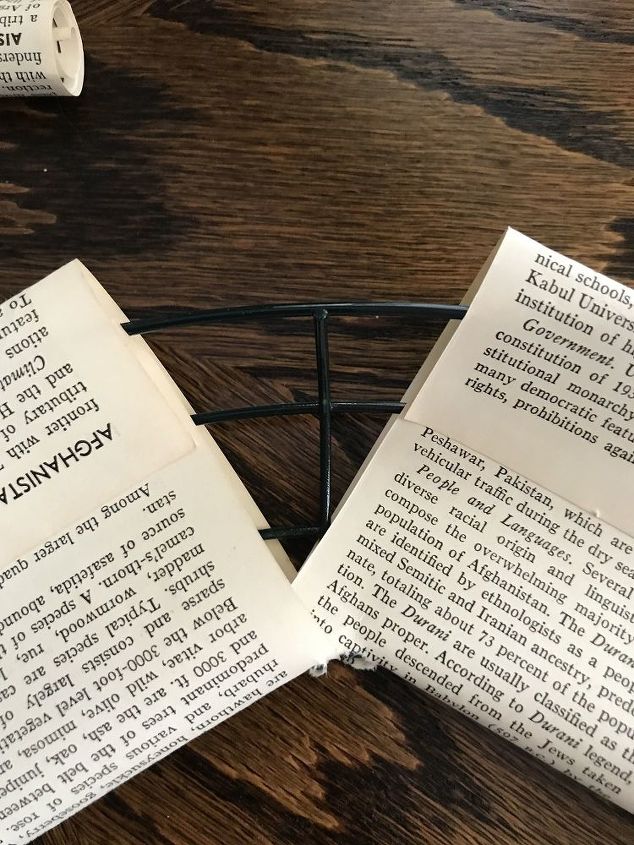
Just run a line of hot glue on the end of each page and hold together until cool.
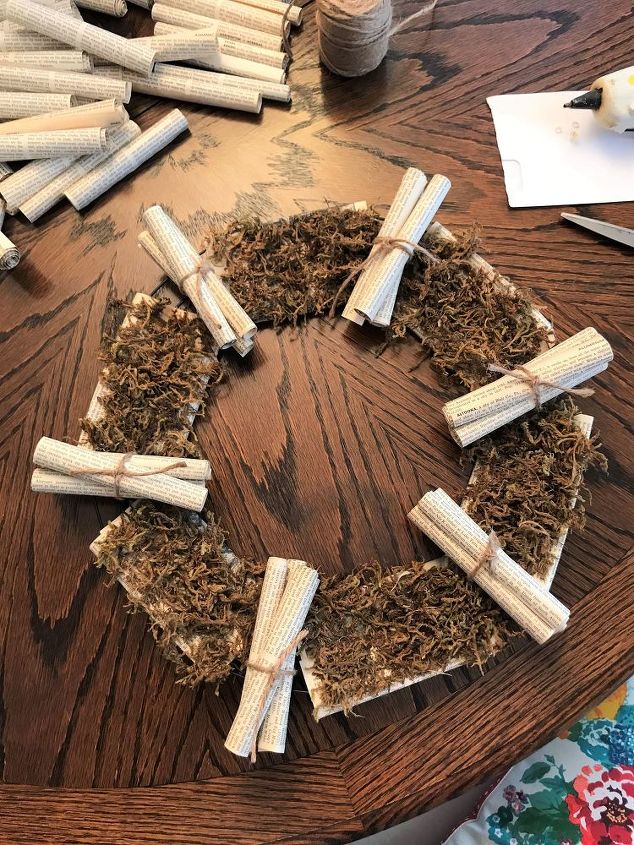
I'm going to show you these steps because this is how I did it, but in the end, it was not necessary at all! It's a really messy process, so save yourself the trouble!
I hot glued the moss on top of the pages I glued on. I thought it was going to show through, but it did not.
Using hot glue, I just started adding my bundles, first I added one bundle of three to the space between each book page I glued to the wreath form.
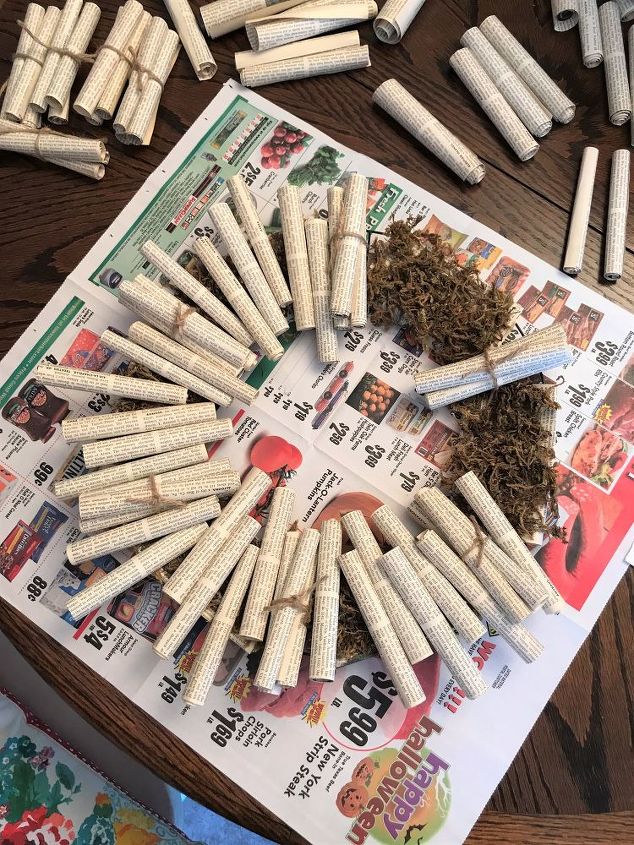
Now fill in each section. There is no perfect way to do this, I just added a scroll here and there until I liked the way it looked.
Keep going, you've got millions of scrolls to glue on! You can do it! :)
This is what it will look like when you're finished.
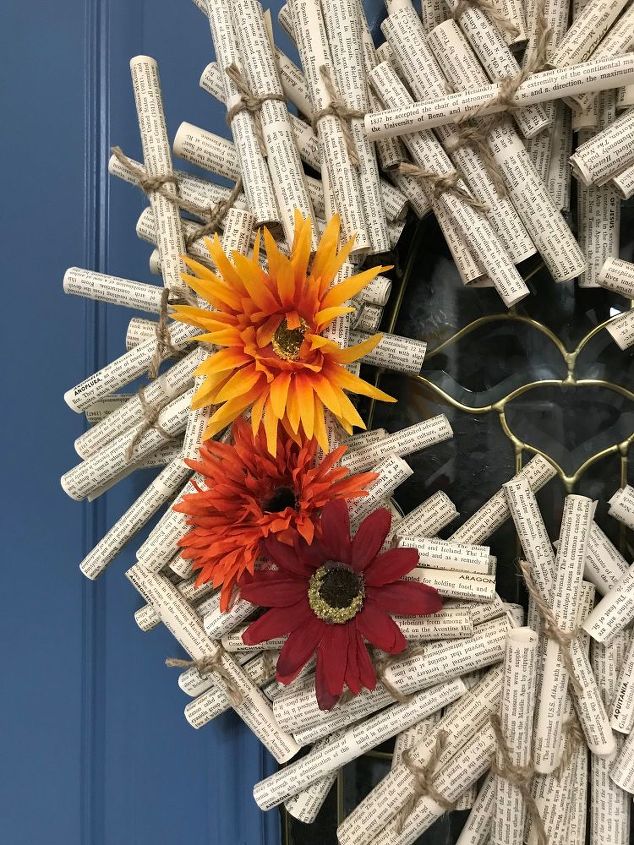
You can add florals or other small items to your wreath to coordinate with the current holiday or season. Just have fun with it!
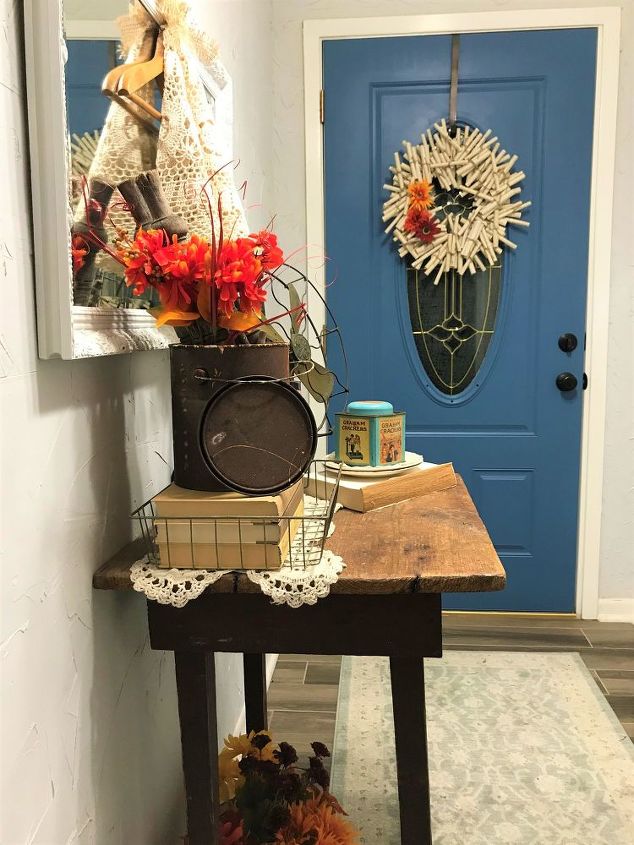
I'm a perfectionist and it didn't turn out perfectly symmetrical and I literally could've kept adding rolls, but I ran out of pages and this is what I ended up with. I still love it so much! It was tons of work, kind of like my pinecone wreath here, but it was so worth it!
DIY home decor
Resources for this project:
See all materials


Comments
Join the conversation
-
Love the idea! My mind started wandering as to how I might personalize it if I made one ... with a letter "A" or a little pair of glasses and a tiny book w/ a toy worm, or some vintage pen and stamps on a tiny envelope. Thank you for sharing your project!
-
I can't wait to make this! Thank you for sharing this.


Frequently asked questions
Have a question about this project?