


Snowman Wreath With Lights

5 Materials
$10
2 Hours
Medium
Back at the end of summer I picked up some straw hats at the Dollar Tree and made some Scarecrow type wreaths for fall. https://www.hometalk.com/diy/craft/wreaths/scarecrow-wreath-31491670
After I made the first one I went back and bought a few more hats. It was suggested I try one for winter, a snowman came to mind. So I sat on the hat waiting for the Dollar tree to get in their Christmas themed stuff. This is the result of that wait.
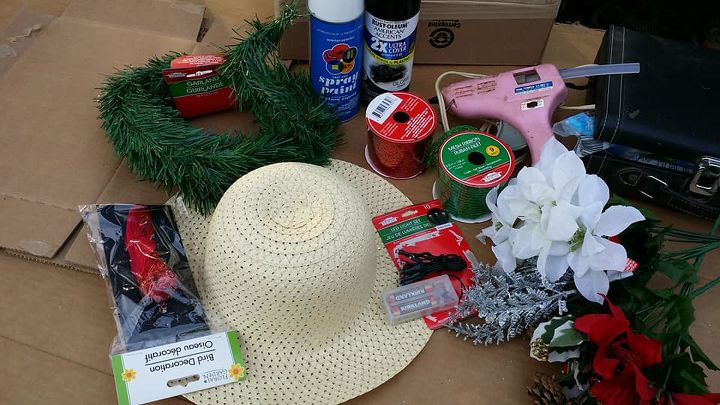
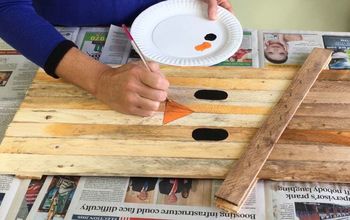
I started with a straw hat found at the Dollar tree from Easter to late summer. In November I found the evergreen garland, Christmas ribbon, Poinsettia flowers and other Christmas themed floral stuff, a cardinal and some battery operated lights. There are 10 lights on the strand and take 2 AA batteries. I also made a top hat half from some scrap cardboard. I was intending to paint the hat black but I didn't like the effect so I later scrounged up some felt. I spray painted the hat white, the paint made it stiff enough that no other aid was needed see the link to the scarecrow hat to see what I mean.
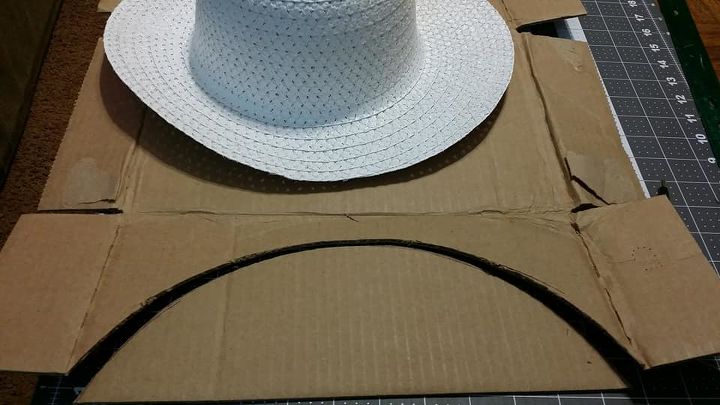
I traced the brim of the hat onto the cardboard and cut that out.
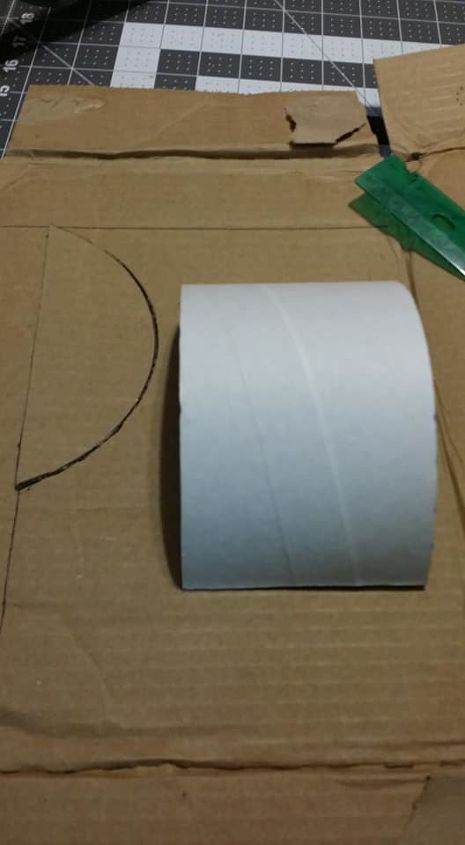
I had a cardboard ring from my early Christmas present of an Electric water bath canner. I cut that to the desired size (If you don't have a cardboard ring or tube you can make it with regular cardboard just use the edge of the table to force it to curl.) Next trace the curved edge top and back this will form the top and back of the hat.
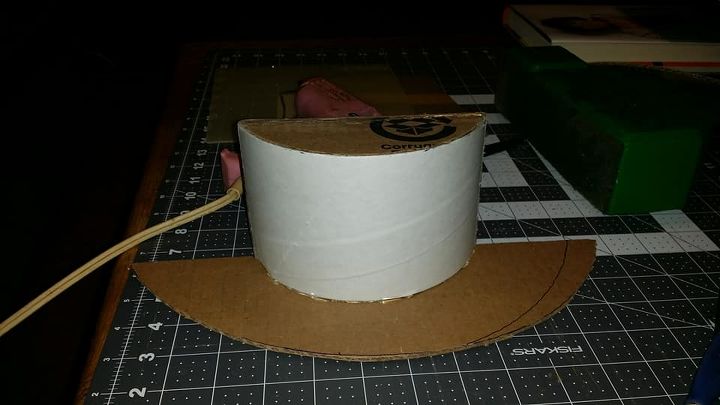
Glue the pieces together and now you have a half top hat for the snow man.
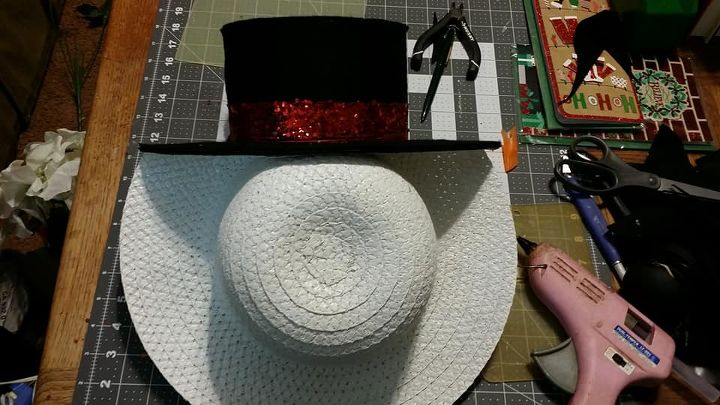
Fold down the brim of the painted straw hat and glue in place. Cover the cardboard top hat half with felt. I used some Dollar tree glittery looking ribbon it was too wide so I folded that in half and glued that on. To avoid raw edges I folded it around the back side and glued it there.
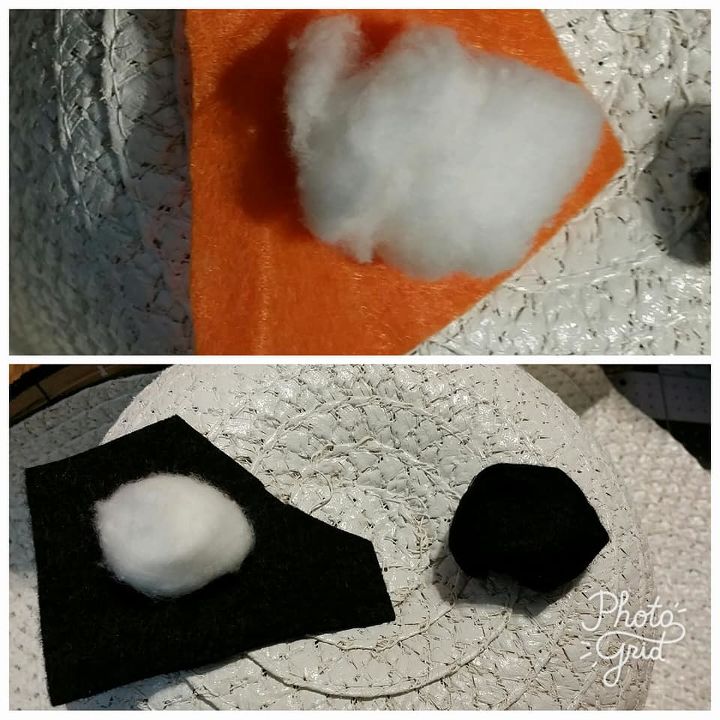
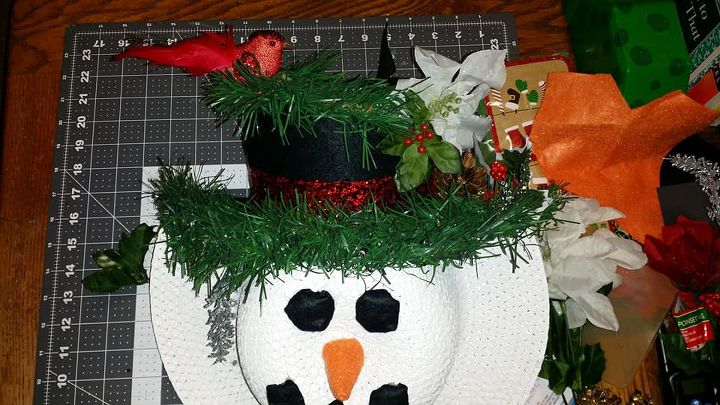
I took 3 cotton balls one I cut in half and folded and glued black felt to form coal for the eyes. The second I cut into thirds and glued black felt to form coal for the mouth and the third I stretched a bit and formed a cone shaped carrot for the nose.
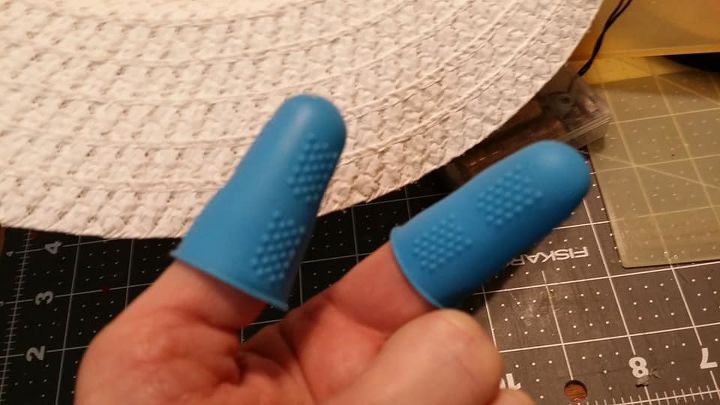
These silicone fingertips I found on Amazon came in handy for the gluing of the eyes and the evergreen and lights. I will admit I burnt my fingers a couple of times before I decided to launch a search for these fingertips. I am grateful I did. The glue gun on high was still too hot for these tips but on low they were just perfect.

Glue on the evergreen garland to the edge of the hat. This makes it festive and pretty and hides the holes in the edge of the cardboard hat. The holly is hiding the line from where I butted up 2 pieces of black felt. We were using scraps here.
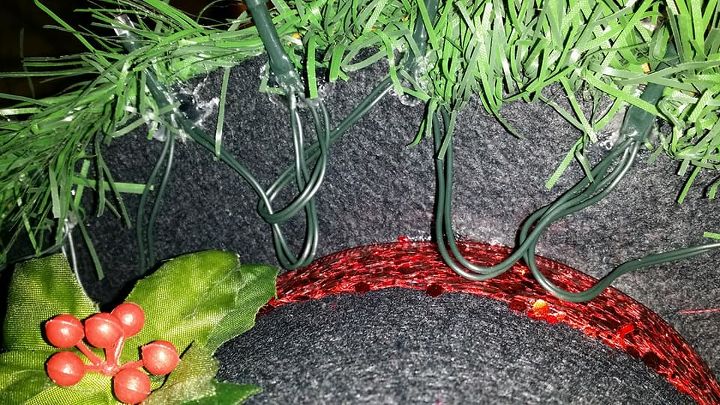
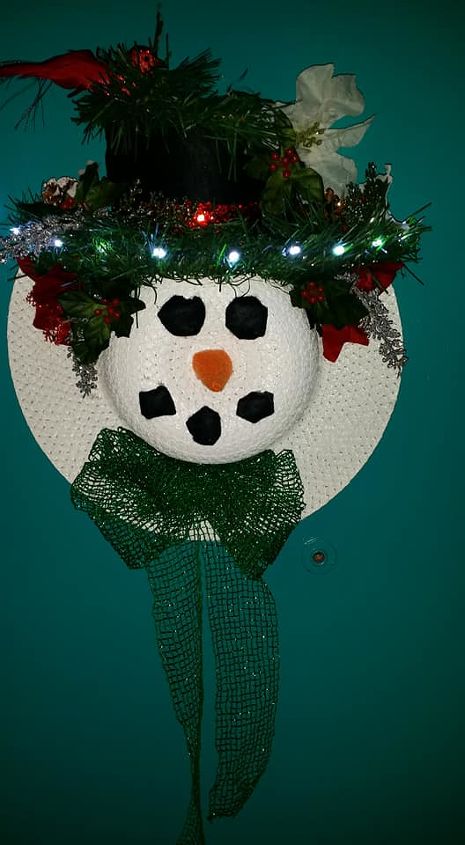
I then glued the lights to the top of the hat nestled into the garland. After they cooled I went back and glued the wires closer to the garland so they would be hidden better.
I added a second layer of the garland because I got a little messy with the glue and it kind of matted down my first layer. To avoid this attach the lights first. I make mistakes so you don't have to. Next just start adding flowers and things until it is as full as you like. I poked a few things under the brim of the hat. I cut a couple of sprigs off the garland and glued on top and nestled the cardinal in. There are a few pine cones and silvery glittered sprigs I added in too. I noticed when I bought them the silver was falling off the sprigs. If you have this problem take them outside and give them a spray of some clear spray paint.

Here is the finished top of my hat.
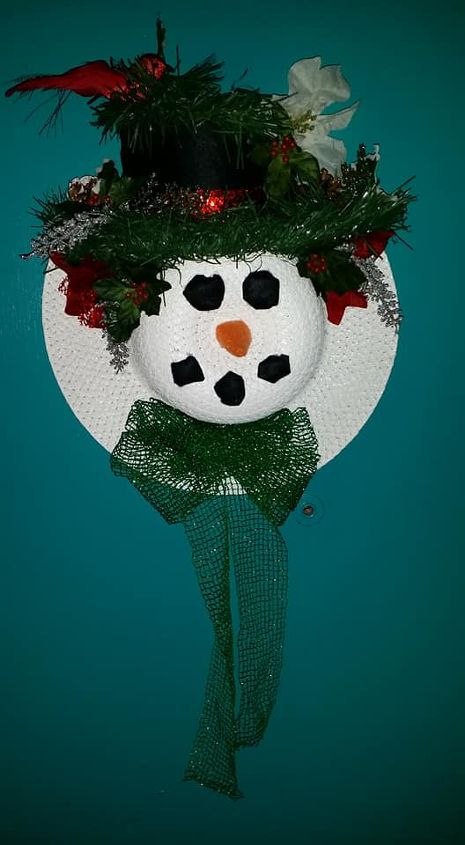
I added a bow made of some green mesh ribbon, and glued that on.
There he is all lit up. The battery pack is glued inside the back of the hat. I don't need to take it off to light it up I just reach under and flip the switch
Resources for this project:
See all materials


Any price and availability information displayed on [relevant Amazon Site(s), as applicable] at the time of purchase will apply to the purchase of this product.
Hometalk may collect a small share of sales from the links on this page.More info
Comments
Join the conversation
4 comments
-
haha! How adorable, I love it!
-
Mistakes don't count the first time around, it still looks adorable!


Frequently asked questions
Have a question about this project?